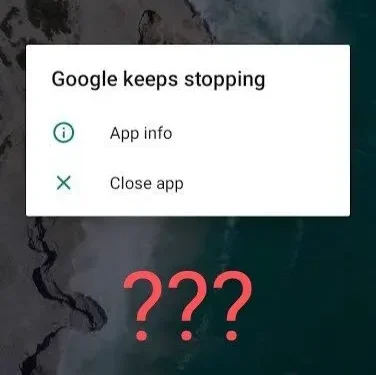

Even though Android is one of the best operating systems, it can be a little problematic. Thanks to a few bugs or mistakes. The best example of this is the Google stop problem. This is a very common but annoying problem that can occur. This can happen when you use Google to search for something or any other Google app.
While there are many causes for this issue, it is worth noting that some issues with the server side can also lead to the same.
So, what can be done to avoid the Google stop problem? It will be covered here with all the other useful information you might need. Let’s start without further ado.
Why does Google keep stopping on my phone?

First, you should always know the cause of this problem, i.e. Google keeps stopping. This issue mostly occurs due to a cache issue causing the service to crash. If Google stops, everything that works at Google will not work completely or properly.
Clearing the Android cache is useful for solving this and many other similar problems on Android.
Understanding this is important as only you can use some fixes to treat it. And that’s exactly what we’re going to discuss next.
How to Fix Google Keeps Stopping Error on Android?
You can try several fixes to get rid of this problem. You can try any of them and see if it works for you. The best tried and tested Google fixes keep stopping Android errors.
- Reboot/reboot your Android phone
- Check your Wi-Fi connection
- Force Stop and Restart Google App
- Clear Google App Cache
- Uninstall Google app updates
- Remove Android System WebView Updates
- Update your Android phone
- Factory Reset Android Phone
Let’s discuss each of these solutions in detail below.
1. Reboot/reboot your Android phone.
A quick restart or reboot is the fastest way to deal with this error. You can reset your phone by restarting it. It will delete all temporary files. Hence, any problematic files causing this error will be removed.
Follow the steps below to restart your Android phone.
- Press the power button and hold it for a few seconds.
- Several options will appear on your device screen. Click on the “Restart/Restart”option.

Don’t forget to save the files before proceeding with the steps. Otherwise, all your unsaved work will be gone forever. Once you’ve completed the steps, turn on your phone and open the app you were using before restarting it. Check if the bug is fixed; if not, then continue.
Note. Refer to your device’s user manual for instructions on how to restart it.
2. Check Wi-Fi connection
Another reason for this error could be slow speed or bad internet connection. If you have a poor internet connection, the Google error keeps popping up. And this can be easily fixed by checking your internet connection or switching to cellular data.
3. Force stop and restart the Google app.
Updating or restarting the problematic Google app can fix this issue as it is primarily related to Google. Close the app and reopen it after a while. If that doesn’t work, you can try force quitting the app.
This will not delete your data on the phone. So don’t worry!
Follow the steps below to force stop and restart the Google app.
- Open the Settings app on your Android phone.
- Click on the “Apps & Notifications”section.
- Click on Google.
- Click on the “Force Launch”option in the Google Page app.
- A forced stop prompt will appear on the screen; click OK.
- Access the app drawer.
- Click on Google to restart it.
4. Clear the cache of the Google app.
Having an unwanted cache on your phone is another reason for this Google error. In this case, clearing the Google app cache is the best solution. You can do this without causing any harm to your existing data or files.
To clear the Google app cache, follow these steps.
- Open the Settings app on your Android phone.
- Open the Applications section.

- Find Google and click on it.
- Click on the “Storage and Cache”option on the page.
- Click on the “Clear Cache”option.

- Open the Google app again.
If the problem was in the cache, then it should be resolved. But if not, try the following fixes.
5. Uninstall Google app updates.
If you installed any recent update on your phone and then you started facing this issue, the update might be the main sinner here.
In this case, you should cancel the update and check if the issue is resolved. It’s not a complicated process. Hence, follow the steps below to uninstall Google app updates.
- Open the Settings app on your Android phone.
- Open Apps & Notifications.
- Click on Google.
- Click on the three vertical dots in the top right corner of the Google page.
- Click “Uninstall Updates”in the options.
- Click on the OK button in the prompt.
If Google releases an update to fix a bug in a previous version, you can follow the steps below to update it.
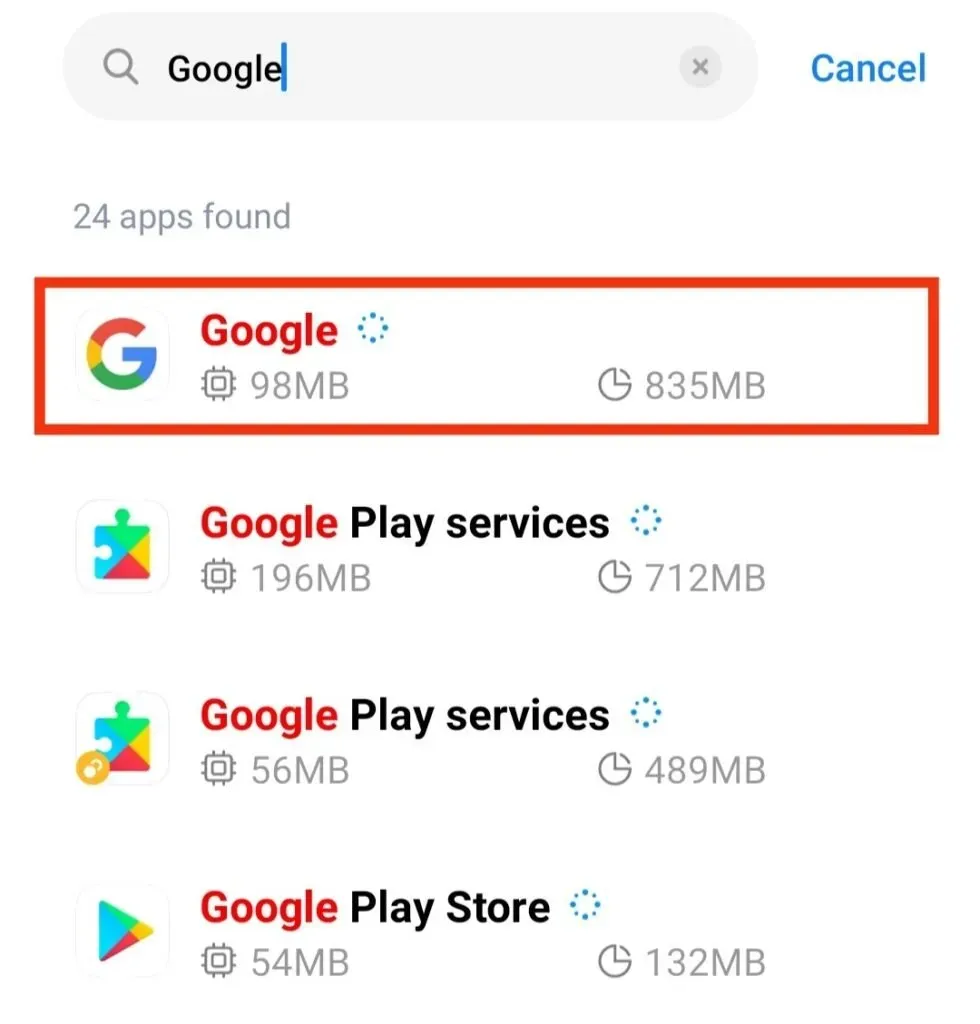
- Open the Google Play Store.
- Enter Google in the search box.
- Click on Google from the result on the screen.
- Click on the “Update”button to update the application.
Wait for the update to finish. Now check if the issue is resolved or not.
6. Uninstall Android WebView system updates.
Any updates to the Android System WebView can also cause the Google error to stop showing up on the screen. It is easy to notice if you have installed the latest Android system webview update and only after that the error appears.
This can be resolved by canceling the update. To do this, follow these steps.
- Open the Settings app on your Android phone.
- Open Apps & Notifications.
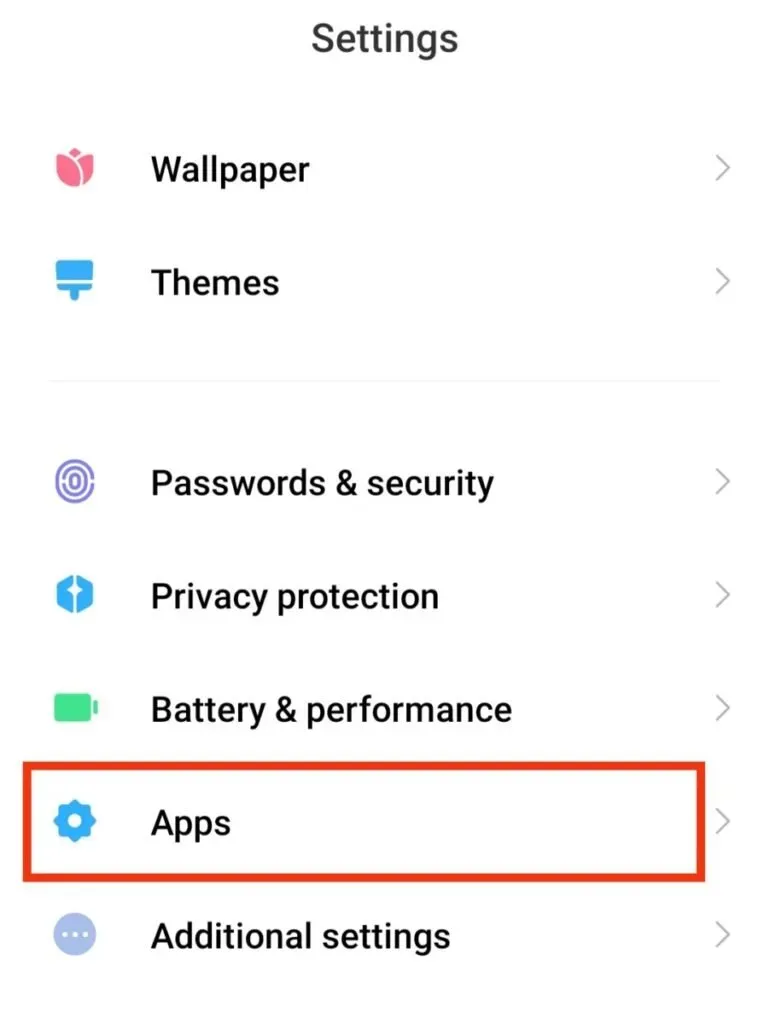
- Click “View All Apps”in Settings.
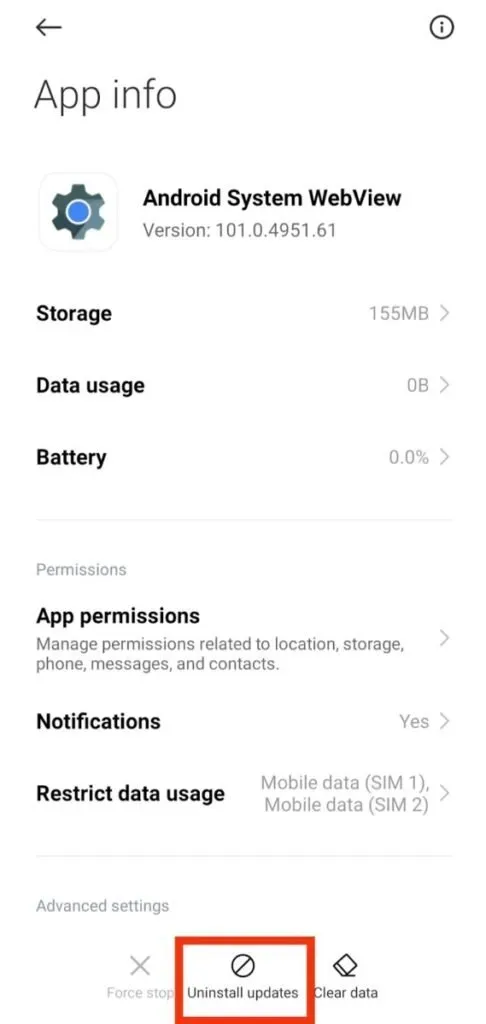
- Click on Android System WebView. If this option is not visible, click on the three vertical dots on the screen. And then click “Show system apps”.
- Click on the three vertical dots at the top of the screen.
- Click Uninstall Updates.
- Click on the OK option on the prompt.
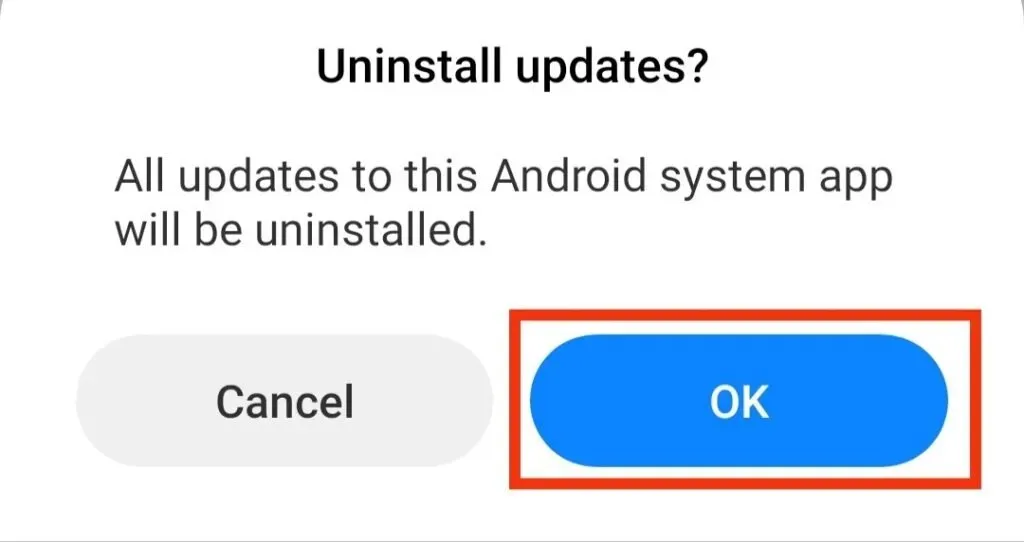
Reboot your phone. This problem will be solved after turning on the phone.
7. Update your Android phone
An outdated version of Android can cause a lot of errors, one of which is causing Google to stop. If so, you might be able to fix this problem simply by updating your Android phone to the latest version.
To do this, you must have a good internet connection. And then follow these steps.
- Open the Settings app on your phone.
- Select the “System”option.
- Click on the System Updates option on the screen.
- Wait for your phone to finish searching for available updates.
- Install the update, if available.
If there is no update, this may not be the cause of this error.
8. Reset your Android phone
This should be the least fix you are trying to fix if Google still keeps stalling. Restoring an Android phone to factory settings will delete all data and files stored on the phone. Therefore, it is important to back up important data before starting the steps.
To reset your Android phone, follow the steps below.
- Open the Settings app on your phone.
- Click on the “System”option.
- Tap on reset options in settings.
- Click “Erase all data”or “Reset settings”.
- Follow the instructions on the screen to complete the process.
How to fix Google Play services stop error on Android?
Since Google Play Services is another application from Google, you may receive this error message while using Google Play. Even if you try to restart it after turning it off, this error may appear again every time.
In this case, try the following fixes.
- Correct the date and time of your device
- Clear Google Play Services Cache
- Use a different Google account
- Reset Google Play Services Settings
- Update Google Play Services
1. Correct the date and time of your device
This error may appear on the screen if your mobile phone is not synced with the correct date and time. This is often the case when you do not choose the automatic option to fill in the date and time, but do it manually.
Follow the instructions below to fix it.
- Open Settings on your device.
- Click on general.
- Click on the available general control option; otherwise skip this step.
- Choose the correct date and time.
- If you want to change the settings to automatic, drag the slider or rotate the Automatic button.
- Drag the slider or turn off the 24 hour option if it is enabled.
2. Clear cache of Google Play services.
The presence of a problematic cache is always the cause of such errors. Therefore, clearing them will not harm the files or data on the device, but will only solve the problem.
To clear the cache on your device, follow these steps.
- Open Settings on your device.
- Click on the Apps option.
- Find the Google Play Store app by scrolling down.
- Click on the “Storage”button on the app info page.
- Click on the “Clear Cache”option on the screen.
3. Use a different Google account
There may have been a problem with your original account, which is why this error keeps popping up. So if you have another Google account, you can try using that one. And check if the issue is resolved.
And, to be more secure, back up all your important data in the original account so you don’t lose anything. To do this, follow these steps.
- Open Settings on your device.
- Click on Google.
- Scroll down and click the “Backup”button.
- Drag the “Google Drive Backup”slider if it’s not already on.
- Click the “Back Up Now”button.
Once this is done, you can begin the switching process.
- Open Settings on your device.
- Click on the “Accounts and Backup”option.
- Select an account.
- Click on the original account associated with Google.
- Click on the “Delete”button.
- Launch the Google Play Store.
- As in the previous step, go to the list of accounts.
- Either add or select an alternate account.
If the error does not persist in the Google Play Store, please re-sync your original account.
4. Reset Google Play Services.
Resetting the Google Play Service settings will remove the app or file settings that may be causing the error. Not only that, it will remove all application settings. So remember that it will remove all your current permissions and background data.
Below are the steps to reset Google Play Services:
- Open Settings on your device.
- Click on the Apps option.
- In the upper right corner of the screen, click on the three vertical dots.
- A drop-down menu will appear. Fap when resetting app preferences.
- Confirm your action.
5. Update Google Play Services
Last but not least, you should check and install the latest update of Google Play Services from the Play Store in order to fix this issue.
Conclusion
These are all the fixes you can try to fix the bug that Google keeps stopping. As operating systems become more advanced, the chance of bugs or bugs also increases. But in the case of Android, these errors are the easiest to fix, unless there is serious damage.
If you encounter an error like Google keeps stopping, you can always try restarting your phone, clearing the cache, uninstalling the problematic software, or trying to force stop it.
We hope you find the above information useful. Share your opinion in the comments below.
Frequently Asked Questions (FAQ)
What is Android WebView System?
It is a system component of the Android operating system. It helps to display web content directly inside the application on the web.
What Causes Google to Stop Error?
There could be several reasons why Google keeps stalling. However, the main reasons could be the presence of a problematic cache, a problematic app update, an outdated version of the Android device, etc.
Will I lose my data if I force launch the Google app?
There is a chance that unsaved data on your phone will be deleted if you force launch the Google app, but all your saved data will not be affected. Hence, always save important files before forcing the Google app to run.