

iOS 17 and iPadOS 17 are here with more new features, such as NameDrop, Contact Poster, and many others. I know you are excited to update your iPhone or iPad to the latest version, so without wasting any more time, let’s jump into the same after seeing if your device is compatible with the latest update.
Here, we explain three ways to update your iPhone to iOS 17 or iPad to iPadOS 17.
- iOS 17 compatible devices
- How to see what update your iPhone or iPad is on
- How to update your iPhone to iOS 17
- Automatically upgrade your iPhone to iOS 17
- How to upgrade your iPhone to iOS 17 using Mac or PC
iOS 17 compatible devices
Currently, here are the devices that are eligible for the new update.
- iPhone 15 series
- iPhone 14 series
- iPhone 13 series
- iPhone 12 series
- iPhone 11 series
- iPhone XS and XS Max
- iPhone XR
- iPhone SE (2nd generation or later)
How to see what update your iPhone or iPad is on
Now that you have made sure your device supports the latest iOS/iPadOS update, let’s make sure what version of iOS you are on. Here’s how:
- Head over to Settings.
- Tap General.
- Next, tap About.
- Here, you can see the iOS version.
Now that we know your iPhone’s iOS version let’s look at the steps to update your iPhone.
Prepare your iPhone for update
Before we begin, it is important to have a backup of your device. This ensures that if something goes wrong, you have the option to restore, which will let you get back all essential data.
Besides this, you must have a stable Wi-Fi connection, at least 50% battery or plugged into charging, and enough free storage.
How to update your iPhone to iOS 17
- Open Settings → Tap General.
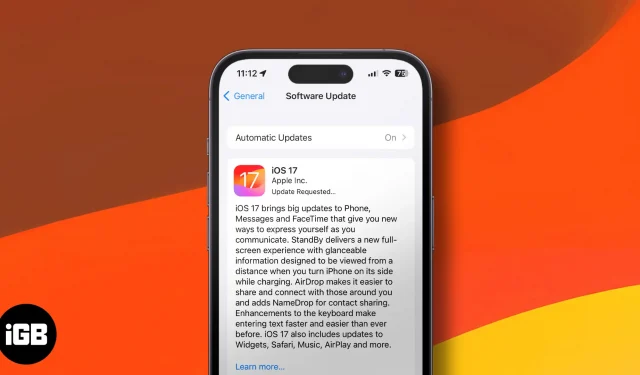
- Select Software Update.
- Tap Download and Install. Follow the simple on-screen instructions.
If you have difficulty updating, please see our post on what to do if you can’t download the iOS update.
You may see Install Now in step 3 above if Automatic Updates is enabled. More about that in the next part.
Automatically upgrade your iPhone to iOS 17
After the last part, you may wonder how to automate iOS updates. It’s pretty simple.
- Inside Settings → Tap General.
- Tap Software Update.
- Tap Automatic Updates or Customize Automatic Updates.
- Toggle on Automatic Updates or Download iOS Updates.
You may also enable Install iOS Updates.
The iPhone will automatically download over Wi-Fi when a new update is available. It can also automatically install the update if the iPhone is charging overnight and connected to Wi-Fi. Now that you know how to turn on automatic updates on an iPhone let’s look at another way in which you can update your iPhone.
How to upgrade your iPhone to iOS 17 using Mac or PC
Besides the easy method of updating over the air, you can also use a computer to get the latest iOS 17 software on your iPhone. But how do you update an iPhone from a computer? Here’s how:
- Connect your iPhone or iPad using an appropriate cable to the computer.
- In iTunes, click the tiny device icon. In Finder, click the device name from the left sidebar.
- Click Trust if you see it on the computer screen.
- Next, tap Trust on the iPhone and enter its passcode.
- From the Summary tab in iTunes and the General tab in Finder, click Check for Update or Update.
- Click Update. Follow the on-screen instructions, if any.
- Click Next → Agree → enter the passcode on the iPhone if asked.
iOS download will begin. Depending on your device and the internet speed, it may take considerable time to download the file, prepare the update, and install it. Do not disconnect the device midway.
That’s it!
I hope you now know how to update the software on the iPhone or iPad. In my opinion, the easiest method is the first one – from the Settings app. Which route are you taking? Do share your thoughts below.
- How to use NameDrop in iOS 17 on iPhone
- How to enable and use StandBy mode in iOS 17 on iPhone
- How to set personalized Contact Posters in iOS 17