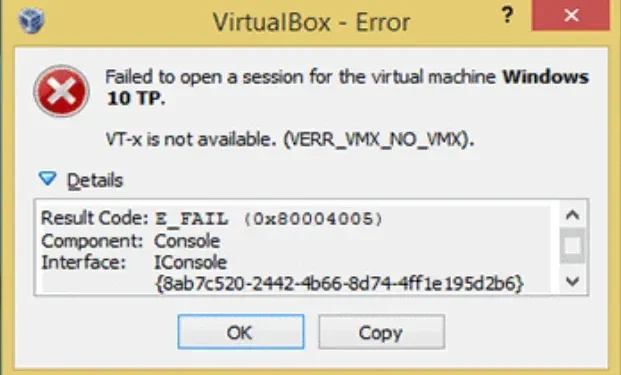

When you try to start a virtual machine using the VirtualBox application, you get a Vt-X Is Not Available (Verr_vmx_no_vmx) error message on your computer. Most likely because virtualization is disabled.
In most cases, you can disable or enable VT-x in the BIOS. When you turn on your computer for the first time, press DEL (or something similar) to access the BIOS settings. There is an option to enable VT technology.
I recommend reading this post which explains how to fix the Vt-X Not Available (Verr_vmx_no_vmx) issue and why it happened in the first place.
What is the reason that Vt-X is not available (Verr_vmx_no_vmx) on the computer?
I investigated the issue by trying to reproduce it and looking at other user reports. As far as I can tell, several scenarios will result in this error message:
- VT-X is not enabled in BIOS: VT-X can be disabled manually or remotely in BIOS settings by some third party applications. This will cause the Vt-X Not Available (Verr_vmx_no_vmx) issue.
- CPU does not support VT-X: Although rare, there are cases when the error occurs because the PC in question does not have the necessary hardware to implement VT-X technology.
- Windows Hyper-V virtualization enabled: Microsoft Hyper-V technology interferes with VT-X. If Hyper-V virtualization is enabled, the OS will automatically disable VT-x.
- VT-X was disabled after Avast update: Avast has just published an update that effectively disables VT-x. At the same time, real-time protection is active unless the user activates nested virtualization in the settings menu.
- Kernel isolation enabled: When you enable the kernel isolation option on your machine, it can cause problems with the VirtualBox application, resulting in VT-x (VERR VMX NO VMX) being unavailable. As a result, we recommend disabling this feature and see if the issue goes away.
Answer to fix Virtualbox Vt-X error not available (Verr_vmx_no_vmx)?
- Disable kernel isolation from Windows Defender
- Enable Vt-X from BIOS settings (boot menu)
- Disable Hyper-V Virtualization System (Windows Hypervisor)
- Enable nested virtualization in Avast
- Disable Windows Defender Core Isolation
- Disable Windows Sandbox
- Disable Device Guard / Credential Guard
- Removing Third Party Antivirus Software
- Enable virtualization
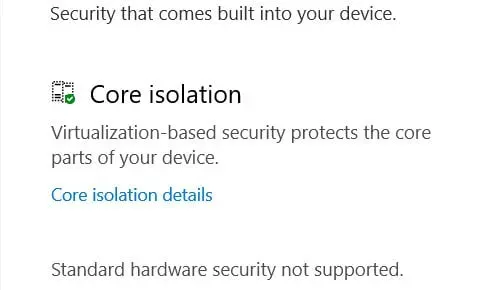
1. Disable Windows Defender Core Isolation.
The Windows Defender Core Isolation device security setting is known to conflict with VT-X. If you are experiencing the “Vt-X is not available”(Verr_vmx_no_vmx) issue and you are using Windows Defender as your default security setting, I recommend checking if Kernel Isolation is enabled.
- Find Windows Defender using the launcher icon in the bottom left corner.
- To access the built-in security feature, go to Windows Defender Security Center and click on it.
- In the Windows Defender Security Center, navigate to the left menu and select Device Security.
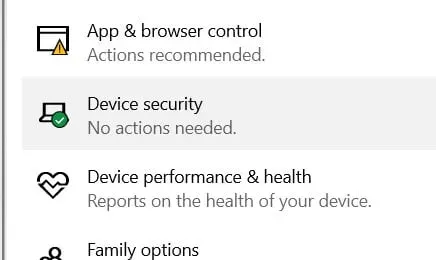
- Select Core Isolation Details from the Device Security menu (under Core Isolation).
- Make sure the memory integrity switch is disabled in the kernel isolation menu.
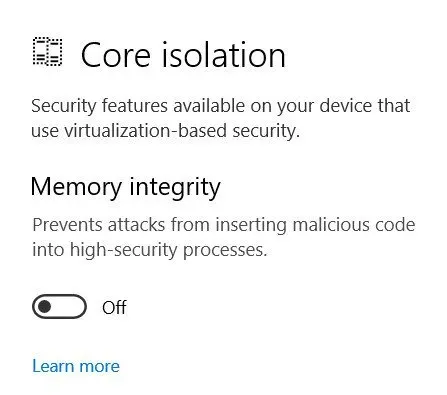
- Restart your computer after disabling the option to see if the problem is fixed at the next startup.
- Check if you managed to solve the problem “Vt-X is not available (Verr_vmx_no_vmx)”or not.
2. Enable Vt-X in BIOS settings (boot menu).
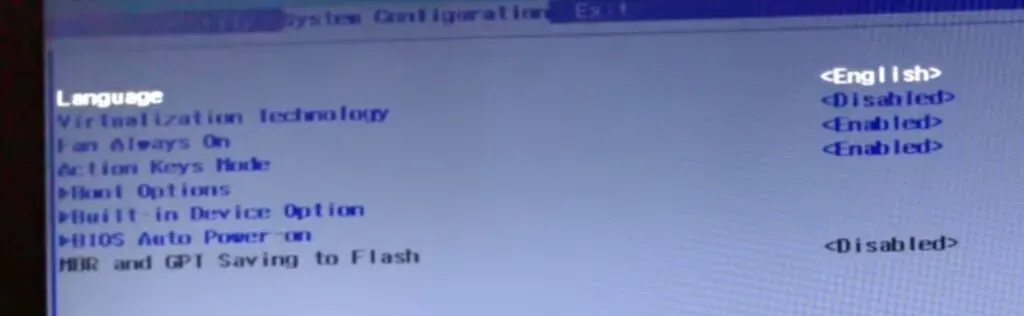
This problem can also be caused by disabling the “Virtualization Technology”option in the BIOS settings. So be sure to check and enable this option if it is currently disabled.
Vt-X Is Not Available (Verr_vmx_no_vmx) to issue, most likely because the technology is disabled in your BIOS settings. Some third-party applications may override these settings, so don’t give up on this method until you’ve verified that this is the case.
Depending on the motherboard manufacturer, the steps to access the BIOS settings and confirm that VT-X is enabled will vary. This setting is listed as Virtualization Technology or VTx/VTd under Security.
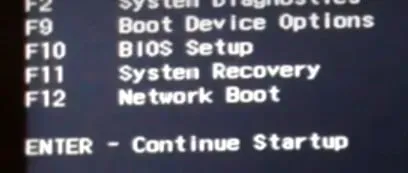
- To enter “BIOS mode”, first “boot”the computer and then press the setup button when the “Windows logo”appears on the screen.
- Click the Security tab and scroll down to System Security once in BIOS mode.
- Locate the “Virtualization Technology (VTx/VTd)”setting and make sure it is “Enabled”. If it’s not already enabled, do so.
- “To restart a computer. Check if you managed to solve the problem “Vt-X is not available (Verr_vmx_no_vmx)”or not.
3. Disable Hyper-V virtualization system (Windows hypervisor)
First, make sure that Hyper-V virtualization is not interfering with VT-x. When Hyper-V virtualization is enabled or enabled, the VT-x virtualization equivalent is disabled immediately. The update broke the hyperfunction. Against
You may encounter this issue as a result of installing the application. Keep in mind that in most cases Hyper-V will remain active even if the application that enabled it is uninstalled.
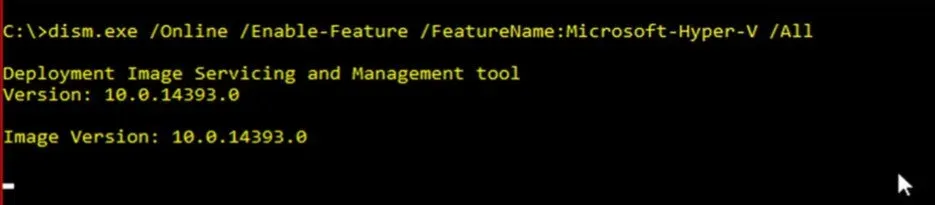
You can disable Hyper-V virtualization in several ways. From the command prompt (administrator), follow these steps to disable Microsoft Hyper V:
- To launch the Run dialog, hold down the Windows key + R. To open an elevated command prompt, type “cmd”and press Ctrl + Shift + Enter. Select “Yes”when the UAC (User Account Control) window appears.
- To disable Microsoft Hyper V, paste the following commands one by one into an elevated command prompt and press Enter:
- bcdedit /set hypervisor startup type Off
- bcdedit /set vm No
- dism.exe /Online/Disable-Feature:Microsoft-Hyper-V
- Close the command prompt and restart your computer after the commands run successfully.
- Make sure you still get the same problem message when you restart your Virtualbox machine.
- Check if you managed to solve the problem “Vt-X is not available (Verr_vmx_no_vmx)”or not.
4. Enable nested virtualization in Avast
If you’re using Avast, be aware that a recent app update added an automatic feature that stops VT-X from running on your system if certain criteria are met.
There is a solution to solve this problem without uninstalling the third party security client.
- Check the boxes related to Avast settings and troubleshooting and then use virtualization nested in virtualization nested in
- Also enable hardware virtualization.
- Check if you managed to solve the problem “Vt-X is not available (Verr_vmx_no_vmx)”or not.
5. Disable Windows Sandbox
This problem can also occur if Windows Sandbox is activated on your computer. Just disable it and then restart your computer. After that, go into the BIOS, disable virtualization and restart the computer.
Verify that the virtualization option in the UEFI/BIOS settings can enable or disable the Windows sandbox on your system.
- Select and open Task Manager by pressing Ctrl+Alt+Del.
- Check if the virtualization option is enabled on the current page by going to the performance tab.
- Once verified, follow these steps to enable or disable Windows Sandbox on your Windows 10 PC.
- Check if you managed to solve the problem “Vt-X is not available (Verr_vmx_no_vmx)”or not.
Control Panel to enable or disable the Windows Sandbox.
- Type Control Panel into the Start button. To activate this app, double click the first option again.
- Select “Program”and then the “Programs and Features”category in the visible window.
- Tap the Turn Windows features on or off option in the left pane.
- Find the Windows Sandbox in the list below the open window.
- Then, depending on whether you want to enable or disable this option, enable or disable the checkbox.
- For the changes to take effect, click OK and restart your computer.
- Check if you managed to solve the problem “Vt-X is not available (Verr_vmx_no_vmx)”or not.
Using Powershell, enabling or disabling Windows Sandbox
- Right-click the Start icon and select PowerShell (Admin) from the drop-down menu.
- If a UAC prompt appears, select Yes to allow access.
- Copy/paste the code into the PowerShell (Admin) window and press Enter at the end.
- To enable the Windows sandbox, enter the following code:
- Enable-WindowsOptionalFeature -FeatureName “Containers-DisposableClientVM”-All -Online
- Enter the following command to disable the Windows sandbox:
- Disable-WindowsOptionalFeature -FeatureName “Containers-DisposableClientVM”-Online
- Select Y to accept the request if prompted to reboot the system after the task is completed.
- After completing the task, check if the sandbox is enabled or disabled, depending on your preferences.
- Check if you managed to solve the problem “Vt-X is not available (Verr_vmx_no_vmx)”or not.
Use Command Prompt, Enable or Disable Windows Sandbox
- Type cmd into Cortana. Select “Run as administrator”from the menu when you right-click Command Prompt.
- To authorize access, answer Yes to the UAC question.
- Type the following code into an elevated command prompt and press Enter to execute the command.
- Copy and paste the code below to enable the sandbox feature in Windows.
- Dism /online/Enable-Feature/FeatureName:”Containers-DisposableClientVM”-All
- Run this command on Windows to disable the sandbox feature −
- dism/online/Disable-Feature/FeatureName: “Containers-DisposableClientVM”
- Check if you managed to solve the problem “Vt-X is not available (Verr_vmx_no_vmx)”or not.
6. Disable Device Guard / Credential Guard
By default, security or credential protection can be enabled on Windows hosts with an EFI BIOS device. This interferes with the virtualization software at the OS level, resulting in an error. To avoid this error, it must be disabled. You can do this on Windows by doing the following:
- To enter the Run dialog, use the Window + R keys together. Type “gpedit.msc”in the dialog box and press Enter.
- Navigate to “Local Computer Policy”then “Computer Configuration”then “Administrative Templates”> “System”> “Device Guard”and then “Disable Virtualization Based Security”in the group editor window.
- If you cannot do this using the Group Policy Editor, there is another way to achieve the same goal.
- Set the value “keyHKLM > System > CurrentControlSet > Control > DeviceGuard > EnableVirtualizationBasedSecurity > Enabled”to “0”in the registry.
- Check if you managed to solve the problem “Vt-X is not available (Verr_vmx_no_vmx)”or not.
7. Remove Third Party Antivirus Software
Any antivirus software you have installed on your system could be the culprit behind this problem. It is better to remove it for a while and see if it solves the problem. If you are using Windows Defender Firewall, you can disable it by doing the following:
- Type “Settings”into the search box next to the Start menu and press the “Enter”button.
- Select Update & Security in the left pane of the Settings window, then Windows Security.
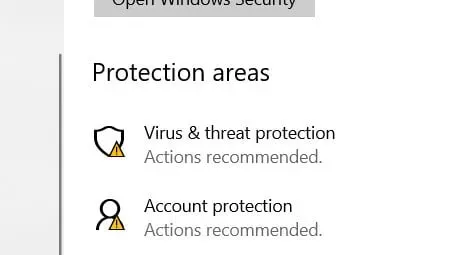
- Then, under Protection scopes, select Virus & Threat Protection and then Manage Settings under Virus & Threat Protection Settings.
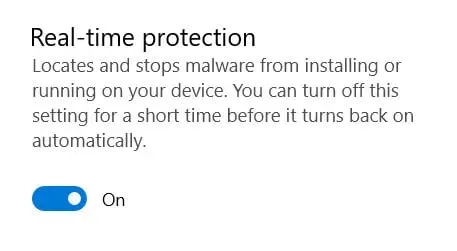
- Make sure the “Real-time Protection”switch is in the “OFF”position in this window.
- Return to the “Windows Security”tab and select “Firewall and Network Protection”in the left pane.
- Select “Domain Network”, “Private Network”and “Public Network”one by one in this box, then check the “OFF”radio button for “Microsoft Defender Firewall”.
- Check if you managed to solve the problem “Vt-X is not available (Verr_vmx_no_vmx)”or not.
8. Turn on virtualization
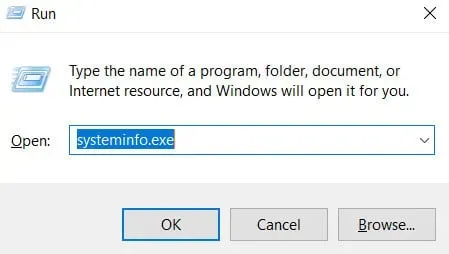
- Open a command prompt window.
- Now type systeminfo.exe into the command prompt.
- To the right of the Hyper V requirements, you will see virtualization enabled in the firmware.
- Go to the start menu and select “Settings”from the drop-down menu.
- Find and select Update & Security. A new tab will appear, find recovery and click on it.
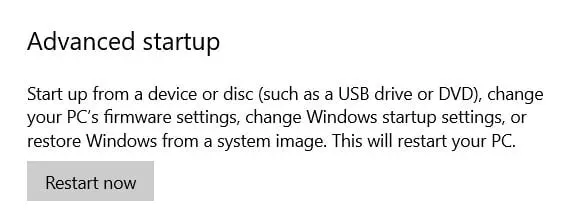
- You should find the recovery mode pre-startup and click on the “Restart now”button under the “Advanced startup”section.
- You should select the Troubleshoot option when you see a blue screen with certain icons.
- Select the “Advanced”tab. You need to define this setting because our issue is firmware related.
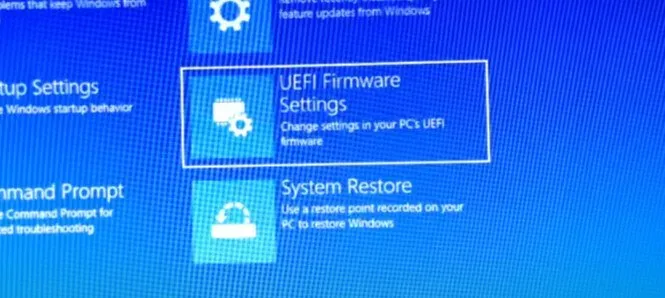
- Select the UEFI firmware settings once we find them and the restart button will show up again; press Enter to reboot.
- Find the BIOS settings and press the corresponding function key.
- A new panel will appear; go to system configuration (you can get here by pressing arrow keys) and find virtualization technology.
- At this point, your virtualization technology is enabled. You can exit this by pressing F10.
- Check if you managed to solve the problem “Vt-X is not available (Verr_vmx_no_vmx)”or not.
Conclusion
If virtualization is not enabled on your Windows PC, the error “VT-x is disabled in BIOS for all CPU modes”is displayed. Virtualization is disabled by default on many Windows machines at the BIOS level and must be enabled in order to create a new virtual machine. To find out what this error means and how to fix it, use all the tools listed above.
FAQ
How to know if Vt-X is enabled in Windows 10?
Select Task Manager from the context menu by right-clicking on the taskbar. Select the Performance tab in the Task Manager window. Once you get to the Performance tab, take a look at the CPU details shown by default. Check the virtualization area under the CPU information on the right side of the screen.
How to fix Vt Not Capable?
Your computer must be restarted. To access the BIOS menu, press “Delete”, “Esc”, “F1”, “F2”, or “F4″once the computer exits the black screen. Look for processor-related settings in the BIOS settings. Enable virtualization using the VT-x, AMD-V, SVM, or Vanderpool options. Save changes and restart your computer.
How to enable Intel Vt-d?
Press the right arrow key on the Setup Utility screen until the Advanced tab is selected. Press the down arrow key until Intel(R) Virtualization Technology is selected on the Advanced tab and press the Enter key. Select Enabled using the down arrow key, then press the Enter key.
How do I know if my laptop supports virtualization?
Open a command prompt window. To launch the run box, use the Windows key + R, type cmd and press Enter. Now type the systeminfo command into the command line and press Enter. This command will show you all the details of your system, including virtualization support.