

Several websites and services have been blocked in different parts of the world. A VPN has come to the rescue to give us access to restricted sites and services, but your data is not yet secure on Windows 11 PCs. It is important to take the necessary steps to change a public VPN to a private one on Windows 11 PCs and prevent data leakage.
Why should you change your network from public VPN to private VPN in Windows 11?
The purpose of a VPN has always been to protect your online identity and block any surveillance from the equation. Enabling a VPN does not fully protect your identity because the operating system stores information based on your location, time zone, and other settings.
Treat the private network as a master move to prevent any program, service, or outgoing connections from checking our operating system settings. In this way, you will save yourself from further hacks, and also prevent other devices from connecting without permission.
A private network does not allow any other device or machine to connect with your consent, and this gives you the maximum opportunity to spot loopholes.
Change Public VPN to Private in Windows 11
However, you must remember that the machine can be discovered on the network, but you can allow or deny devices.
Find your current Wi-Fi network status
The number of laptop users has increased over the past two years and Wi-Fi is the connection of choice. Let’s find the current status of the wireless network and, if necessary, change it to “Private”.
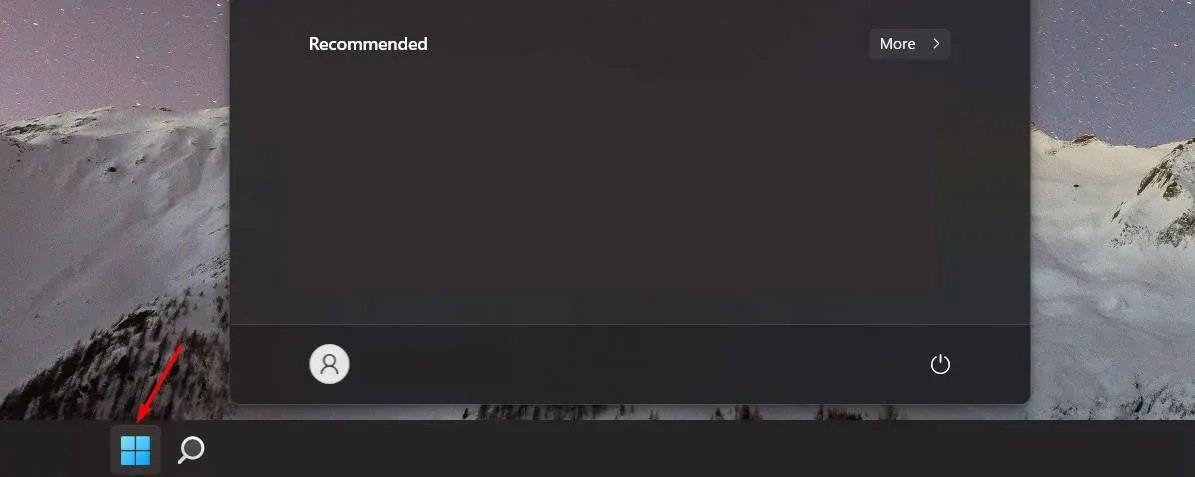
- Click on the Windows icon to get started.
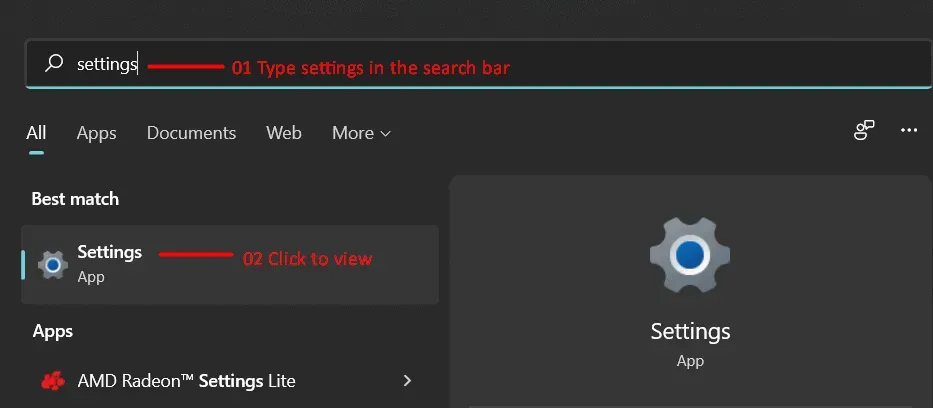
- Type “Settings”then press “ENTER”on the best match icon.
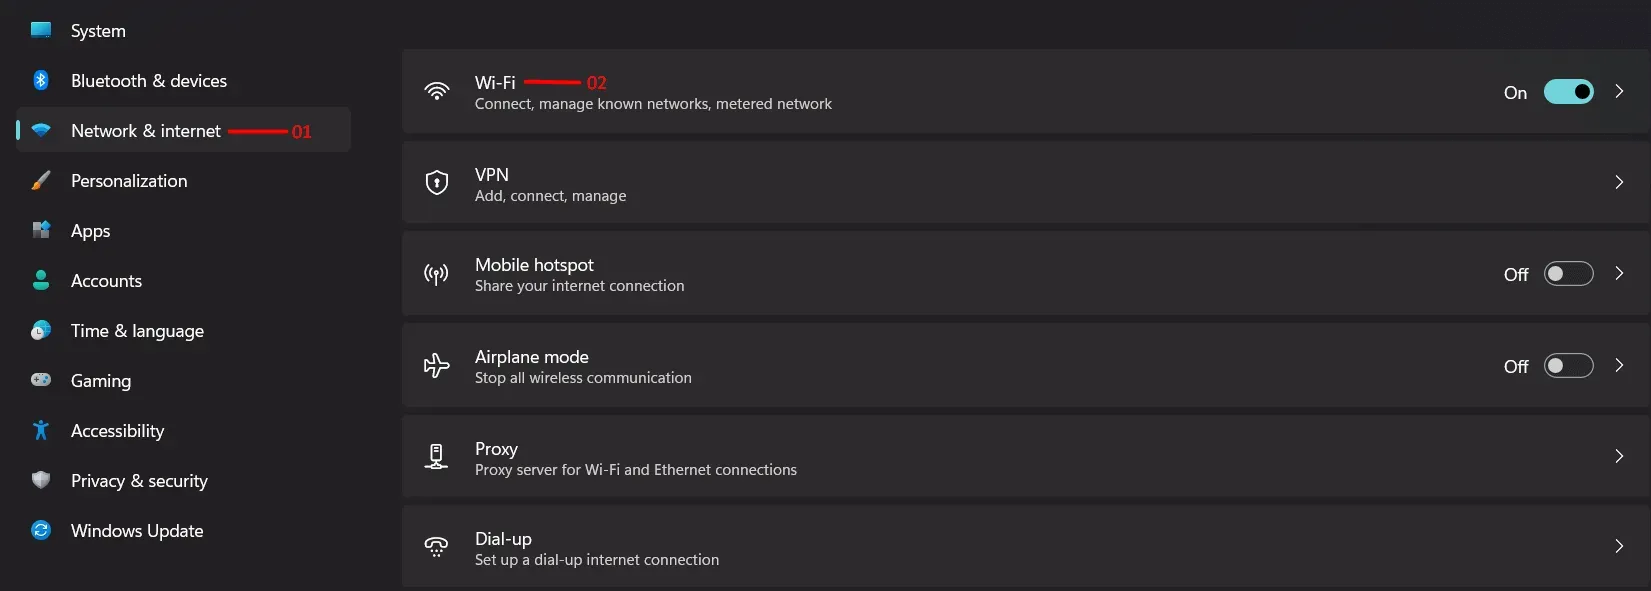
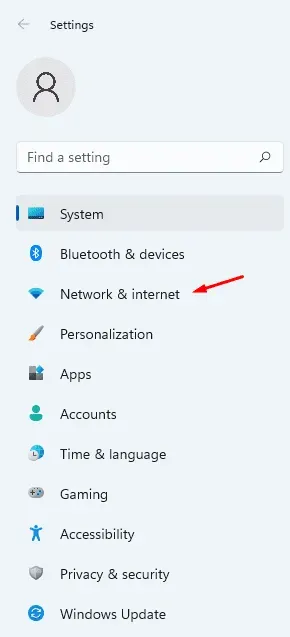
- Click “Network and Internet”in the menu on the left, then click “Wi-Fi”.
- Click and select “Wi-Fi Properties”available in the “Network and Internet”option.
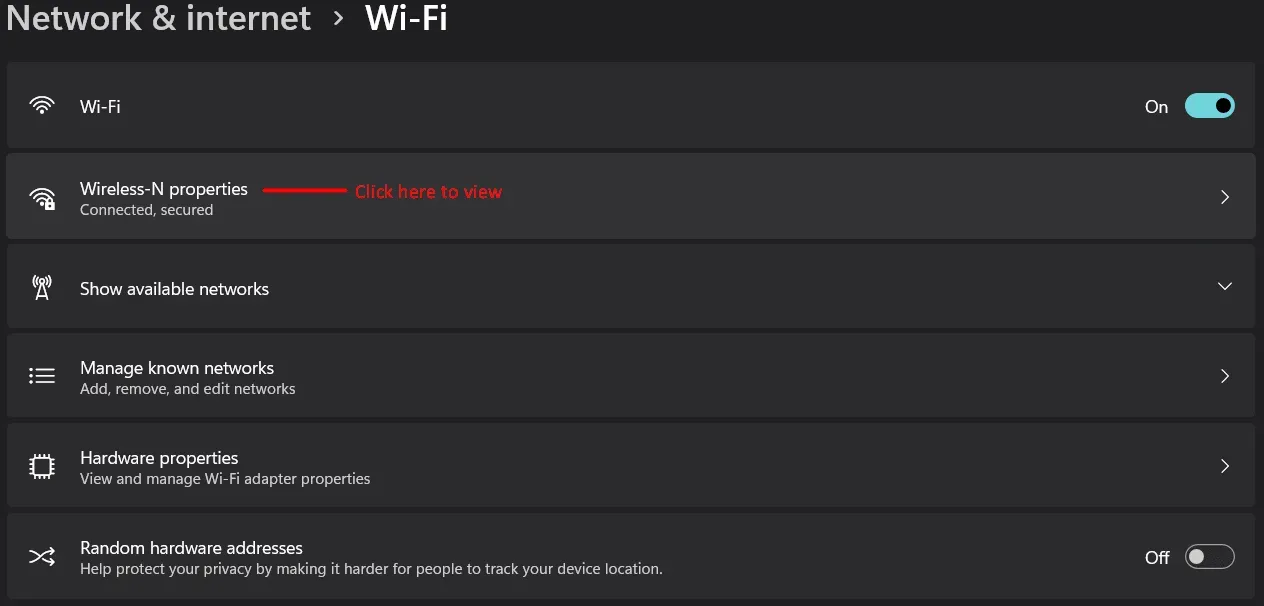
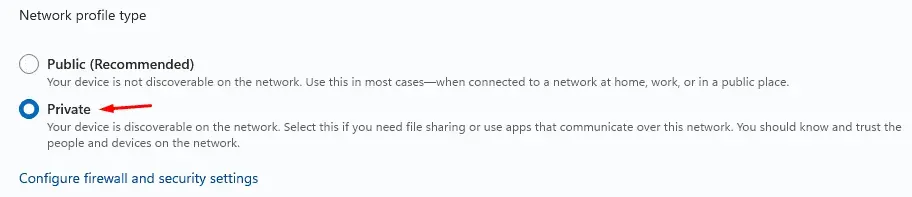
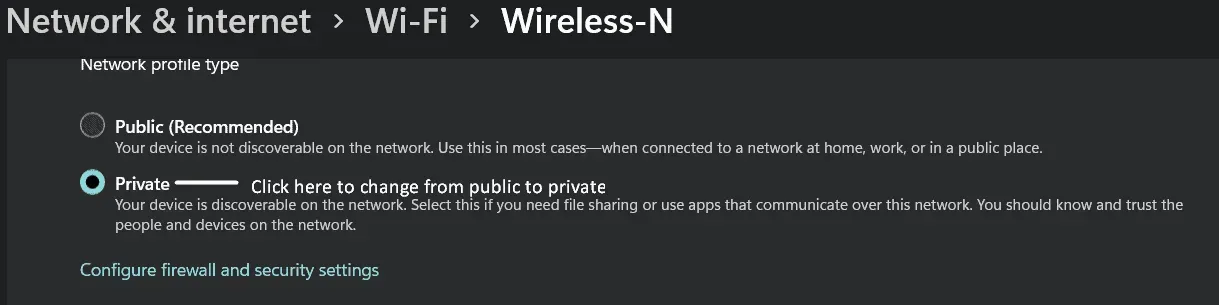
- Change the network profile type from “Public”to “Private”.

Restart your Windows PC and end your session, which will reset all temporary files, then run the drivers again.
Find the current state of the Ethernet network
Almost all desktop computers are connected to the Internet via an Ethernet cable, and why not, because it provides excellent speed and the lowest ping. Let me show you how you can find out and change your Ethernet network to “private”in Windows 11.
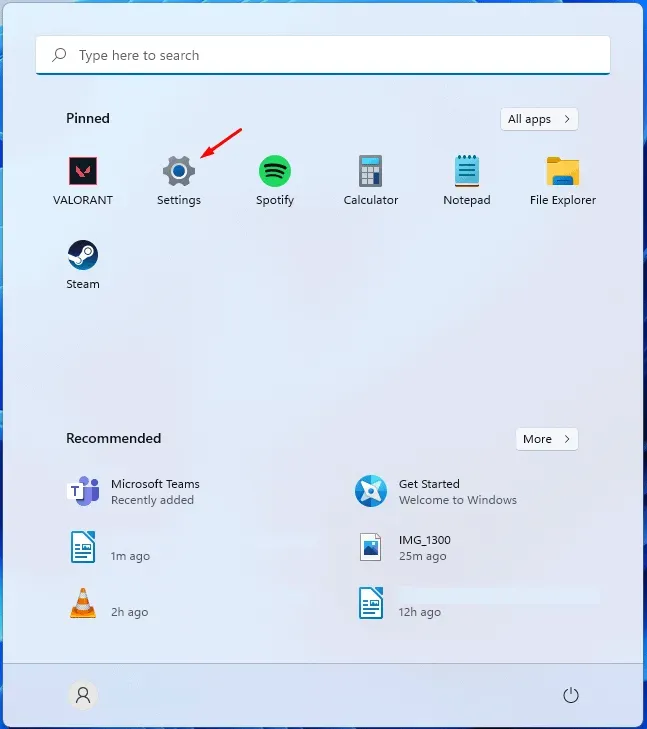
- Click the Windows icon to open the Start menu.
- Step 2: Click on the “Settings”icon to open it.
- Click “Network and Internet”in the menu on the left.
- Click “Ethernet”on a Windows 11 PC.
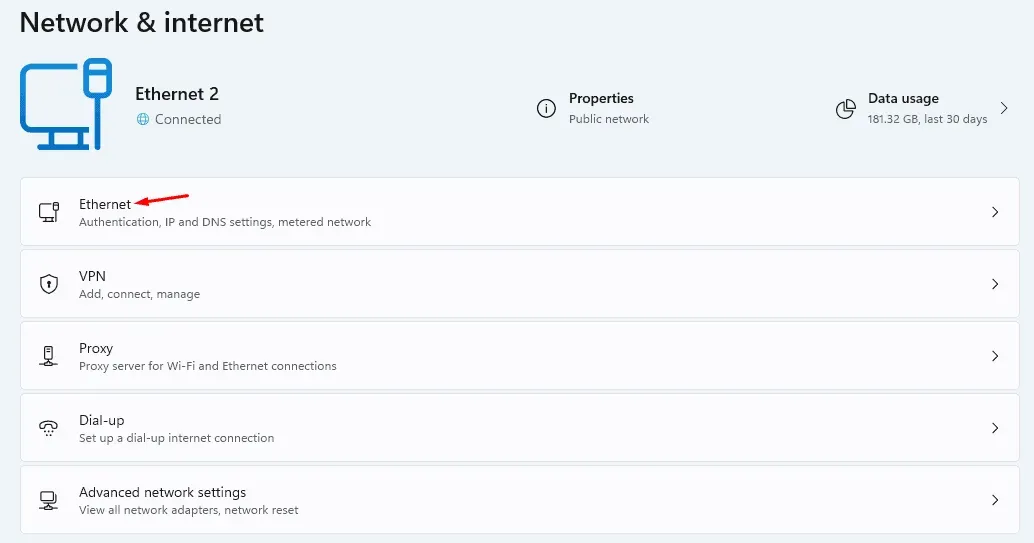
- The network is in “public”mode by default, which is what Windows prefers.
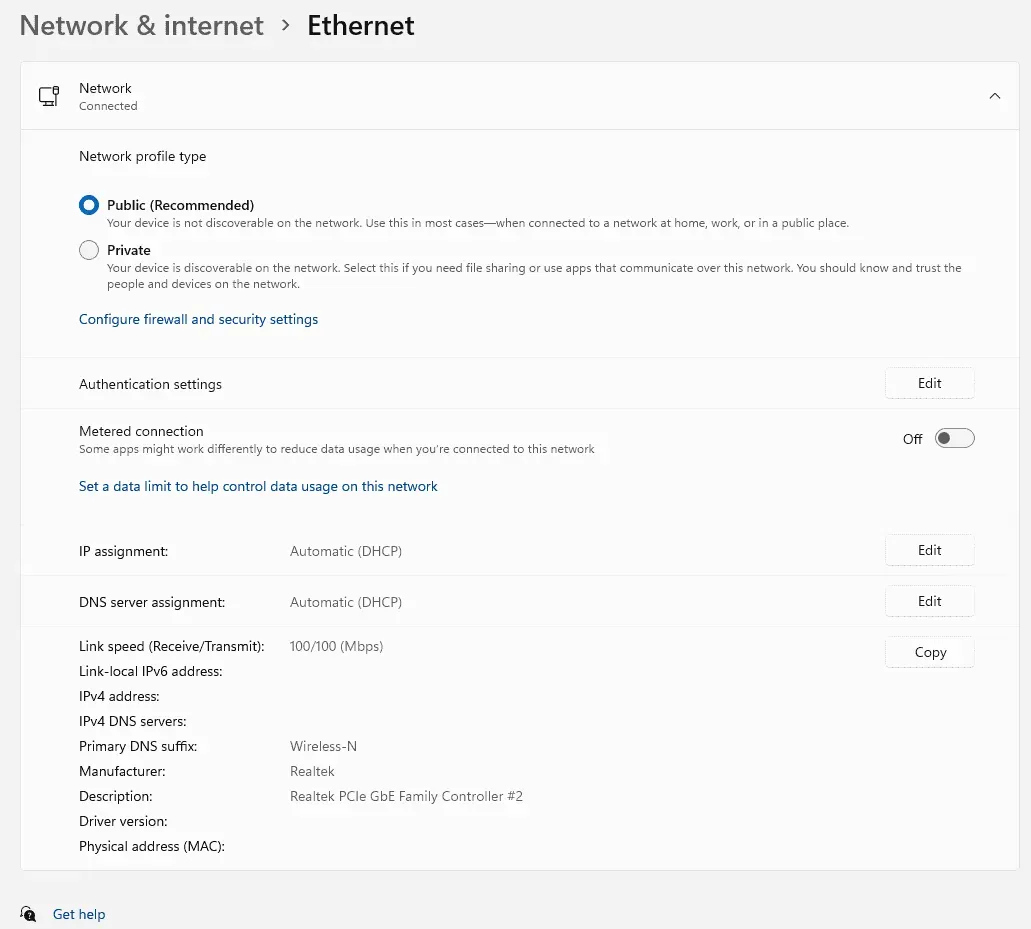
- Select “Private”and it will be saved instantly or after a few seconds.
Now restart your desktop to end your session and run the network driver again in the next boot sequence. You have successfully changed the network from public to private in Windows 11.
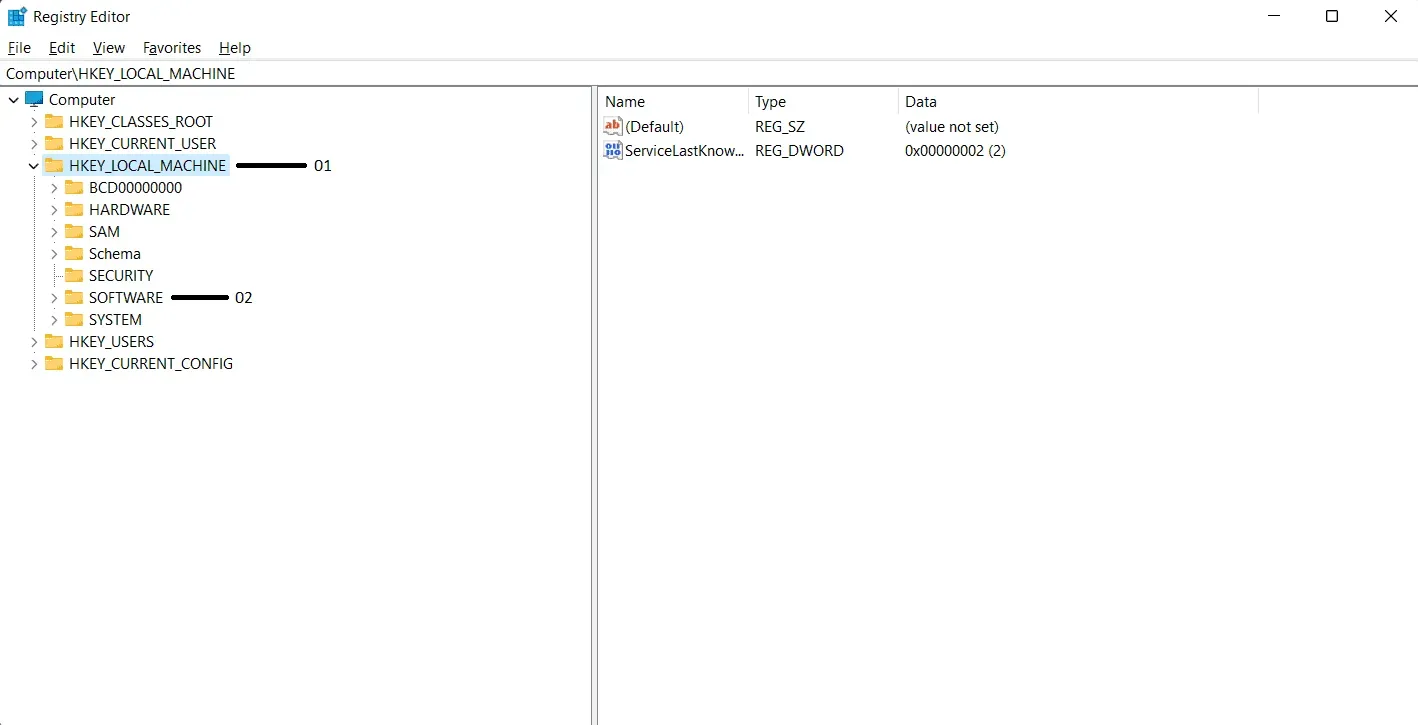
Change Values in Registry Editor
The registry is a powerful tool on a Windows 11 PC and you can use it to instantly convert a public network to a private one.
Step 1: Click on the “Windows”icon to get started.

Step 2: Type “Registry Editor”then press “ENTER”on your keyboard.

Step 3: Click “HKEY_LOCAL_MACHINE”, then expand “Software”.
Step 4: Scroll down then select “Microsoft”available under the “Software”option.
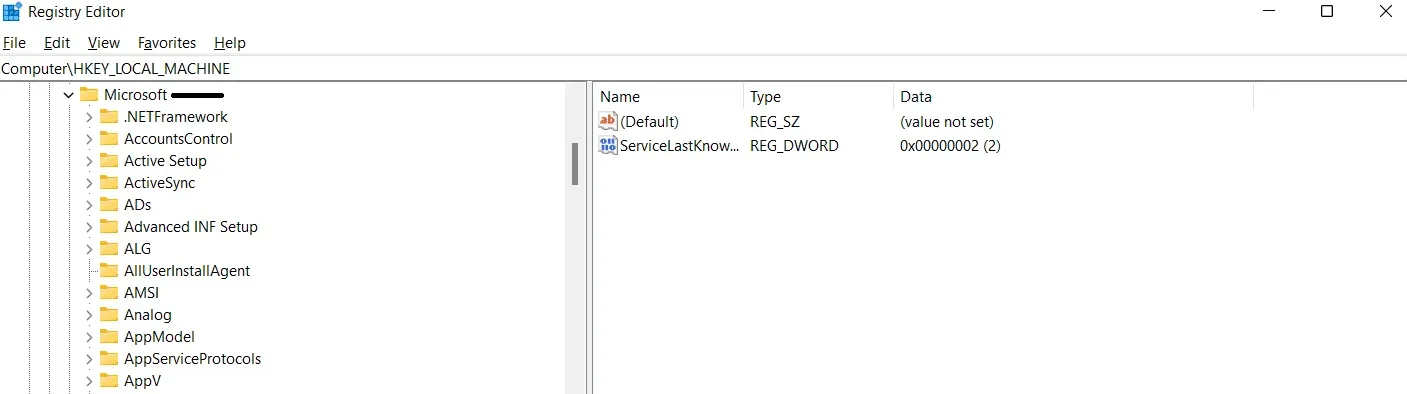
Step 5: Scroll down then click and expand “Windows NT”then select “Current version”.
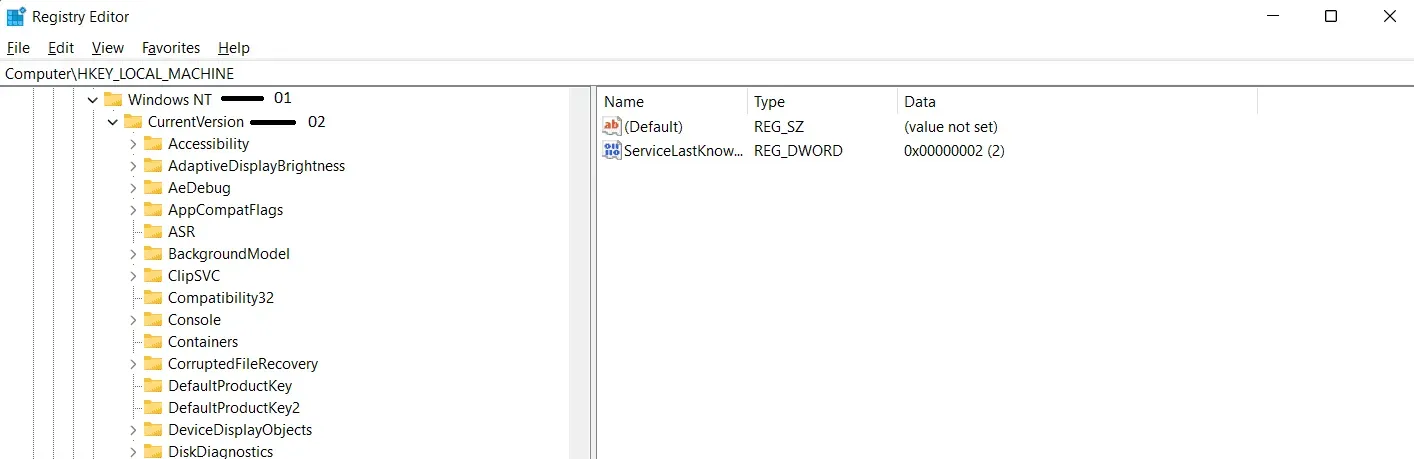
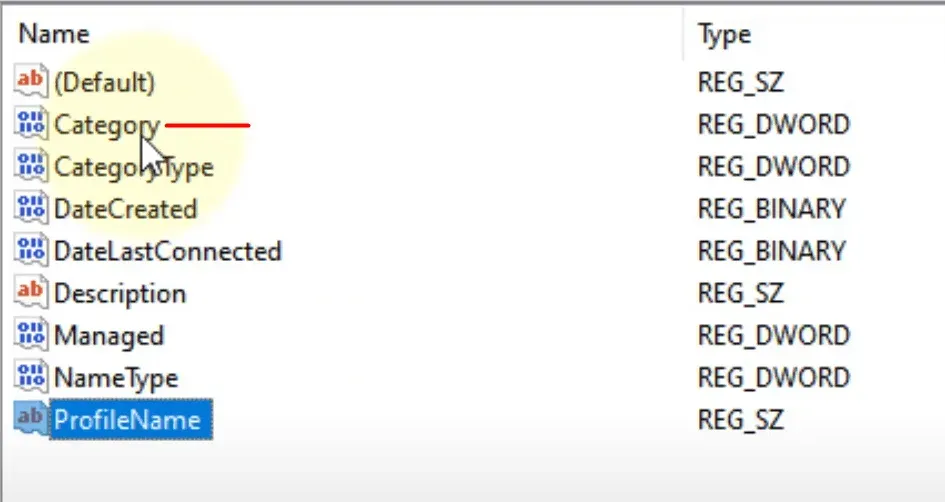
Step 6: Click and expand Network List, then select Profiles and select your profile name.

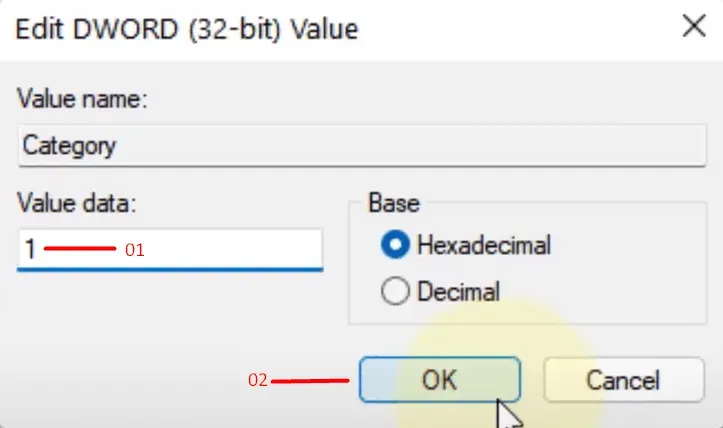
Step 7: Click “Category”and change the value data from “0 to 1”.
Step 8: Restart your Windows PC to save the new changes and it will restart all drivers, services and programs on the system.
Now you can find out if the network is private or public and then move on to the next solution.
Change network settings using the taskbar
Yes, even I do not prefer to manually switch between public and private networks, and we live in a world of automation. Let me show you a quick way to access your Wi-Fi adapter settings and change network status in a couple of clicks.
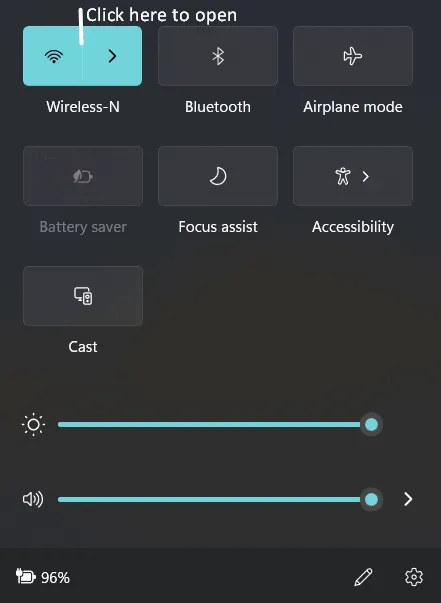
Step 1: Click on the “Wi-Fi”icon to make it available in the bottom right taskbar.
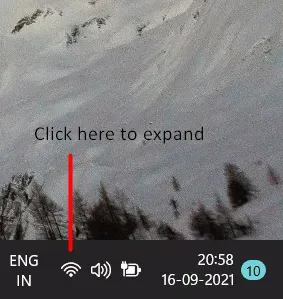
Step 2: Click the “Available Wi-Fi”icon to view the new interface.
Step 3: Right click on the connection and select “Properties”.
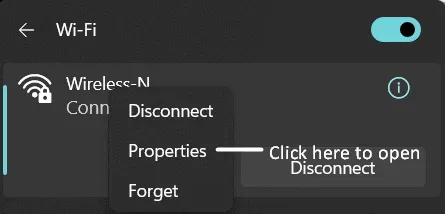
Step 4: Click and select “Wi-Fi Properties”available in the “Network and Internet”option.
Step 5: Change the network profile type from “Public”to “Private”.
The taskbar is an iconic part of the Windows UI system, and I’m glad Microsoft didn’t remove a particular feature from it. You can switch between network states using the taskbar feature, and it’s a really quick switch for those who want to avoid manual work.
Conclusion
Virtual Private Network (VPN) is a sophisticated technology that has changed the landscape of the world. Switching a public VPN to a private VPN on Windows 11 is very easy and you should contact your service provider for custom settings. Let us know what you think about Windows 11 security in the comment section below.