Windows 11 has introduced an entirely new set of PC settings. You can customize your computer the way it looks according to your preferences. You can customize everything in Windows, from the Start menu to sound. That being said, Windows 11 also offers various new startup sounds for PC.
In Windows 11, you can turn the startup sound on or off at any time. If you are looking for a way to enable or disable the startup sound in Windows 11, you have come to the right place.
Windows 11 startup sound – turn it on or off
Let’s see how to turn startup sound on or off in Windows 11.
Turn startup sound on or off in Windows 11
Startup sounds were also present in Windows 10, but they were disabled by default. This was done in order to make Windows 10 quieter. We recently discussed a quick fix for Windows 11 Sound Not Working. However, this feature is enabled by default in Windows 11. You can enable or disable startup sound in Windows 11 whenever you want. Below are the steps to help you enable or disable them:
- From the Start menu , find Settings and open it. You can press the key combination Windows + I to open Settings.
- Go to the personalization section from the left sidebar of settings.
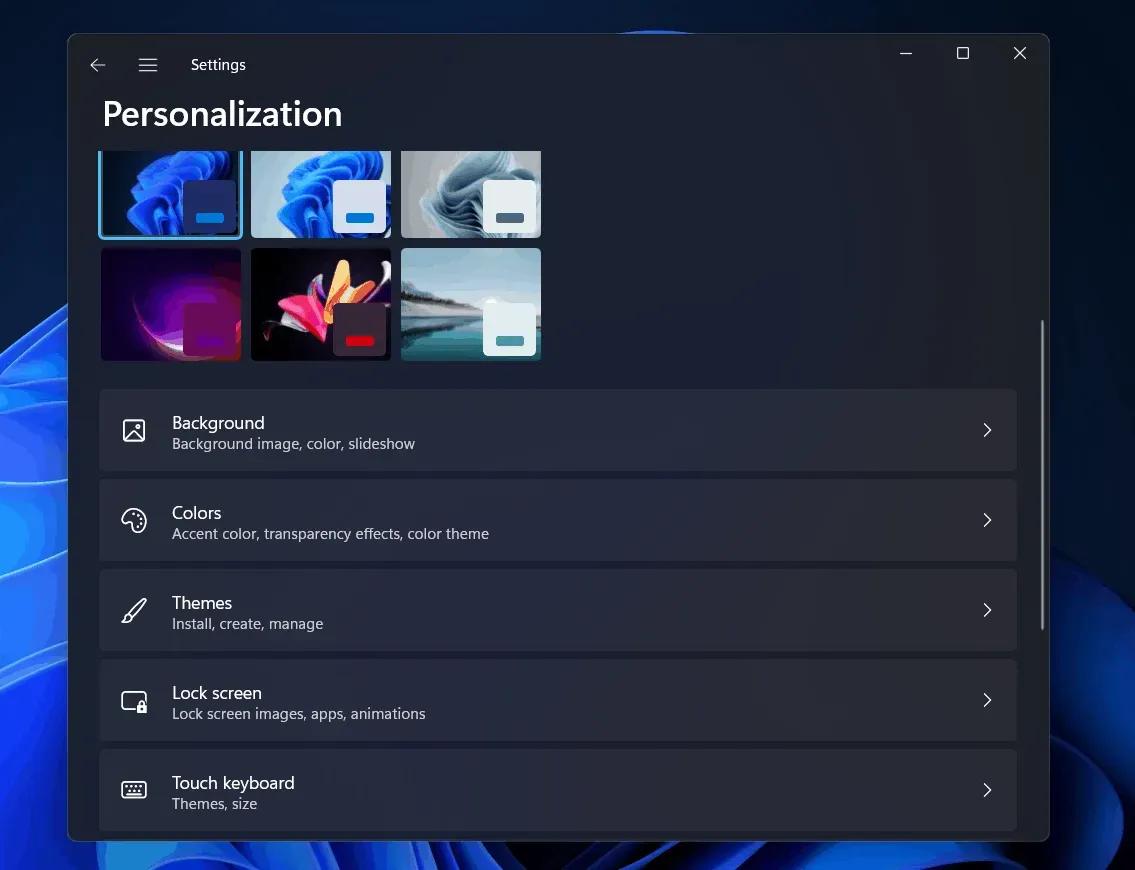
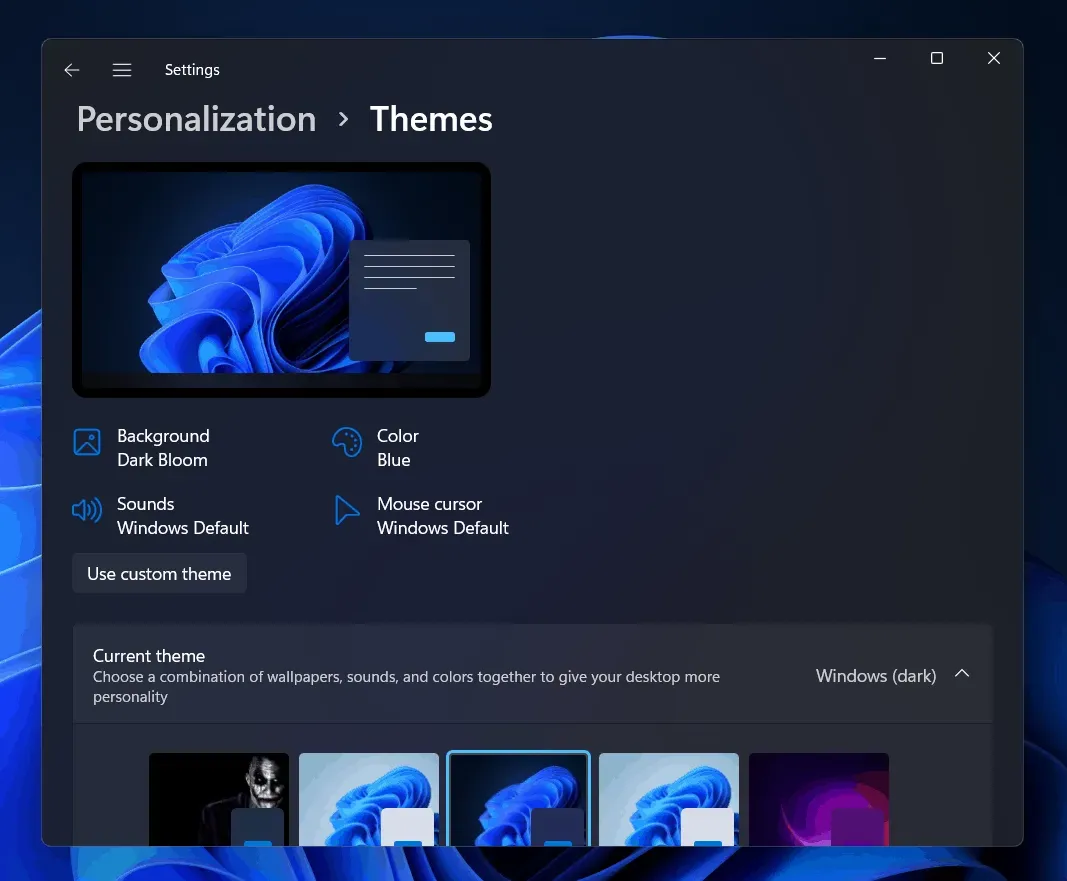
- Click on the theme option in personalization. Here you will see the Sounds option . Click here.
- Now, in the next window that appears, check the Play Windows startup sound box . You can also select the sound you want to set as the startup sound. After that, click Apply and then click OK.
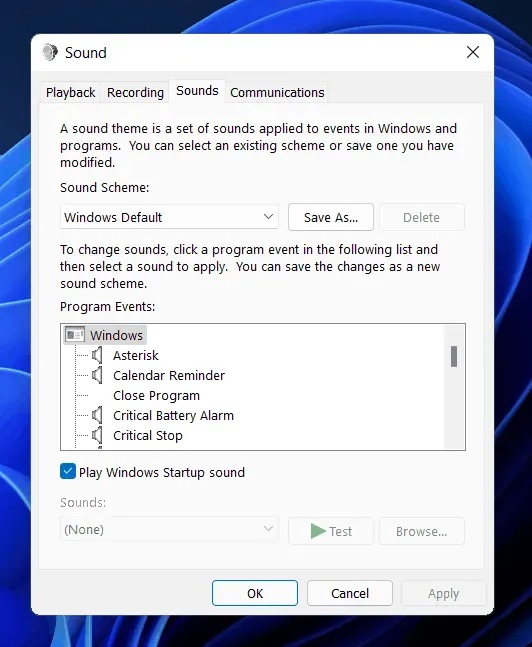
This will enable the startup sound in Windows 11. This setting will be enabled by default. However, if this option is disabled, you can enable it by following the steps above.
Turning off startup sound in Windows 11 is also easy. All you have to do is follow all the steps above and uncheck the Play Windows Startup Sound check box that you checked earlier. Click” Apply”and then click “OK”. This will disable the startup sound in Windows 11.
Final words
Here’s how you can turn Windows 11 startup sound on or off. To turn startup sound on or off in Windows 11, follow the steps above. If you have additional questions, please leave them in the comments section.
