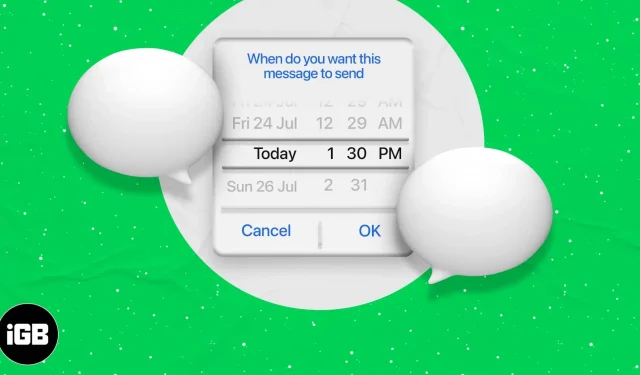
Schedule text messages allows you to type a message now and automatically send it at a set time. Unlike email, which is effortless, scheduling messages isn’t easy.
This is due to the lack of built-in Apple support. However, there are several options to get things done. They have their caveats and drawbacks, but let’s find out how to schedule text messages on your iPhone.
Use the Scheduled iOS app to schedule text messages
How does this application work?
- Automatic Sending: You can choose a premium plan and automatically send scheduled text messages using a virtual number. The Scheduled application uses the SMS gateway for this. The recipient can reply to this virtual number and you can read it in the Scheduled app. The plan starts at $3.99 per month. You get credits that allow you to automatically send scheduled text messages from your iPhone.
- Message Schedule: iOS has limitations. Thus, this or any other application cannot send scheduled text messages. This application will allow you to enter a message, add a sender and set a reminder. When the time comes, all you have to do is click Submit. So, it’s not automatic text message scheduling, but it’s certainly useful.
- Download the Scheduled app for free from the App Store. Register using your phone number. Give the app access to contacts and notifications. Without those permissions, it won’t help.
- Click CREATE MESSAGE.
- Then click “To”and select one or more contacts. Click Done.
- In the Your message section, enter the desired message. Optionally, tap the tiny square icon to select a template.
- Click Schedule a date and set your preferred date and time. Make sure you select the correct AM and PM. Tap anywhere else to exit this selection screen. (Send Automatically tab here, premium plan required.)
- Touch SCHEDULED MESSAGE.
- When the time comes, the app will send you a notification. Tap it and then tap Submit in the top right corner. The message application screen will open. The contact number and text of the message will already be written. All you have to do is click on the arrow to send a message.
Using this app, you can schedule not only text messages, but even calls and messages for WhatsApp, Facebook Messenger, Telegram, Slack and more. To do this, click All in the top row and select the desired service.
Schedule text messages with the iOS Shortcuts app
Before you start:
- Make sure “Allow untrusted shortcuts”is enabled in Settings → Shortcuts.
- This method of scheduling text messages only works if the iPhone screen is unlocked and shortcuts are enabled.
- Download and add the Send Delayed Text Shortcut. To download follow this link. Then click “Add Untrusted Shortcut”.
- In “Shortcuts”click on “My Shortcuts”and find this shortcut. Click more.
- Scroll down and under MESSAGES, tap Allow access → OK. Click Done.
- Now click on the label. Click on the desired contact.
- Enter the desired text message and tap OK.
- Set your preferred time and click OK.
- Leave the shortcuts open and the screen unlocked. Text message scheduled. It will be sent automatically at the set time.
In what situation is the above method useful?
Restricting screen unlock and shortcuts reduces the effectiveness of your iPhone. But let’s say you need to go to bed early and you don’t want to miss sending a text for a new year, birthday, or anniversary.
In such cases, open Settings → Display & Brightness → Auto-Lock → Never. Now follow the steps above to schedule a text message. Finally, connect your phone to the charging cable.
Another similar shortcut you can use is delayed iMessage.
If you don’t want to use this app, you can use the Reminders app on your iPhone. You can also ask Siri something like “Remind me to text Donald today at 9:30 pm.”
Here’s how you can schedule text messages on your iPhone. If you’ve just moved from Android, you might find this inconvenient as the green team already has great message scheduling built in.


