

Zoom is one of the most popular video conferencing software in the world! Users can interact with other participants through audio and video. However, several Zoom users reported that they encountered an error when sharing videos.
There are several reasons why you might encounter Zoom video sharing issues. Some of the root causes include your device not allowing Zoom to access your camera or video sharing is not enabled.
Thus, here we have covered some of the best methods that you can use to fix the Zoom meeting camera not working error.
How to Fix Zoom Camera Not Working
Some preconditions:
1. Your device must have a stable internet connection.
2. If you are using an external camera, make sure it is properly connected and in working order.
3. Make sure other programs that may be using the camera are closed.
Method 1: Check the status of your camera in a Zoom meeting.
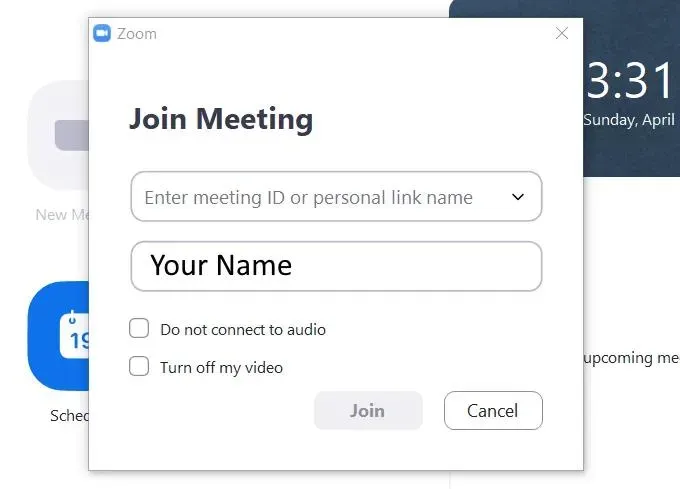
When you join a Zoom meeting, your video is automatically turned on, or you may need to turn it on manually. Follow the steps listed below to check the status of your camera and enable video manually.
Step 1. Look at the lower left corner of the Zoom meeting window. You will find the camera icon.
Step 2: If you see a white camera icon with a red crossed line, it means that your video is disabled. Click on it to manually enable video for your Zoom meeting.
But if you see a white camera on a black background, that means your camera is on. In this case, go to the next method.
Method 2: Check your camera settings or resolution.
If you are using the Zoom desktop client, you should check your video settings. If you are a user of the Zoom mobile app, please check the camera resolution.
1. Check the video settings for the desktop client.
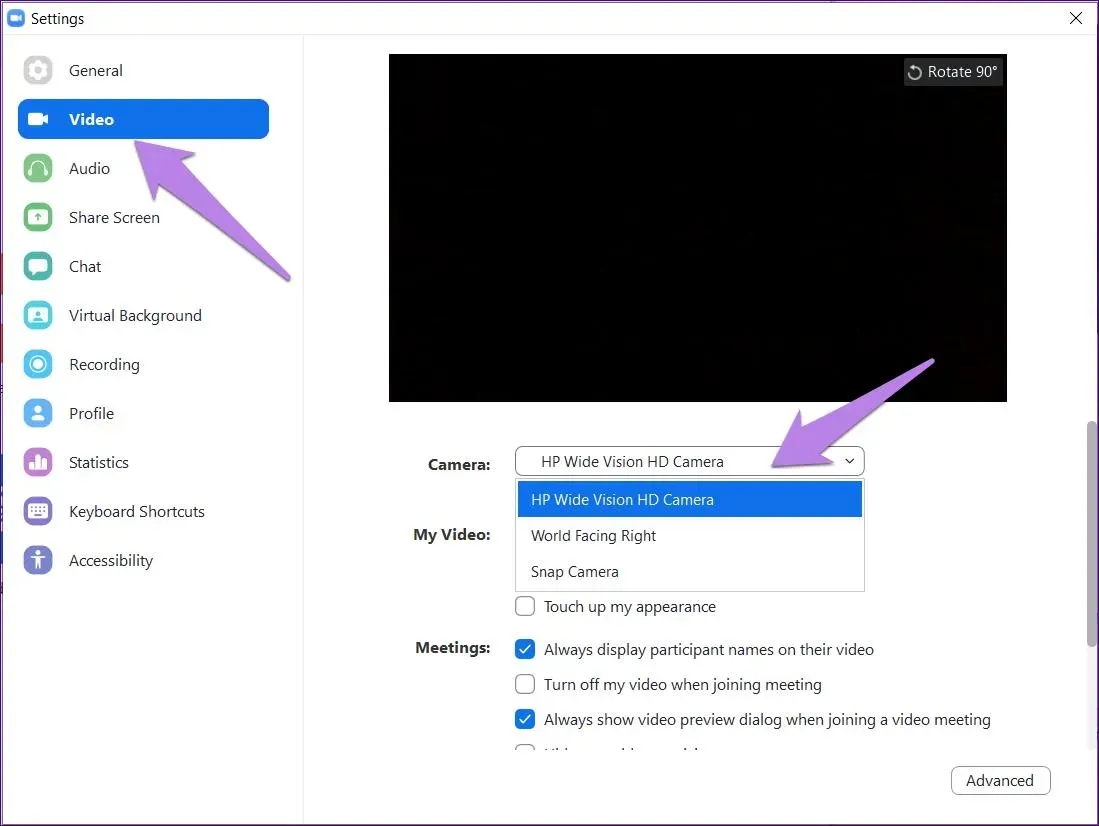
Step 1. Look at the lower left corner of the Zoom meeting window. You will find the camera icon. Click the arrow next to this icon.
Step 2. Click “Video Settings..”in the list of options.
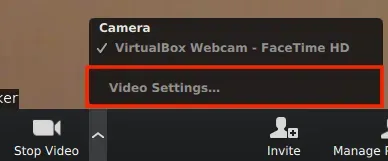
Step 3. In the “Settings”window, you will find the “Camera”option. Make sure the correct camera is selected in the list.
Now close and reopen Zoom to apply the changes you just made. If the error persists, go to the next method.
2. Check the settings for Android devices.
Step 1- Launch Settings. Then go to Application Management >> Zoom.
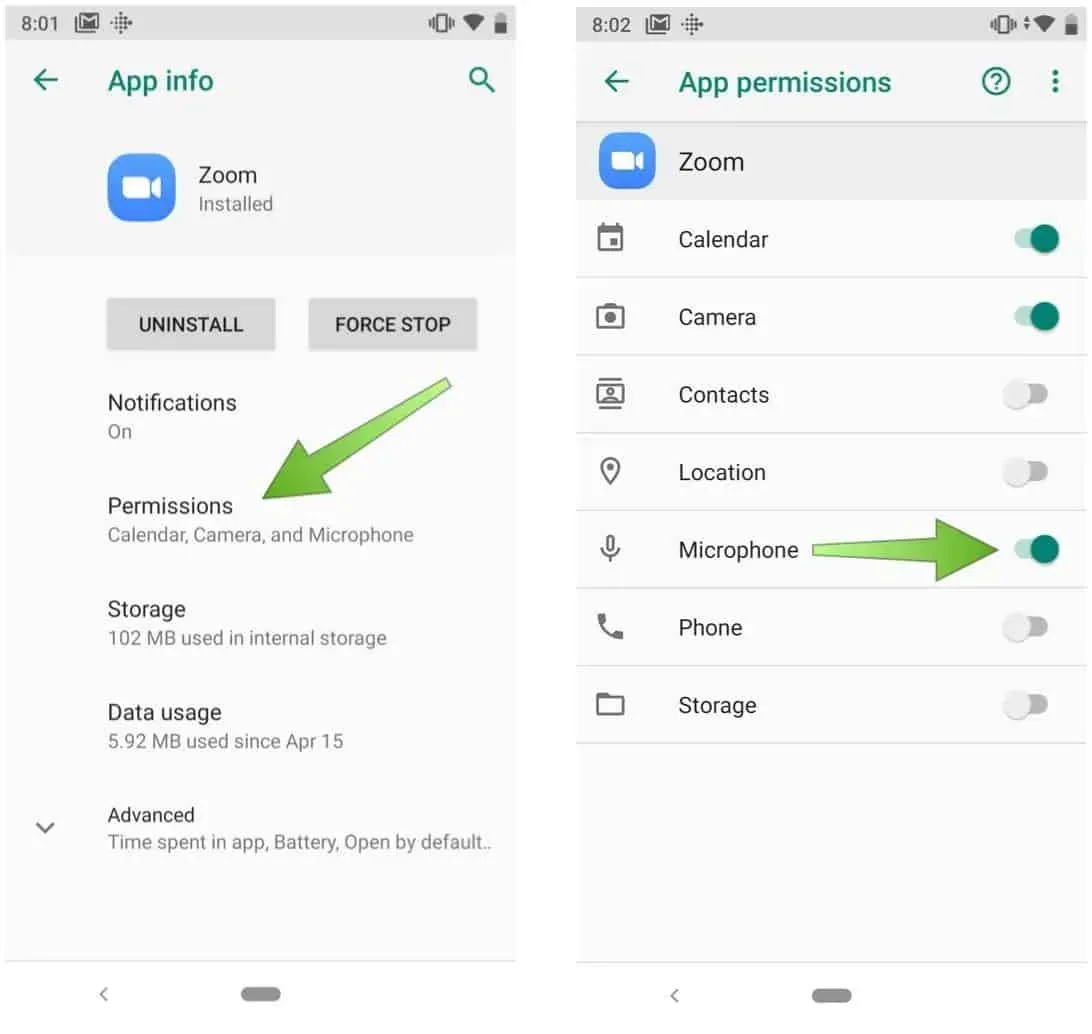
Step 2: In the Permissions section, make sure that access to the camera is allowed.
3. Check the settings for iOS devices.
Step 1- Launch Settings. Then go to “Privacy”>> “Camera”.
Step 2. Here, find Zoom and turn on its toggle if it is off.
4. Enable camera for zoom in Windows 10 settings.
Step 1: Launch “Settings”on your Windows 10 PC.
Step 2. Now go to “Privacy”>> “Camera”.
Step 3 Turn on the camera switch if it is off.
Step 4. On this page, you will find the section “Choose which apps can access your camera”. Find and turn on the switch for scaling in this list.
Method 3: Update the camera driver
Sometimes outdated camera drivers can cause the camera to not work in your Zoom meeting. Follow the steps below to update camera drivers on Windows and Mac.

1. Update the camera driver on your Windows PC.
Step 1: Launch Device Manager on your Windows PC.
Step 2. Click and expand Imaging Devices to find the camera driver.
Step 3: Right-click on the existing camera driver and select “Update Driver”from the drop-down list.
Step 4: Select the “Automatically search for updated driver software”option and wait while the latest camera driver is downloaded and installed on your Windows PC.
Now close and reopen Zoom to check if the camera not working error is fixed.
2. Update the camera driver on Mac.
Step 1. Click on the Apple icon to open the Apple menu on your PC.
Step 2. Select “App Store”from the dropdown that appears on your screen.
Step 3. Click “Updates”in the list of options on the left panel.
Step 4: All available updates will be listed here.
Once you’ve updated any pending updates, check if the camera not working bug is fixed. If not, move on to the next method.
Method 4: Set advanced options.
Step 1 Launch Zoom and go to its settings.
Step 2. Here go to Video >> Advanced.
Step 3- Now check the box;
1. Turn on noise reduction.
2. Enable acceleration for video processing.
3. Enable acceleration for sending video.
4. Enable hardware acceleration for video.
Step 4. Now set the following settings to automatic mode;
1. Video rendering method.
2. Post-processing video rendering.
3. Video capture method.
Now close and reopen Zoom to check if the camera not working error is fixed. If not, move on to the next method.
Method 5: Uninstall and reinstall Zoom.
If none of the methods above help you fix the error that the camera is not working in a Zoom meeting, try uninstalling and reinstalling it on your device.
Some frequently asked questions:
Q1. Why is my camera not working in Zoom?
There are several reasons why the camera does not work in a Zoom meeting. Some of the more well-known causes include poor internet connection, outdated drivers, disabled cameras, etc.
Q2. How to fix camera not working in Zoom Meeting?
If you are looking for some of the most effective ways to fix Zoom camera not working, they are listed above in detail. You can try them out and see which one is right for your device.
Conclusion:
These are some of the best methods that you can use to fix the Zoom 2021 meeting camera not working error. The steps involved with these methods are easy to understand and follow. You can start executing methods at the top of the list and work your way down until the bug is fixed. If we have missed any such useful method, please let us know in the comment section below.