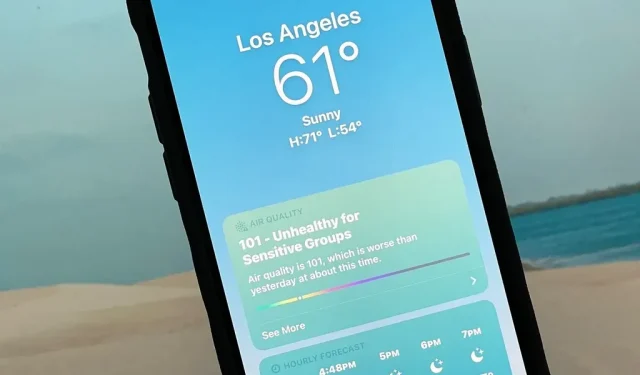

The Apple Weather app has been around forever, at least for the iPhone, and has gone through a lot of design changes over the years. But now we’re at the point where we can really customize the look of the Weather app in many ways, some of which you probably haven’t even considered.
1. Add all cities
I’m sure everyone already knows this, but I should mention it – you can add cities to the Weather. The default view is My Location, but you can add up to 19 cities in iOS 15 for list view or swipe. In iOS 16, this number increases to 49 cities. To add a city, click the list button in the lower right corner, then use the search bar to find the city you need. Select a city from the results, then click Add.
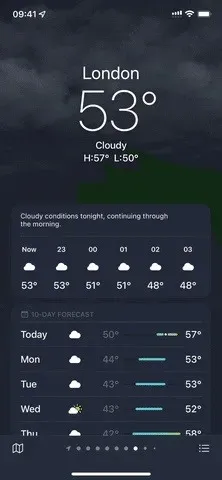
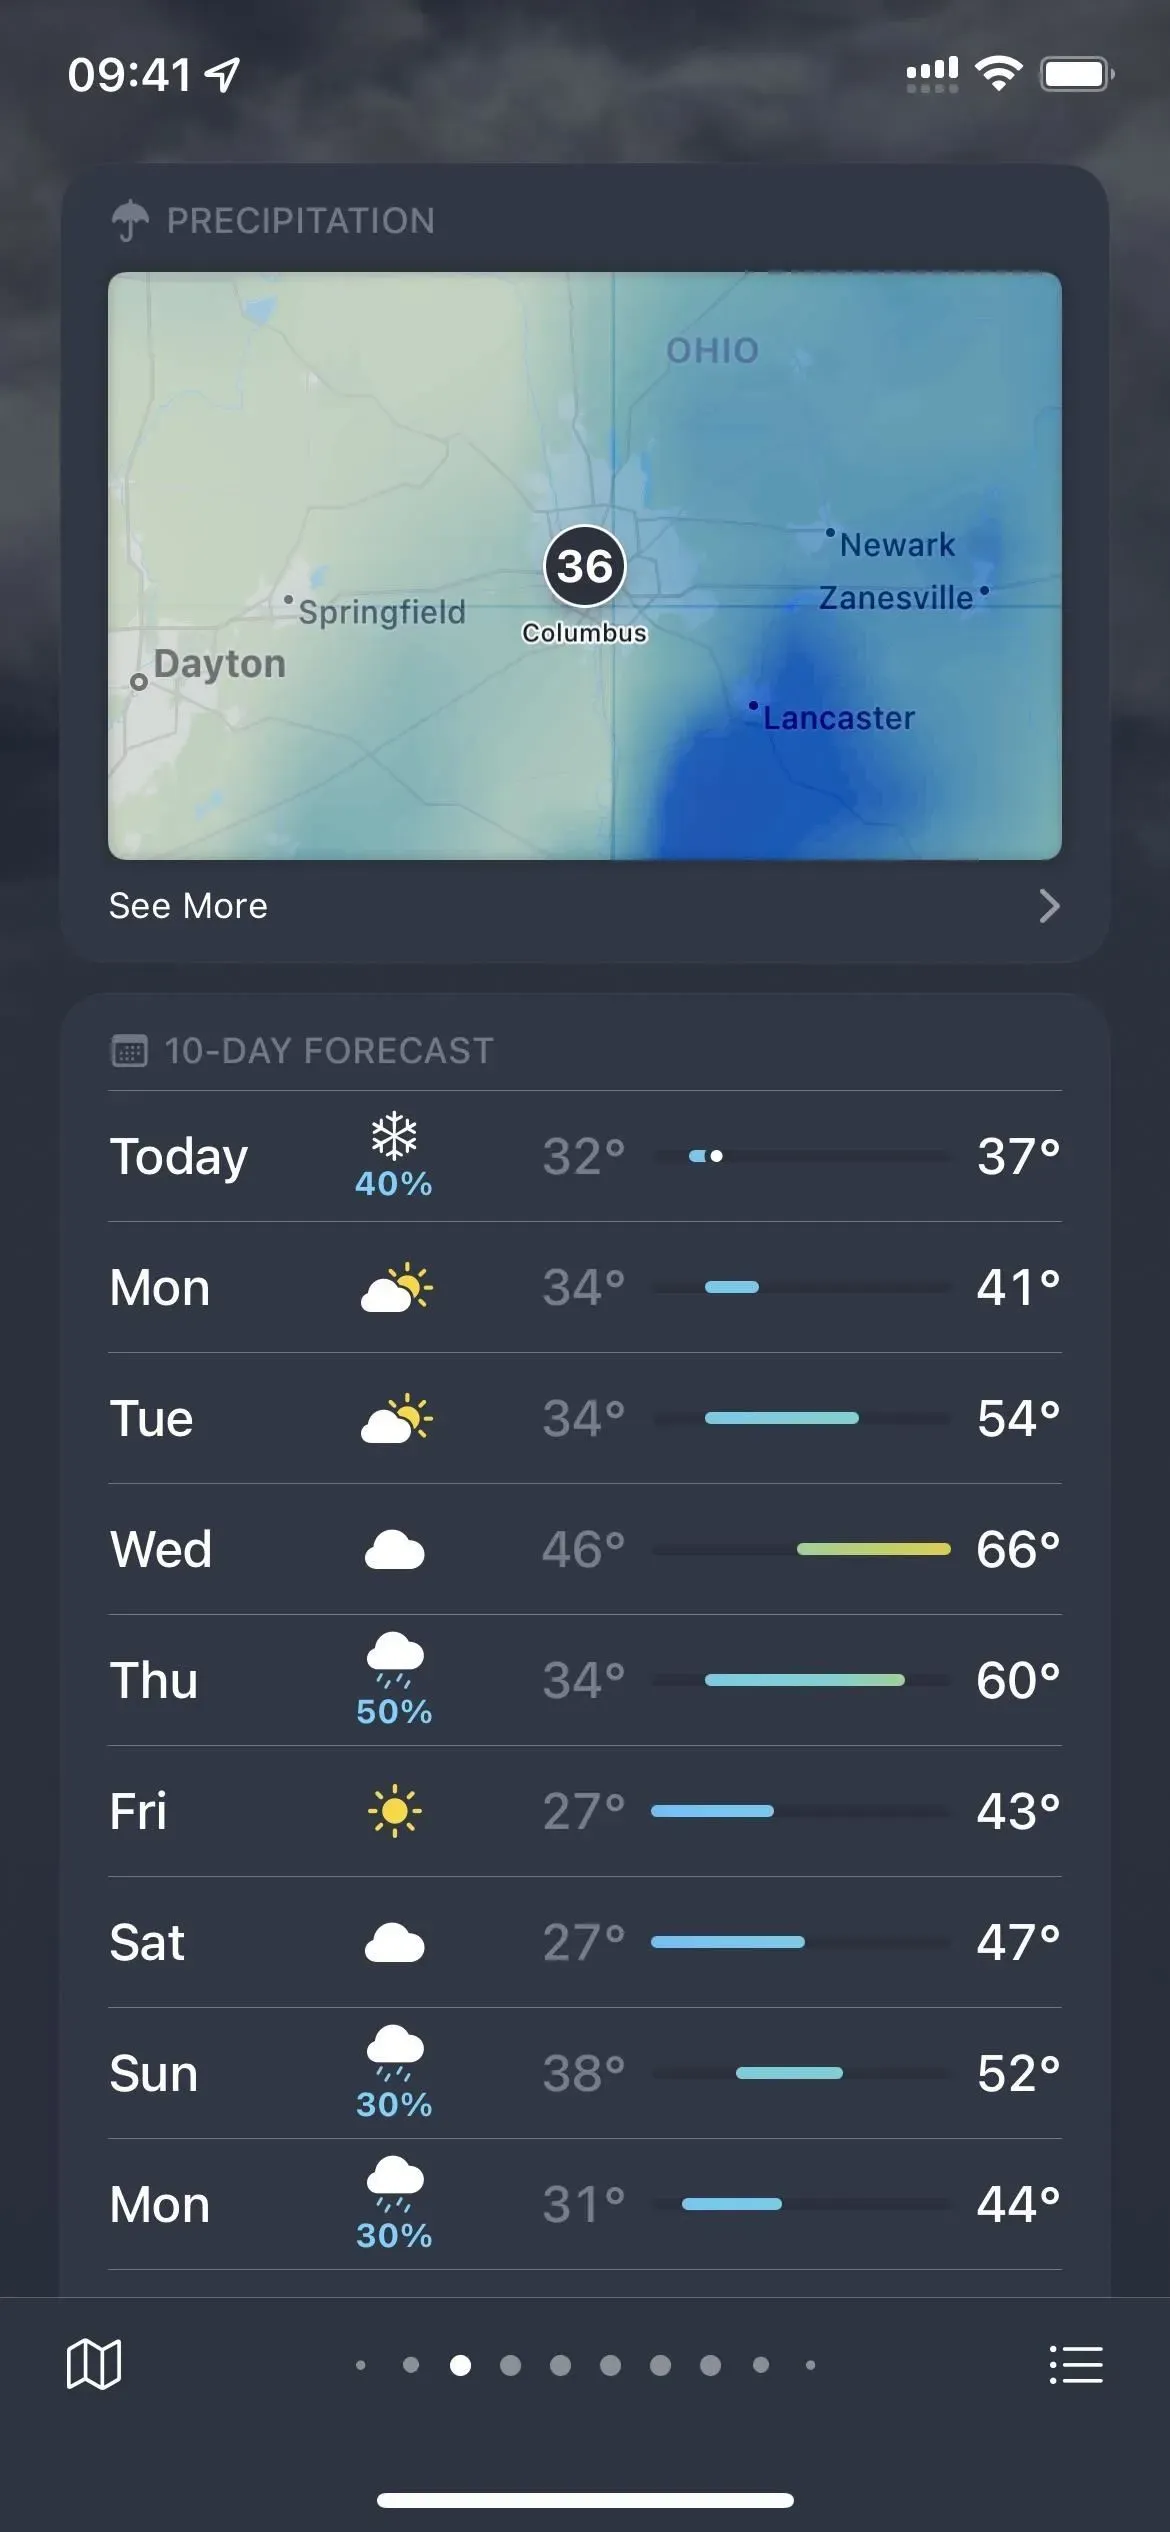
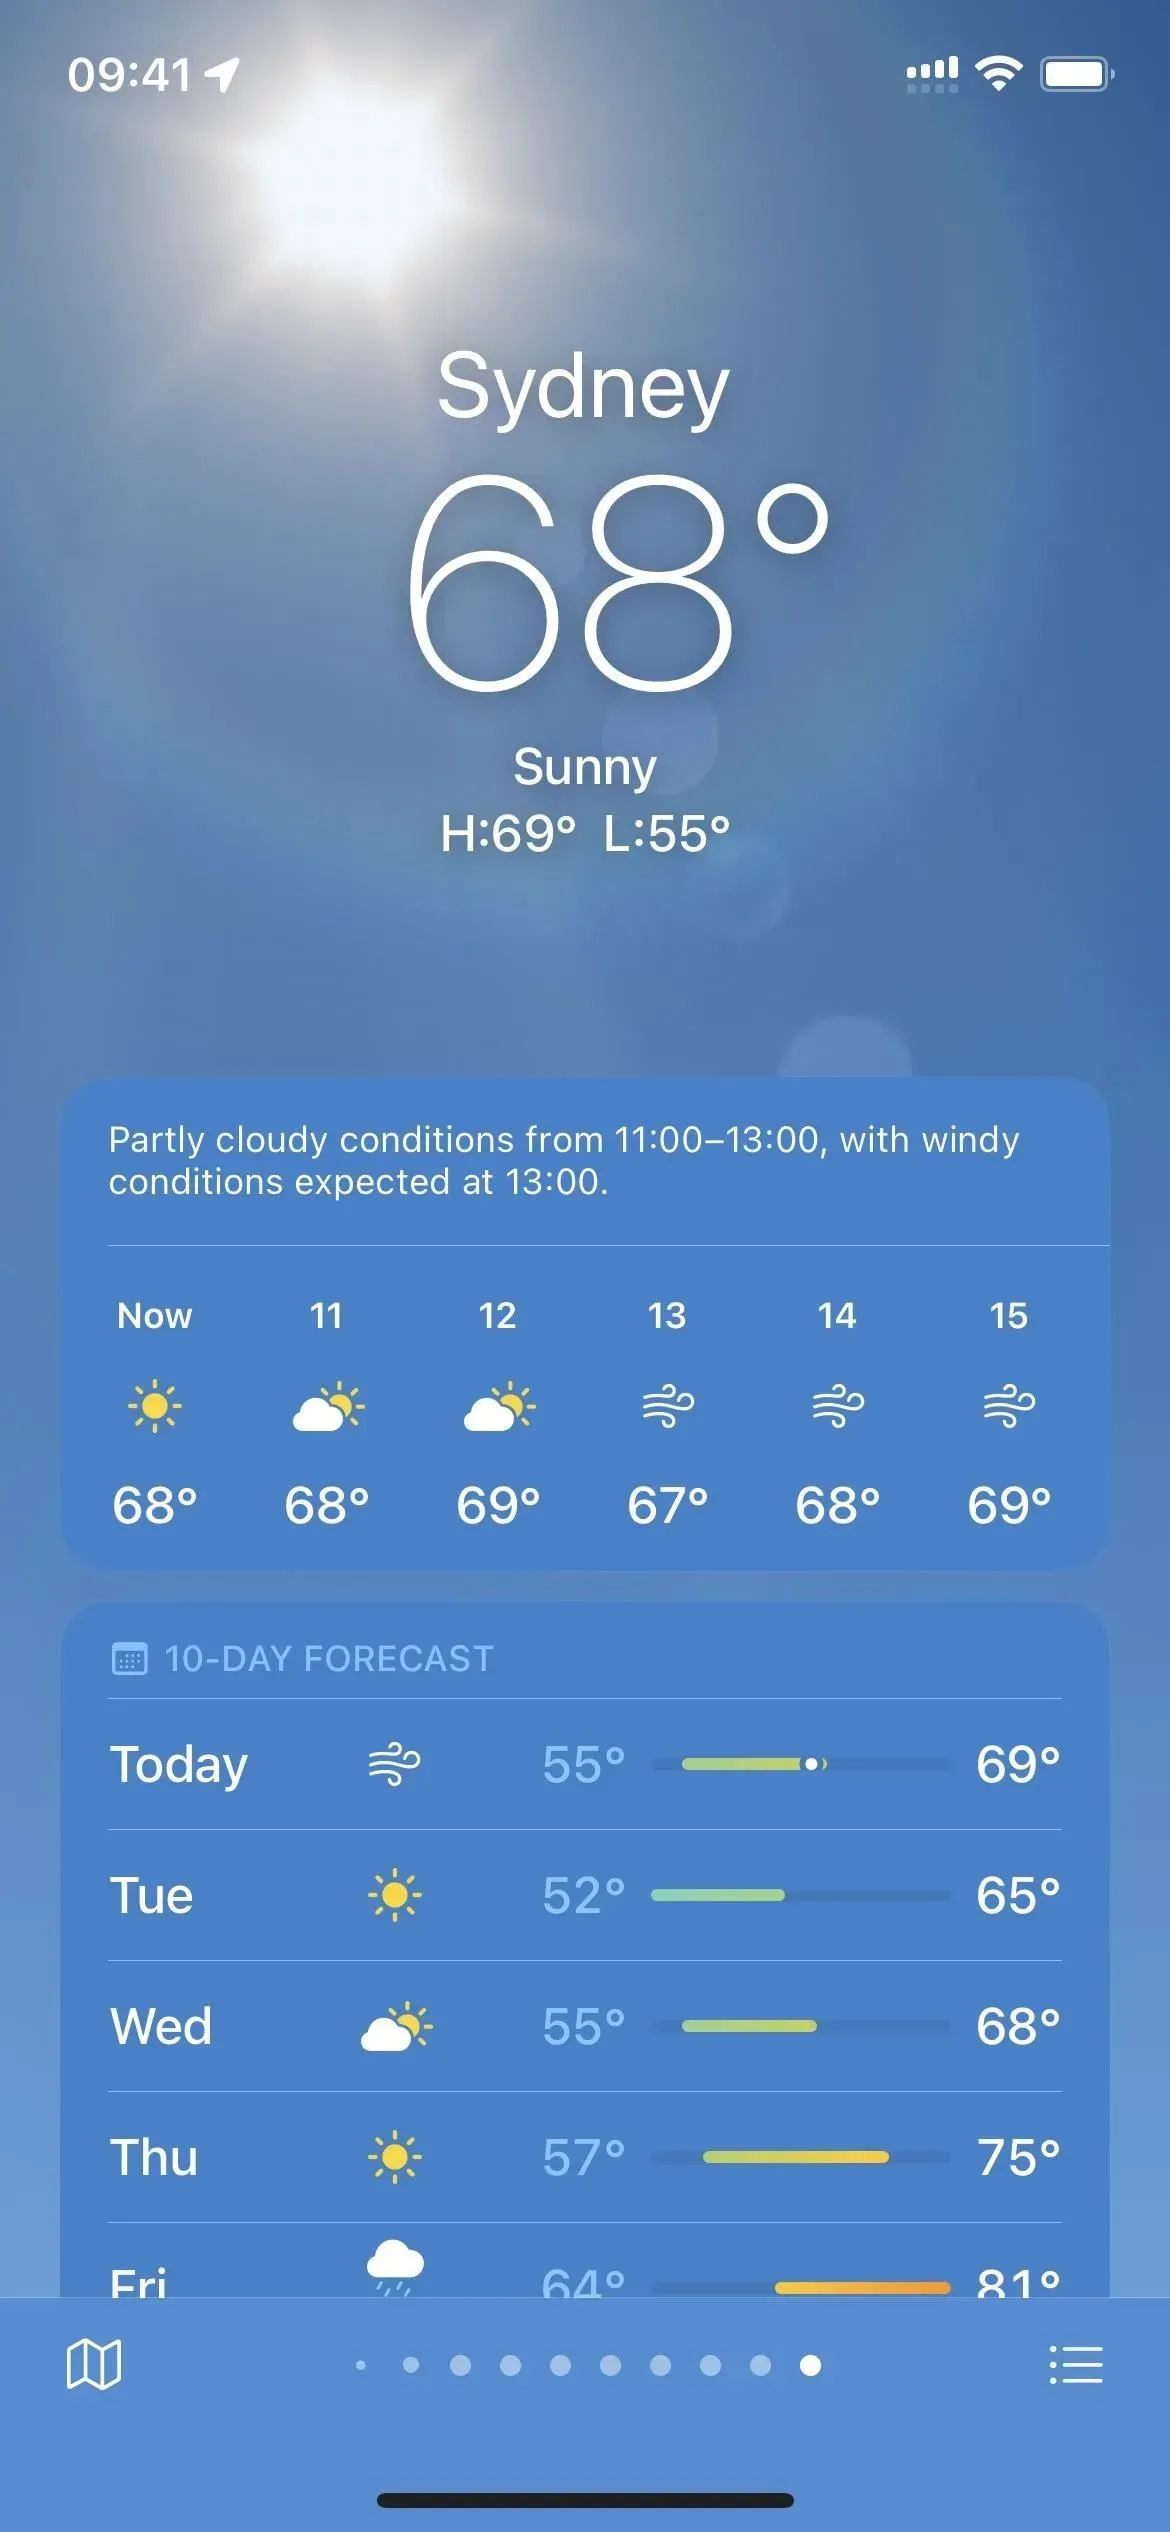
In the list view, you’ll find summaries of all your cities, and you can select one to expand it if you’d like to learn more. In the expanded view, you can swipe left or right to move between locations. You can also use the scroll bar at the bottom to move around your cities faster.
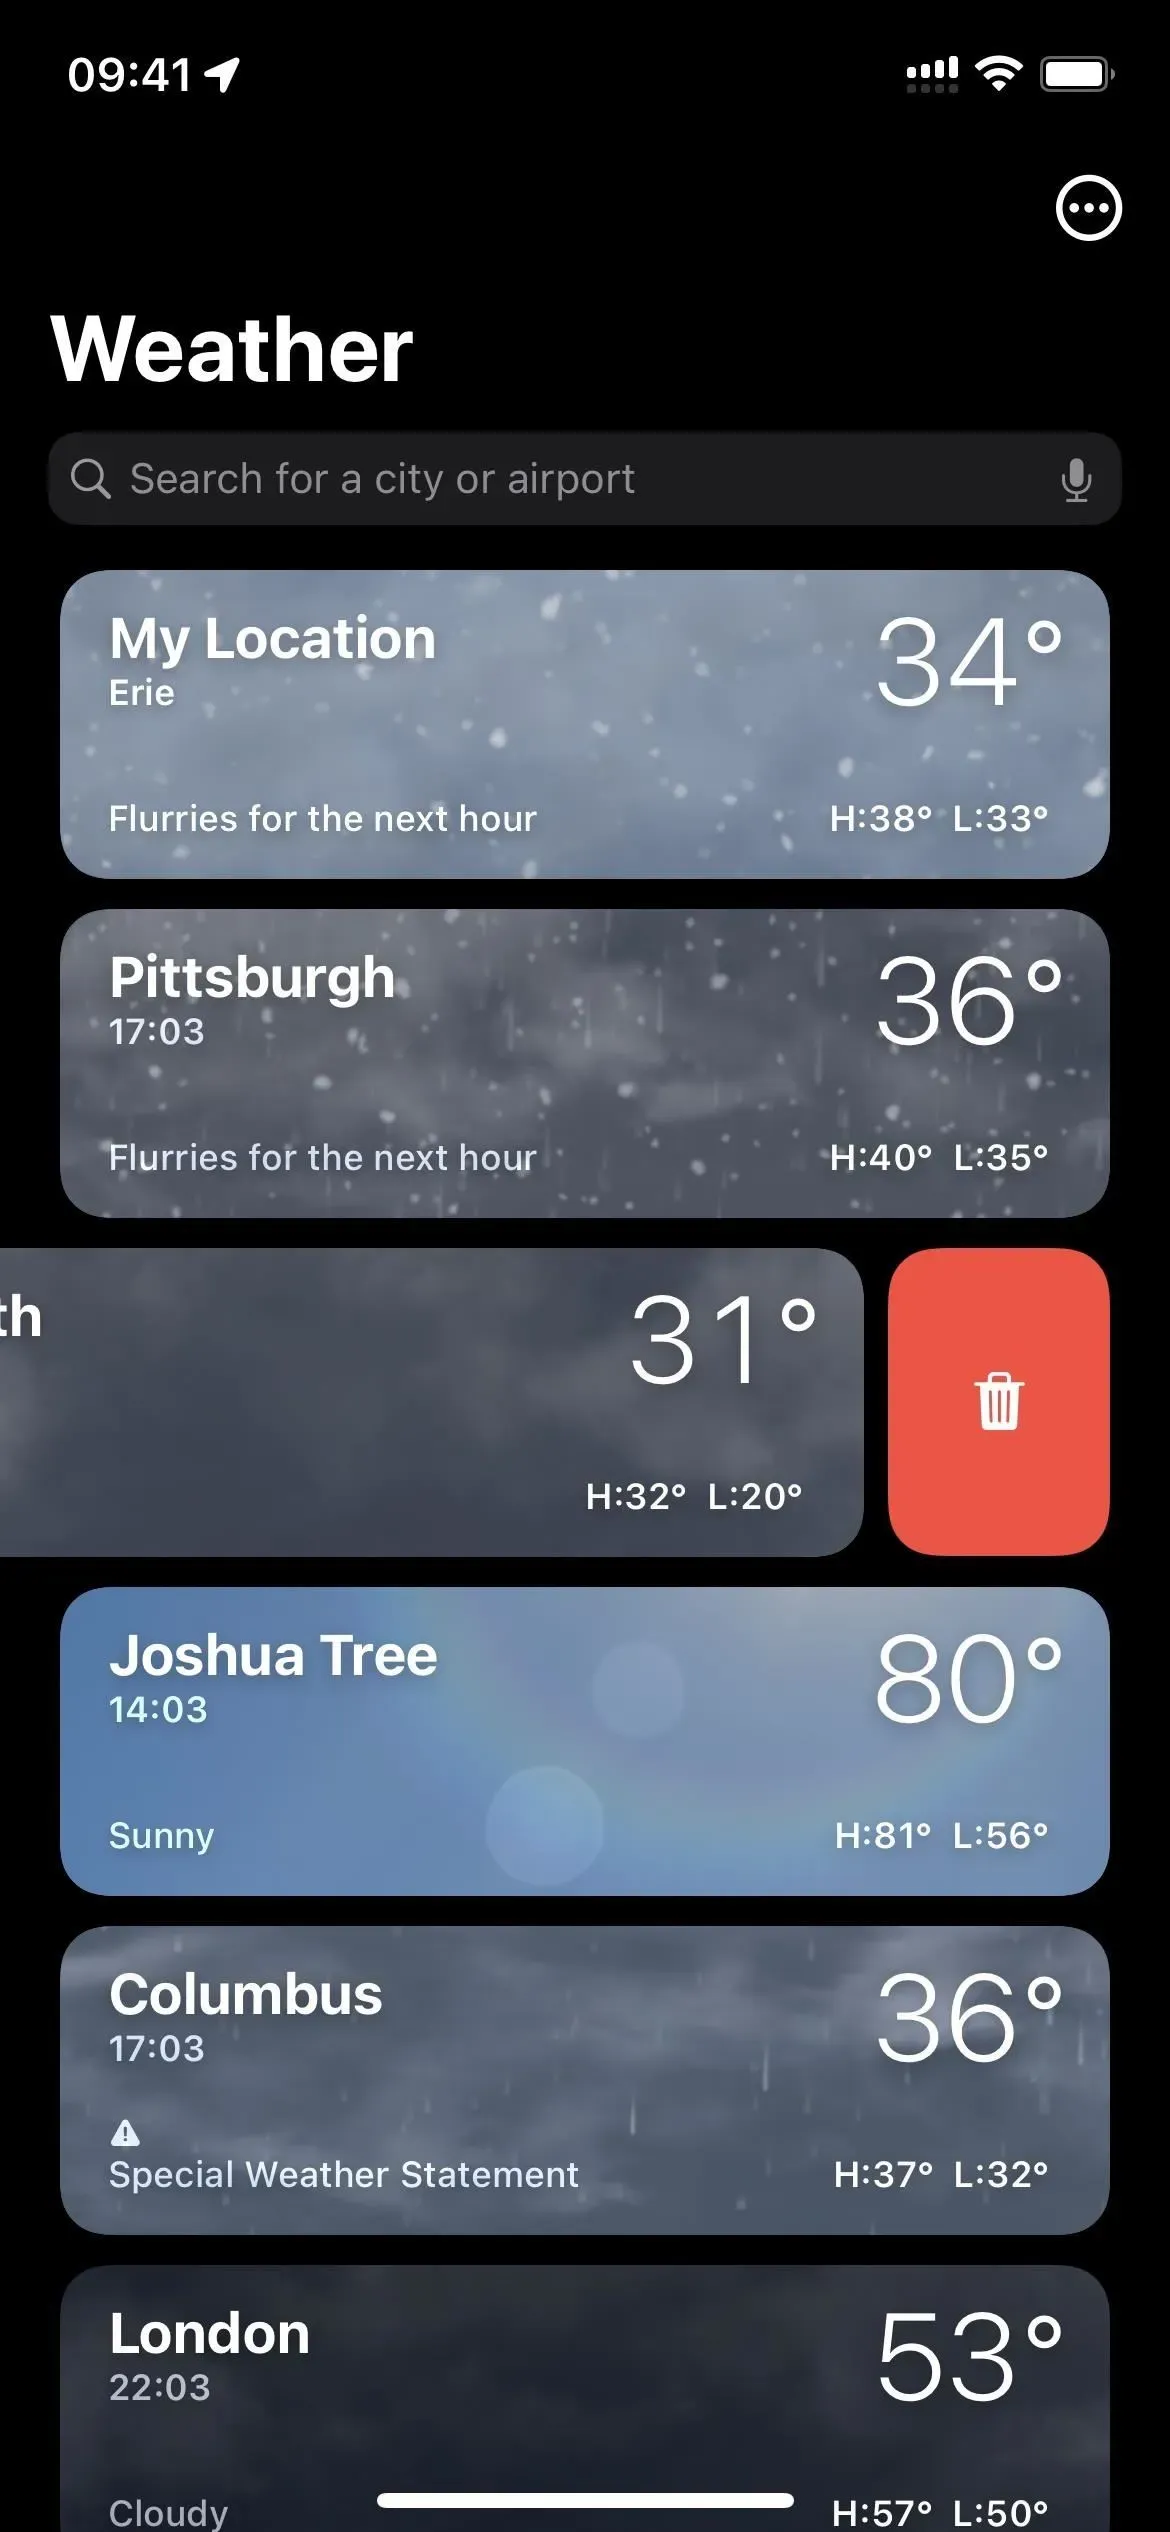
If you ever want to delete a city, you can long swipe left on the list and watch it disappear. You can also swipe left with a short finger and tap the trash can icon. Alternatively, tap the ellipsis icon (•••), select Edit List, tap the minus sign next to the city, use the trash can button to confirm, and tap Done to return to the list.
2. Reorder cities
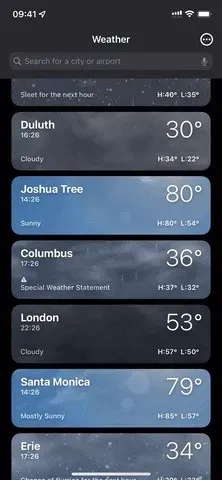
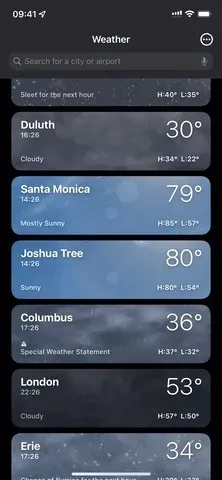
If you find yourself swiping or scrolling through too many cities to get to the ones you need, you can change the order in which they appear. Open the list view, tap a location, then drag it to a new location in the list. Note that My Location cannot be moved.
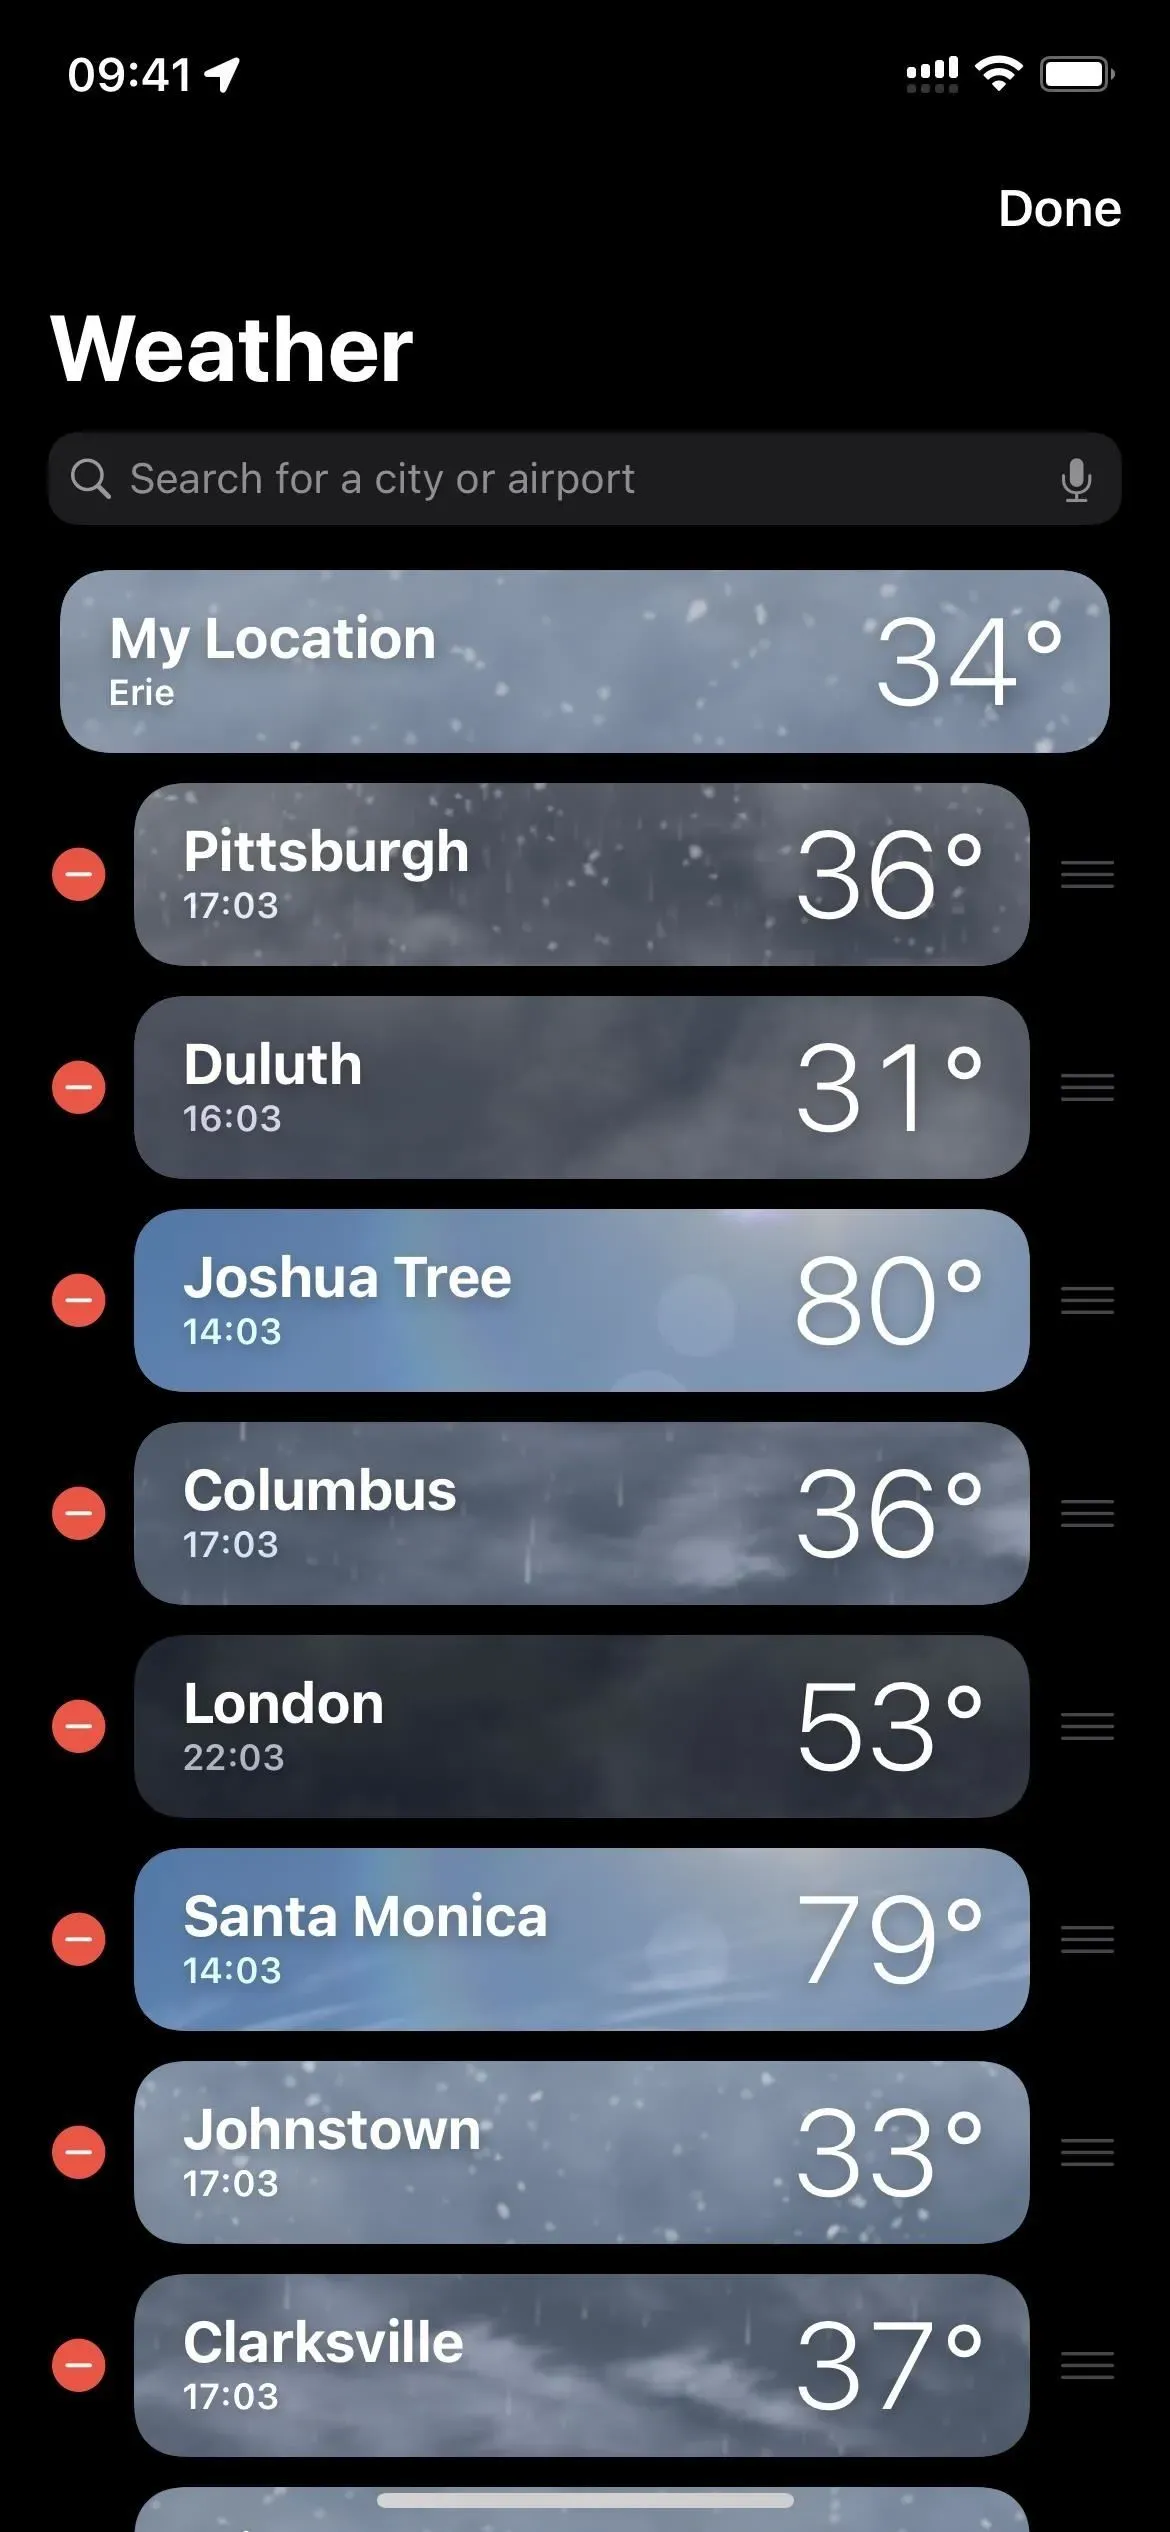
You can also click the ellipsis (•••) icon, click Edit List, and then use the three-line icon next to each city to drag it to a new location in the list.
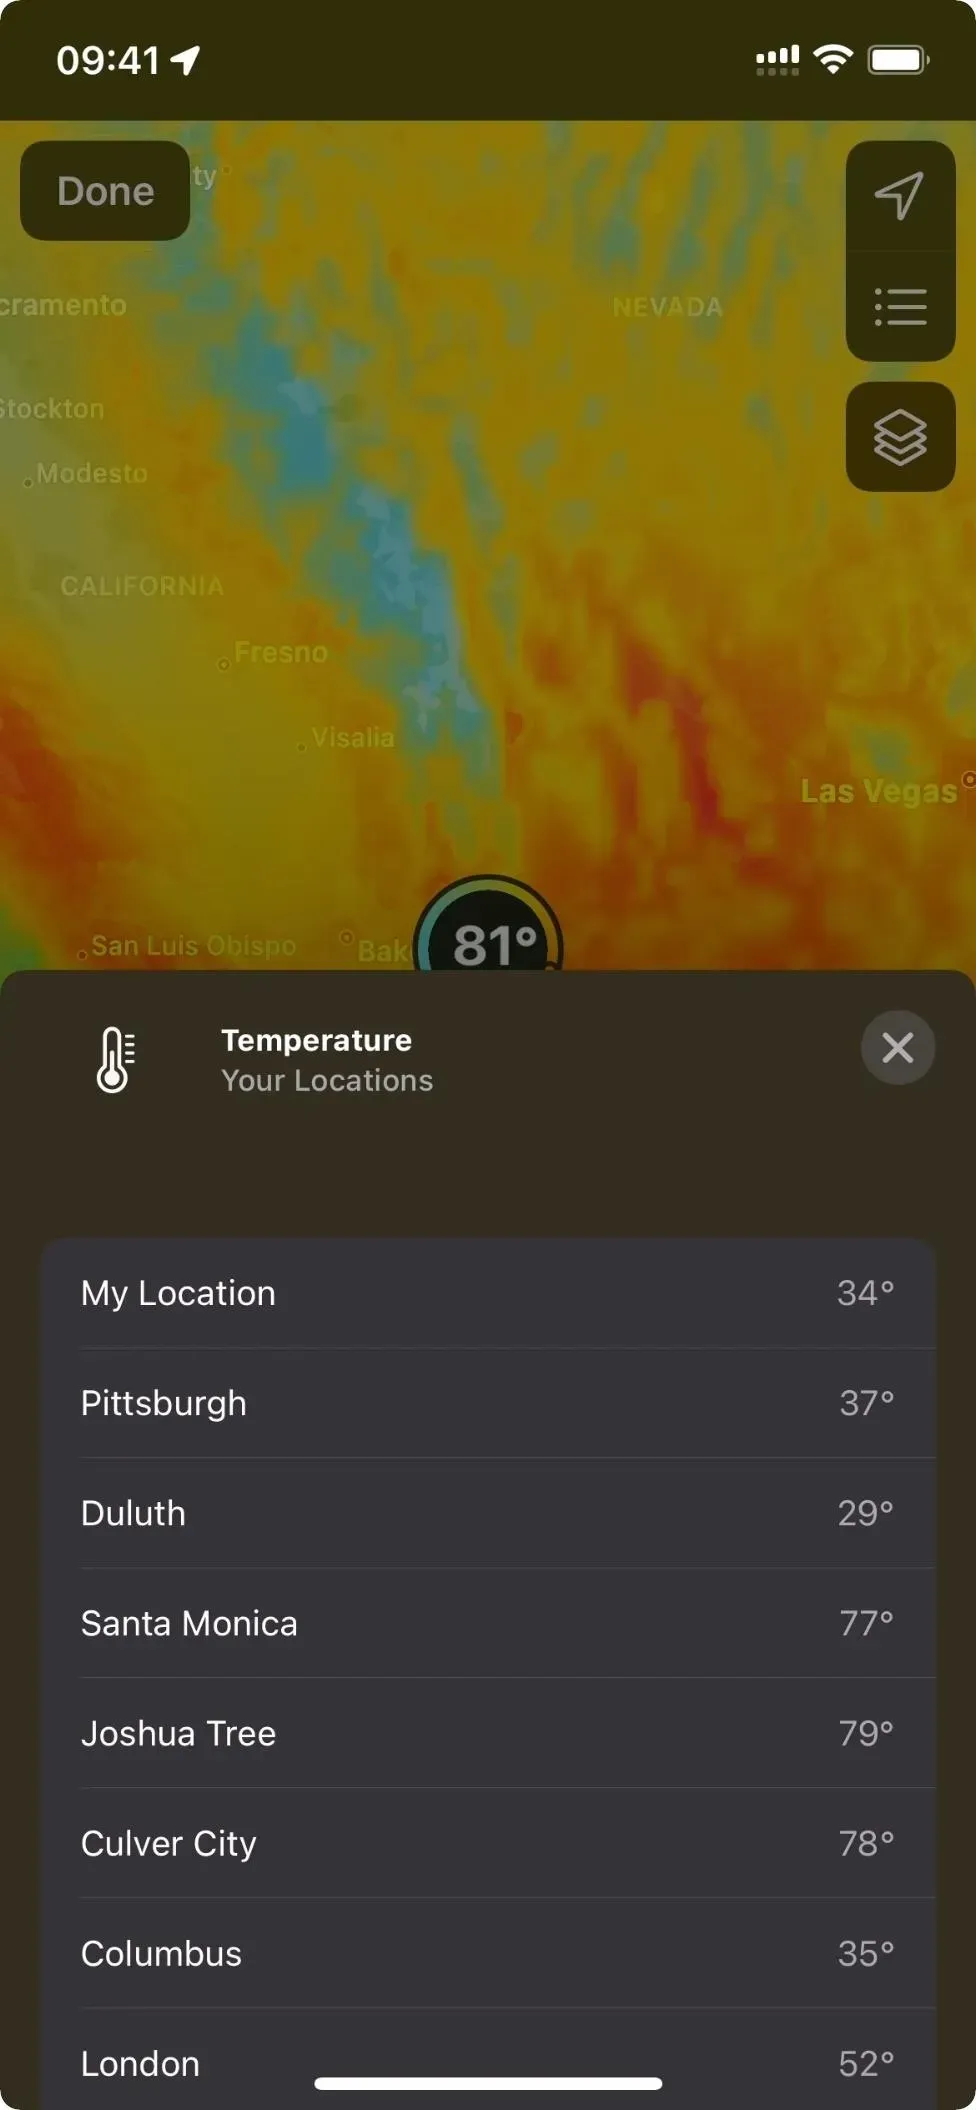
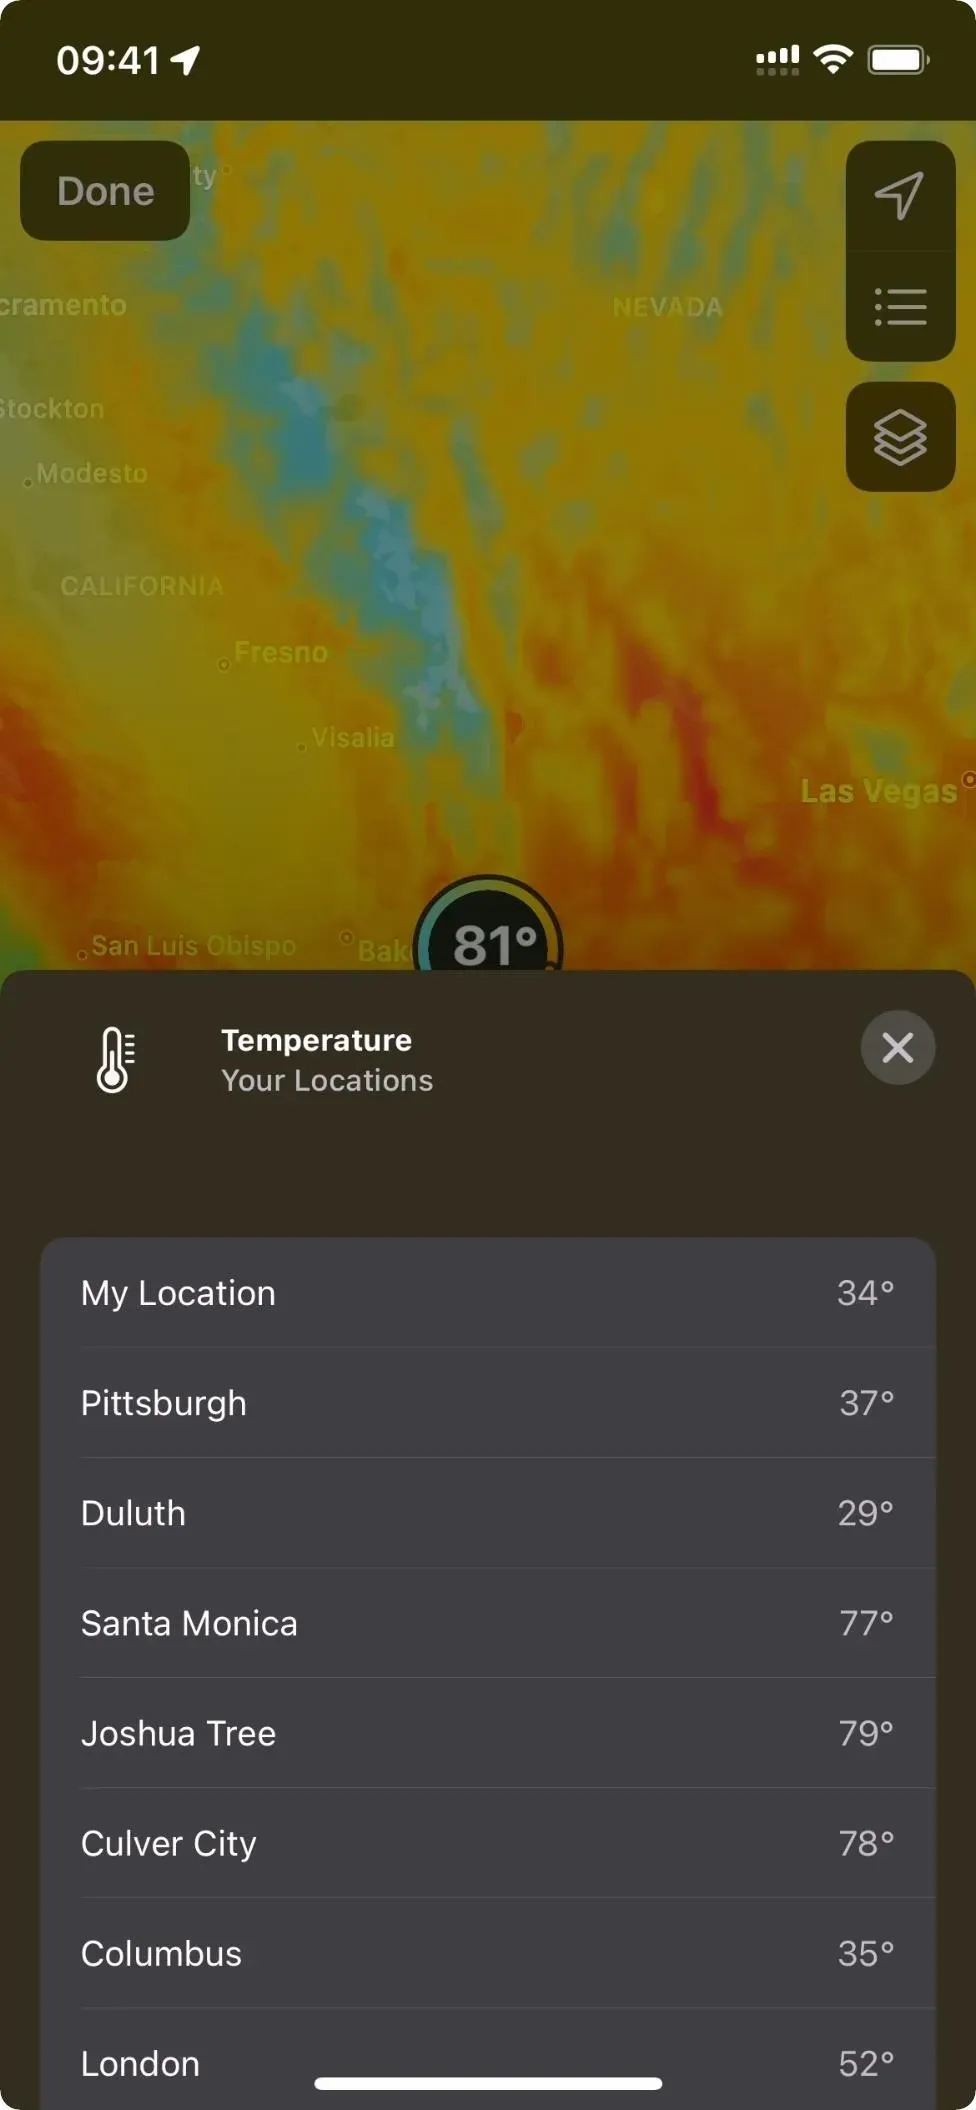
3. Select your preferred temperature unit
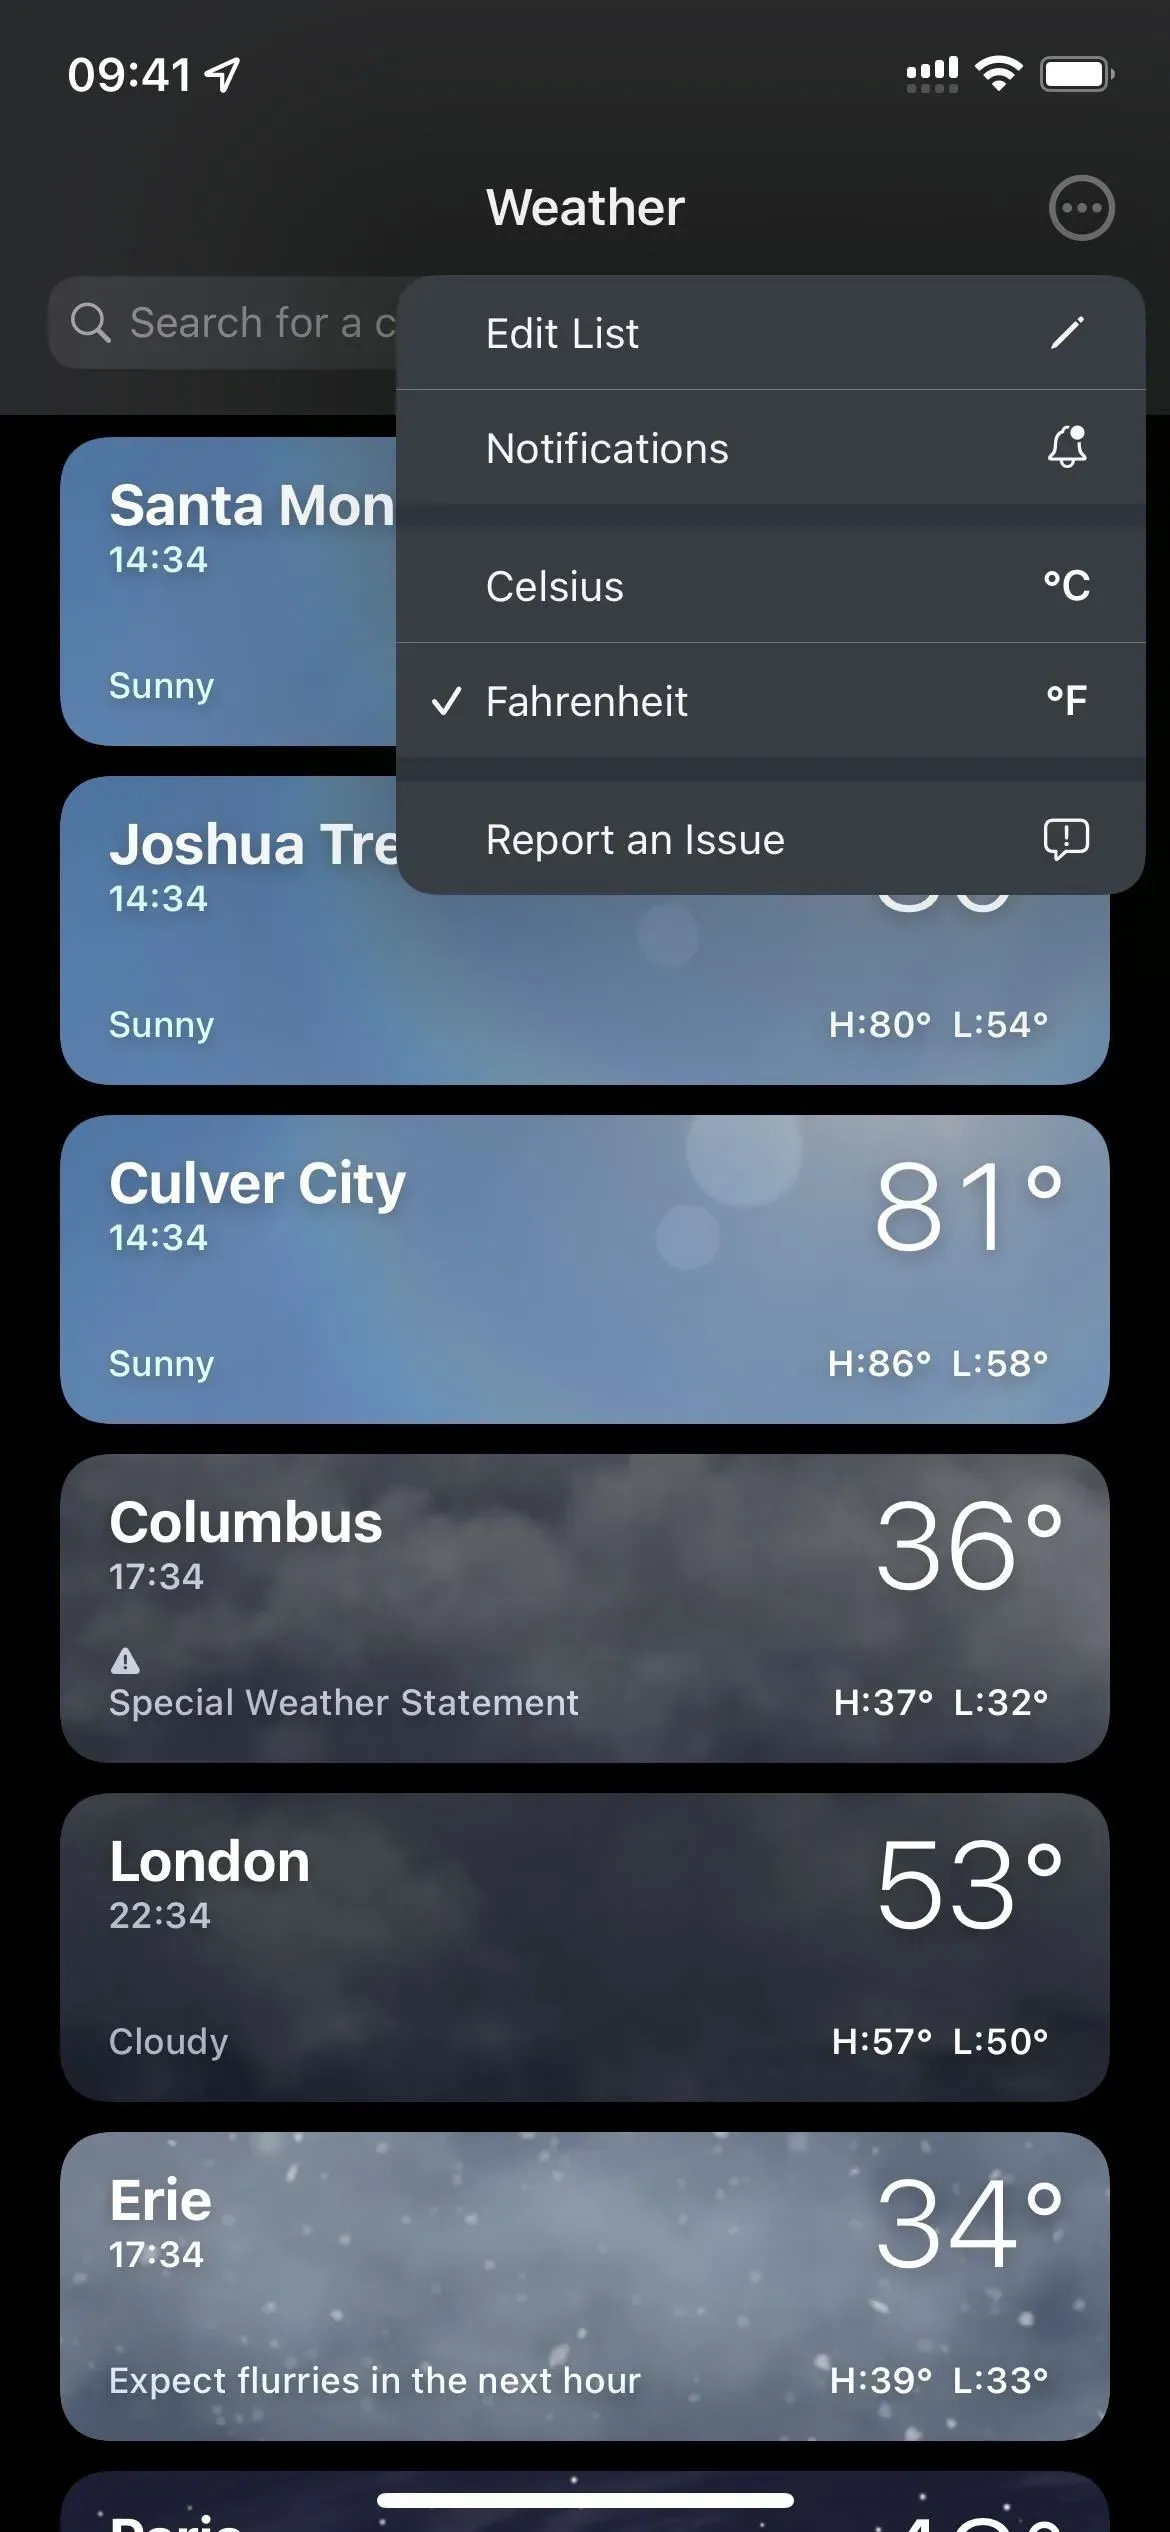
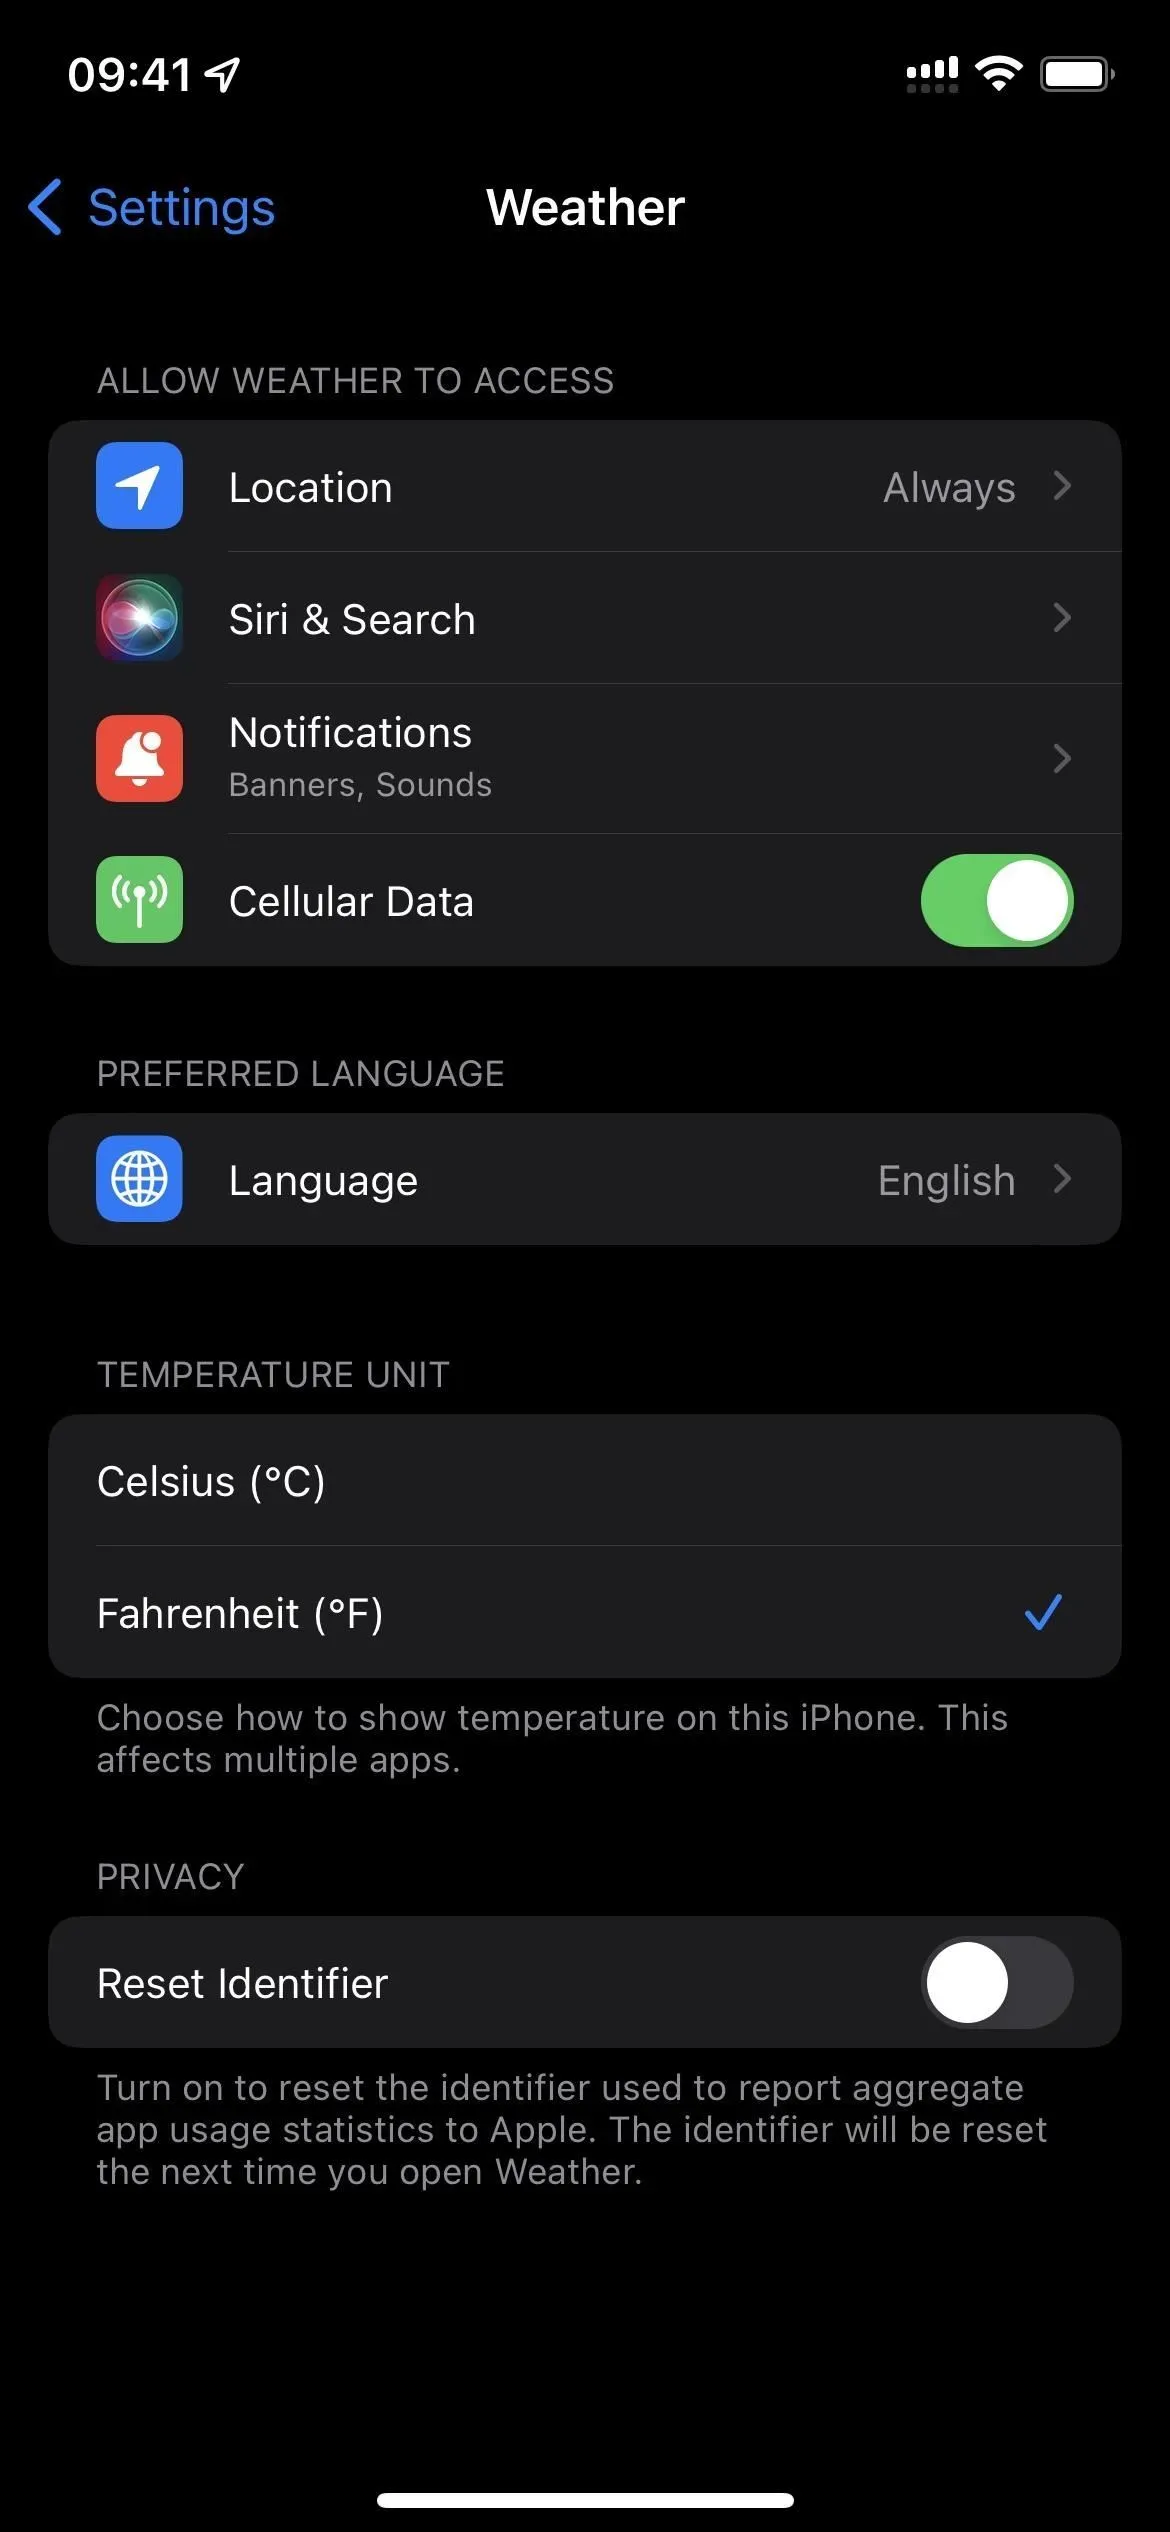
Apple automatically sets the temperature unit based on where you live, so it’s likely to be Fahrenheit (89ºF, for example) if you’re in the US. However, if you want to use degrees Celsius (for example, 32ºC), you can do so. In the list view, touch the ellipsis (•••), then select your preferred temperature unit. You can also open Settings, tap Weather, and change the unit from there.
4. Change text size
You could change the text size on your iPhone in previous versions of iOS, but as of iOS 15 and iOS 16, you can set your preferred weather text size individually. This way the text size won’t affect the rest of the device – just the Weather app.
To quickly change the text size, use the Text Size control in the Control Center. If you don’t see it, go to Settings -> Control Center and add it. Make sure you’re in the Weather app, open Control Center, press the AA button, then select Weather Only. Then adjust the size as needed. You may have to do this several times until you find the best spot for the weather.
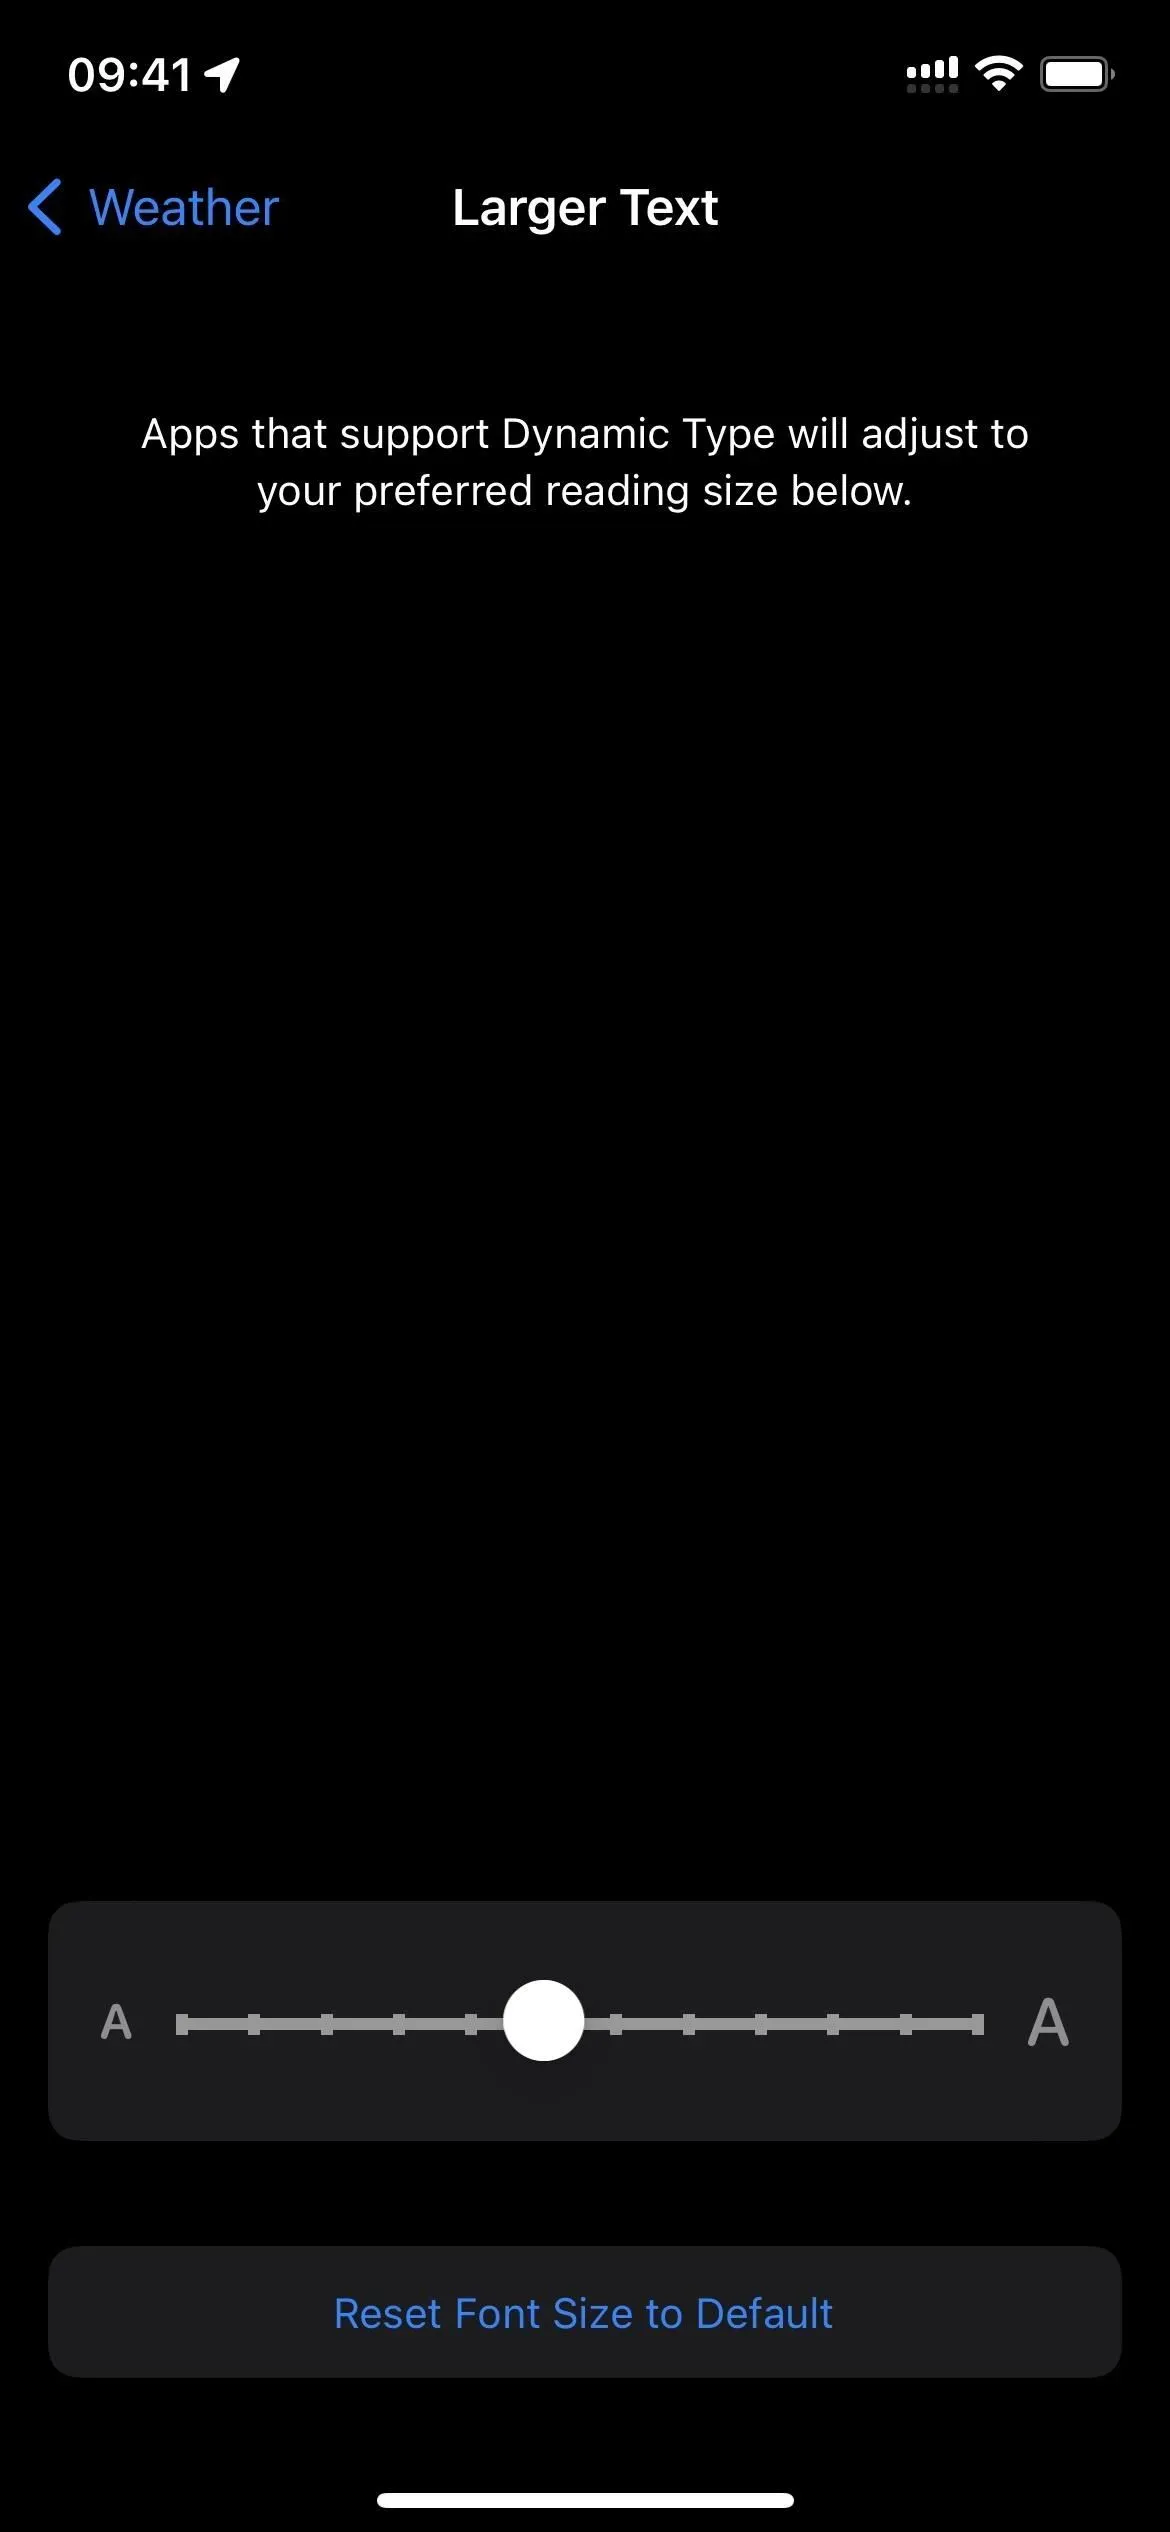
Alternatively, you can go to Settings -> Accessibility -> Per App Settings -> Weather. If you don’t see it, click “Add App”and select “Weather”from the list. From here, you can click “Make Text Bigger”and adjust the text size as needed.
5. Choose Regular or Bold Text
In iOS 15 and iOS 16, you can also make text bold for the Weather app only. To do this, go to Settings -> Accessibility -> Per App Settings -> Weather. If you don’t see it, click “Add App”and select “Weather”from the list. From here, you can click on “Bold Text”and turn it on or off, or leave it at the default, which uses your system-wide bold font preferences.
6. Use button shapes
You can also add button shapes to the Weather app in iOS 15 (it doesn’t seem to do anything in iOS 16). Go to Settings -> Accessibility -> Per-App Settings -> Weather. If you don’t see it, click “Add App”and select “Weather”from the list. From here, click “Button Shapes”and turn it on or off, or leave it at the default, which uses your system-wide button shapes preferences.
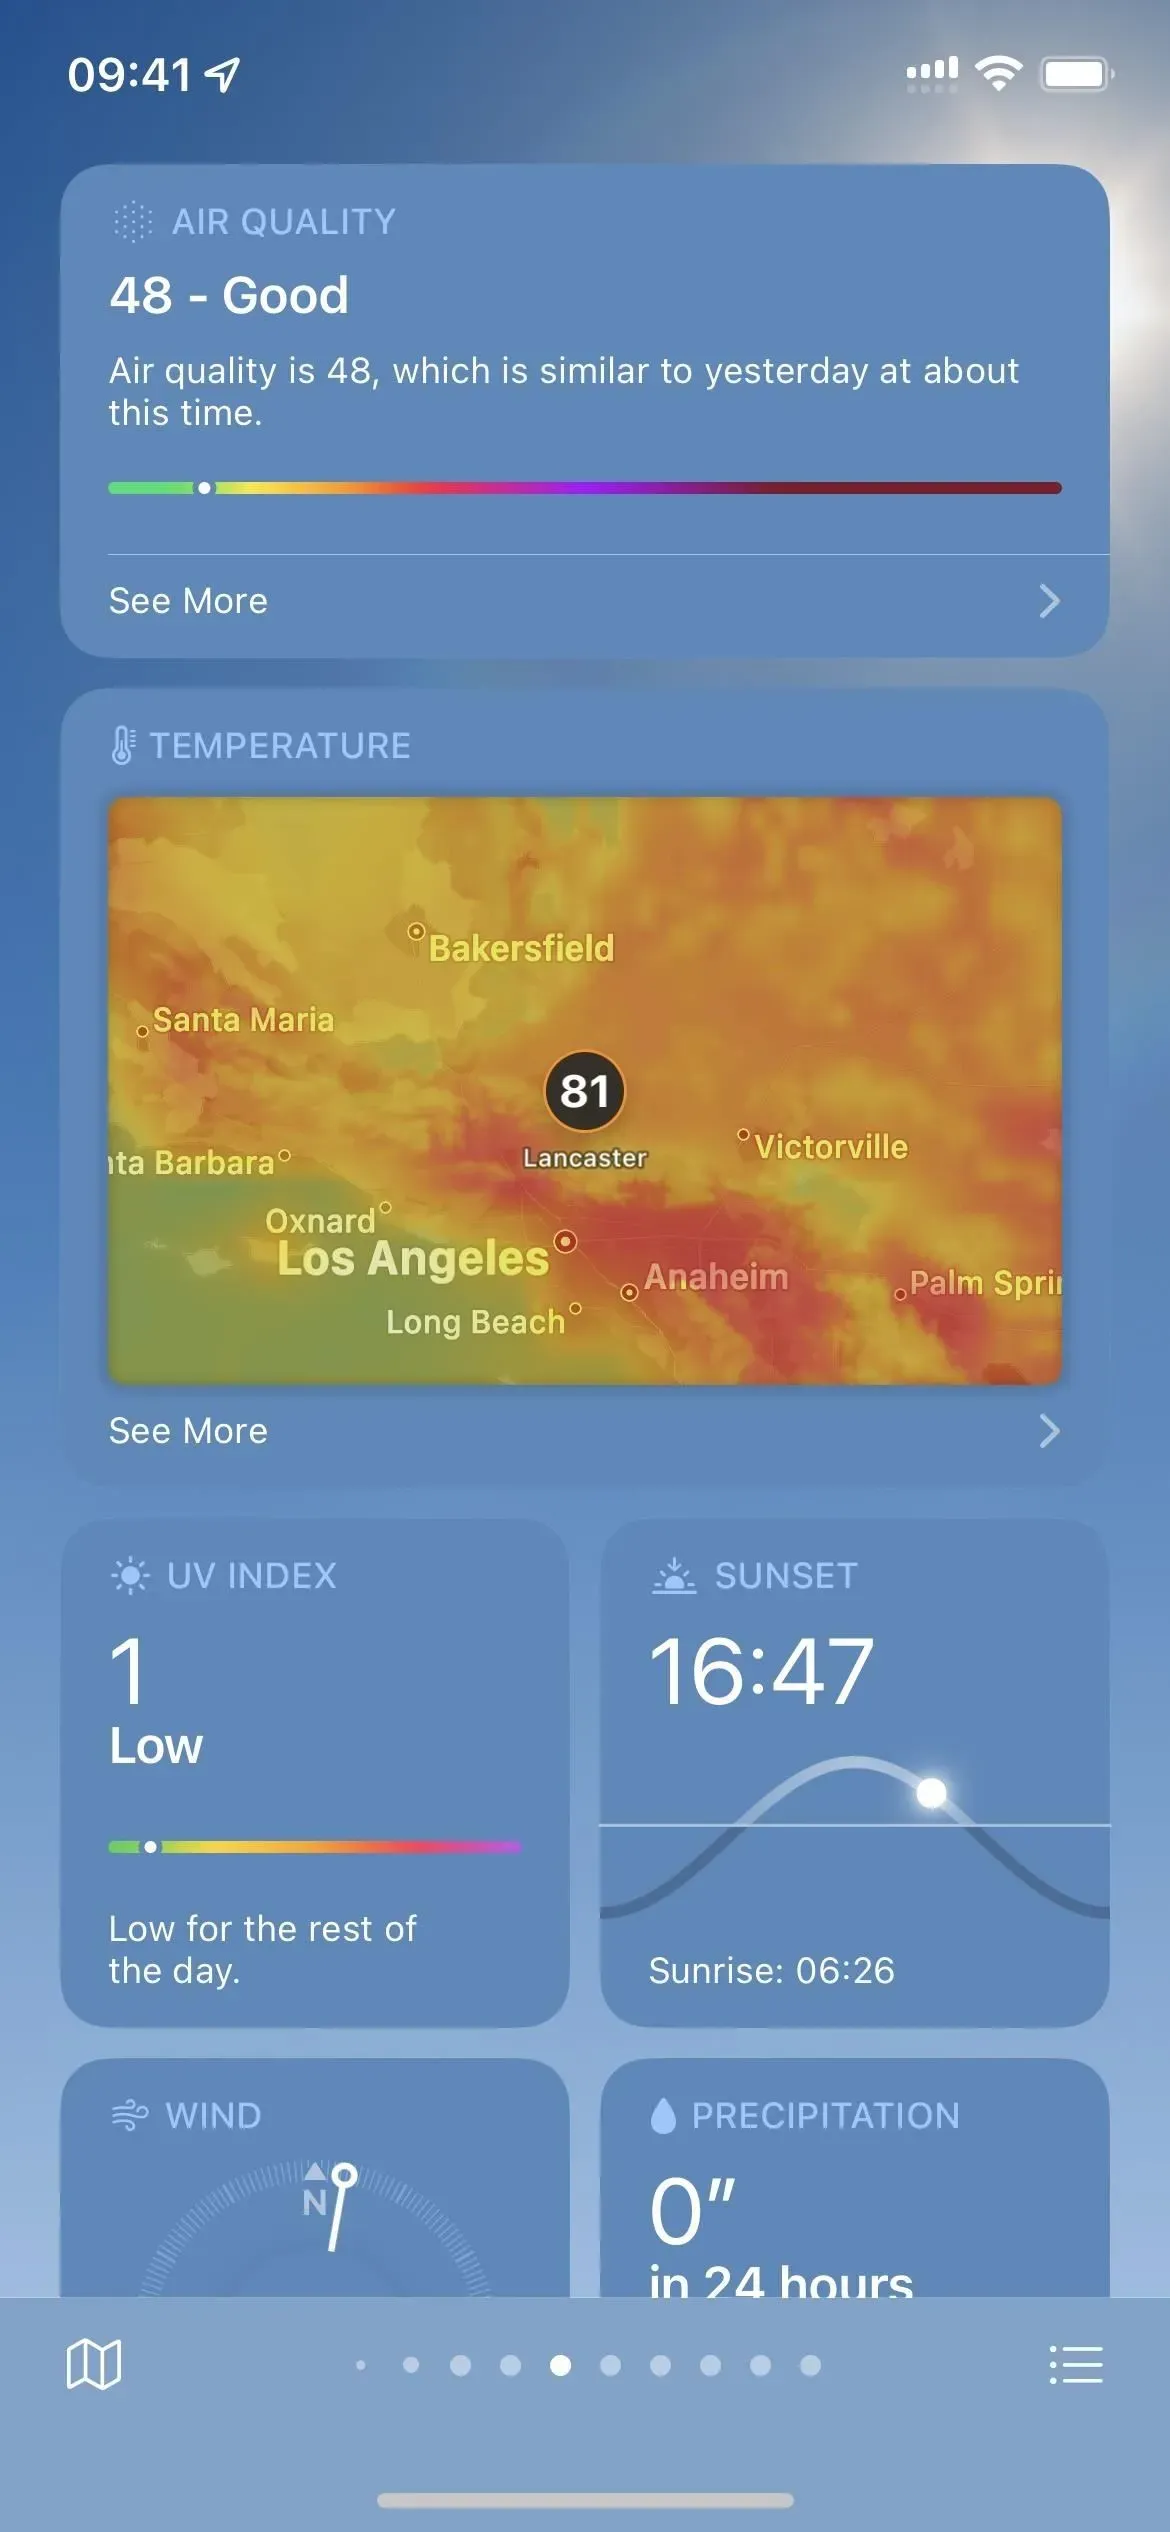
If it is enabled, the map and list icons will have a button-shaped background. In addition, you’ll see a similar background for each city’s precipitation, air quality, and temperature maps, as well as Report a Problem, Manage Notifications, Open in Maps, Weather Channel, and BreezoMeter. buttons at the bottom of each city view. You will also notice several button shapes as you fiddle with the settings.
7. Activate smart inversion
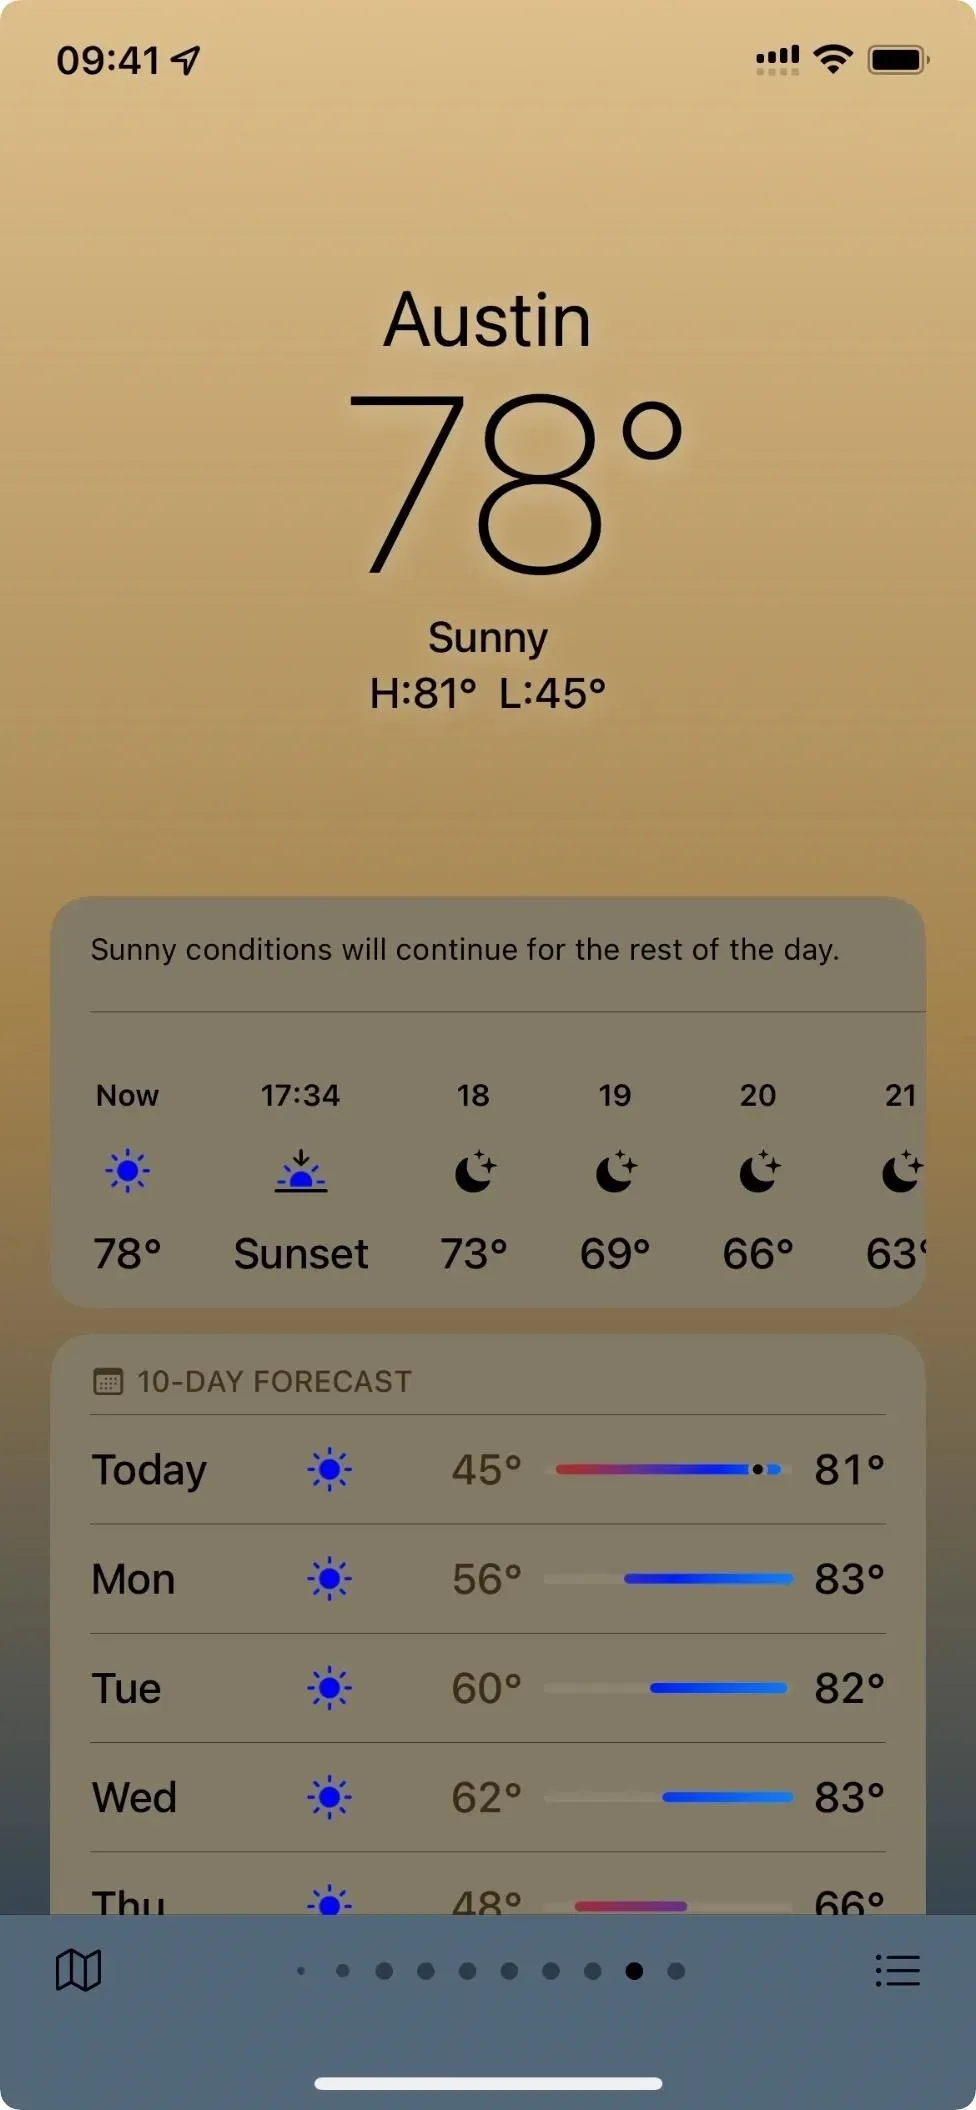
Smart Invert intelligently inverts user interface colors by carefully choosing what to invert and what not. In iOS 14, you had to set up shortcut, back-tap, or shortcut automation if you wanted Weather to use the Smart Invert feature to change app colors. This is no longer necessary as per-app settings in iOS 15 and 16 also allow you to set Smart Invert for weather only.
Go to Settings -> Accessibility -> Per-App Settings -> Weather. If you don’t see it, click “Add App”and select “Weather”from the list. From here, click “Smart Invert”and turn it on or off, or leave it at the default, which uses your system-wide Smart Invert settings.
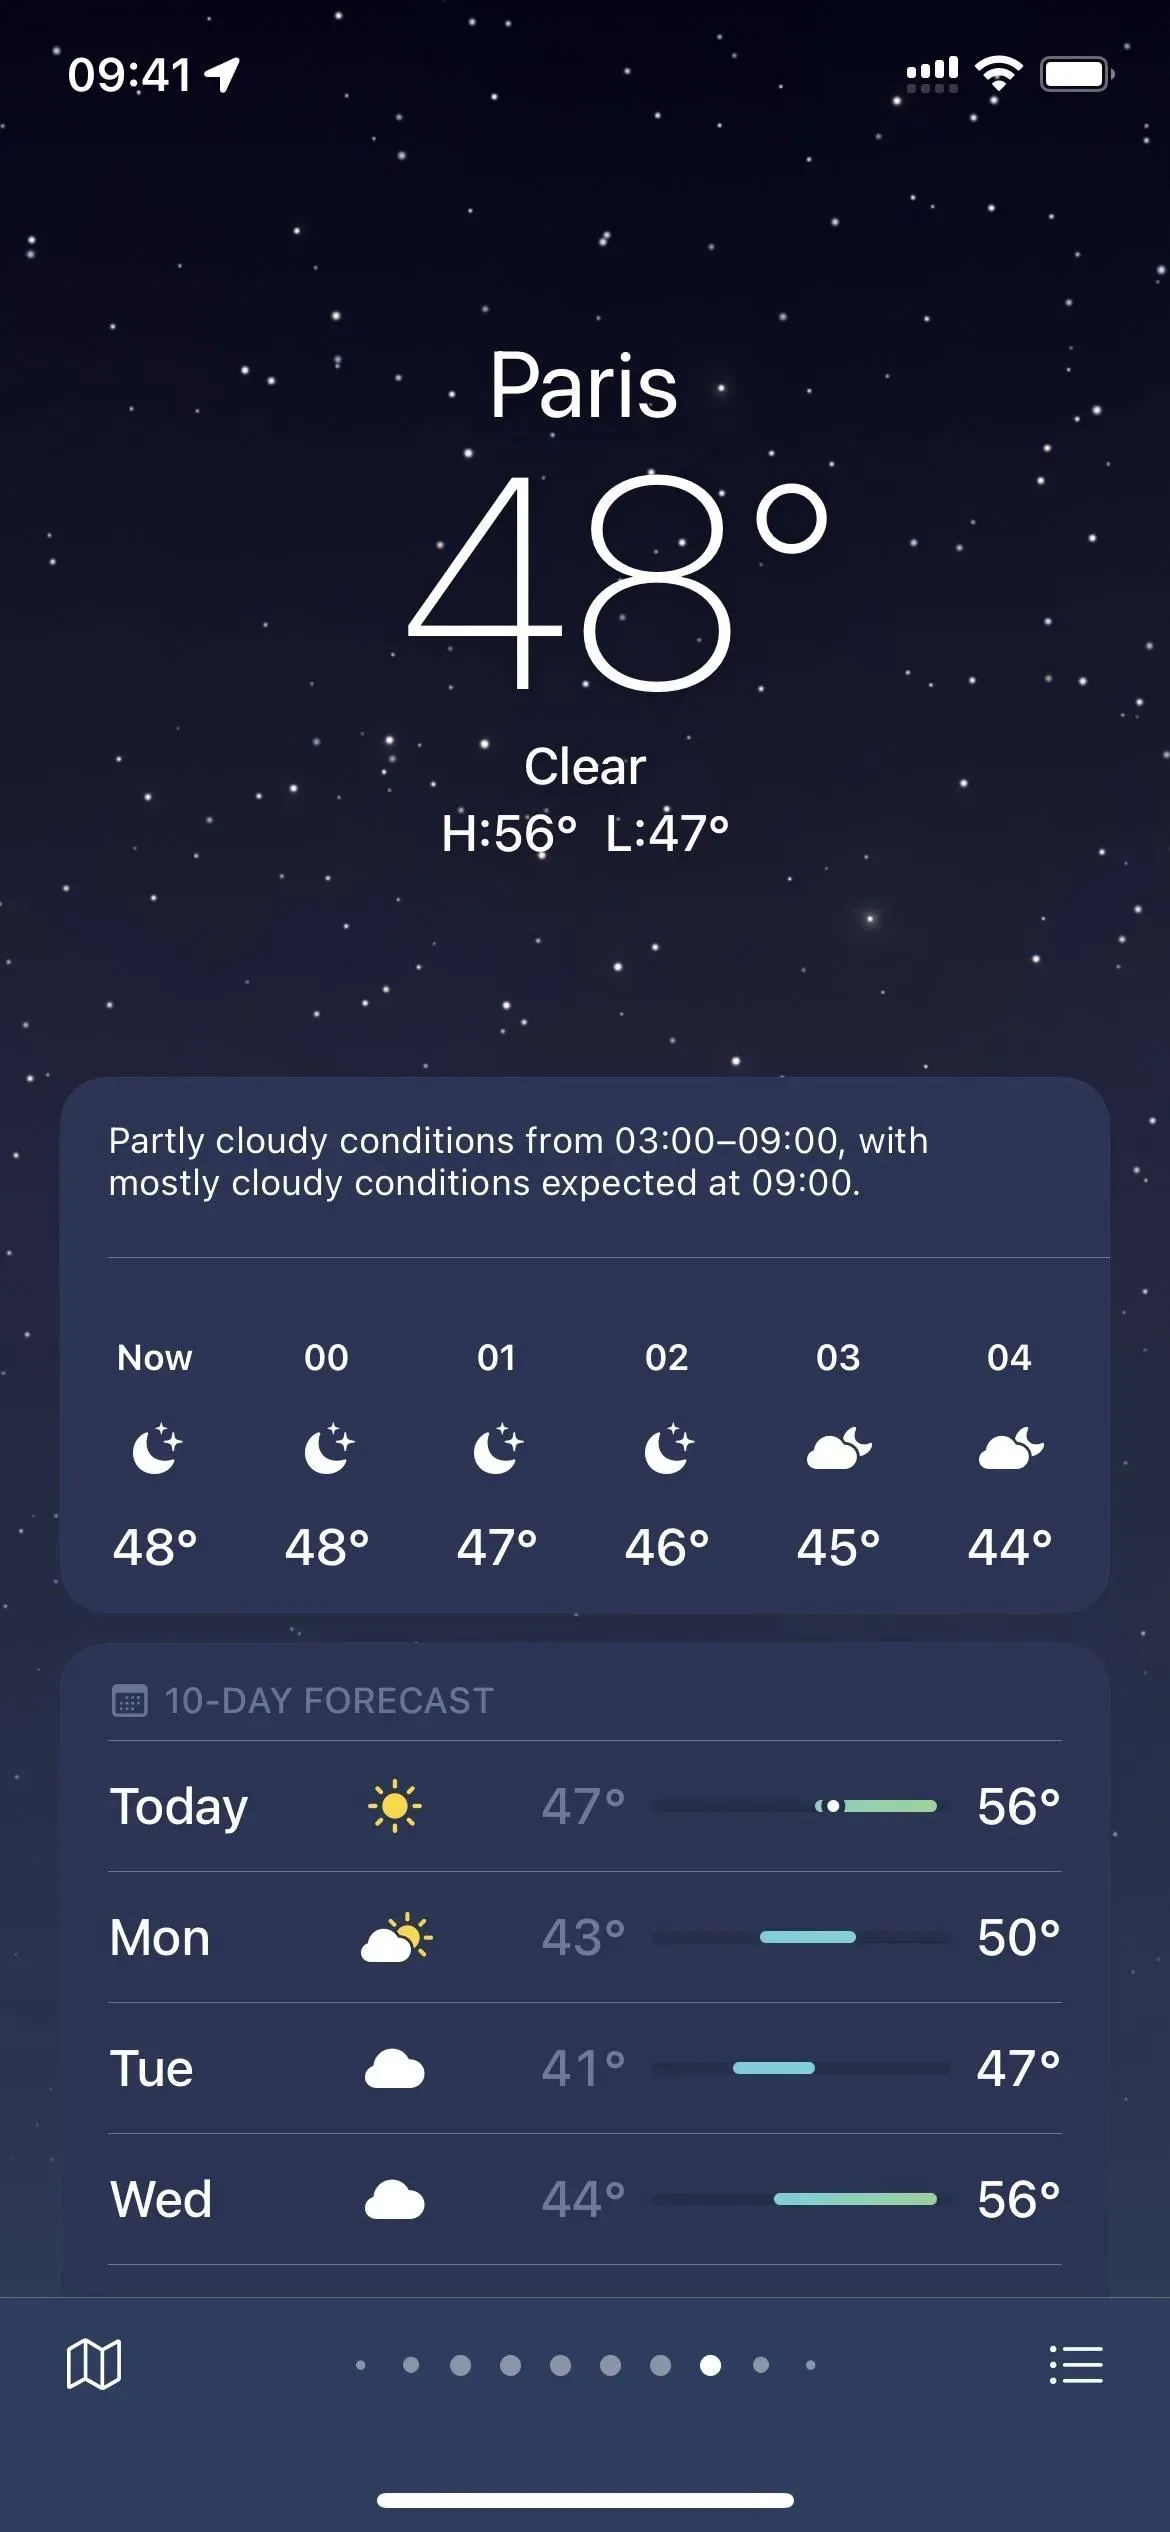
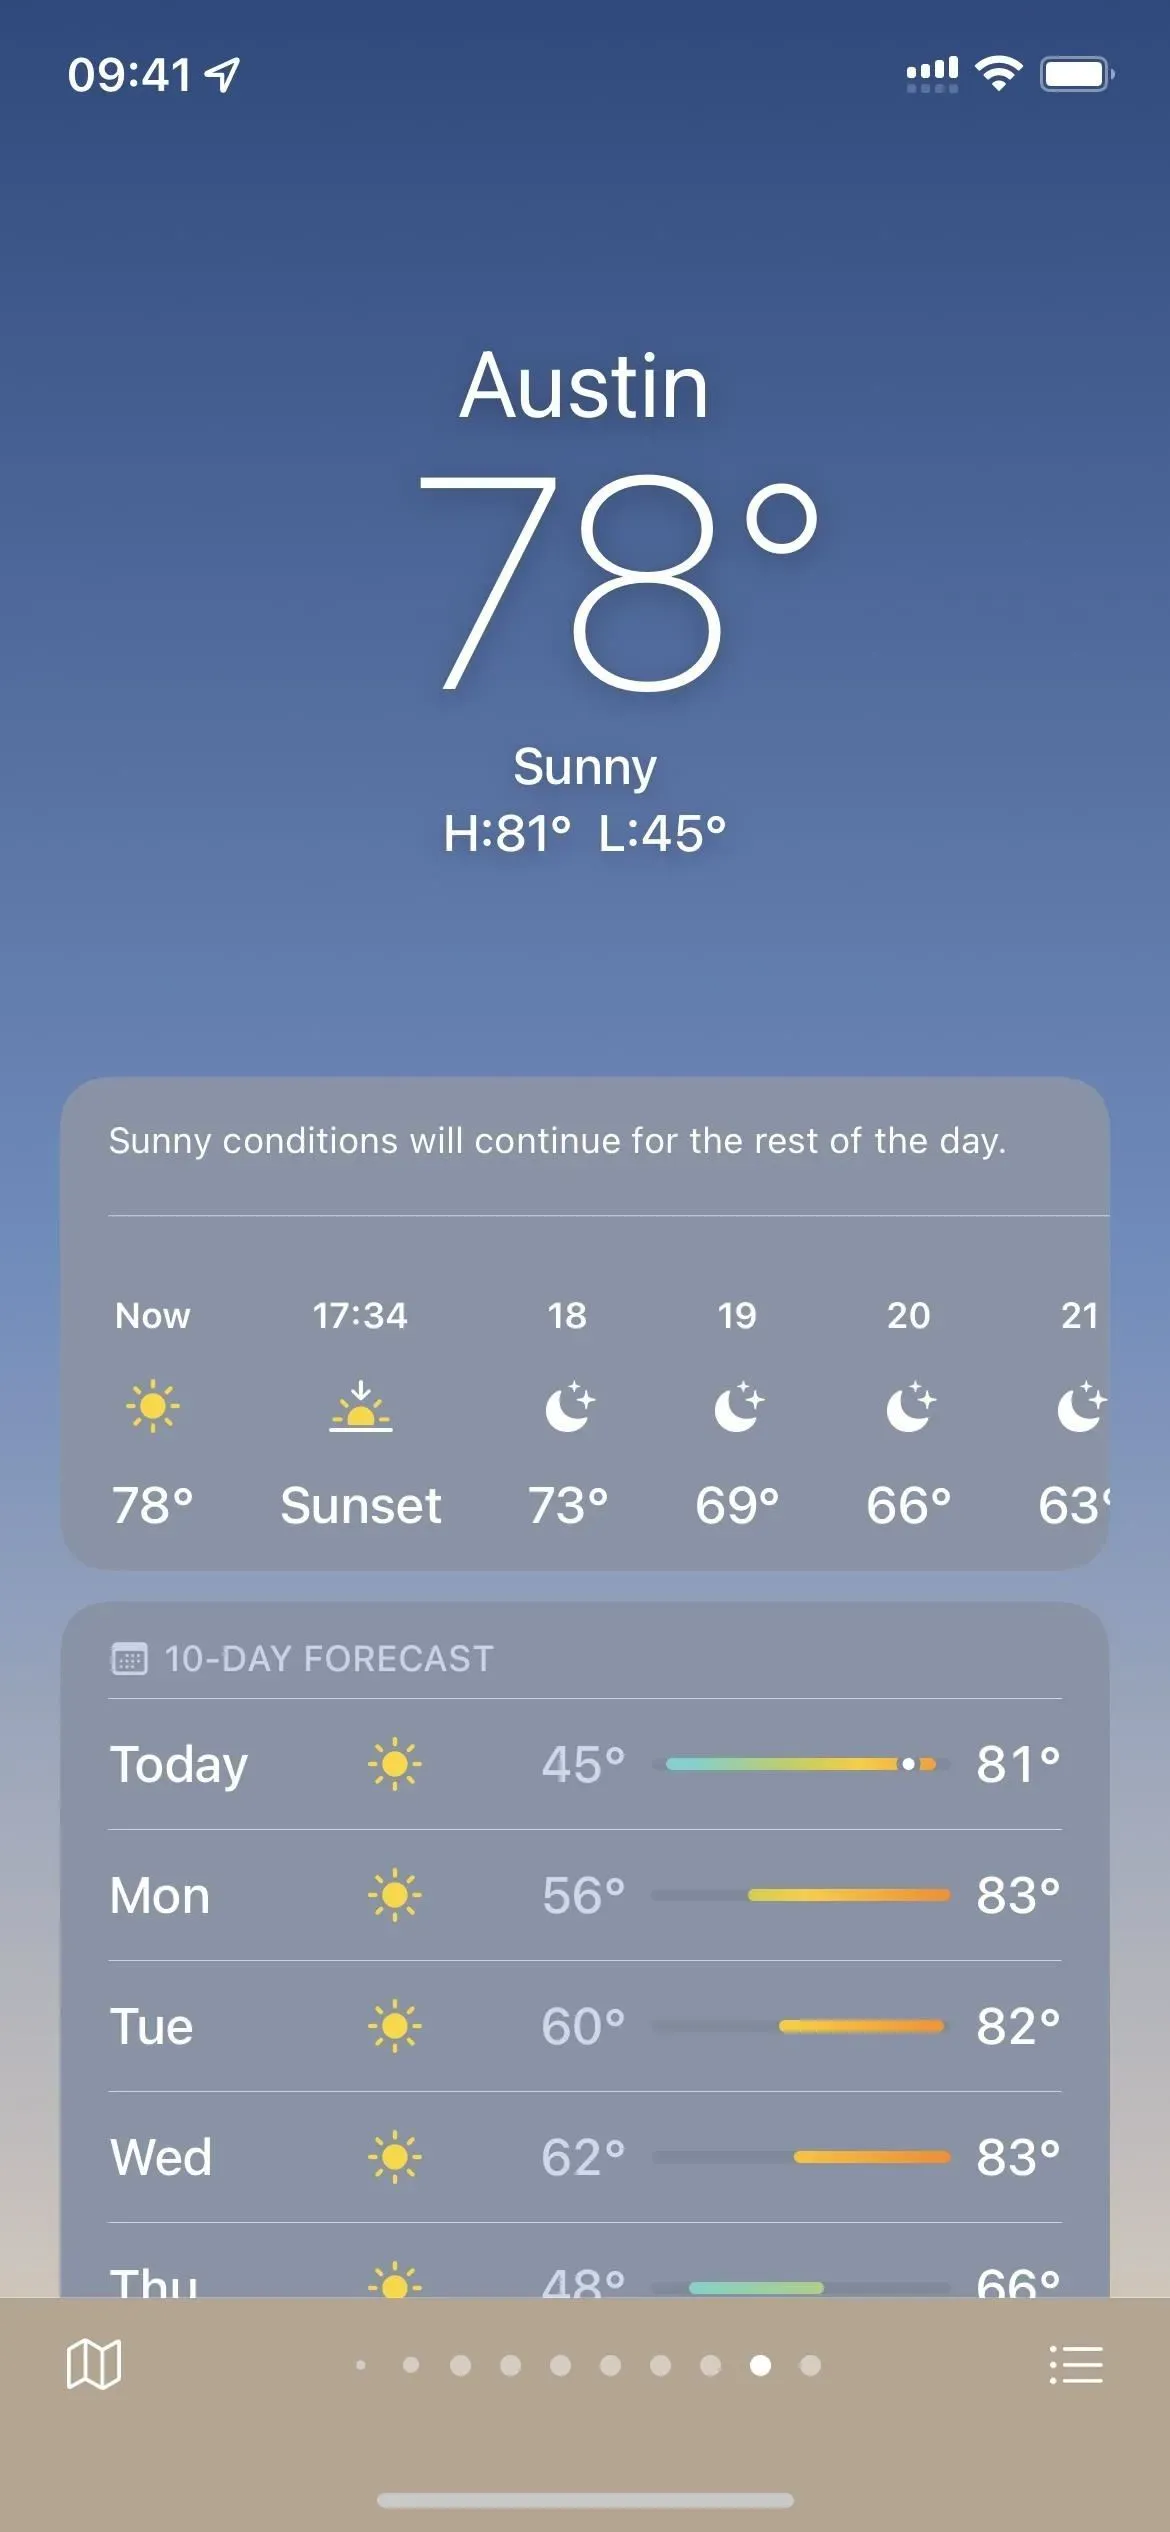
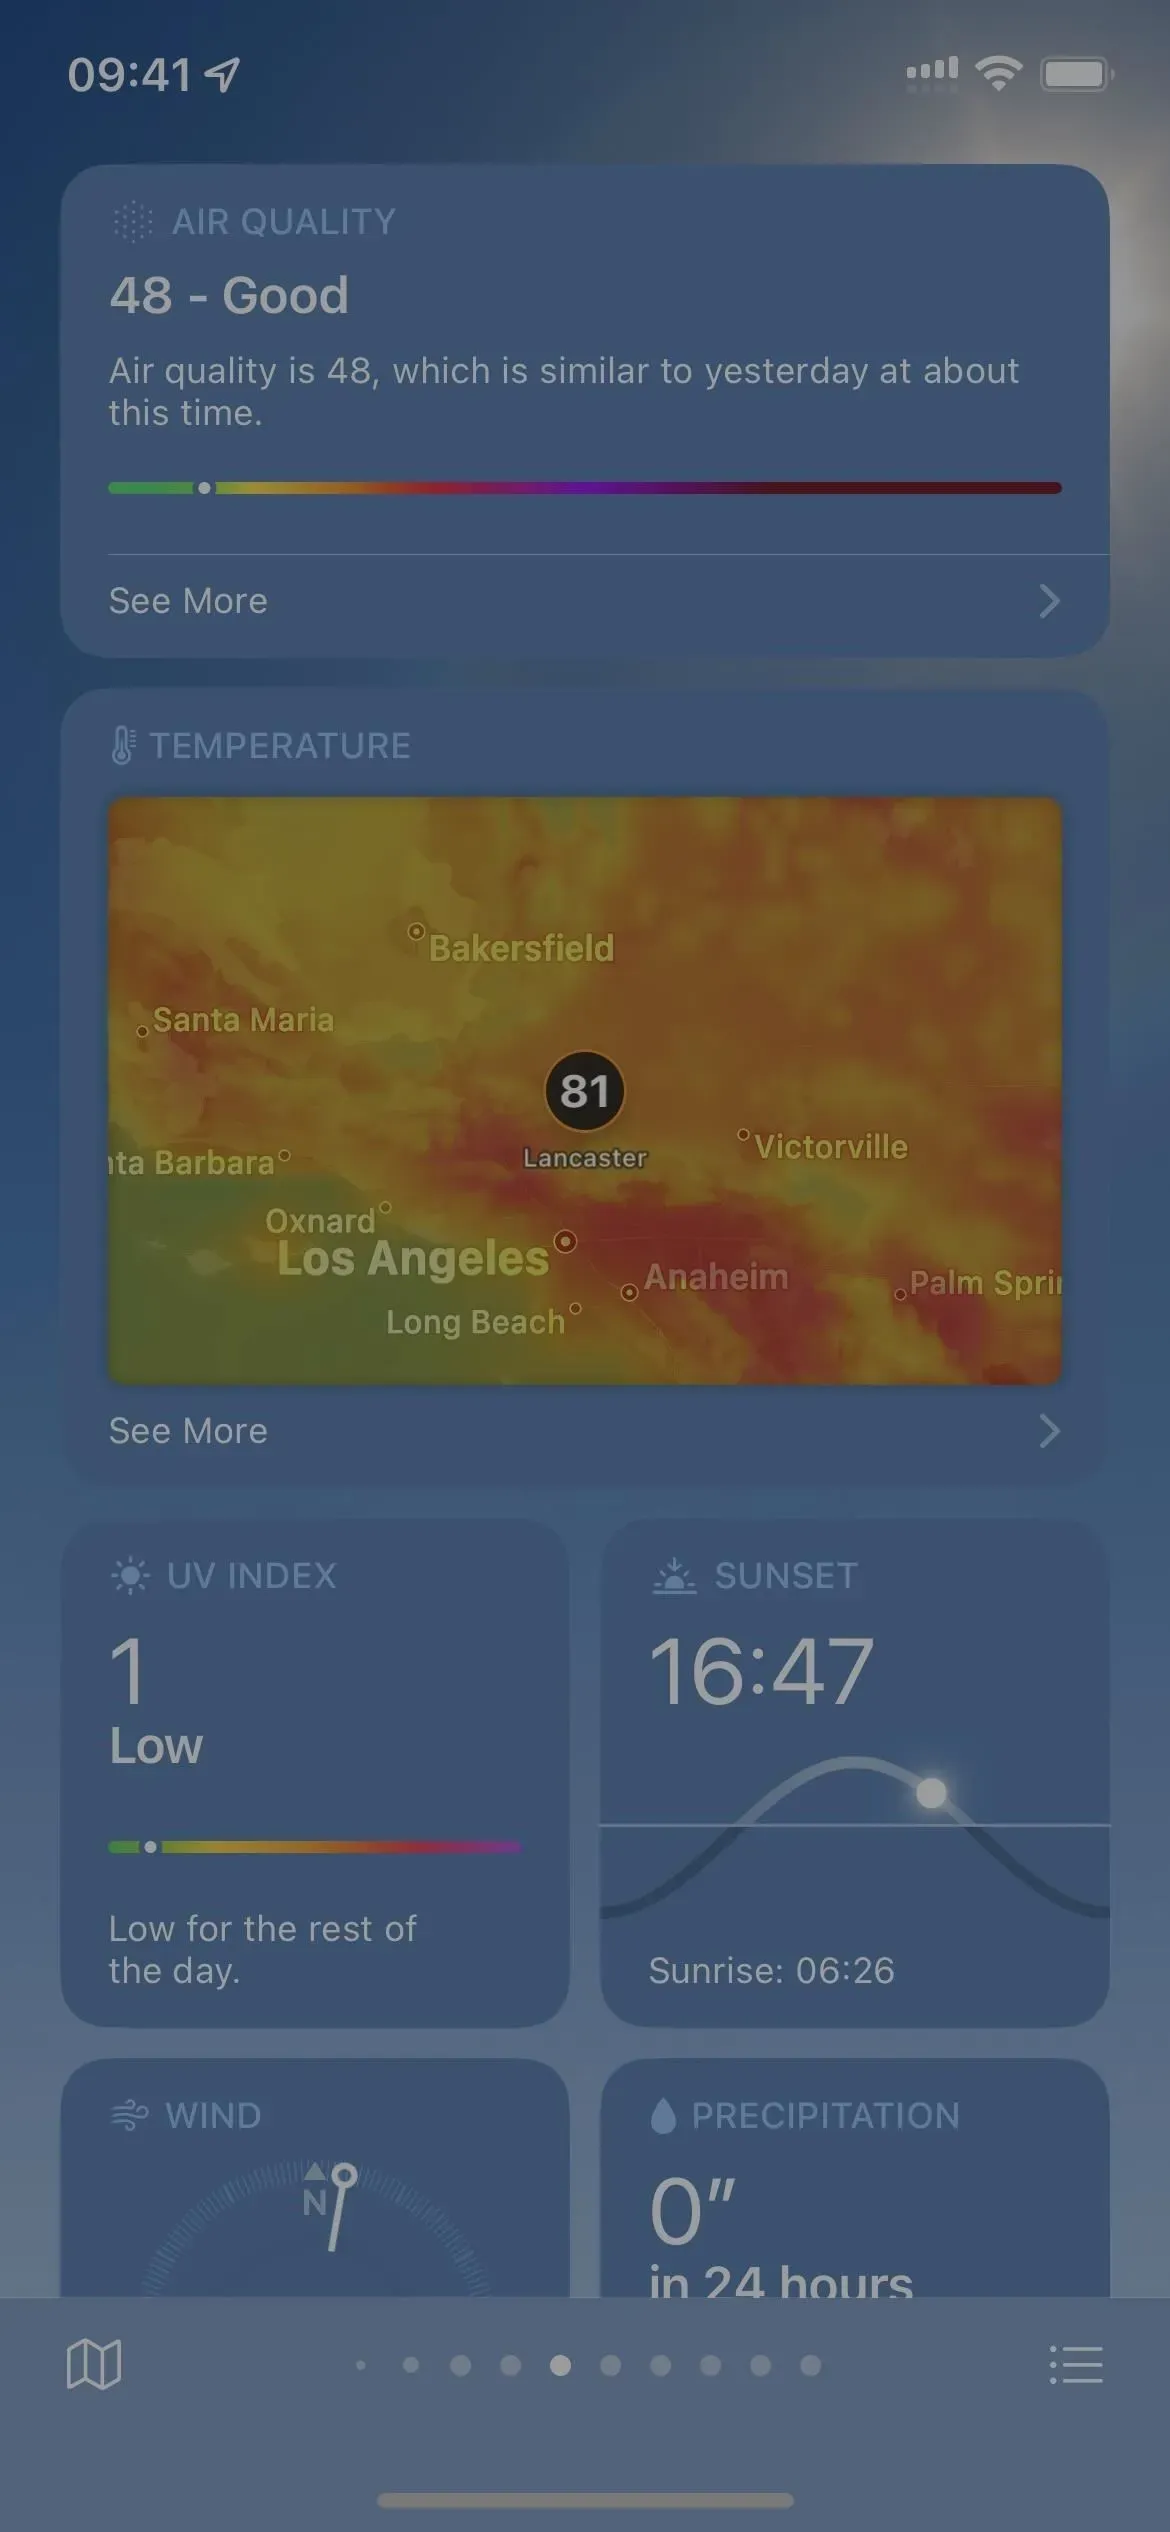
You won’t notice much difference in the list view, but the colors for charts, widgets, and maps will look inverted. The color change is enhanced when dark mode is turned on.
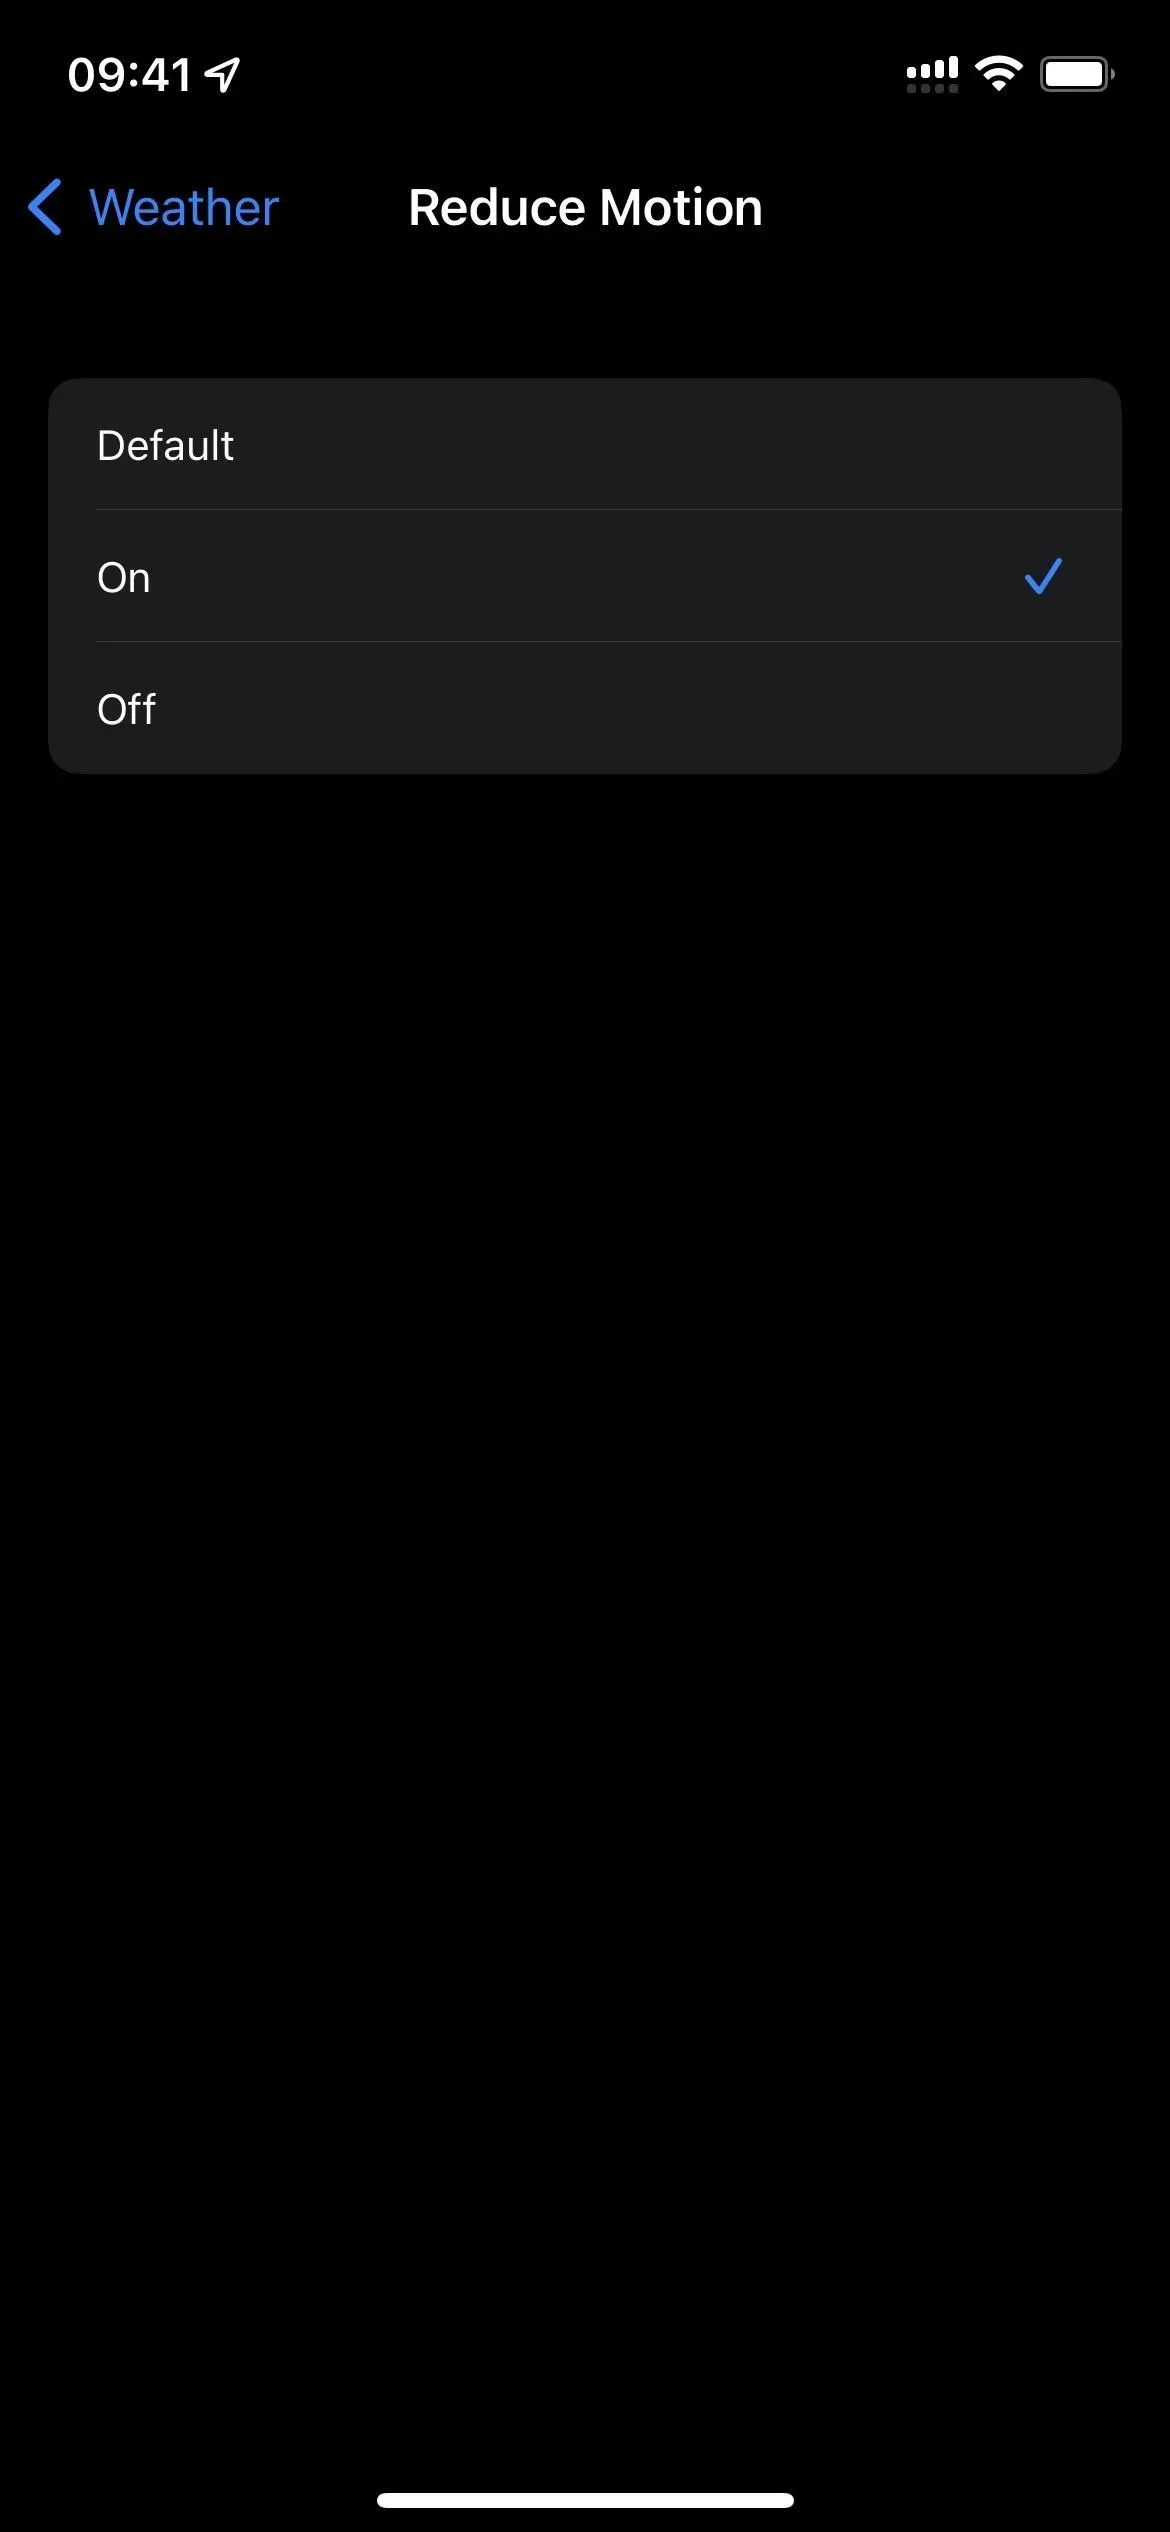
8. Reduce motion on the screen
If you don’t like all the animation effects in Weather, you can turn them off without affecting anything else on your iPhone. Like some of the tweaks above, this only works on iOS 15 and later.
Go to Settings -> Accessibility -> Per App Settings -> Weather. If you don’t see it, select “Add Application”and select “Weather”from the list. Then click Reduce Motion and turn it on or off, or leave it at the default, which uses the system-wide setting Reduce Motion.
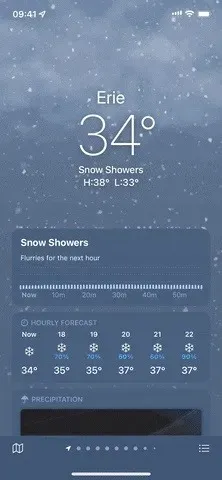
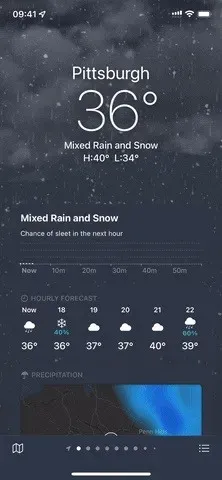
Animations for rain, snow, clouds, thunderstorms, clear nights, and sunny skies should now be static in each city’s detailed view. The animations will also stop moving in the list view. However, this should not affect the cards.
9. Increase Screen Contrast
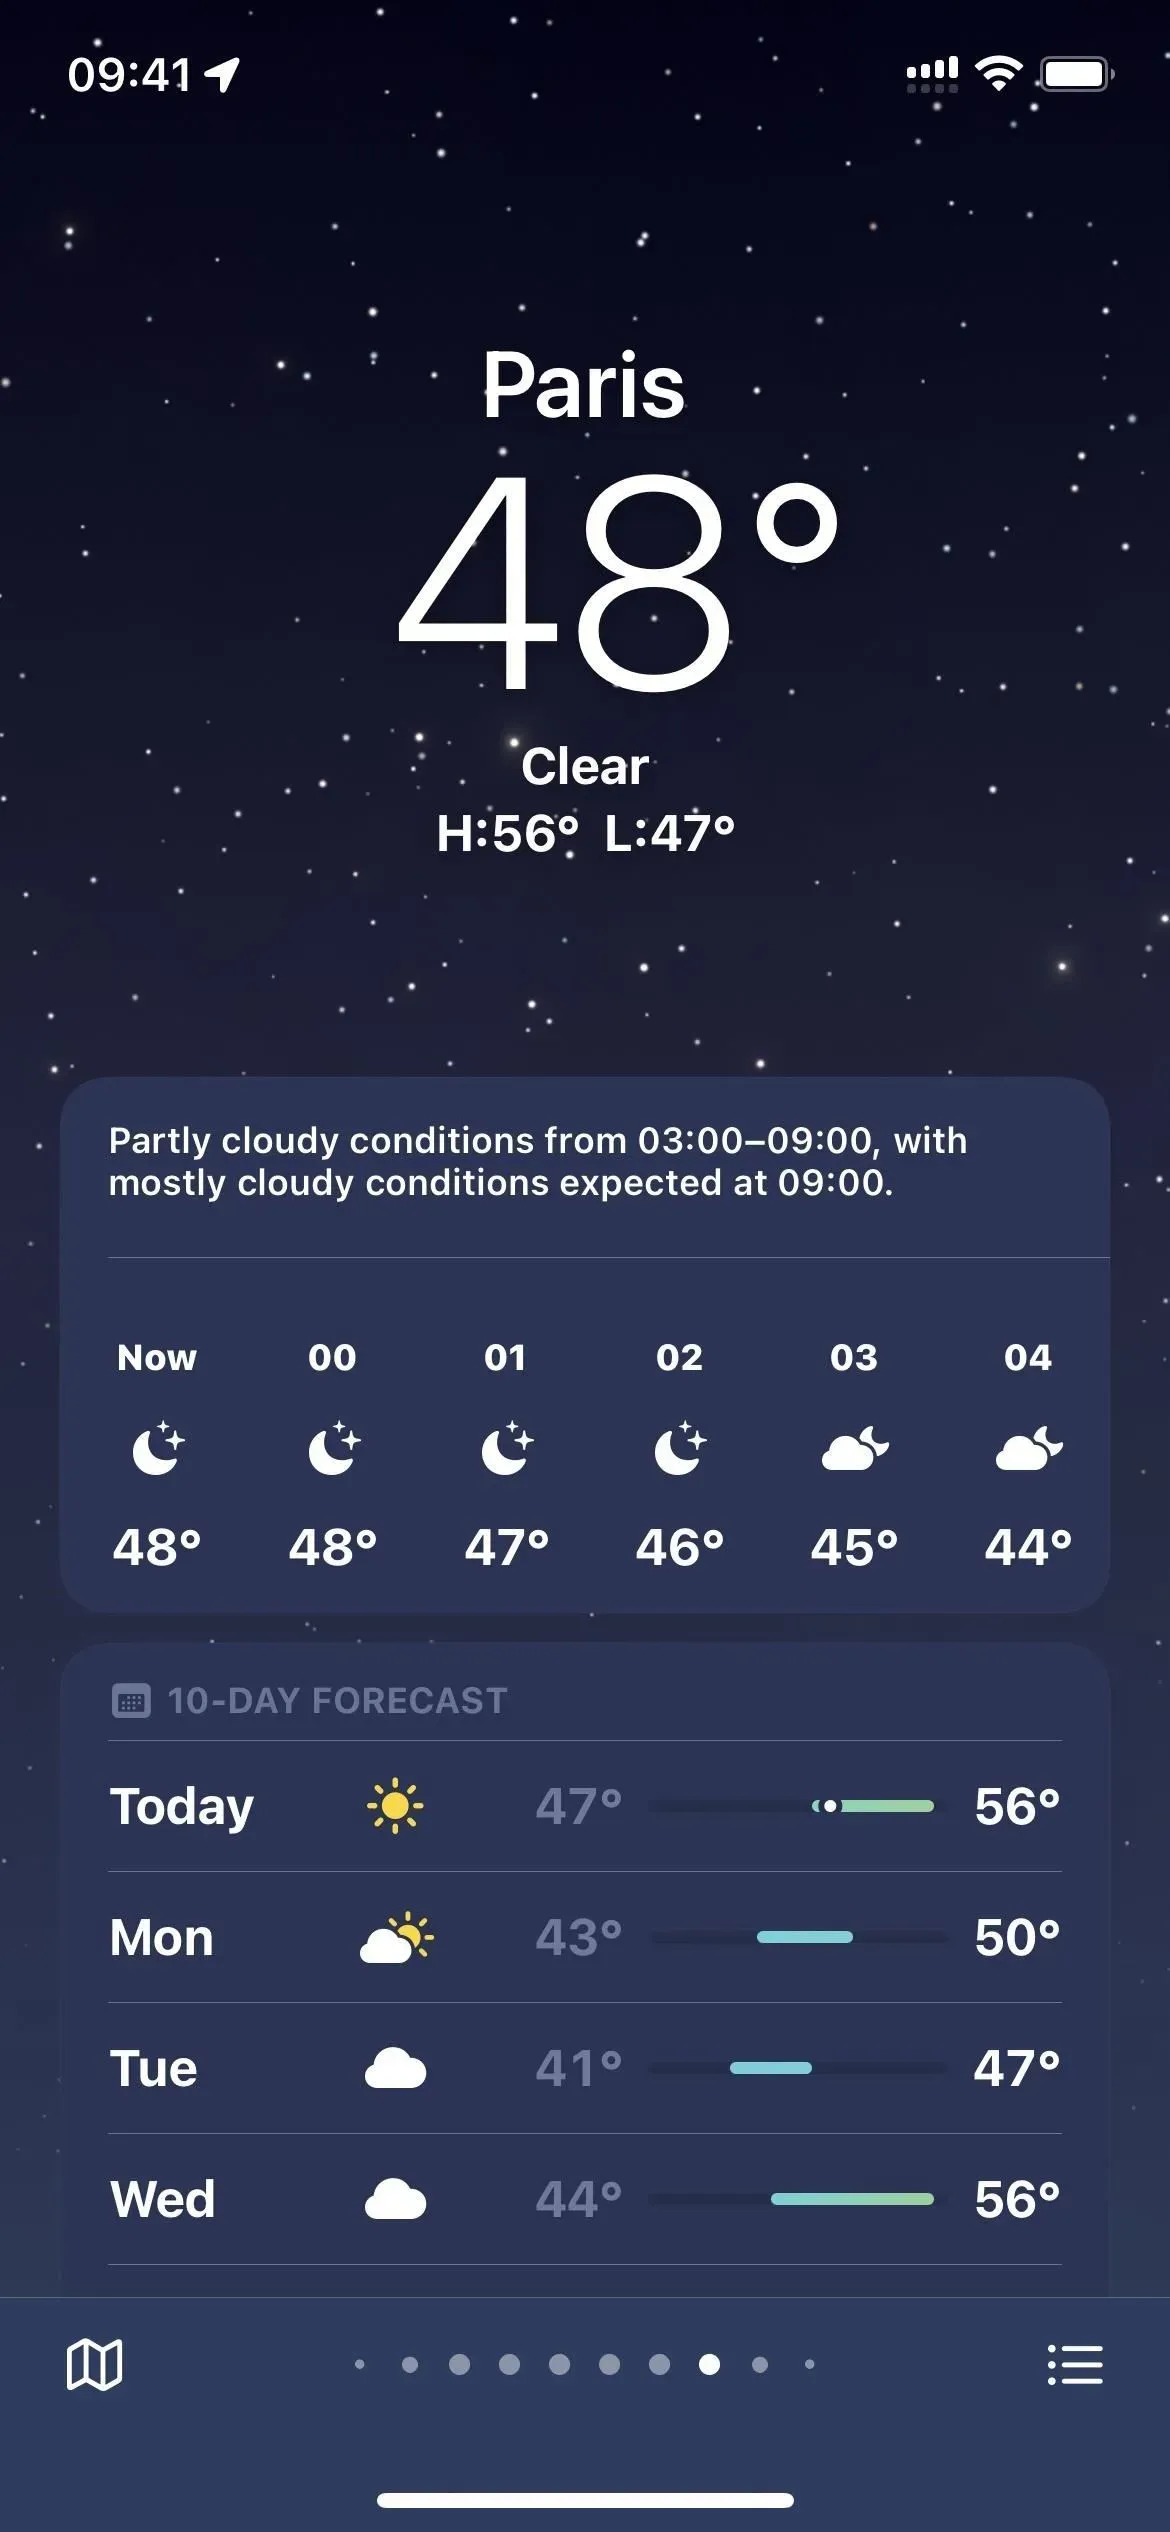
Another option in App Settings for weather in iOS 15 and iOS 16 is Increase Contrast. When enabled, there are slight changes to the weather menu and text that make it easier to view and read. If you can easily notice the difference, you can use it.
Go to Settings -> Accessibility -> Per App Settings -> Weather again. Select “Add App”and select “Weather”from the list if you don’t see it. Then click “Increase Contrast”and turn it on or off, or leave it at the default, which uses the system-wide “Increase Contrast”setting.
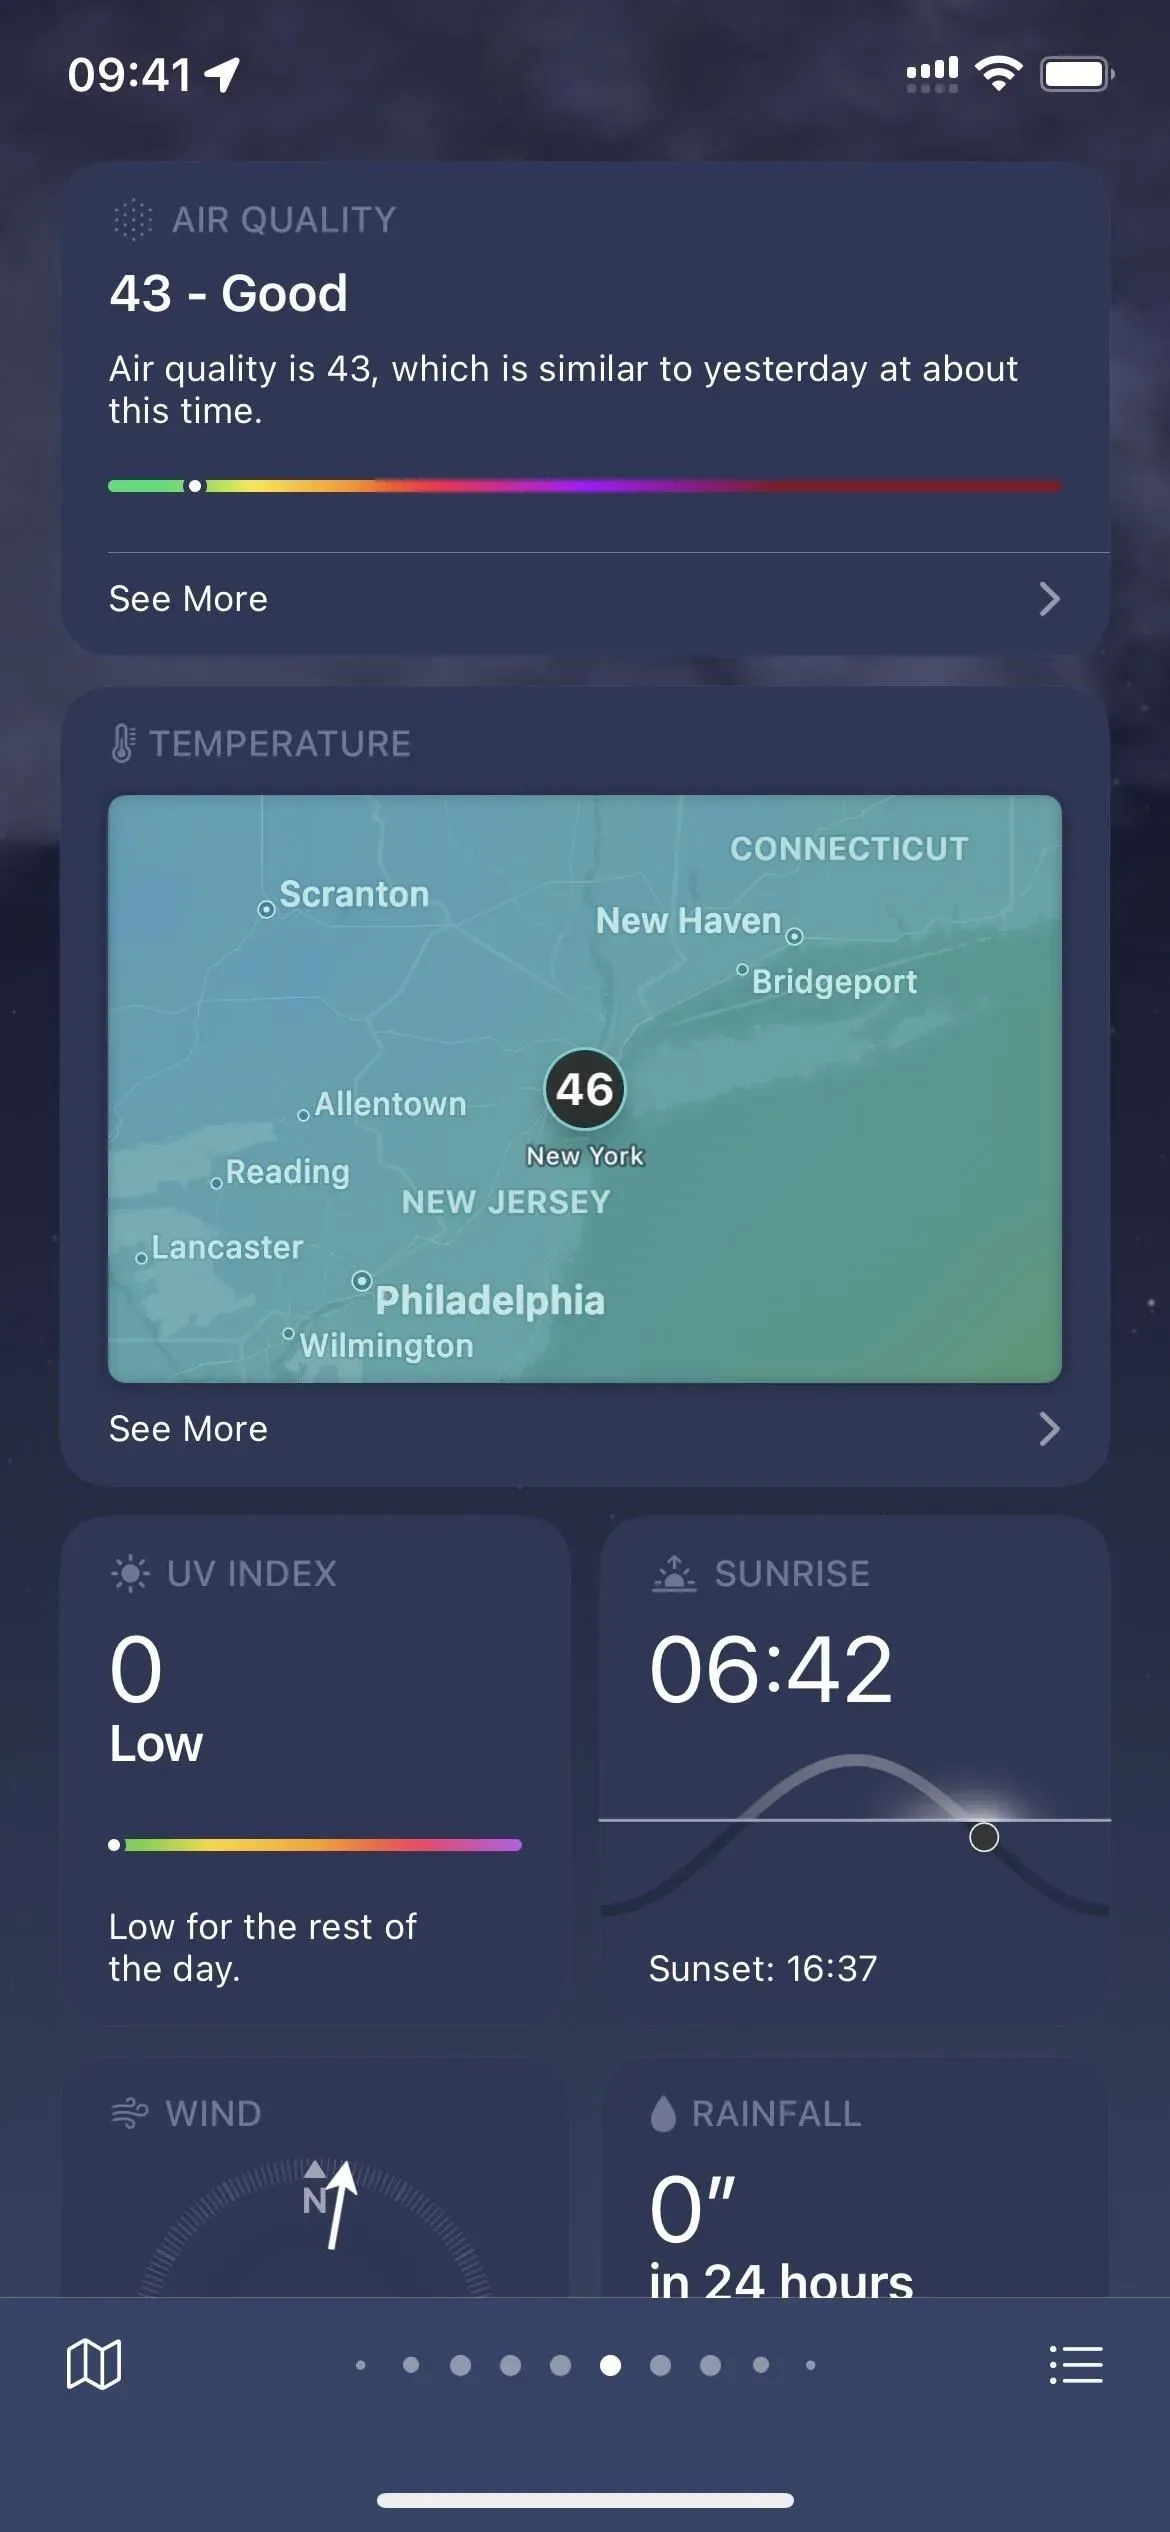
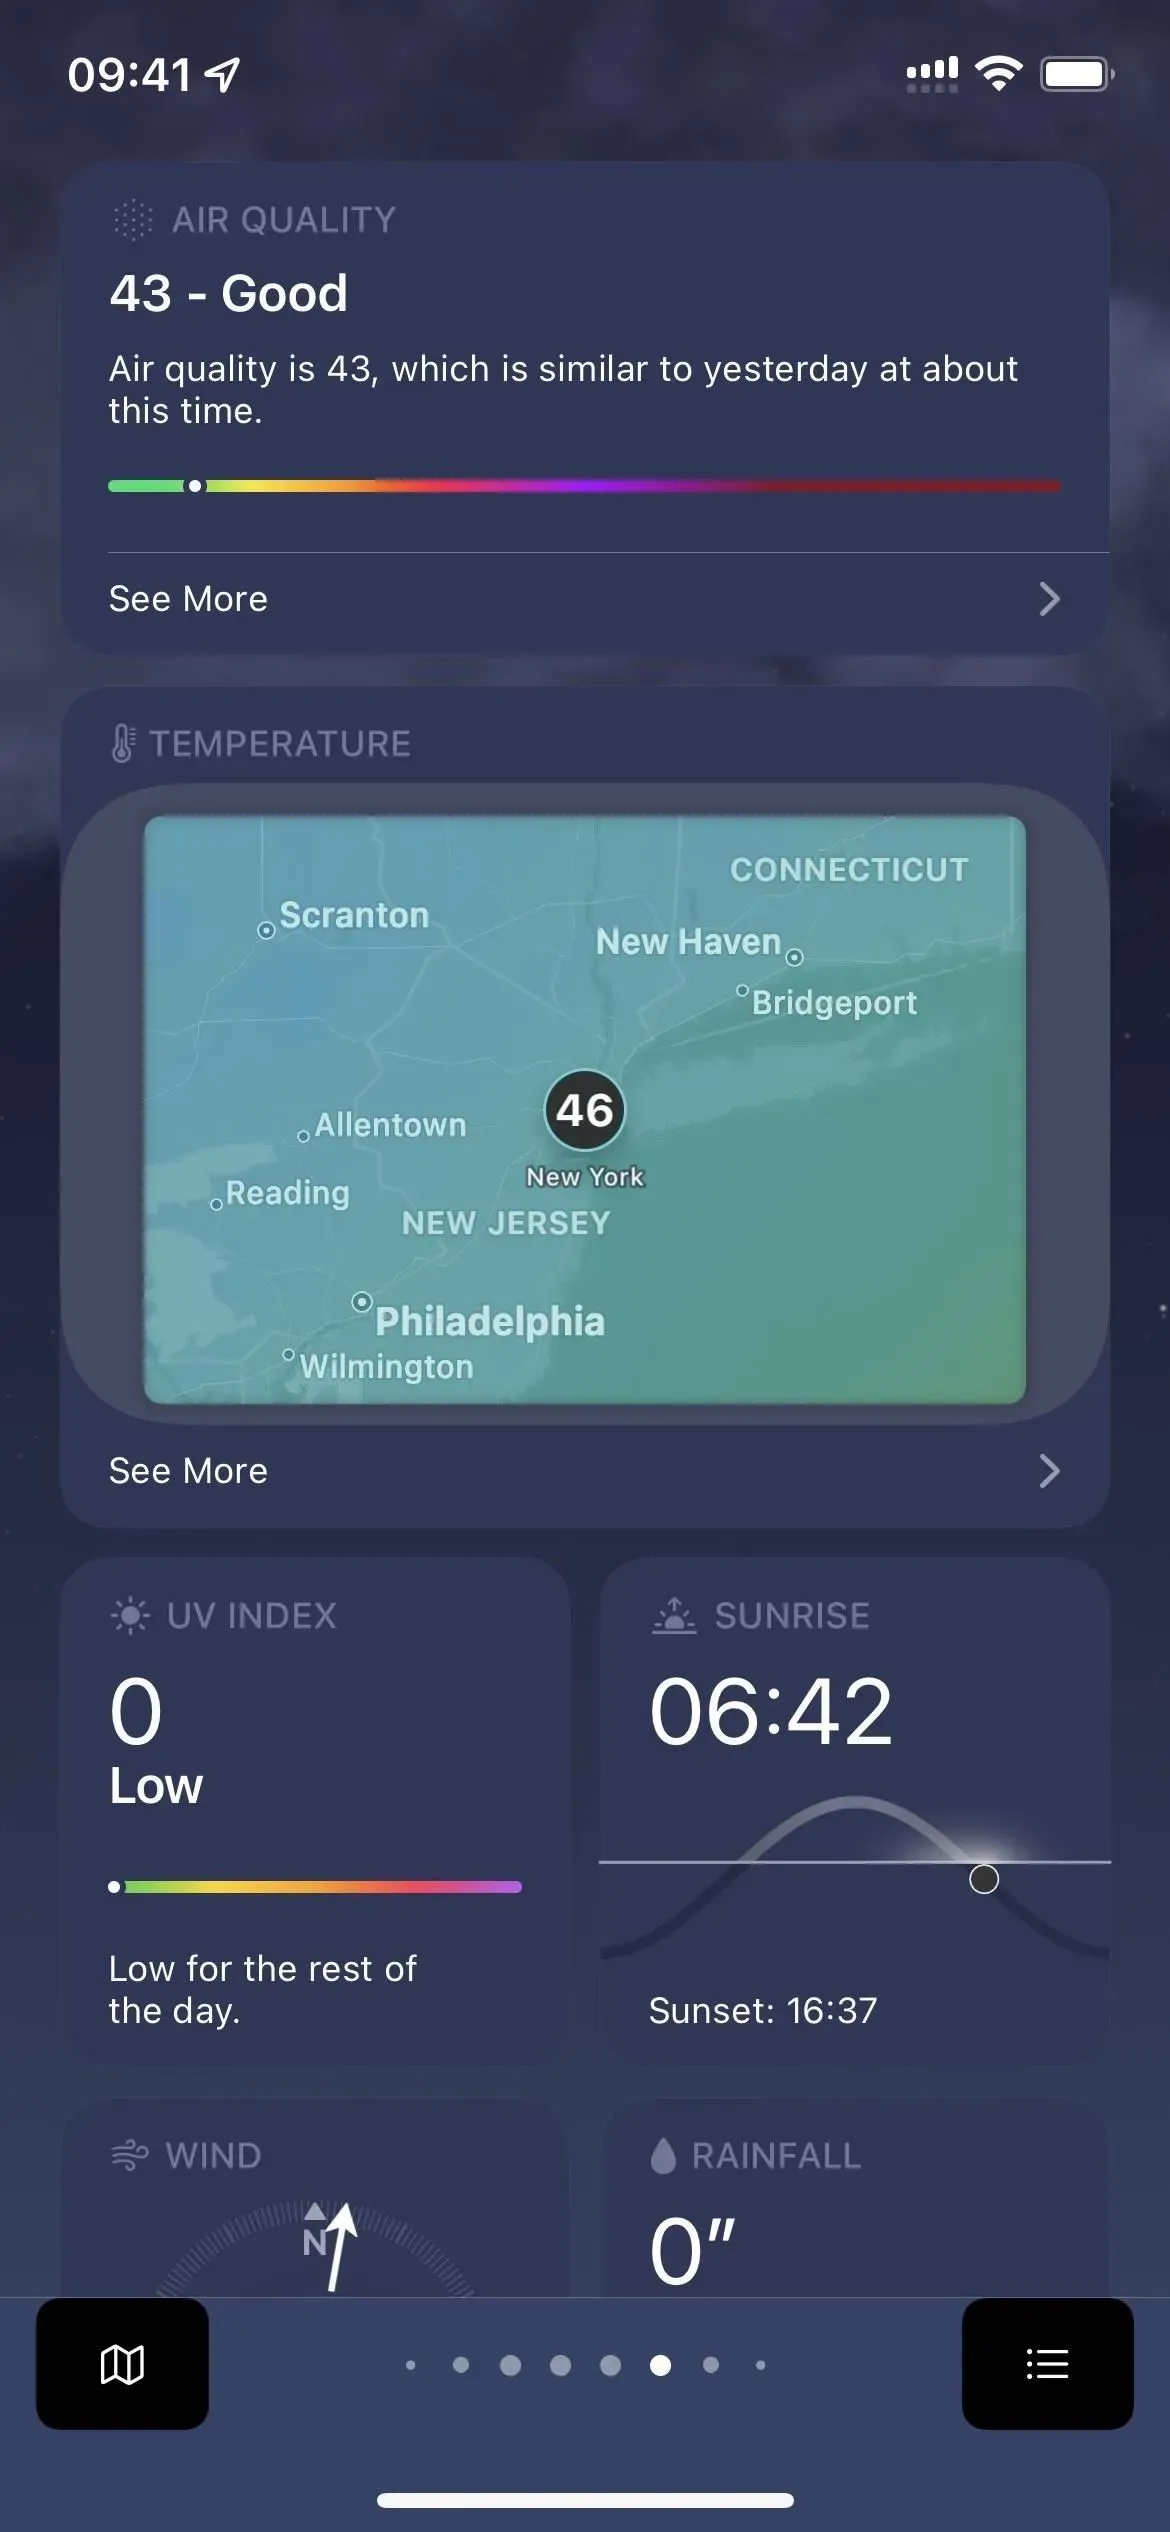
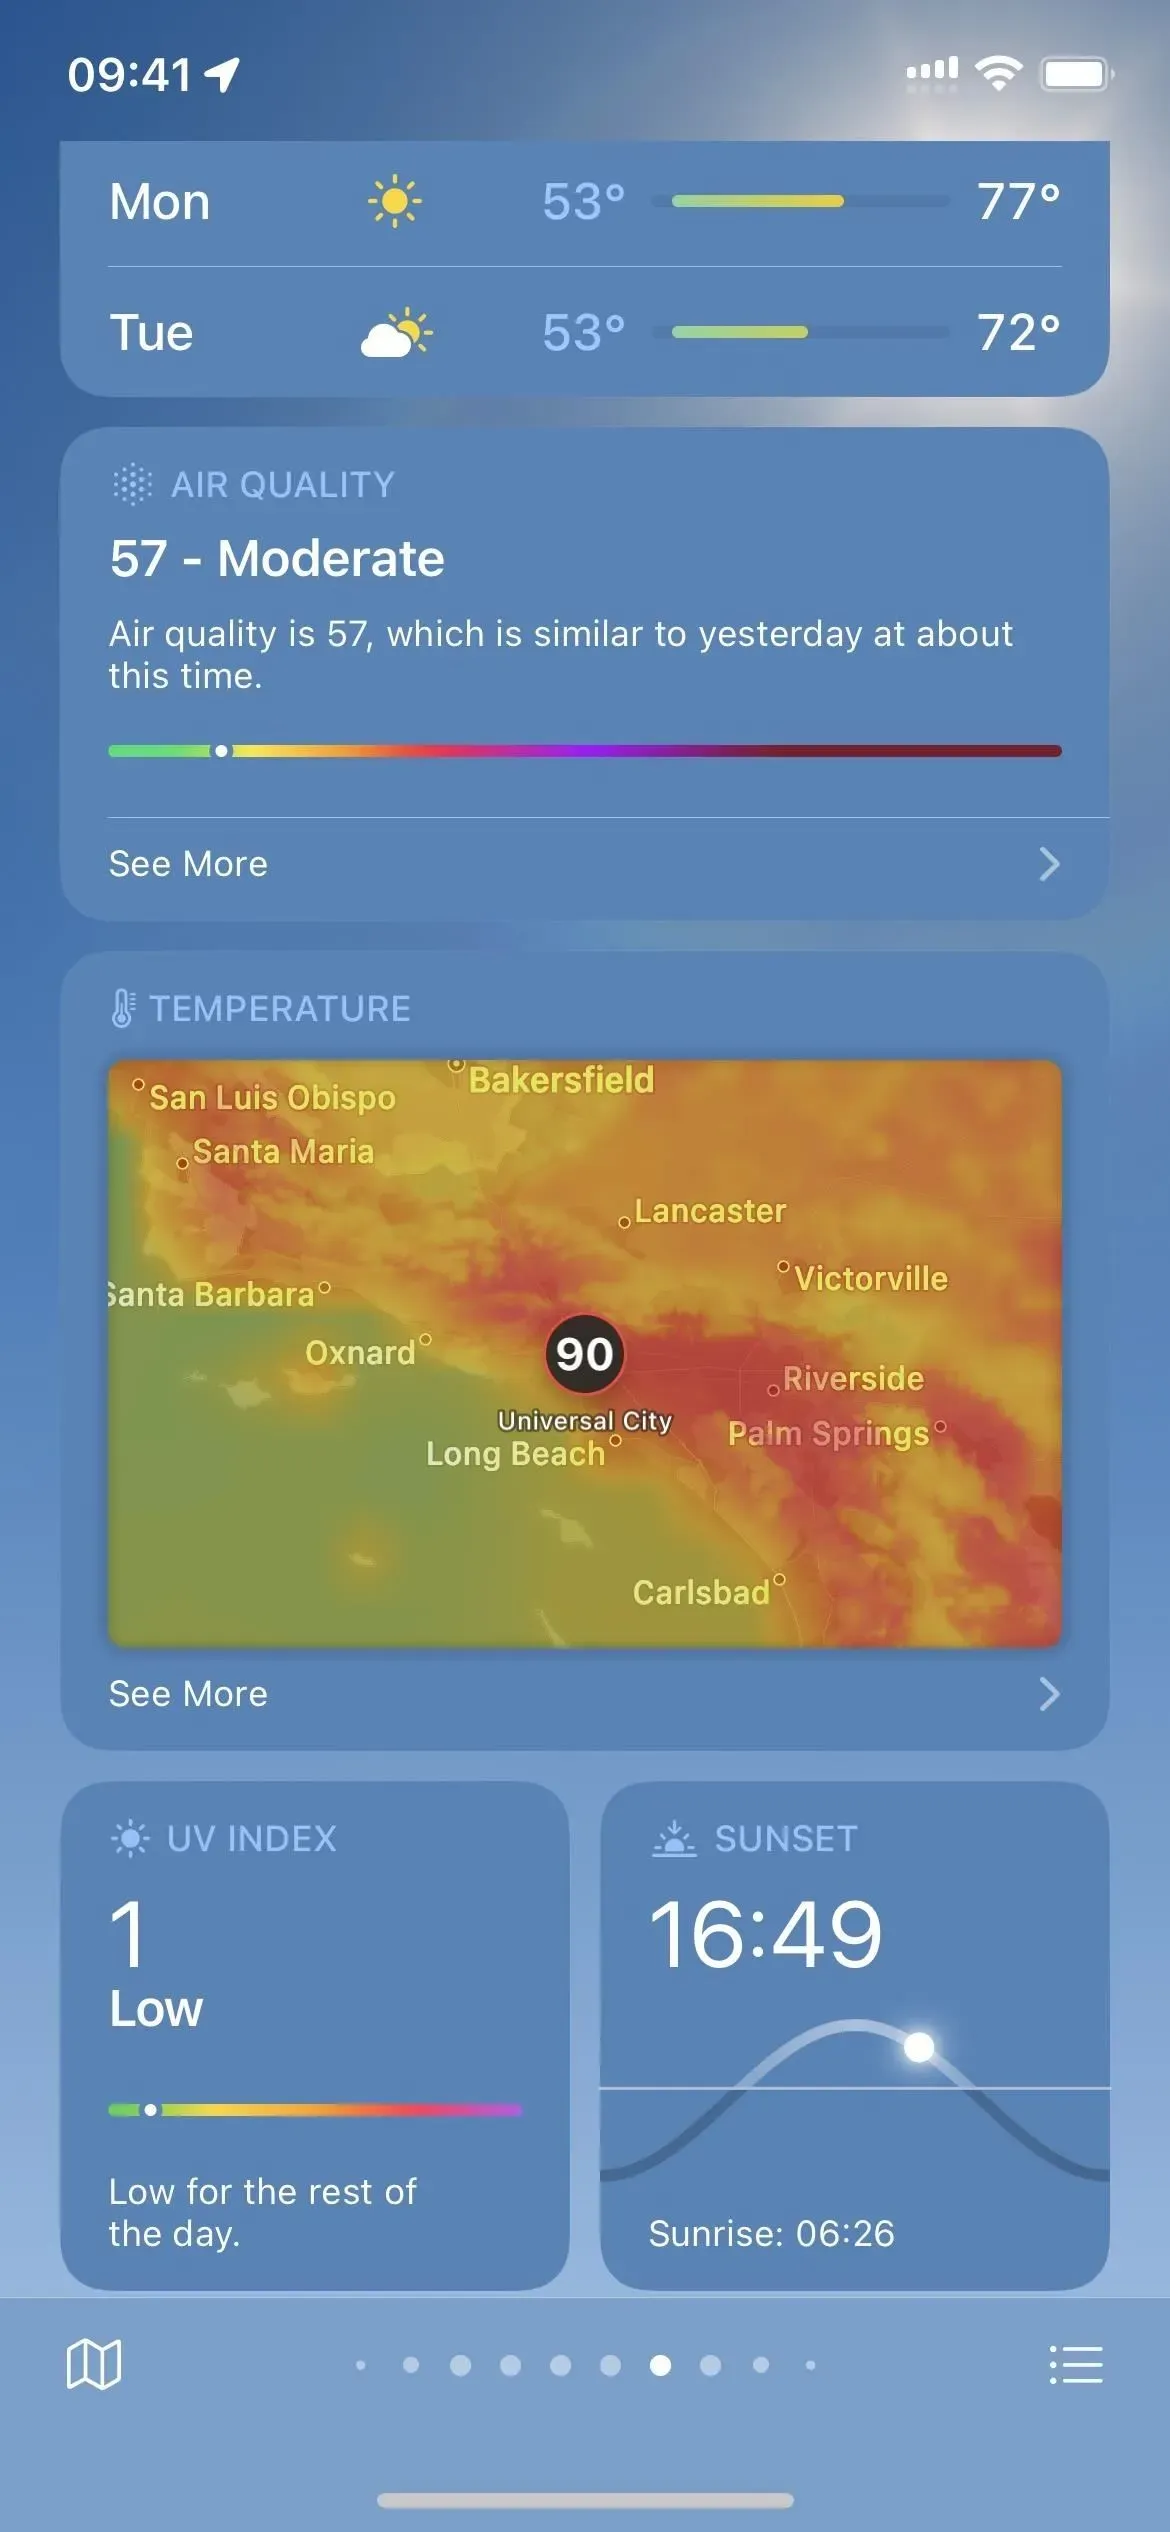
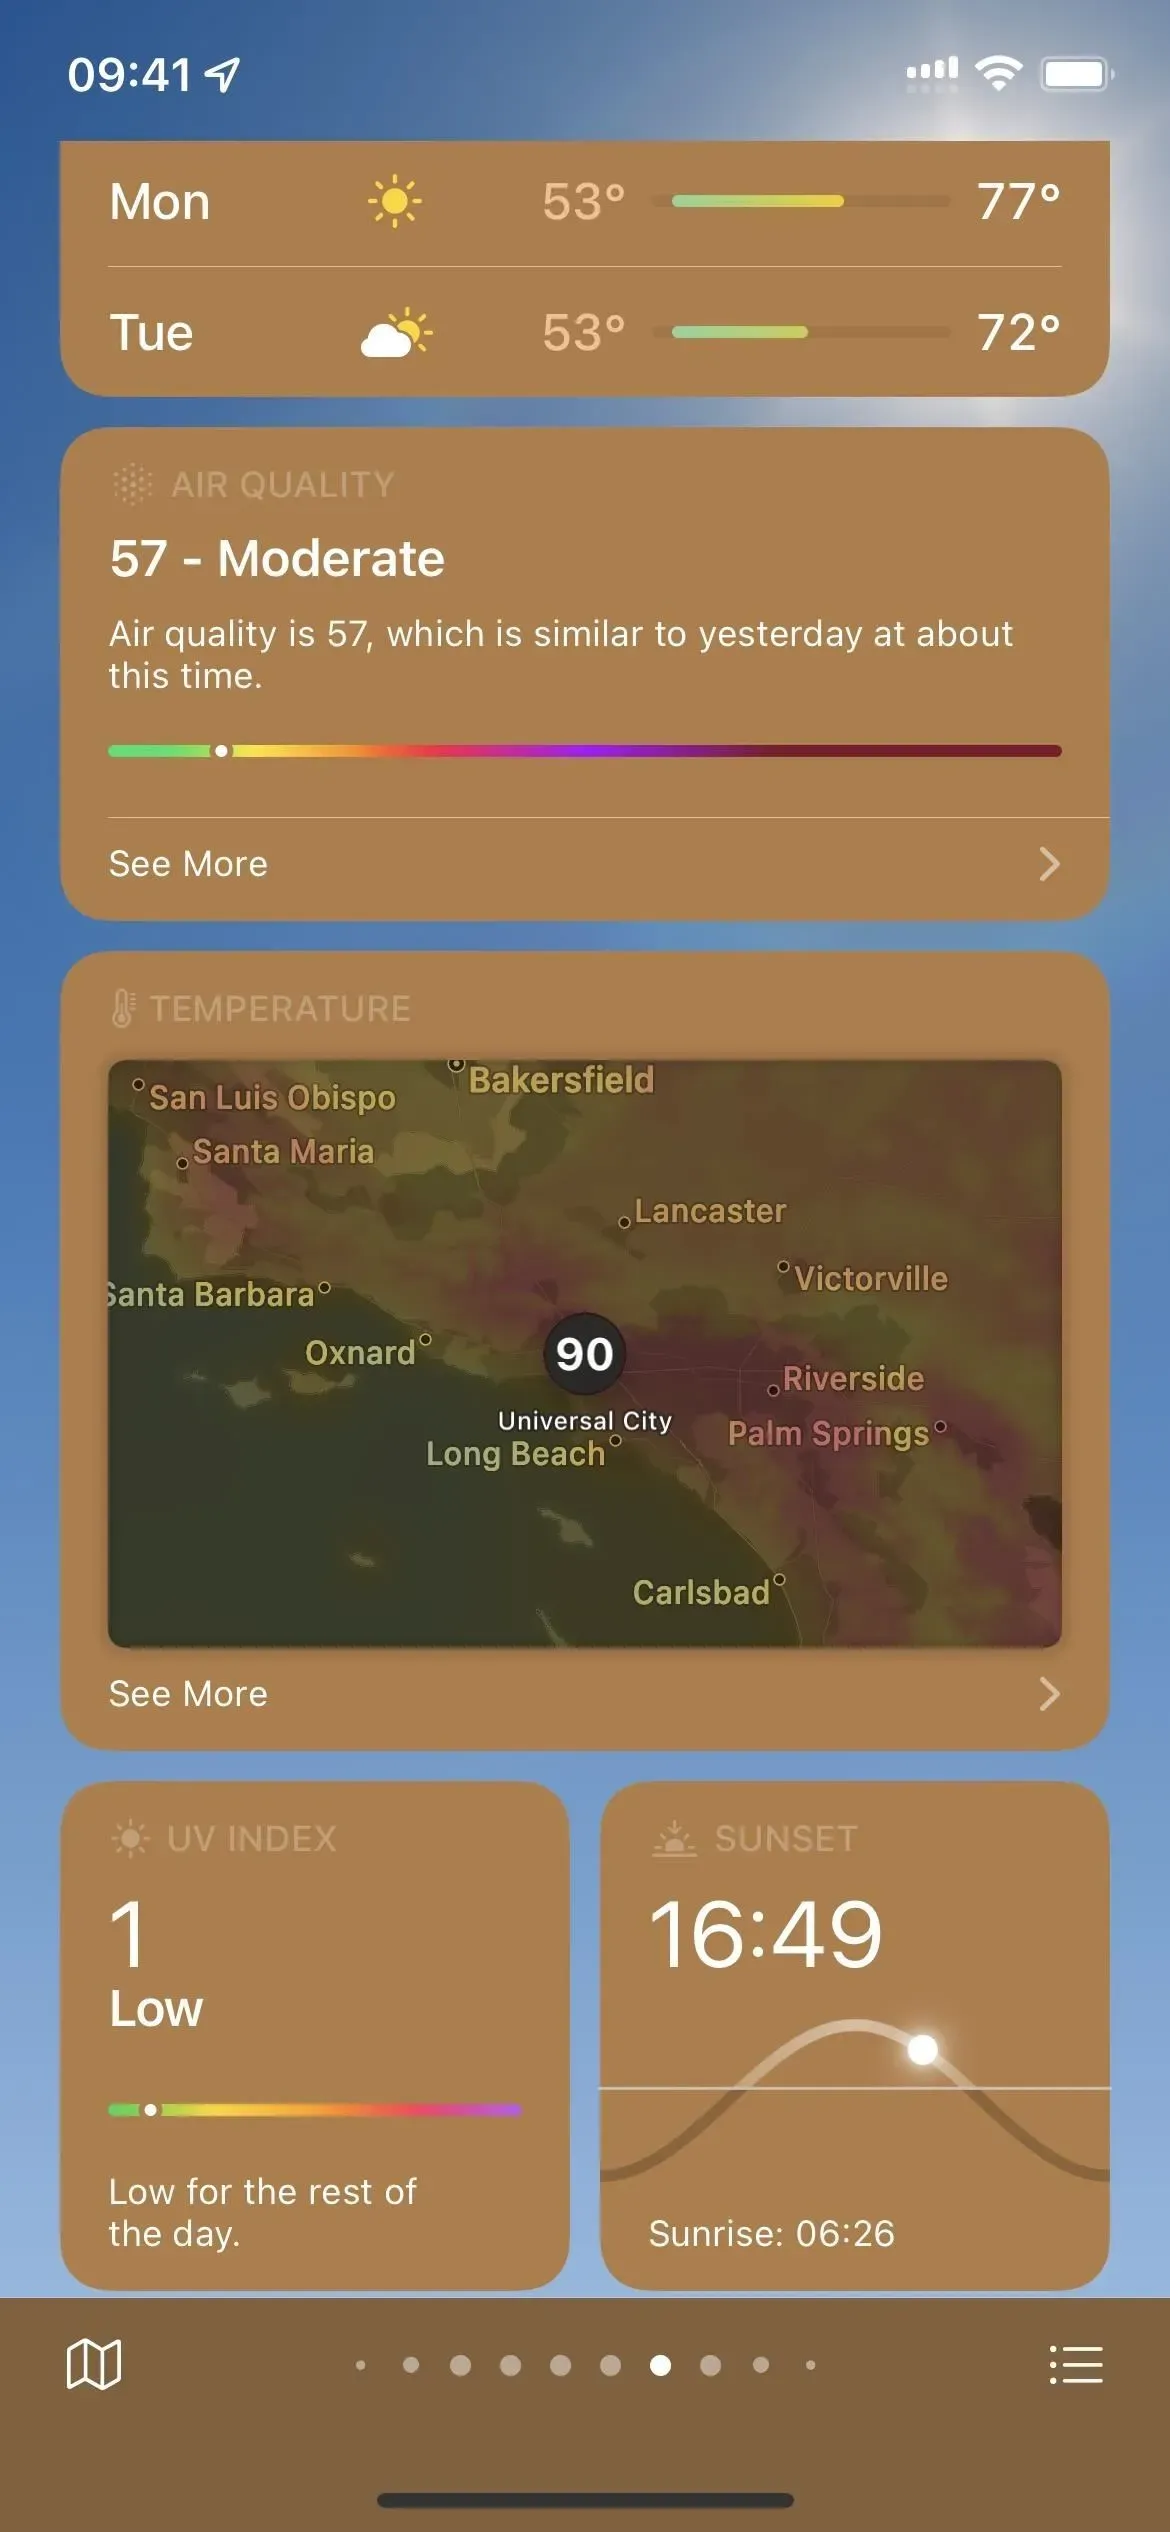
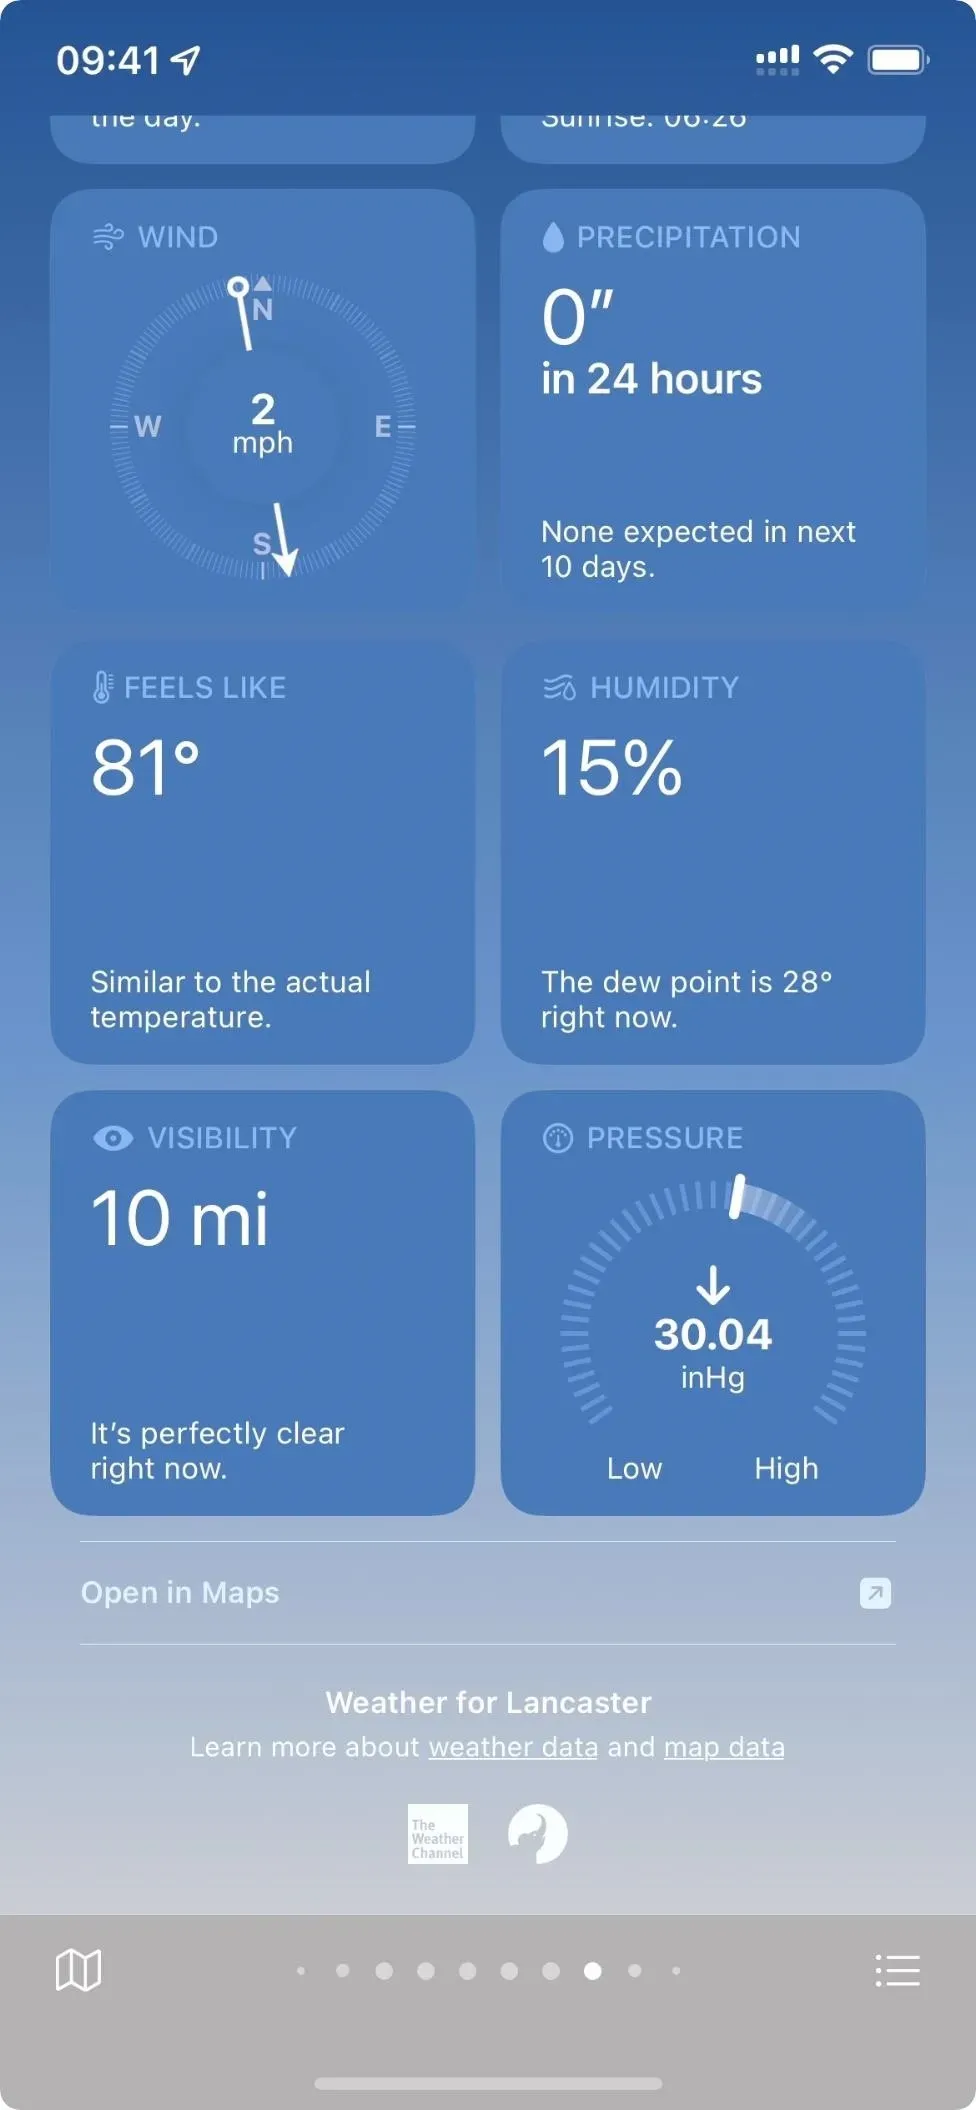
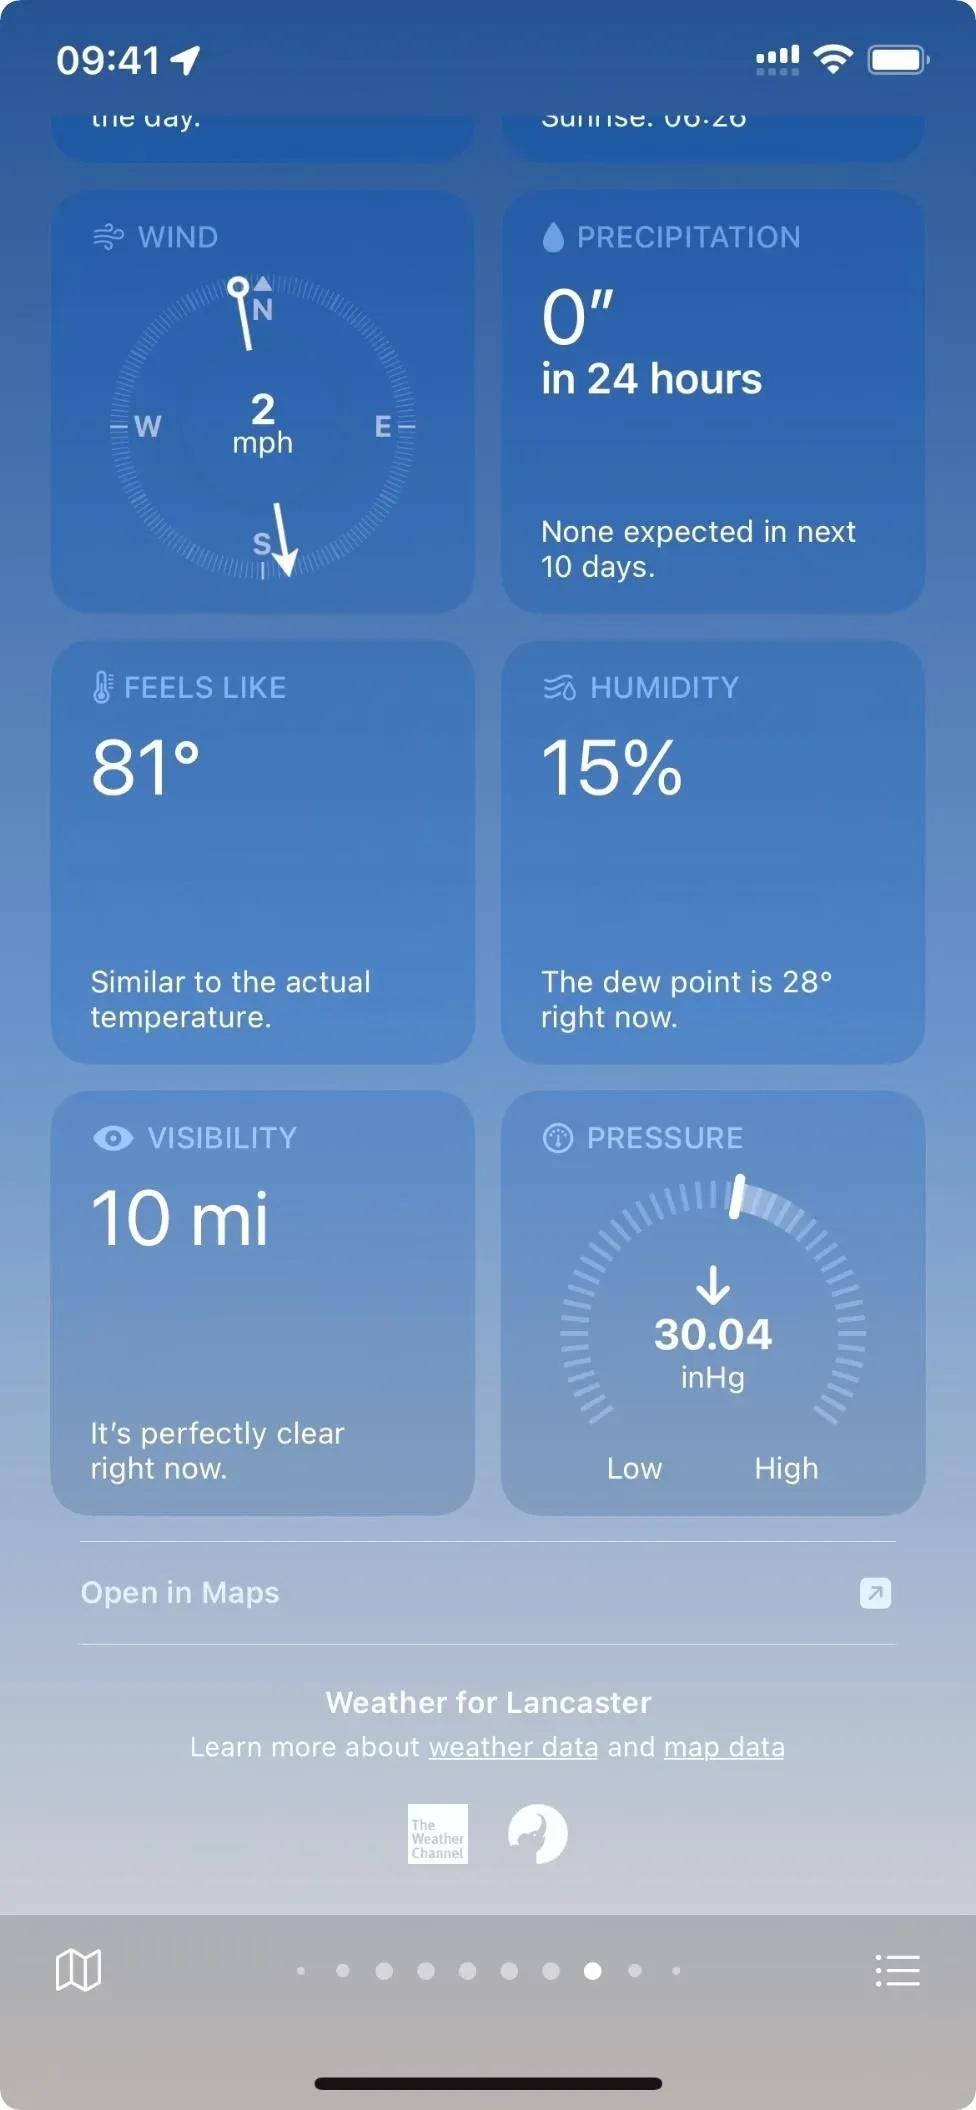
10. Reduce transparency
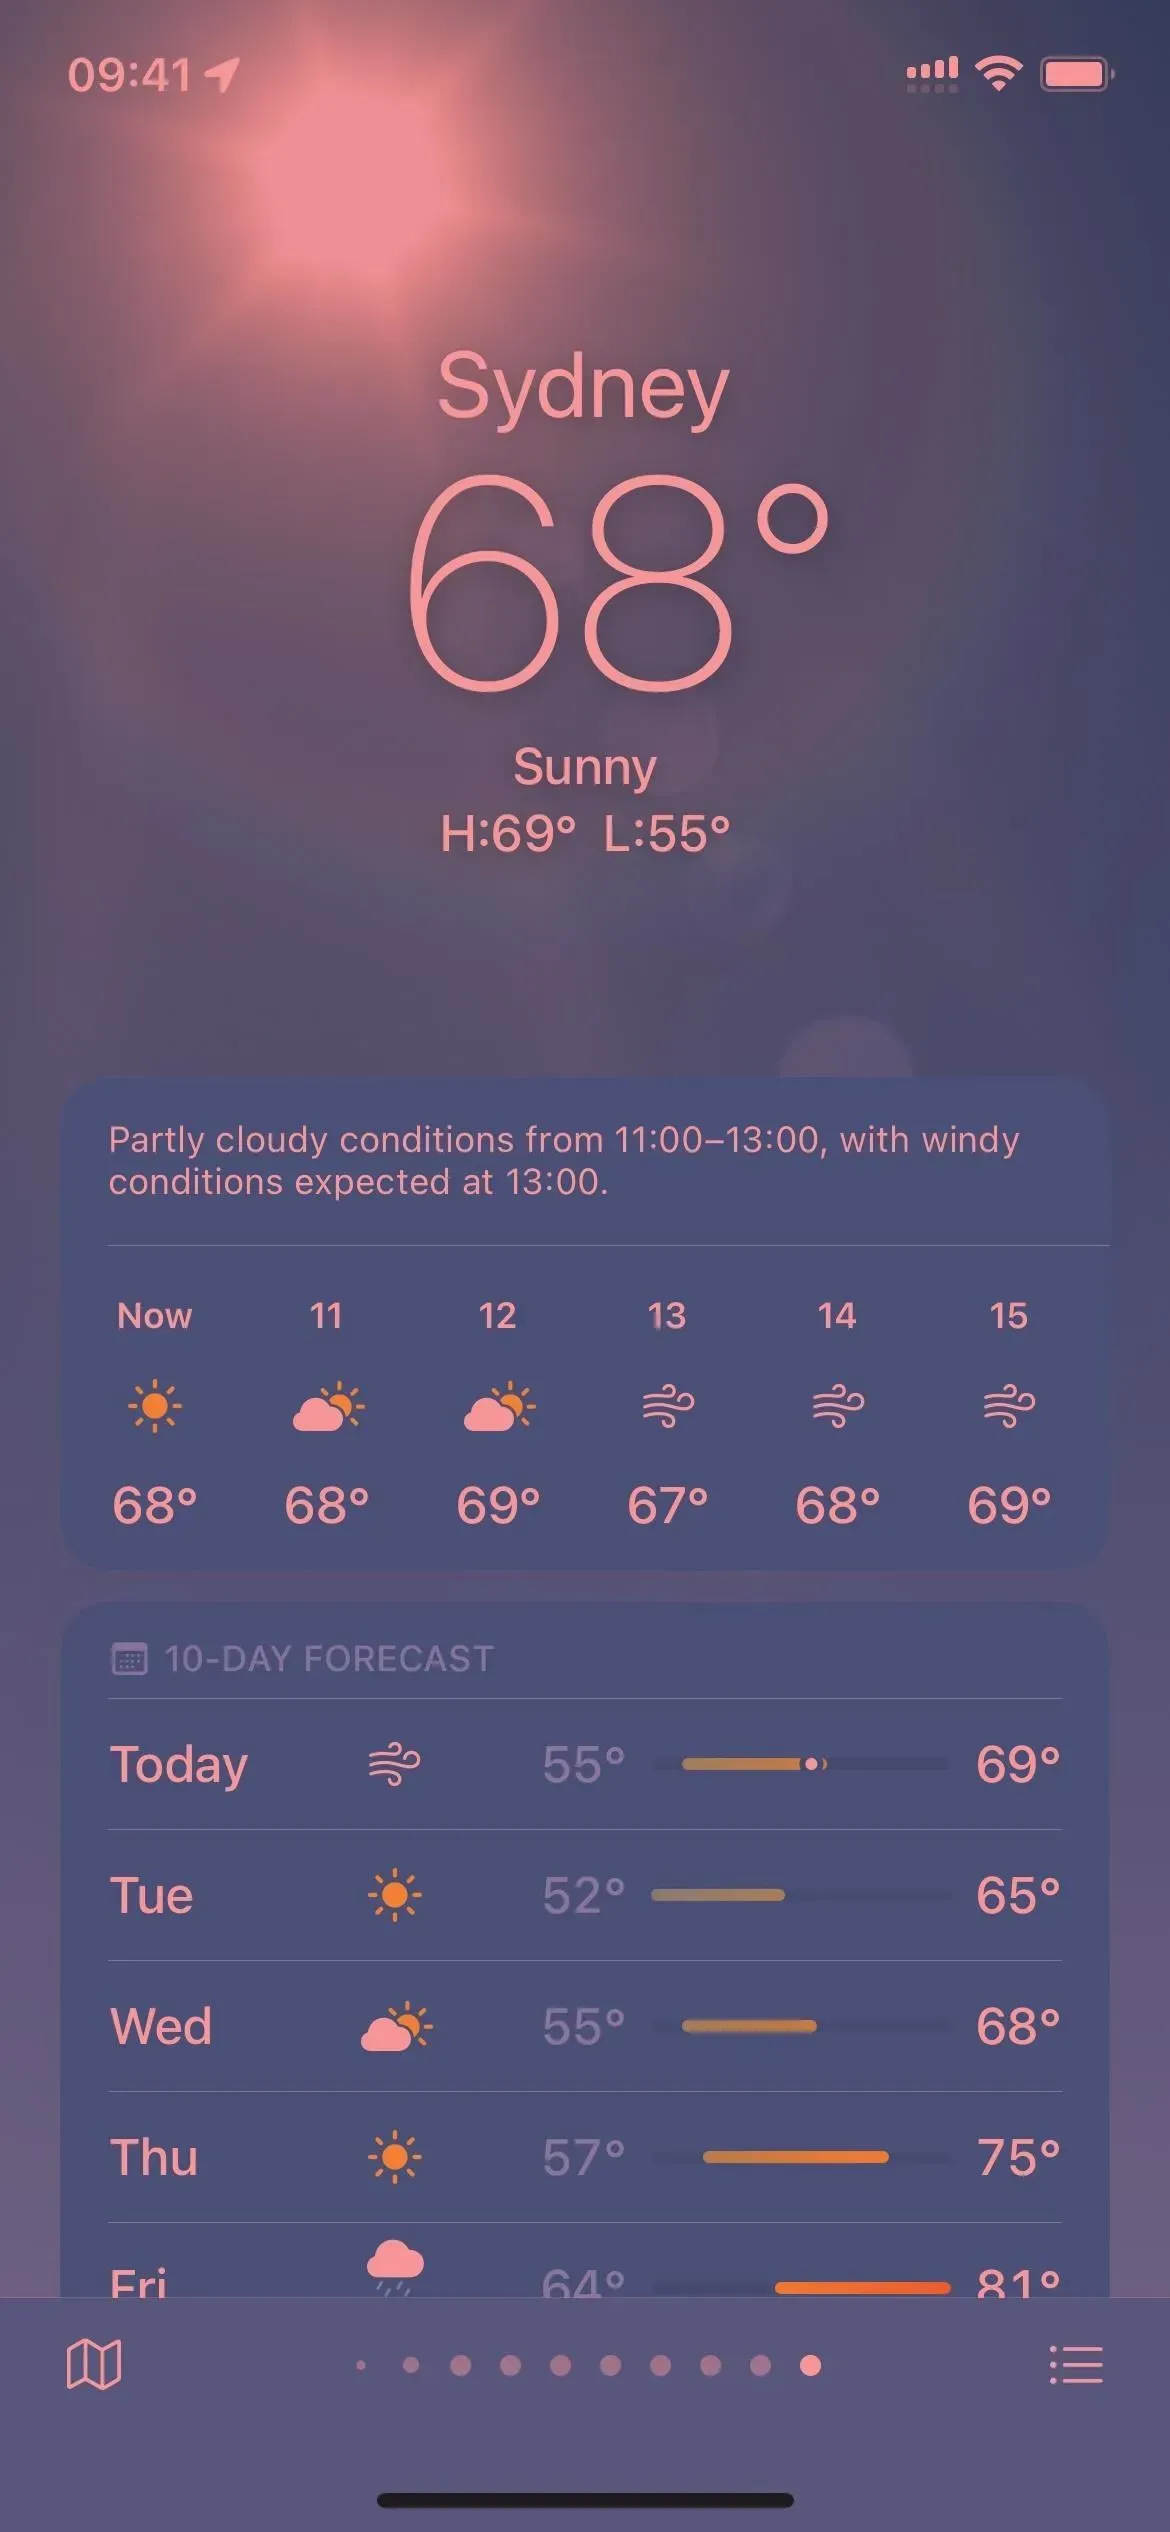
Another subtle change you can make to Weather is “reduces transparency and blur on some backgrounds,”as Apple would say. This is most noticeable in the daylight of the city. Like some of the previous features, this is only for iOS 15 and later.
Visit Settings -> Accessibility -> Per-App Settings -> Weather. Use “Add App”to find and add “Weather”if you don’t see it. Then click “Reduce Transparency”and turn it on or off, or leave it at the default, which uses the system-wide “Reduce Transparency”setting.
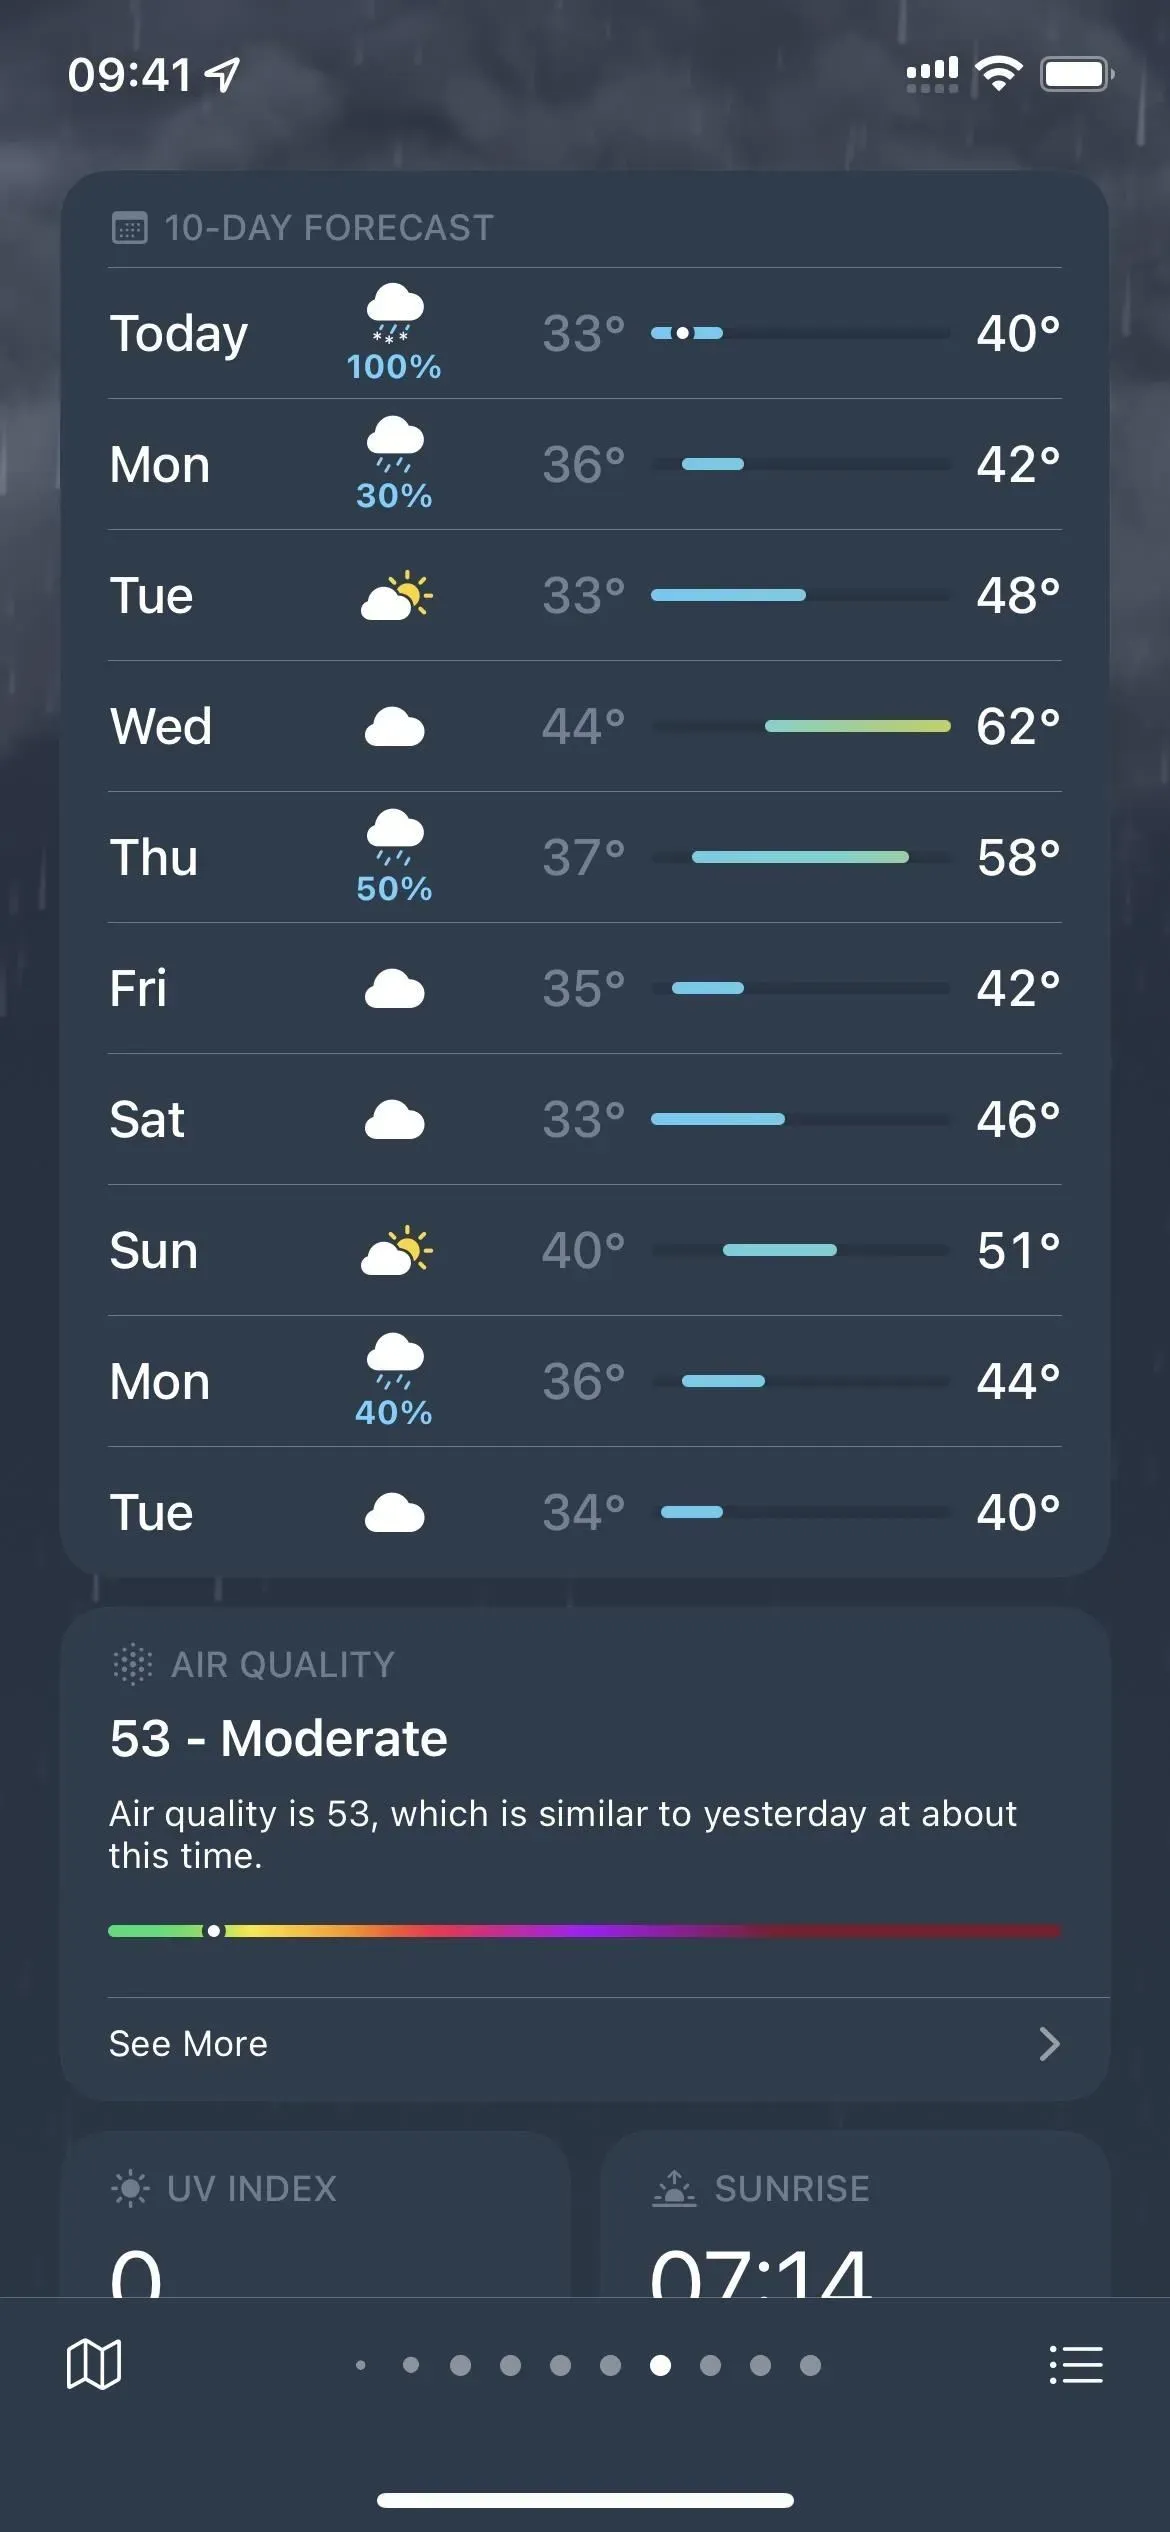
11. Turn on the classic inverter
Apple included quite a few customization options for its Per-App Settings in iOS 15 and iOS 16, but left out some of the best. While “Smart Invert”is there, “Classic Invert”is nowhere to be seen. The smarter one intelligently inverts only what it sees fit, but the classic version inverts just about everything. In the Weather app, this can be a fun way to view city forecasts.
Because Weather doesn’t have a dedicated setting for this, you’ll have to rely on turning on “Classic Invert”manually, via an accessibility shortcut, or by tapping the back of your iPhone two or three times. What’s more, you can set up an automation that turns on “Classic Invert”when you open “Weather”and then turns it off when you exit.
- Full Instructions: How to Change the UI Color Theme of Any App on Your iPhone Without Affecting the Rest of iOS
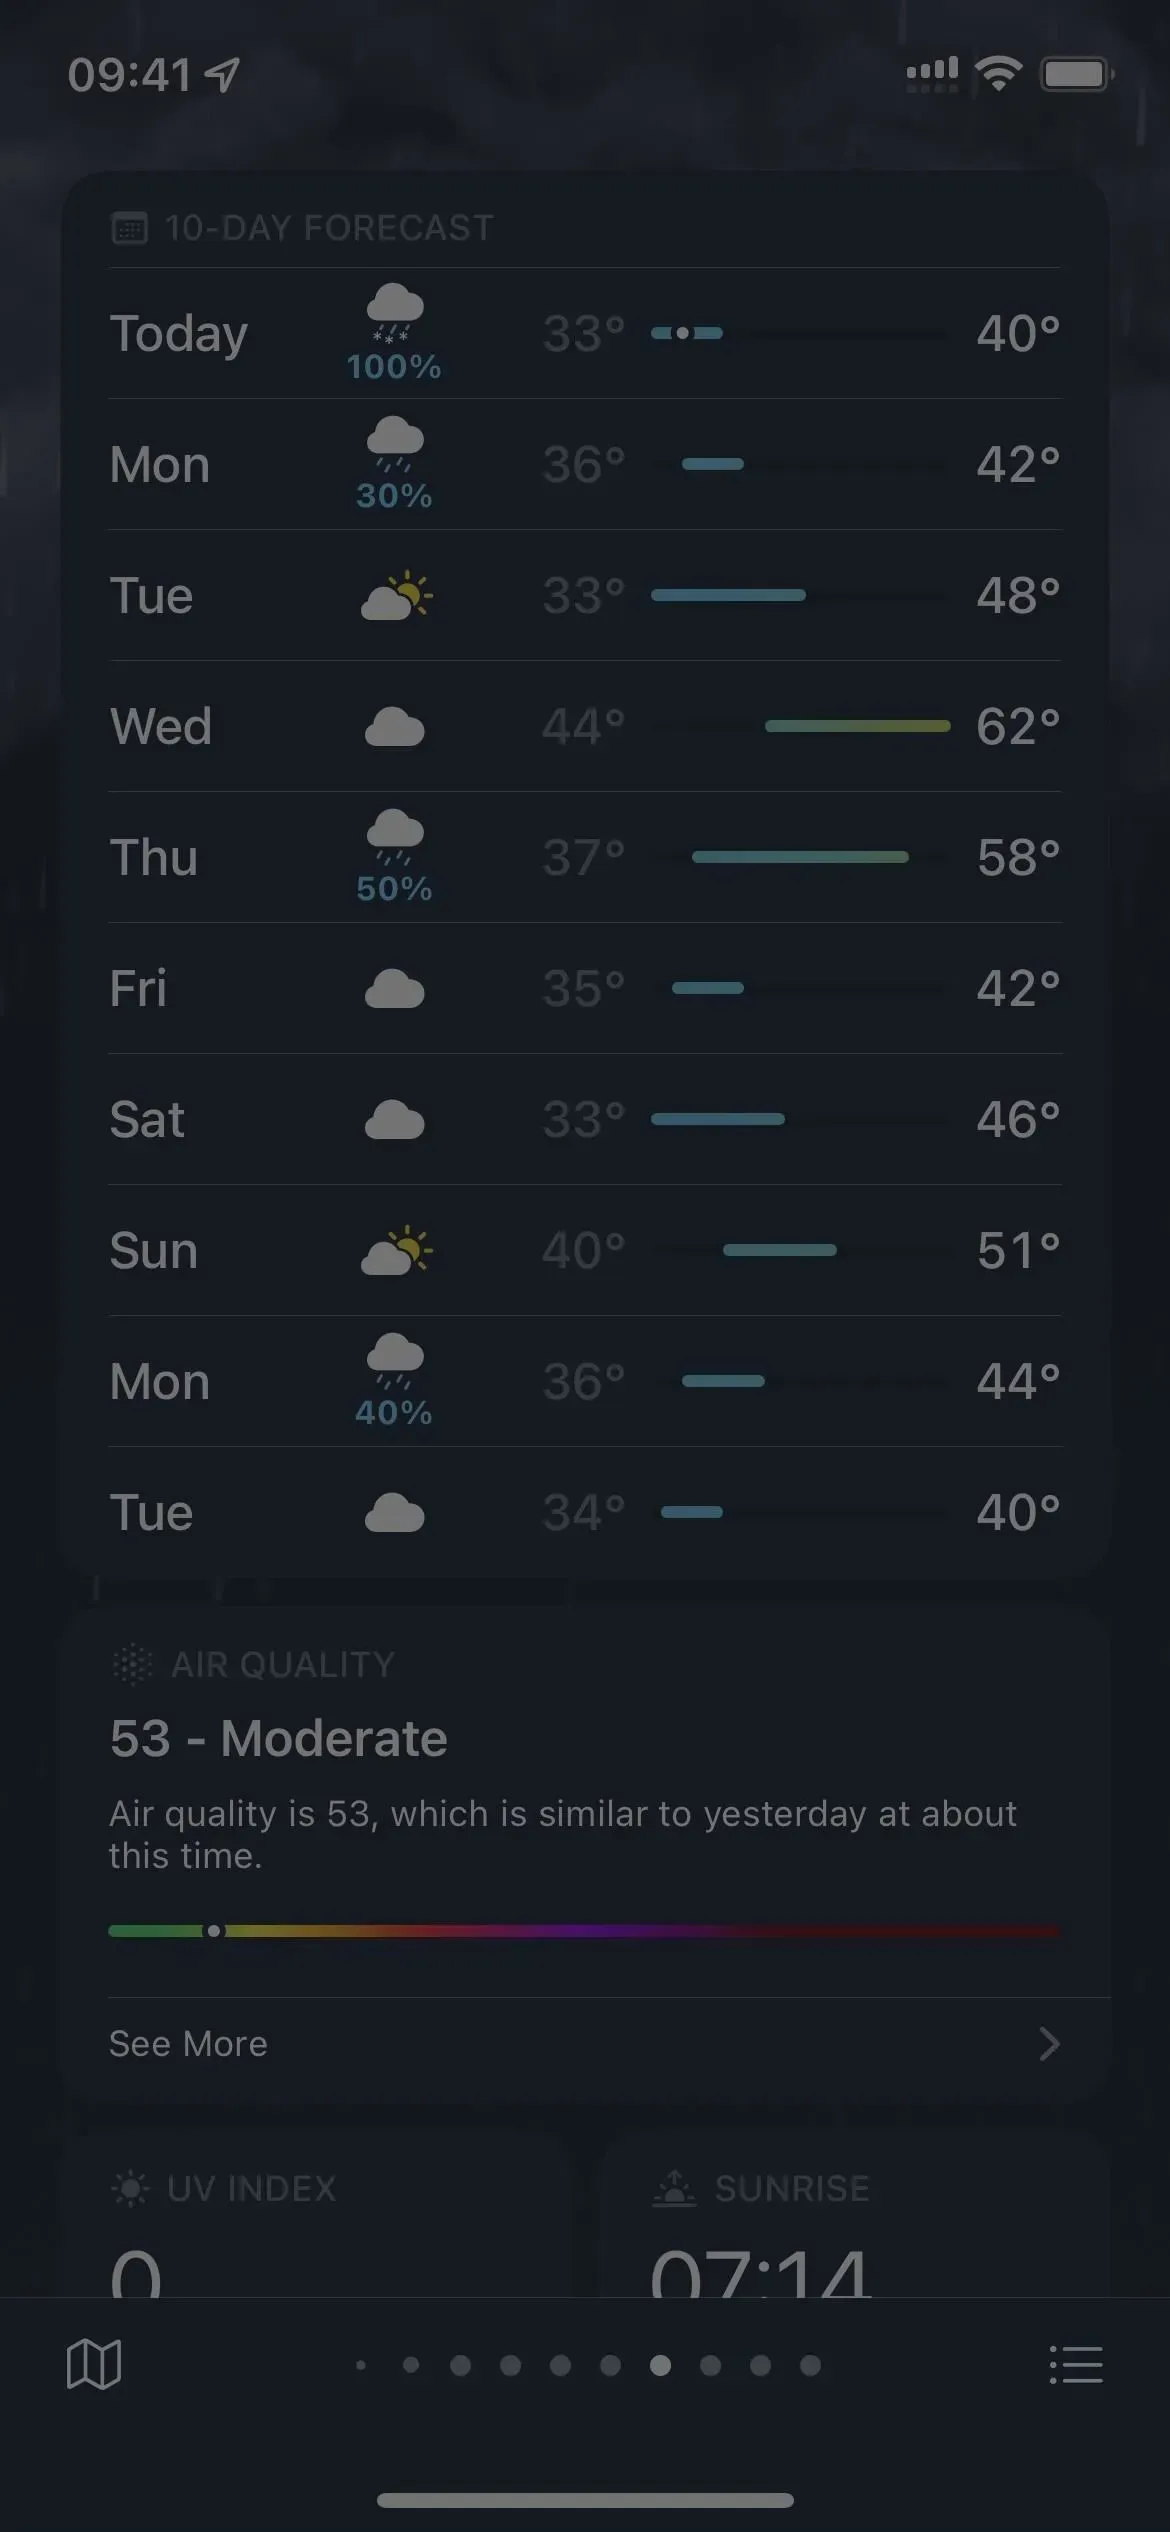
12. Reduce white point
As with Classic Invert, you can set up automation, an accessibility shortcut, or pressing Back with the Reduce White Point feature in iOS. By reducing the white point in the Weather app, you reduce the brightness of the whites on the screen, and you can make the screen darker overall with the slider.
- Full Instructions: How to Change the UI Color Theme of Any App on Your iPhone Without Affecting the Rest of iOS
13. Use Zoom to Reduce Brightness
If the Reduce White Point option doesn’t reduce the brightness of the weather enough for you, you can try Zoom in combination with it or instead. With “Zoom”you can make the brightness of the Weather UI lower than what iOS would normally let you get with the normal brightness controls. You can also set up an automation, accessibility shortcut, or Back Tap for this.
- Full Instructions: How to Change the UI Color Theme of Any App on Your iPhone Without Affecting the Rest of iOS
14. Assign dark or light mode
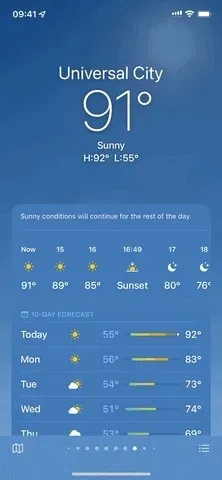
Another option that you can automate with shortcuts or assign to an accessibility shortcut or back touch is Dark Mode and Light Mode. For the weather, you will mostly notice a difference in the menu, but some map views also adapt to changes in darkness or light.
- Full Instructions: How to Change the UI Color Theme of Any App on Your iPhone Without Affecting the Rest of iOS

15. Apply color filters
Apple has an accessibility setting for the iPhone that applies color filters to the screen. It’s useful for people with color vision impairments, a great tool for amateur astronomers, and useful when you’re trying to fall asleep in bed. It’s also great if you just color the interface of the Weather app.
If you’re using iOS 16, you can set up an automation to trigger the “Set Color Filters”action and automatically apply a color filter every time you open Weather and remove it when you close Weather.
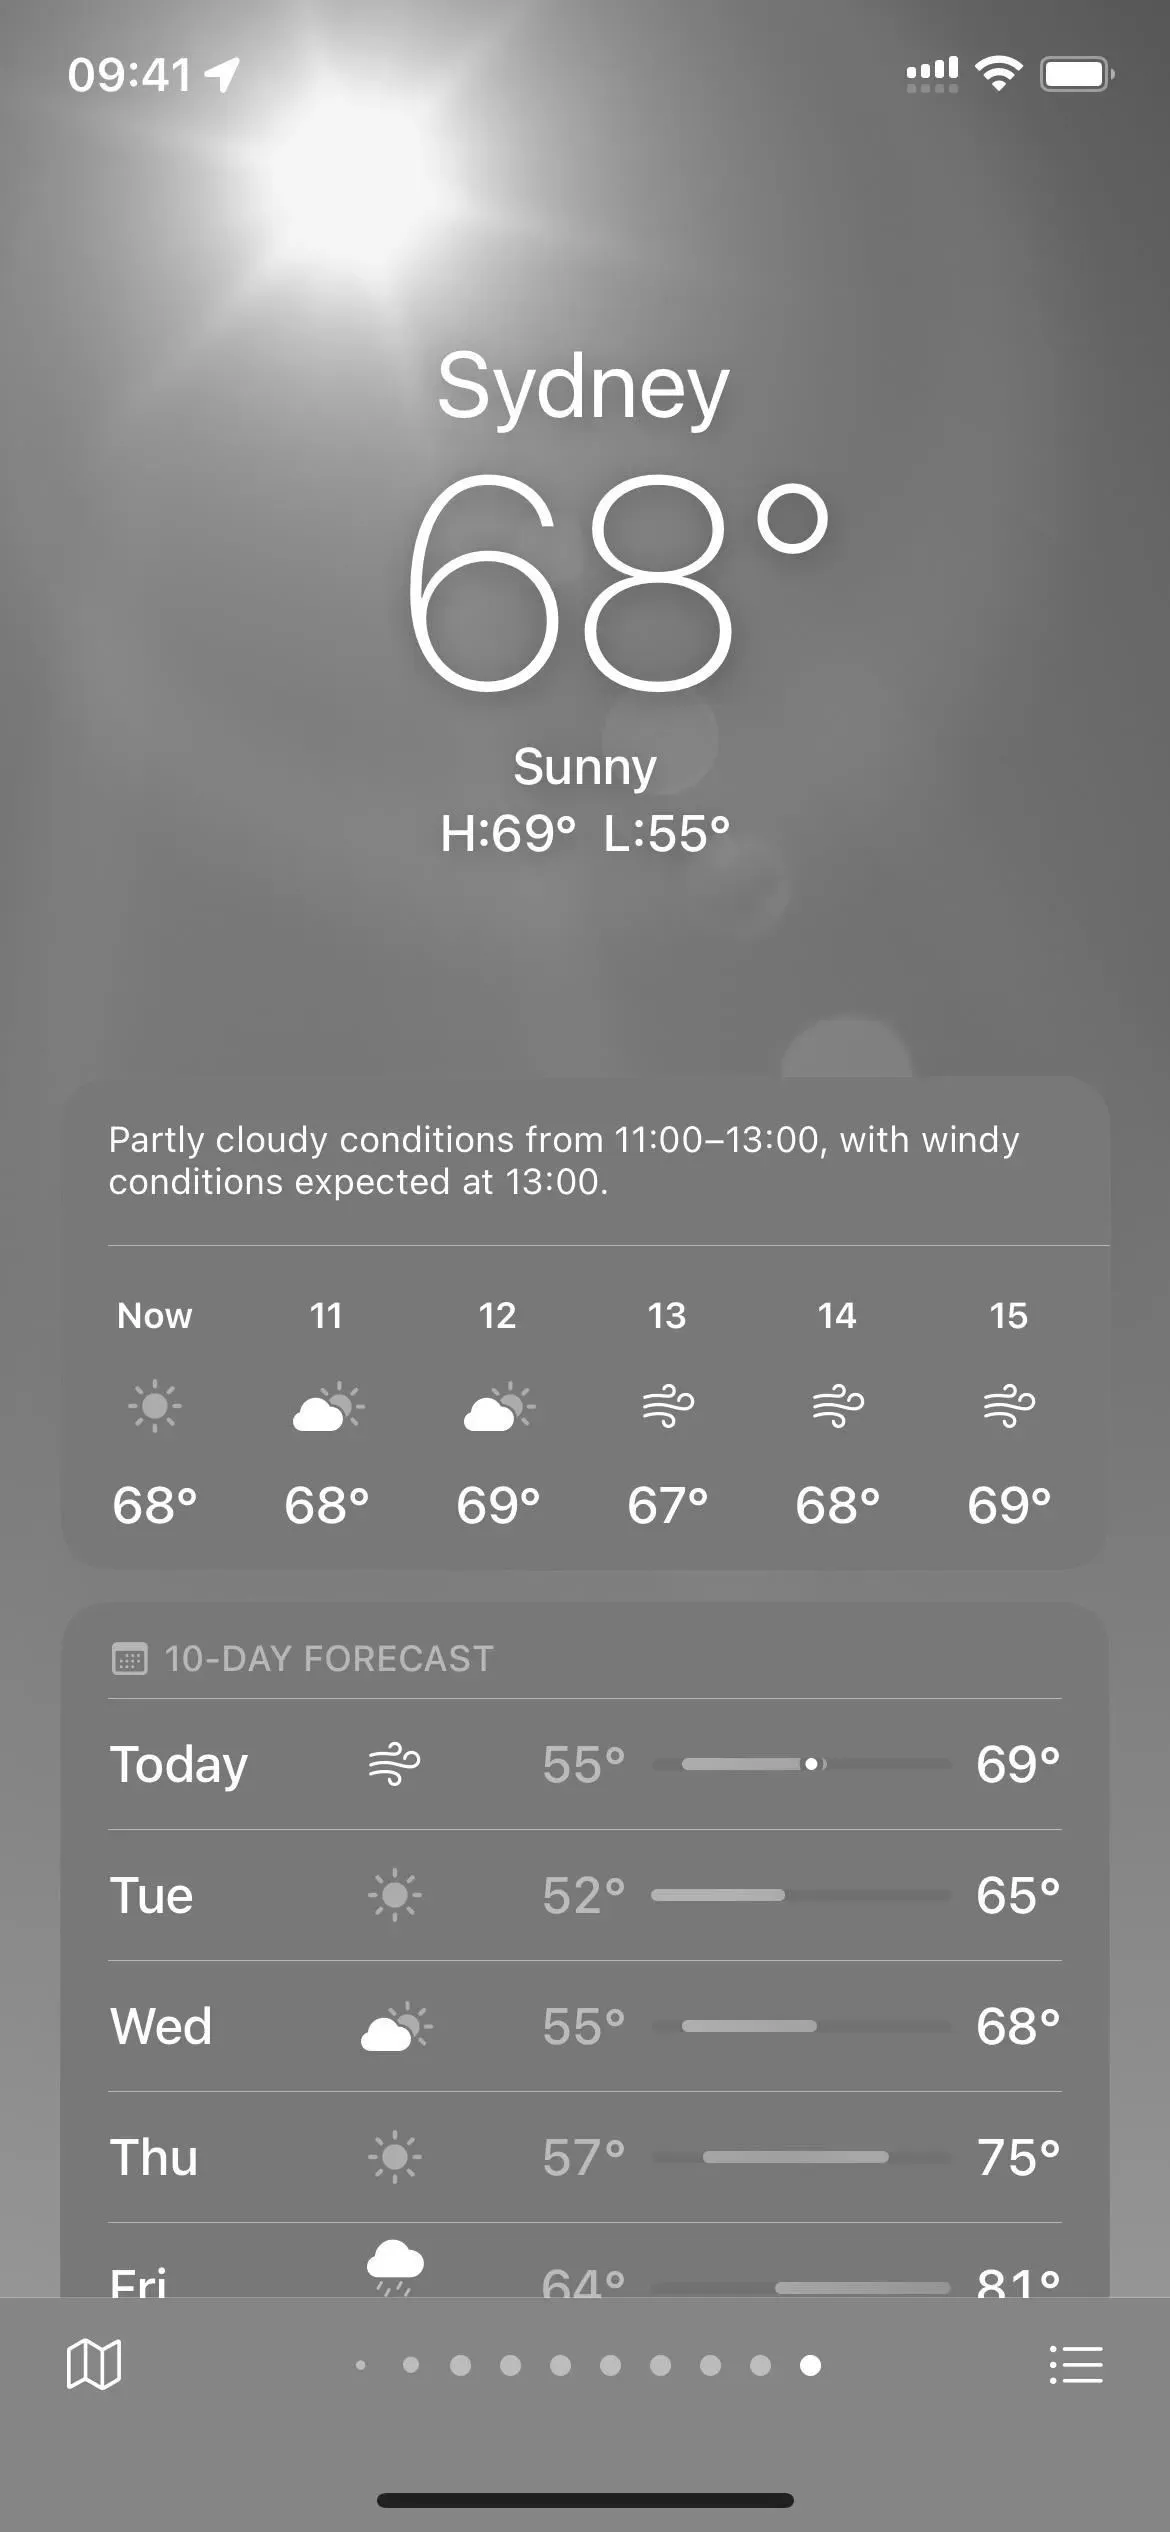
However, you cannot set the same automation in iOS 15. Instead, you can use the accessibility shortcut or Back Tap to enable/disable the filter. However, you can use the “Scale”above to apply filters like “Greyscale”, “Grayscale Invert”, and “Low Light”, which is the next best option.
You can make the weather grayscale or use a color tint of your choice. There are also special filters that help with protanopia, deuteranopia and tritanopia.
- Full Instructions: How to Change the UI Color Theme of Any App on Your iPhone Without Affecting the Rest of iOS
16. Choose a background sound
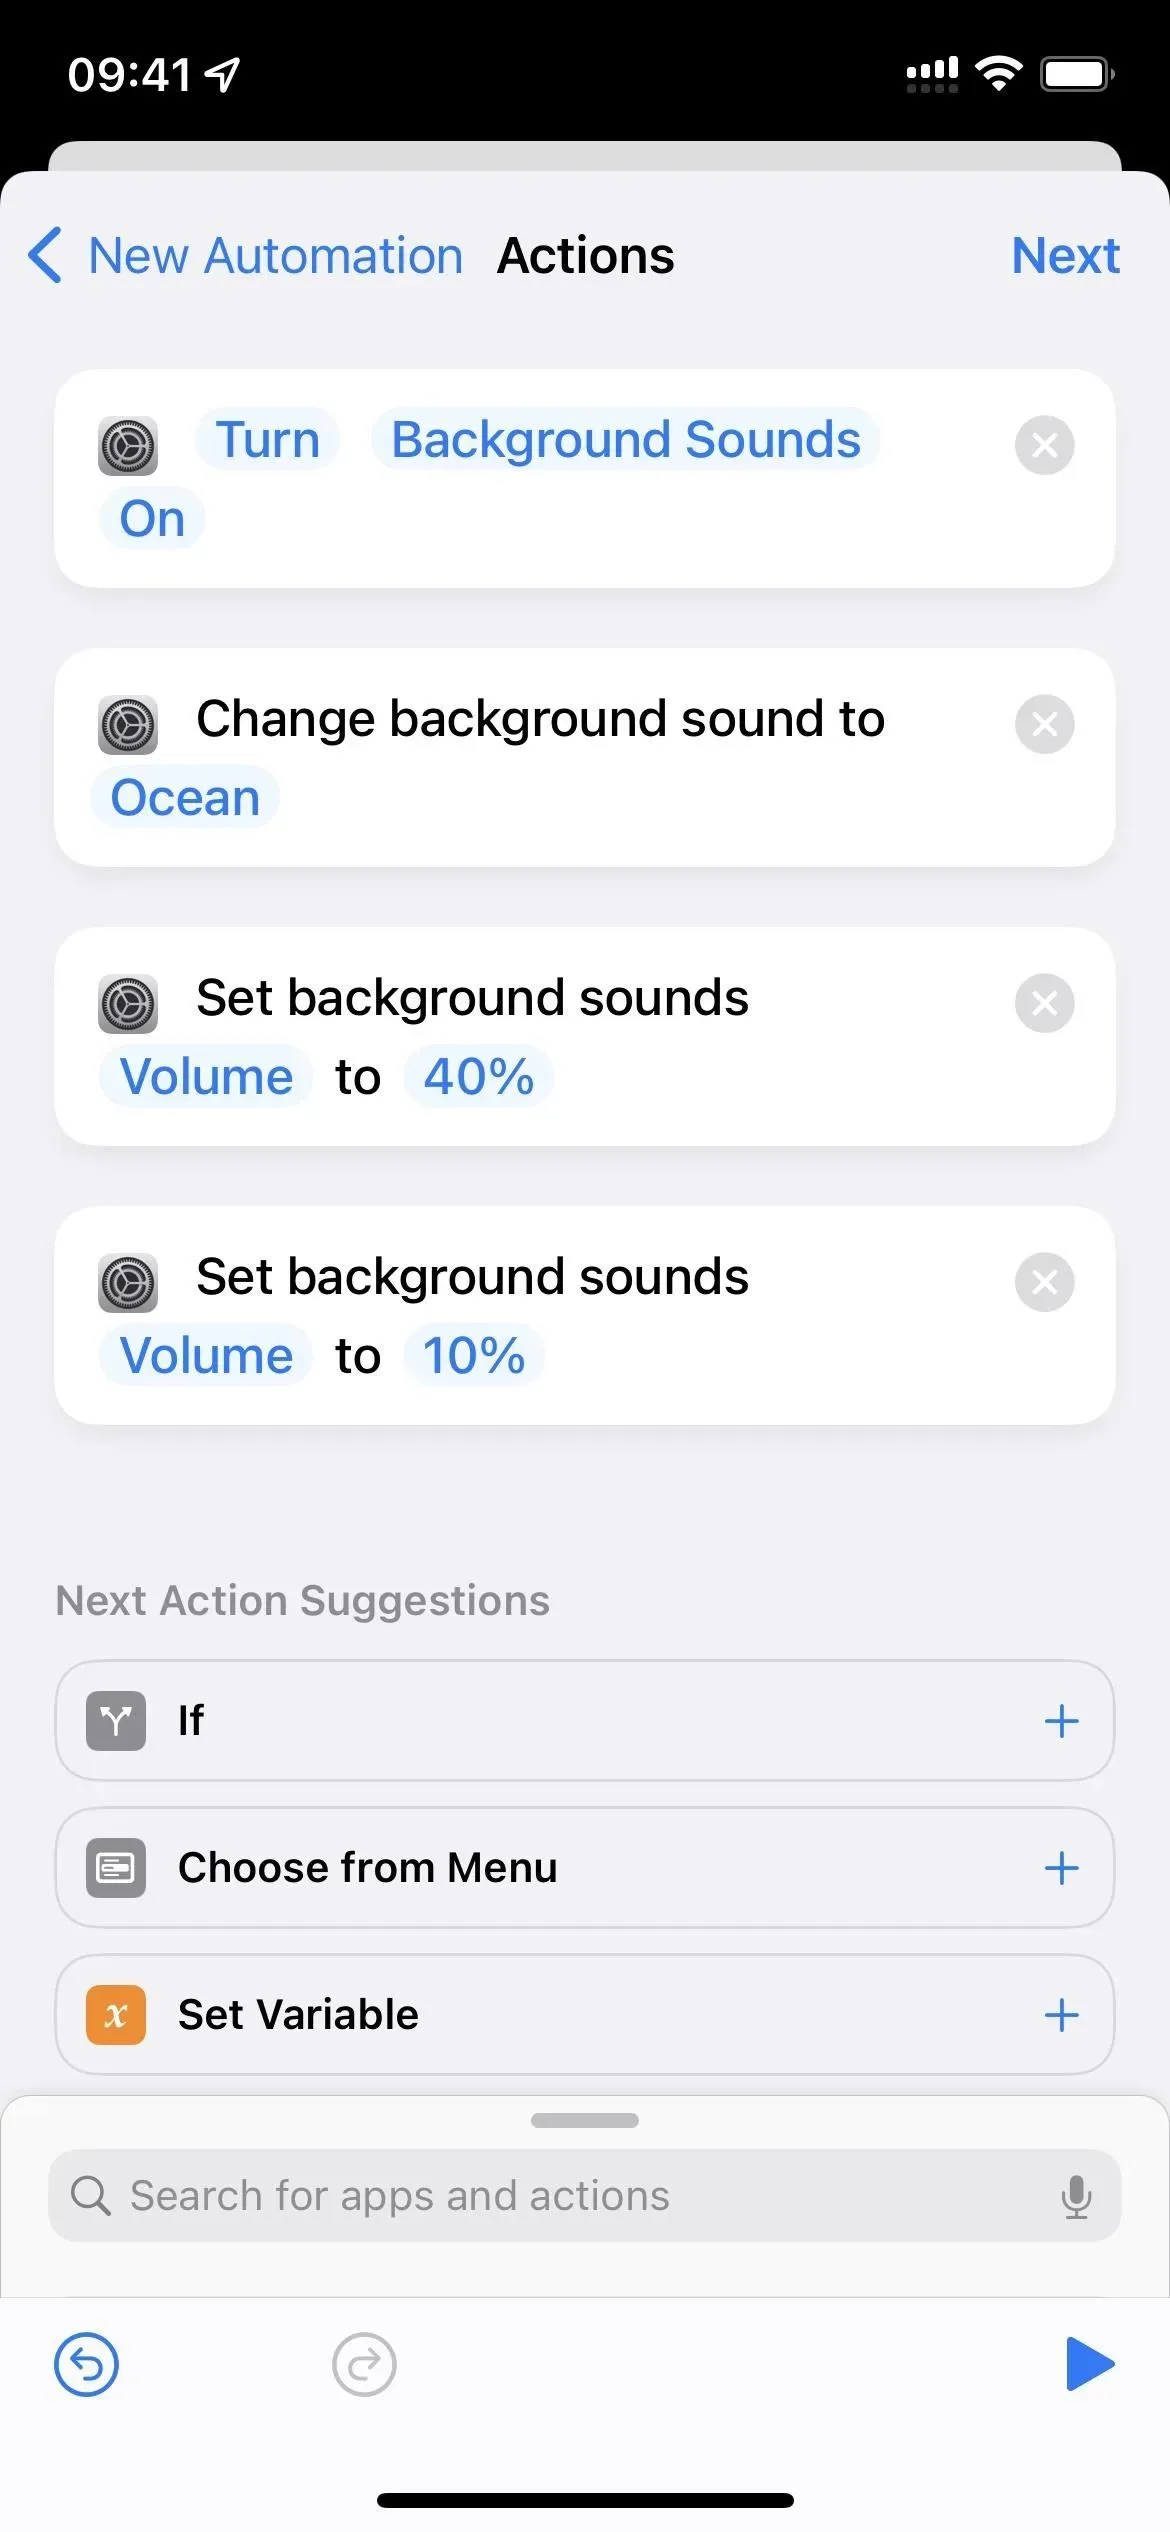
Apple added an interesting feature in iOS 15 and later that lets you turn your iPhone into a personal sound machine. There are six tracks that can be used as background noise, which can help with stress, sleep, and distractions.
“Background Sounds”can also set the mood for any app you use. In Shortcuts, Apple’s automation tool, you can assign background sounds to individual apps so that they automatically start playing when you open the linked app. You can even turn off the sound when you exit the app.
- Full Instructions: These Hacks Will Make Your iPhone Apps Play Different Background Sounds When You Open Them

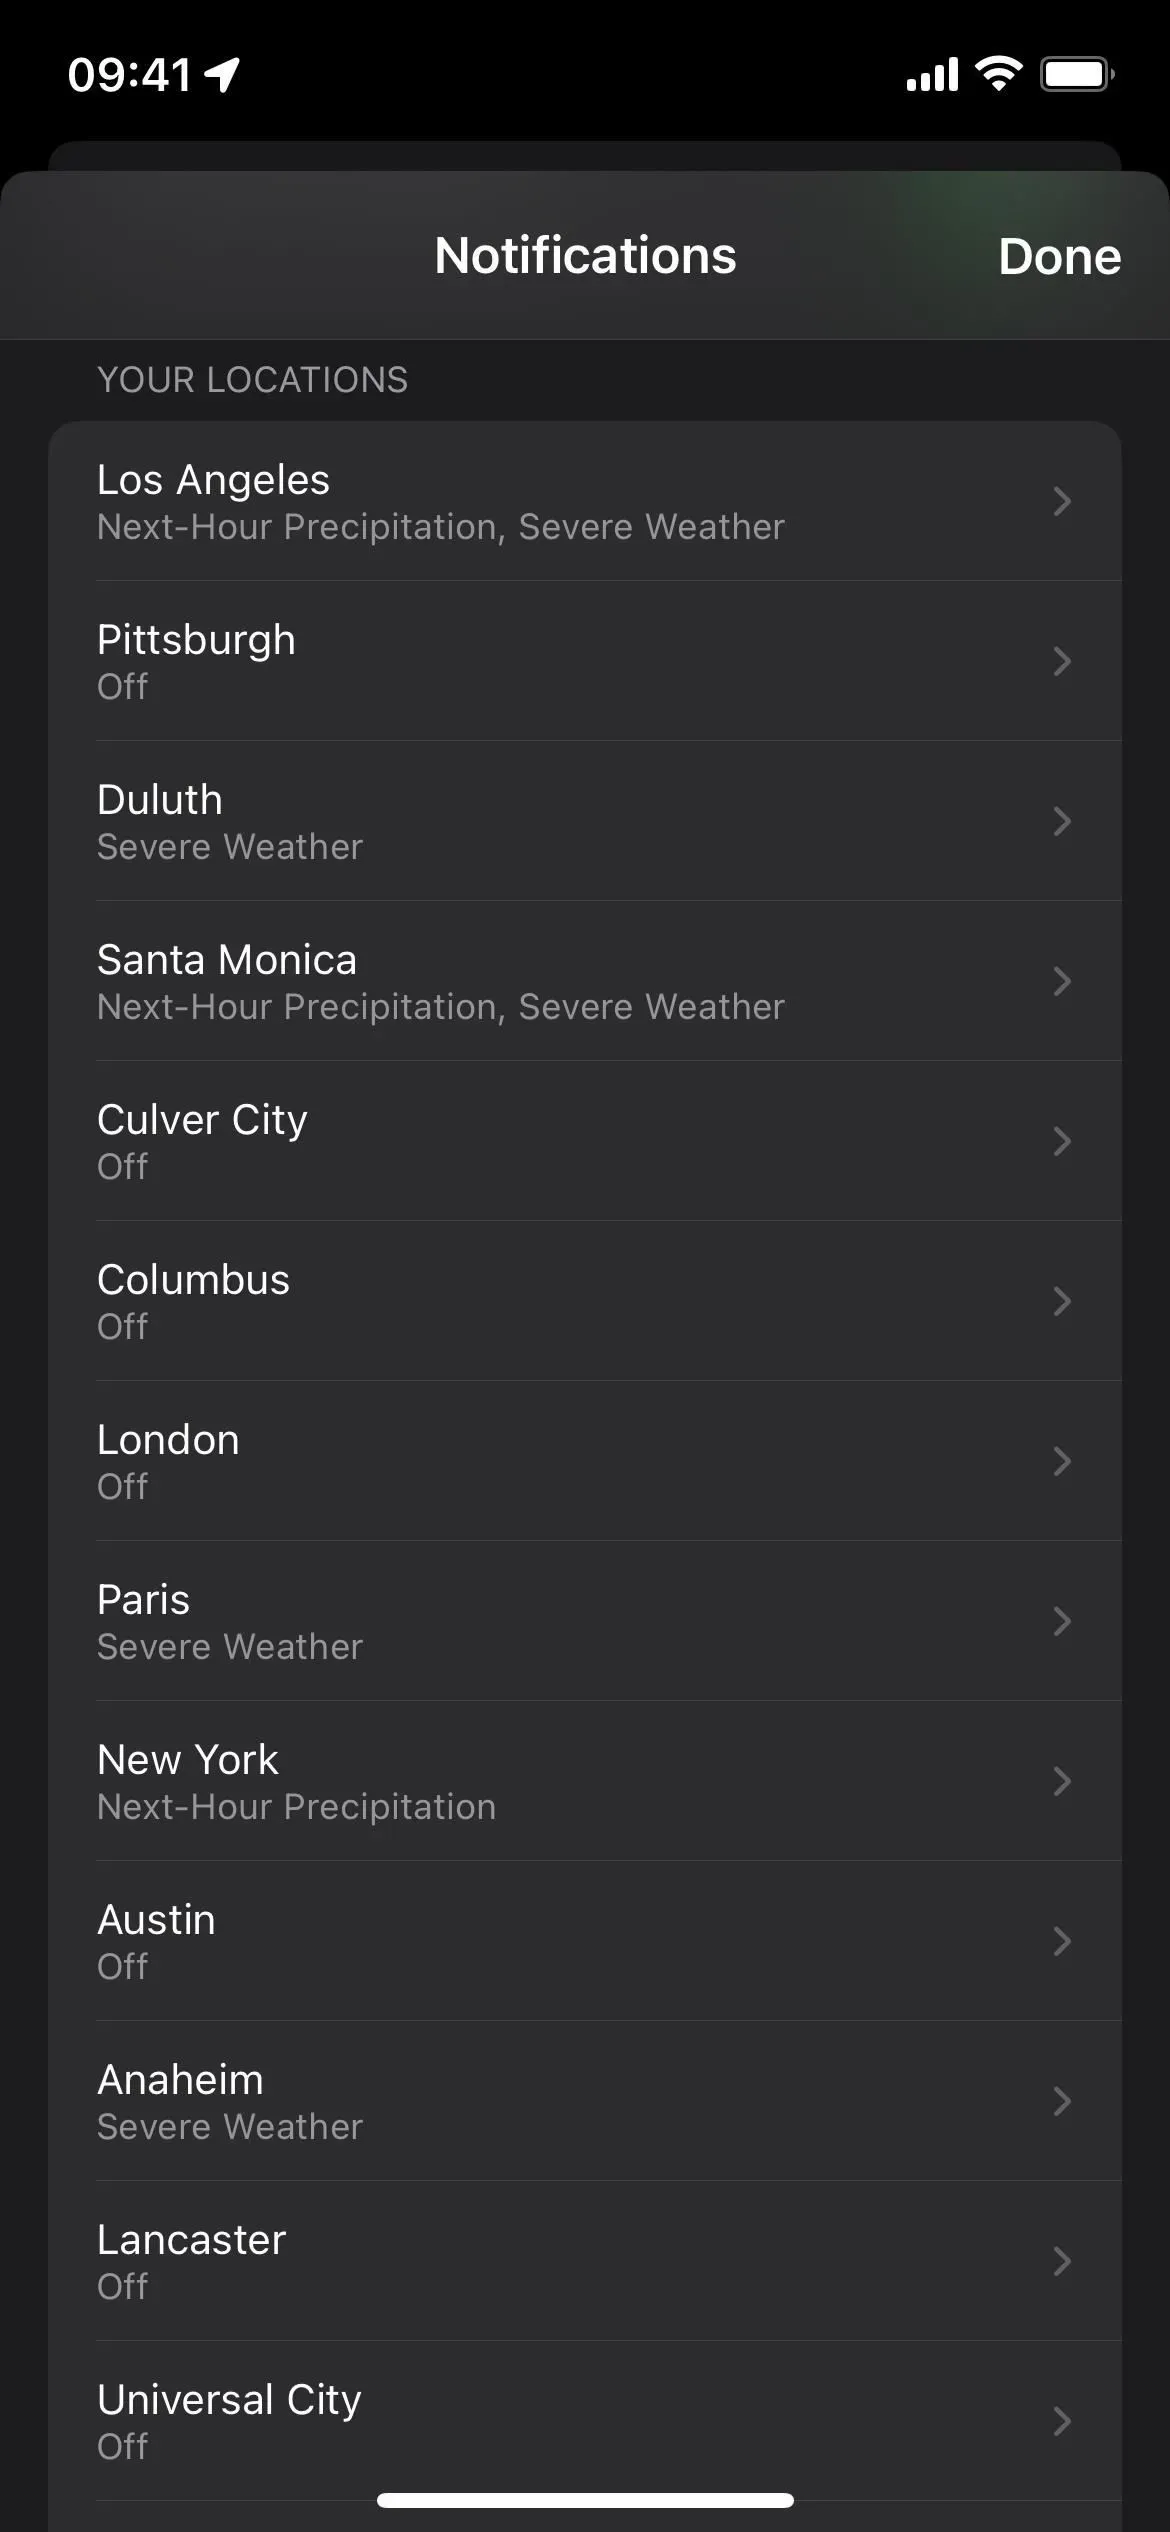
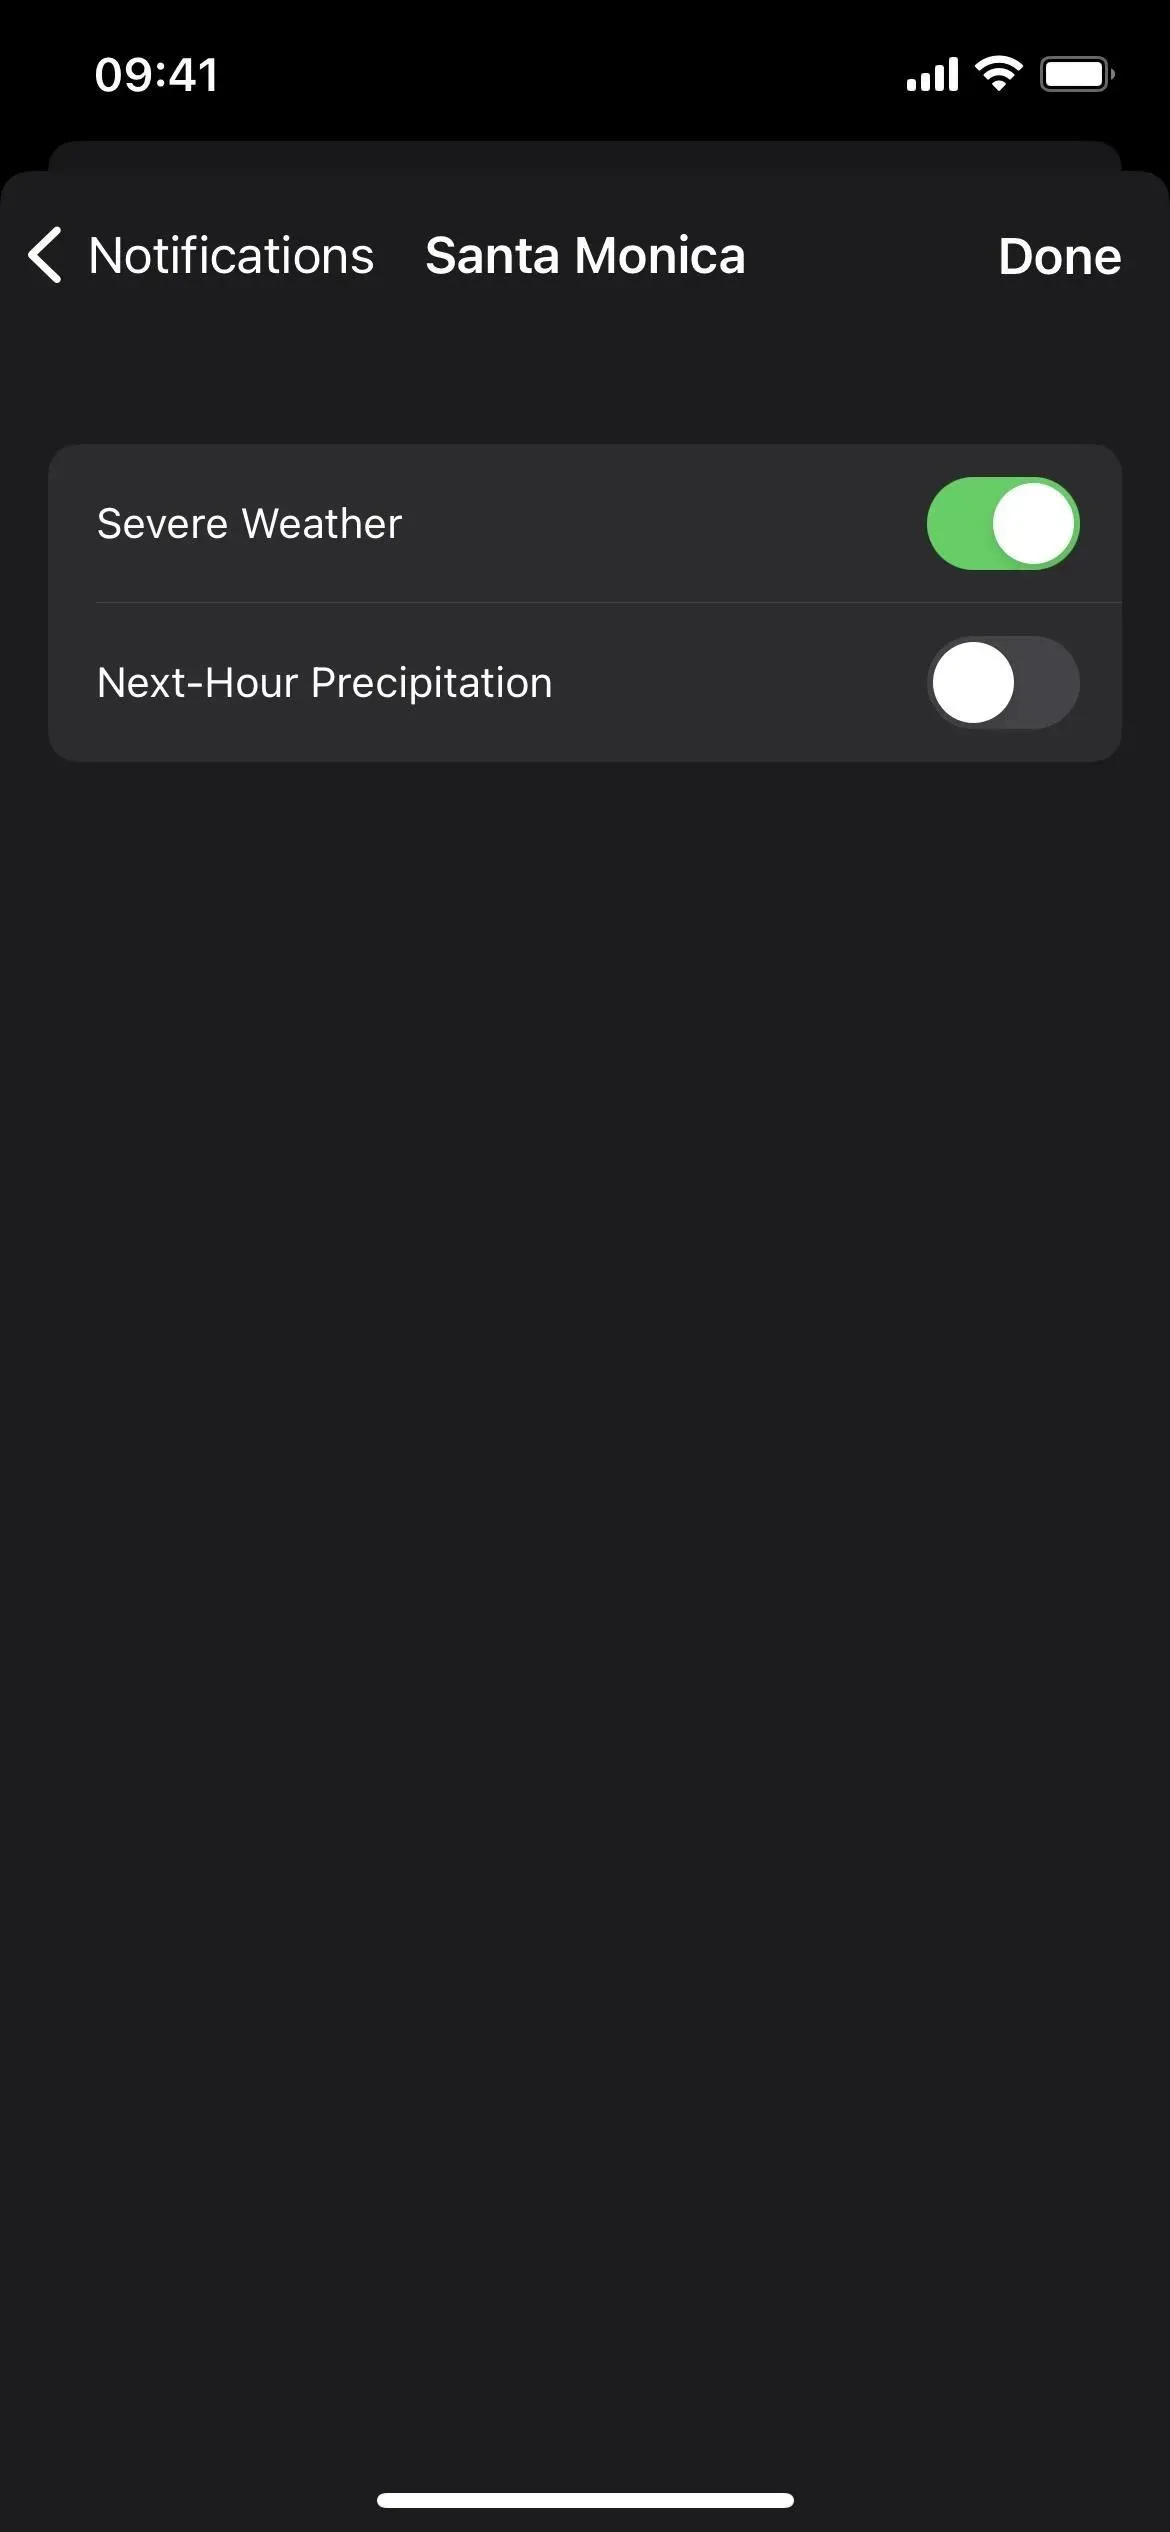
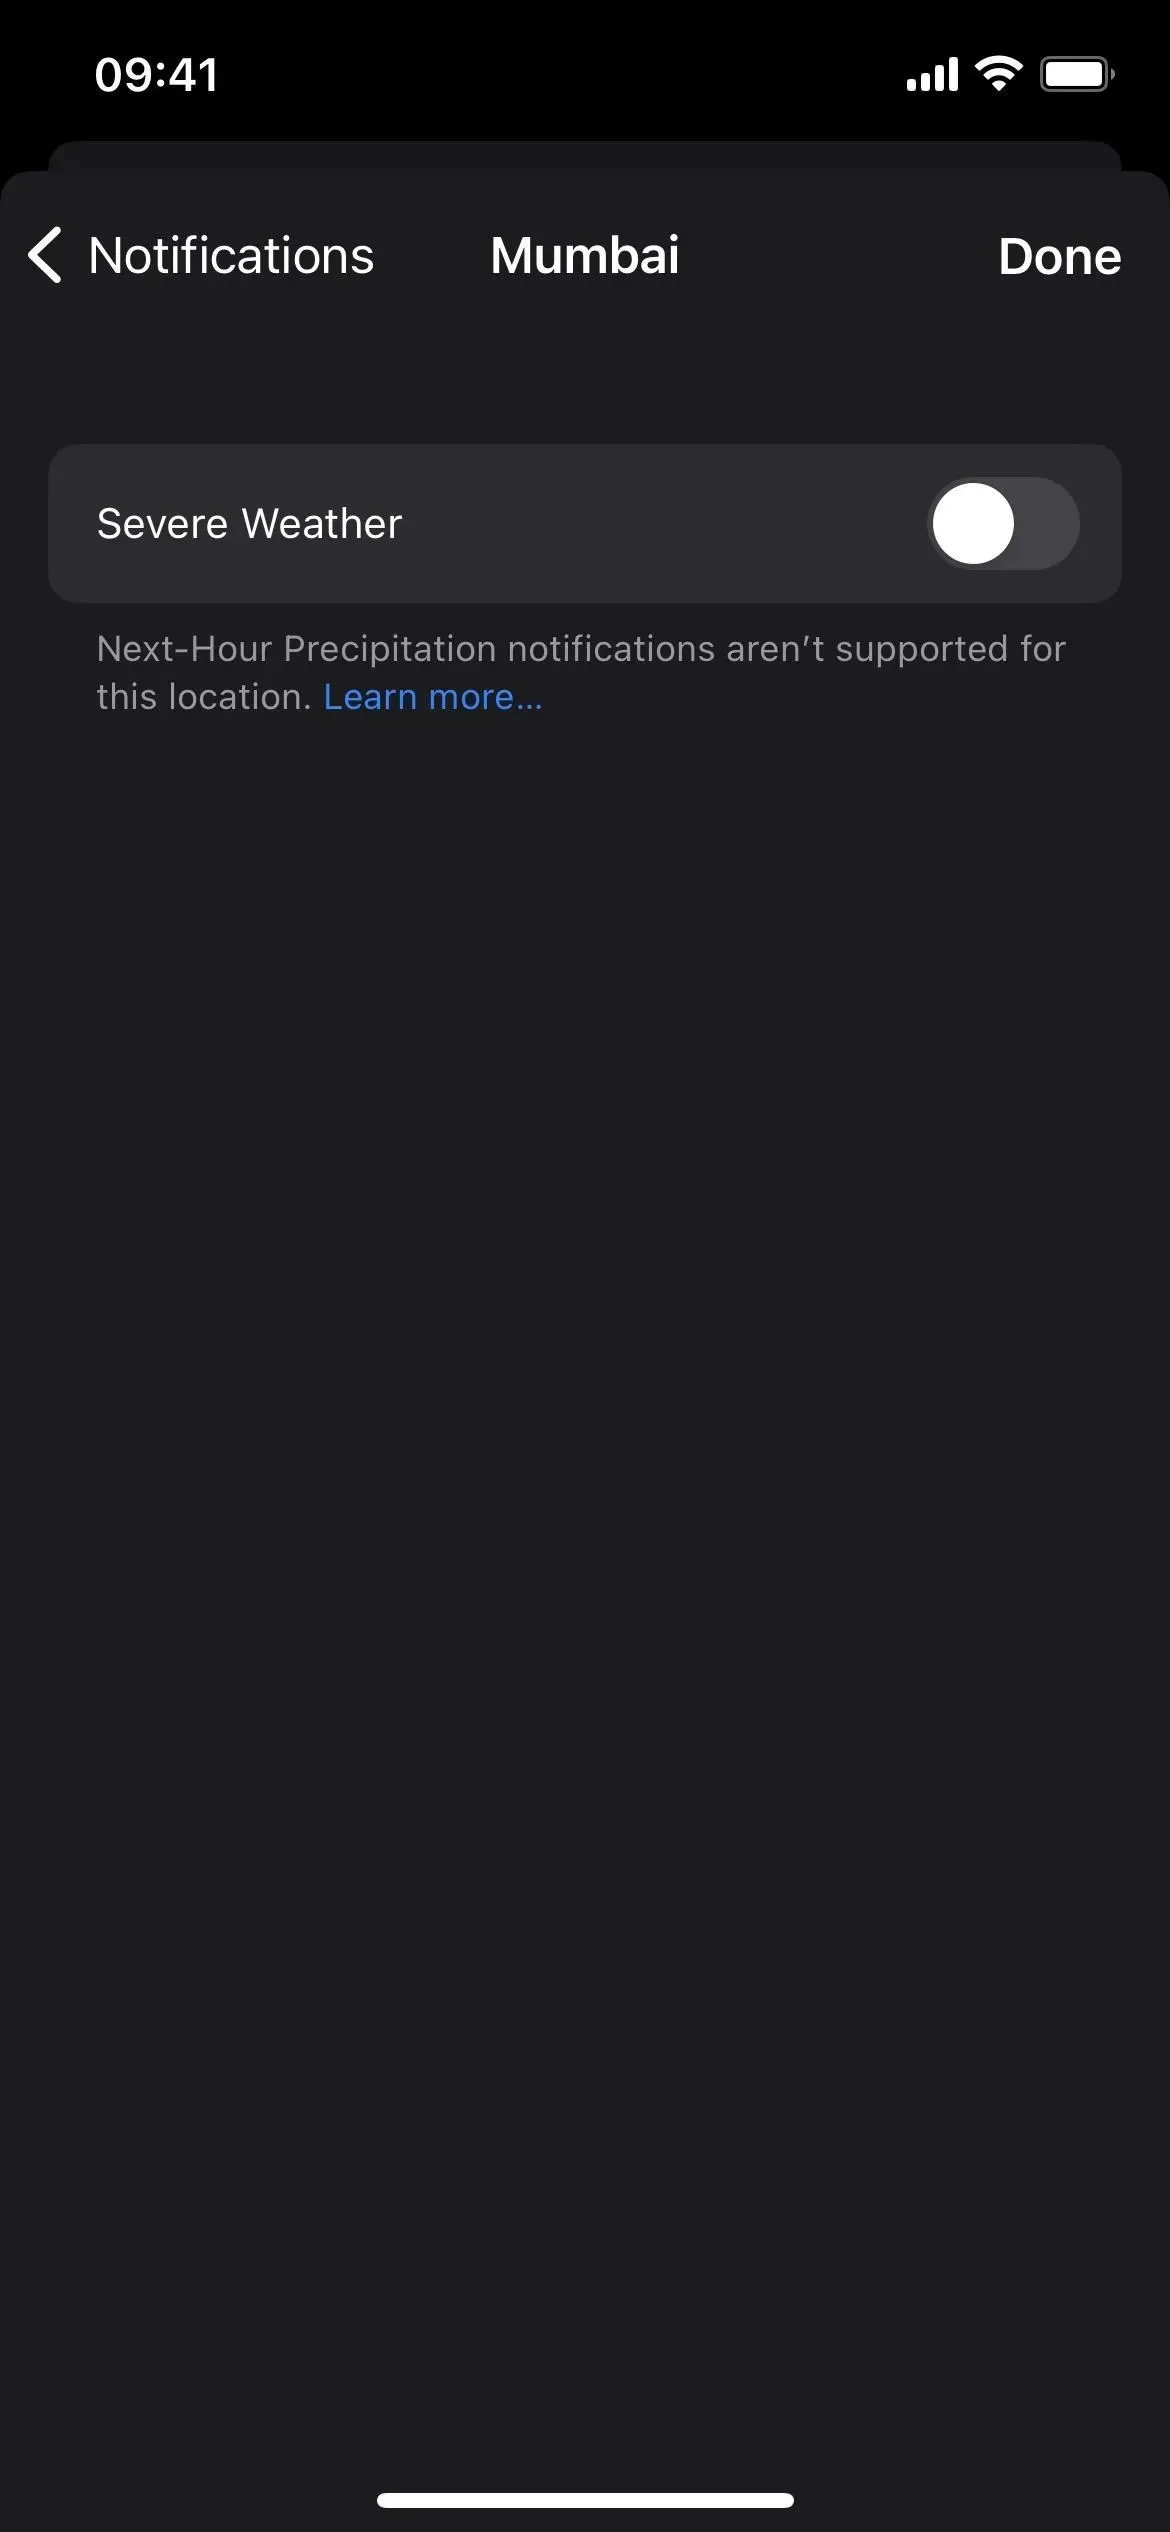
17. Set alerts for each location
In iOS 16, you can enable or disable abnormal weather and precipitation alerts for the next hour for each city you add to Weather. Not every city has both options, and in iOS 15 you can turn all alerts on or off for each location only.
Learn more about iOS 16 weather updates
When you update to iOS 16, you’ll get a ton of new features in the Weather app, including lock screen live wallpapers and Weather widgets, severe weather alerts, more hourly and 10-day forecasts, and more. Be sure to check out all the new options in our roundup of the Weather app for iOS 16.