With Apple’s latest accessibility feature, you can get live transcriptions of everything you listen to on or near your iPhone. Real-time captioning works for phone calls, video conferencing, FaceTime, music, podcasts, streaming media, movies, games, and more—even if someone sitting next to you is talking.
This new Live Captions feature was introduced in iOS 16. It was created to help the deaf and hard of hearing community, but is equally valuable for everyone else. For example, this is useful when you want to monitor audio content but cannot use speakers or headphones. I used it for podcasts while waiting at the doctor’s office where AirPods would be rough and speakers even more so.
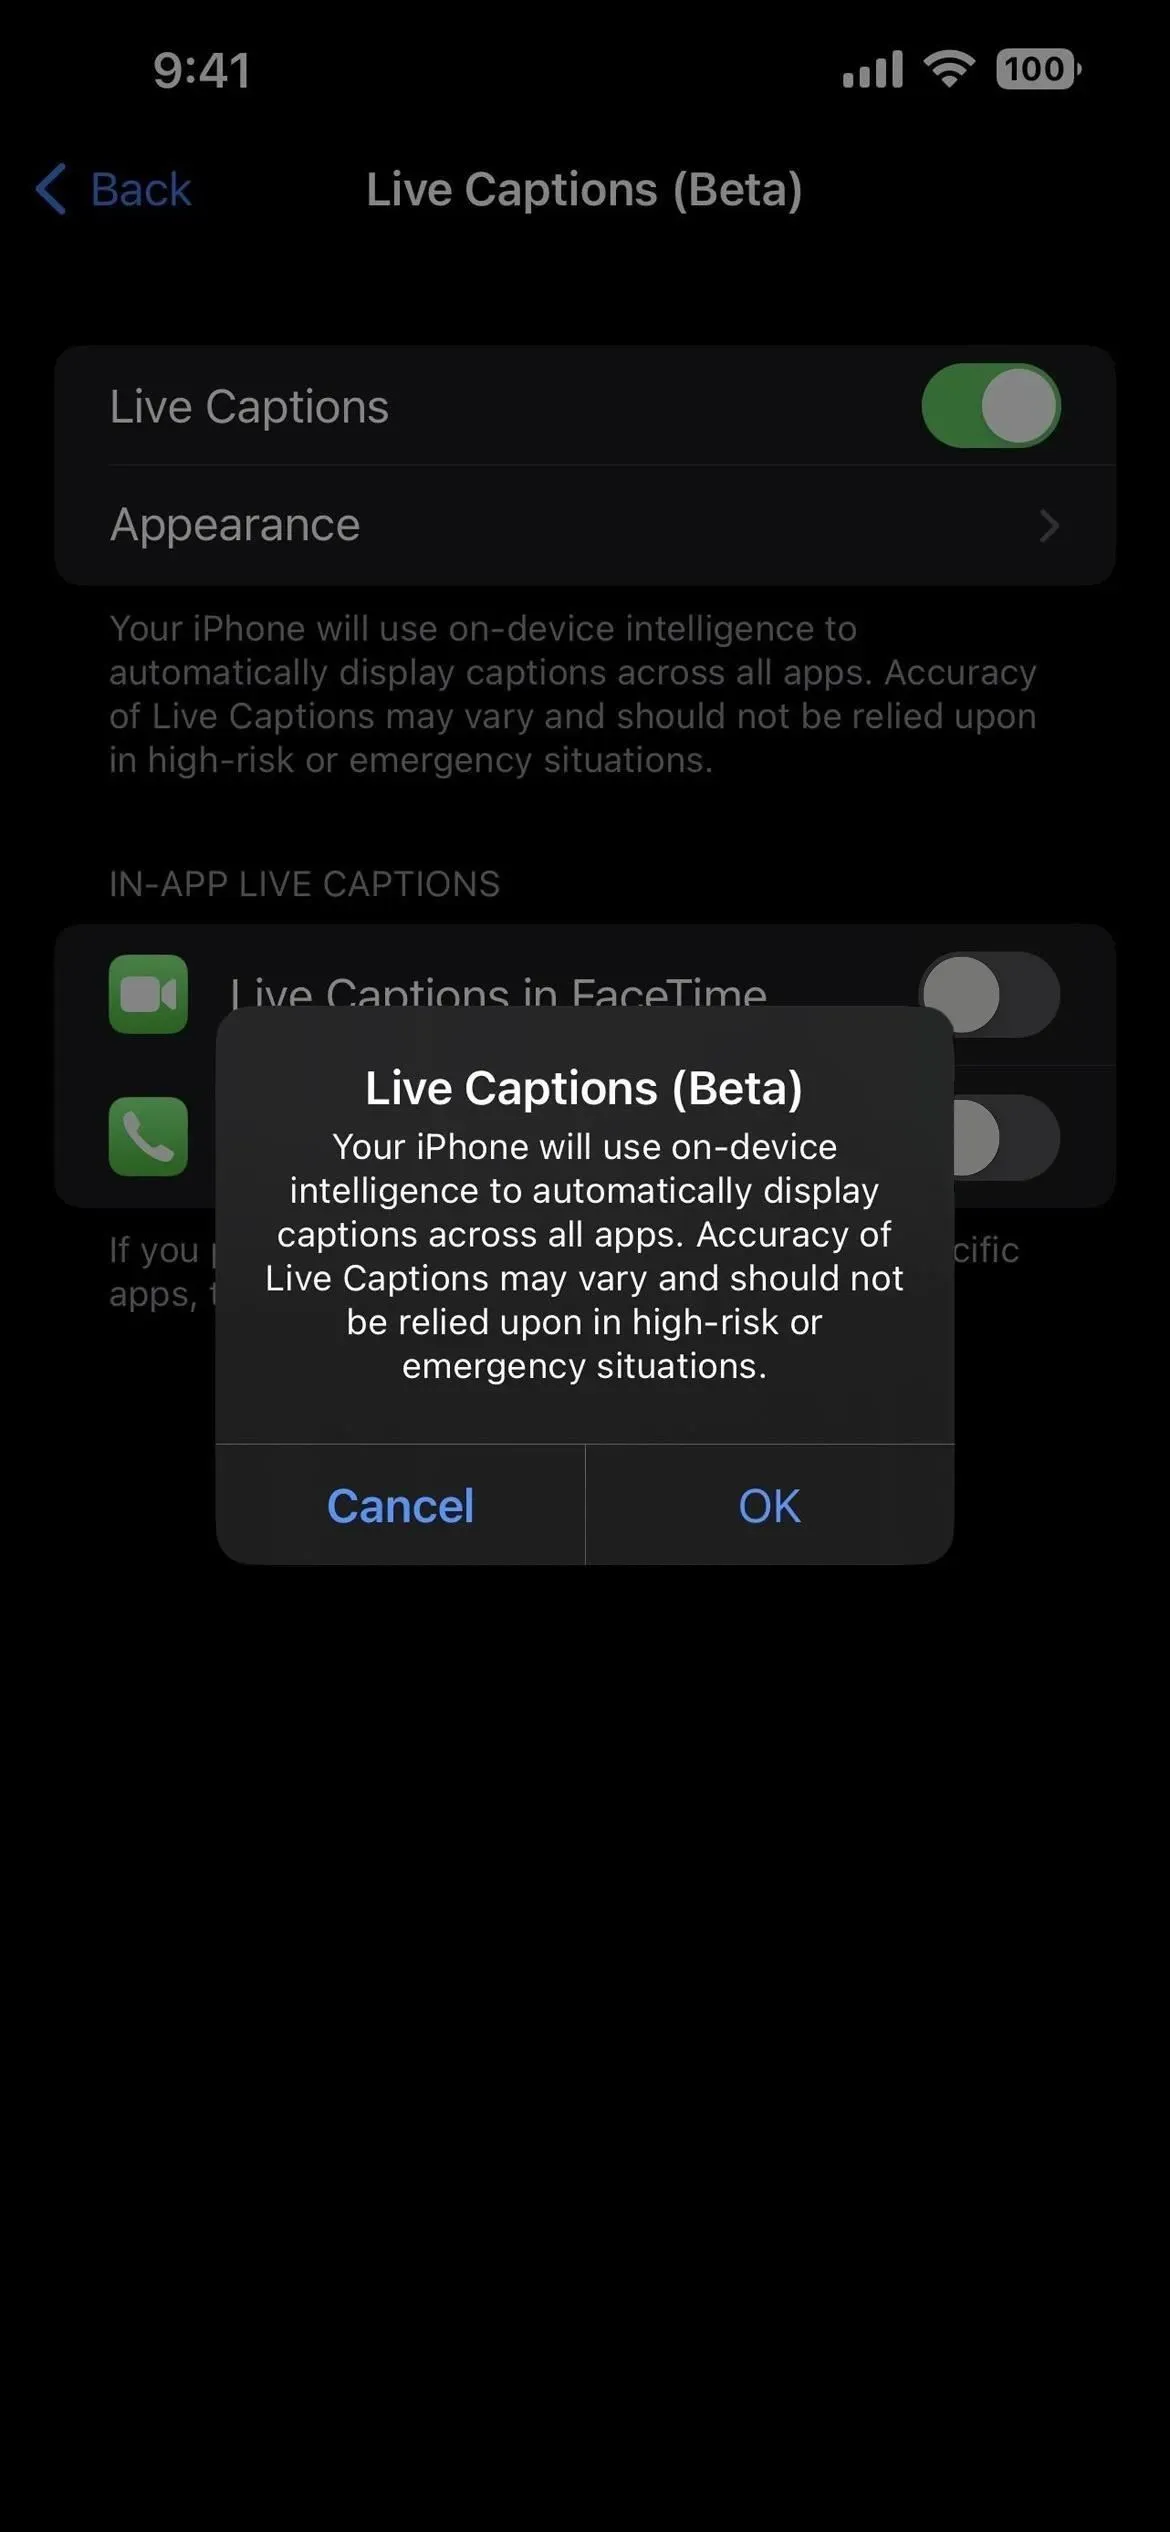
Live Captions uses the smart features of your device to accurately transcribe what is being said on or around your device. Because everything happens on your iPhone, your information stays private and secure. Apple warns that “the accuracy of Live Captions may vary and should not be relied upon in high-risk or emergency situations.”Even when it exits the beta testing period, this warning will most likely remain in place.
You can use Live Captions on iOS 16 with iPhone 11 or later in English (US or Canada). Live Captions also works on iPadOS 16 for iPad (with A12 Bionic and later) and macOS 13 Ventura for Mac (with Apple Silicon), which are still in beta.
Enable live subtitles
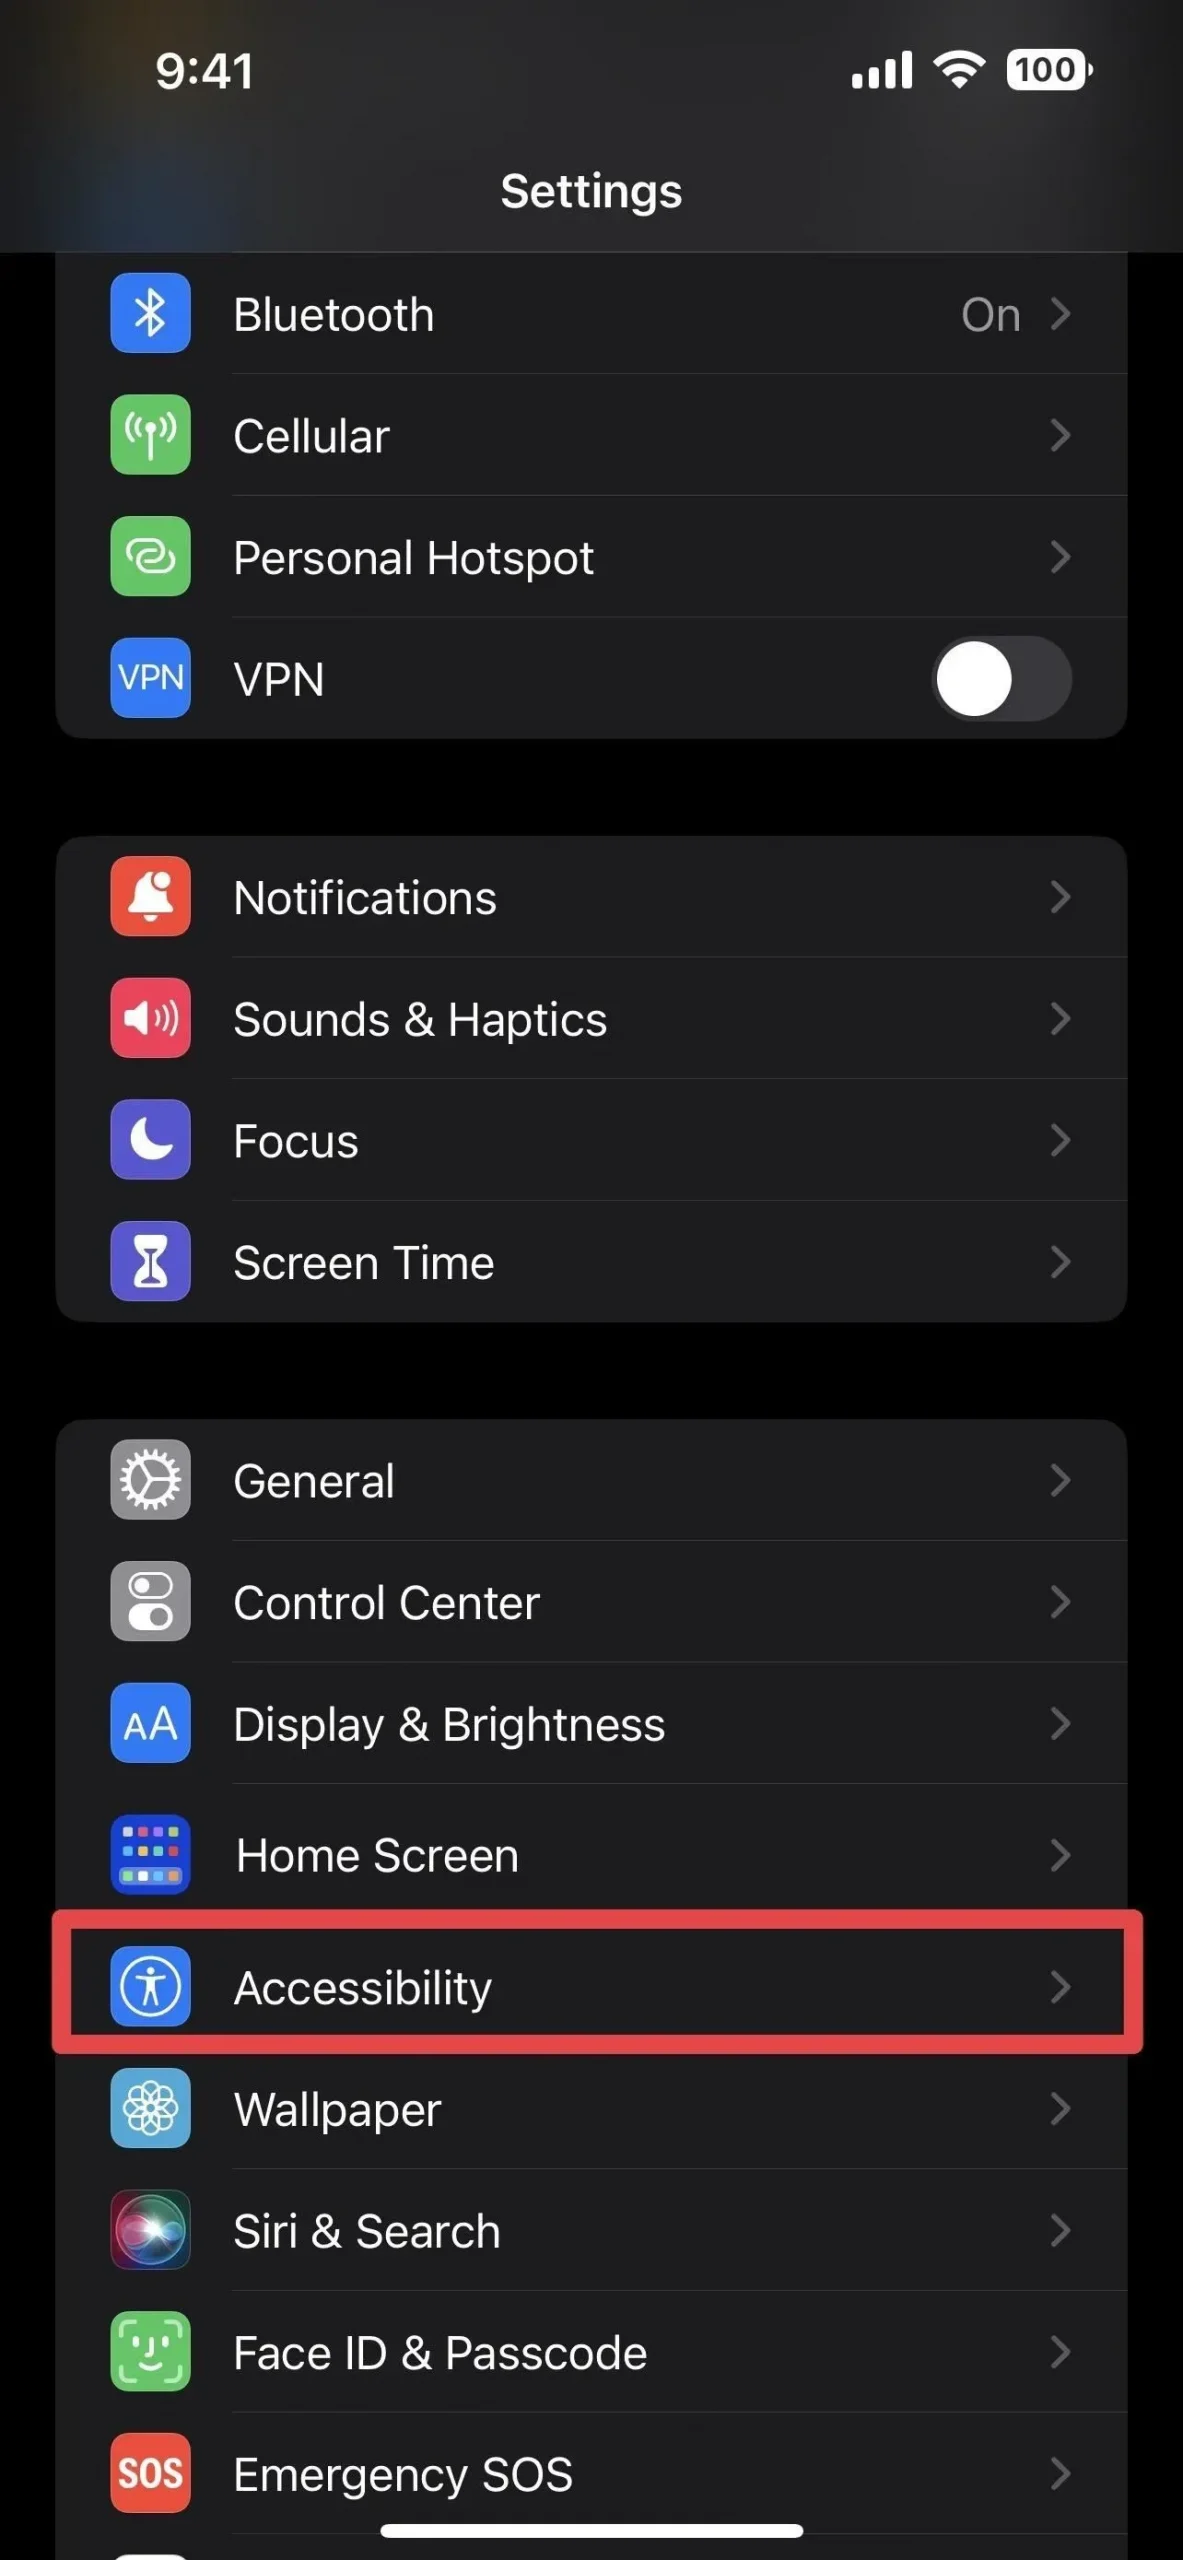
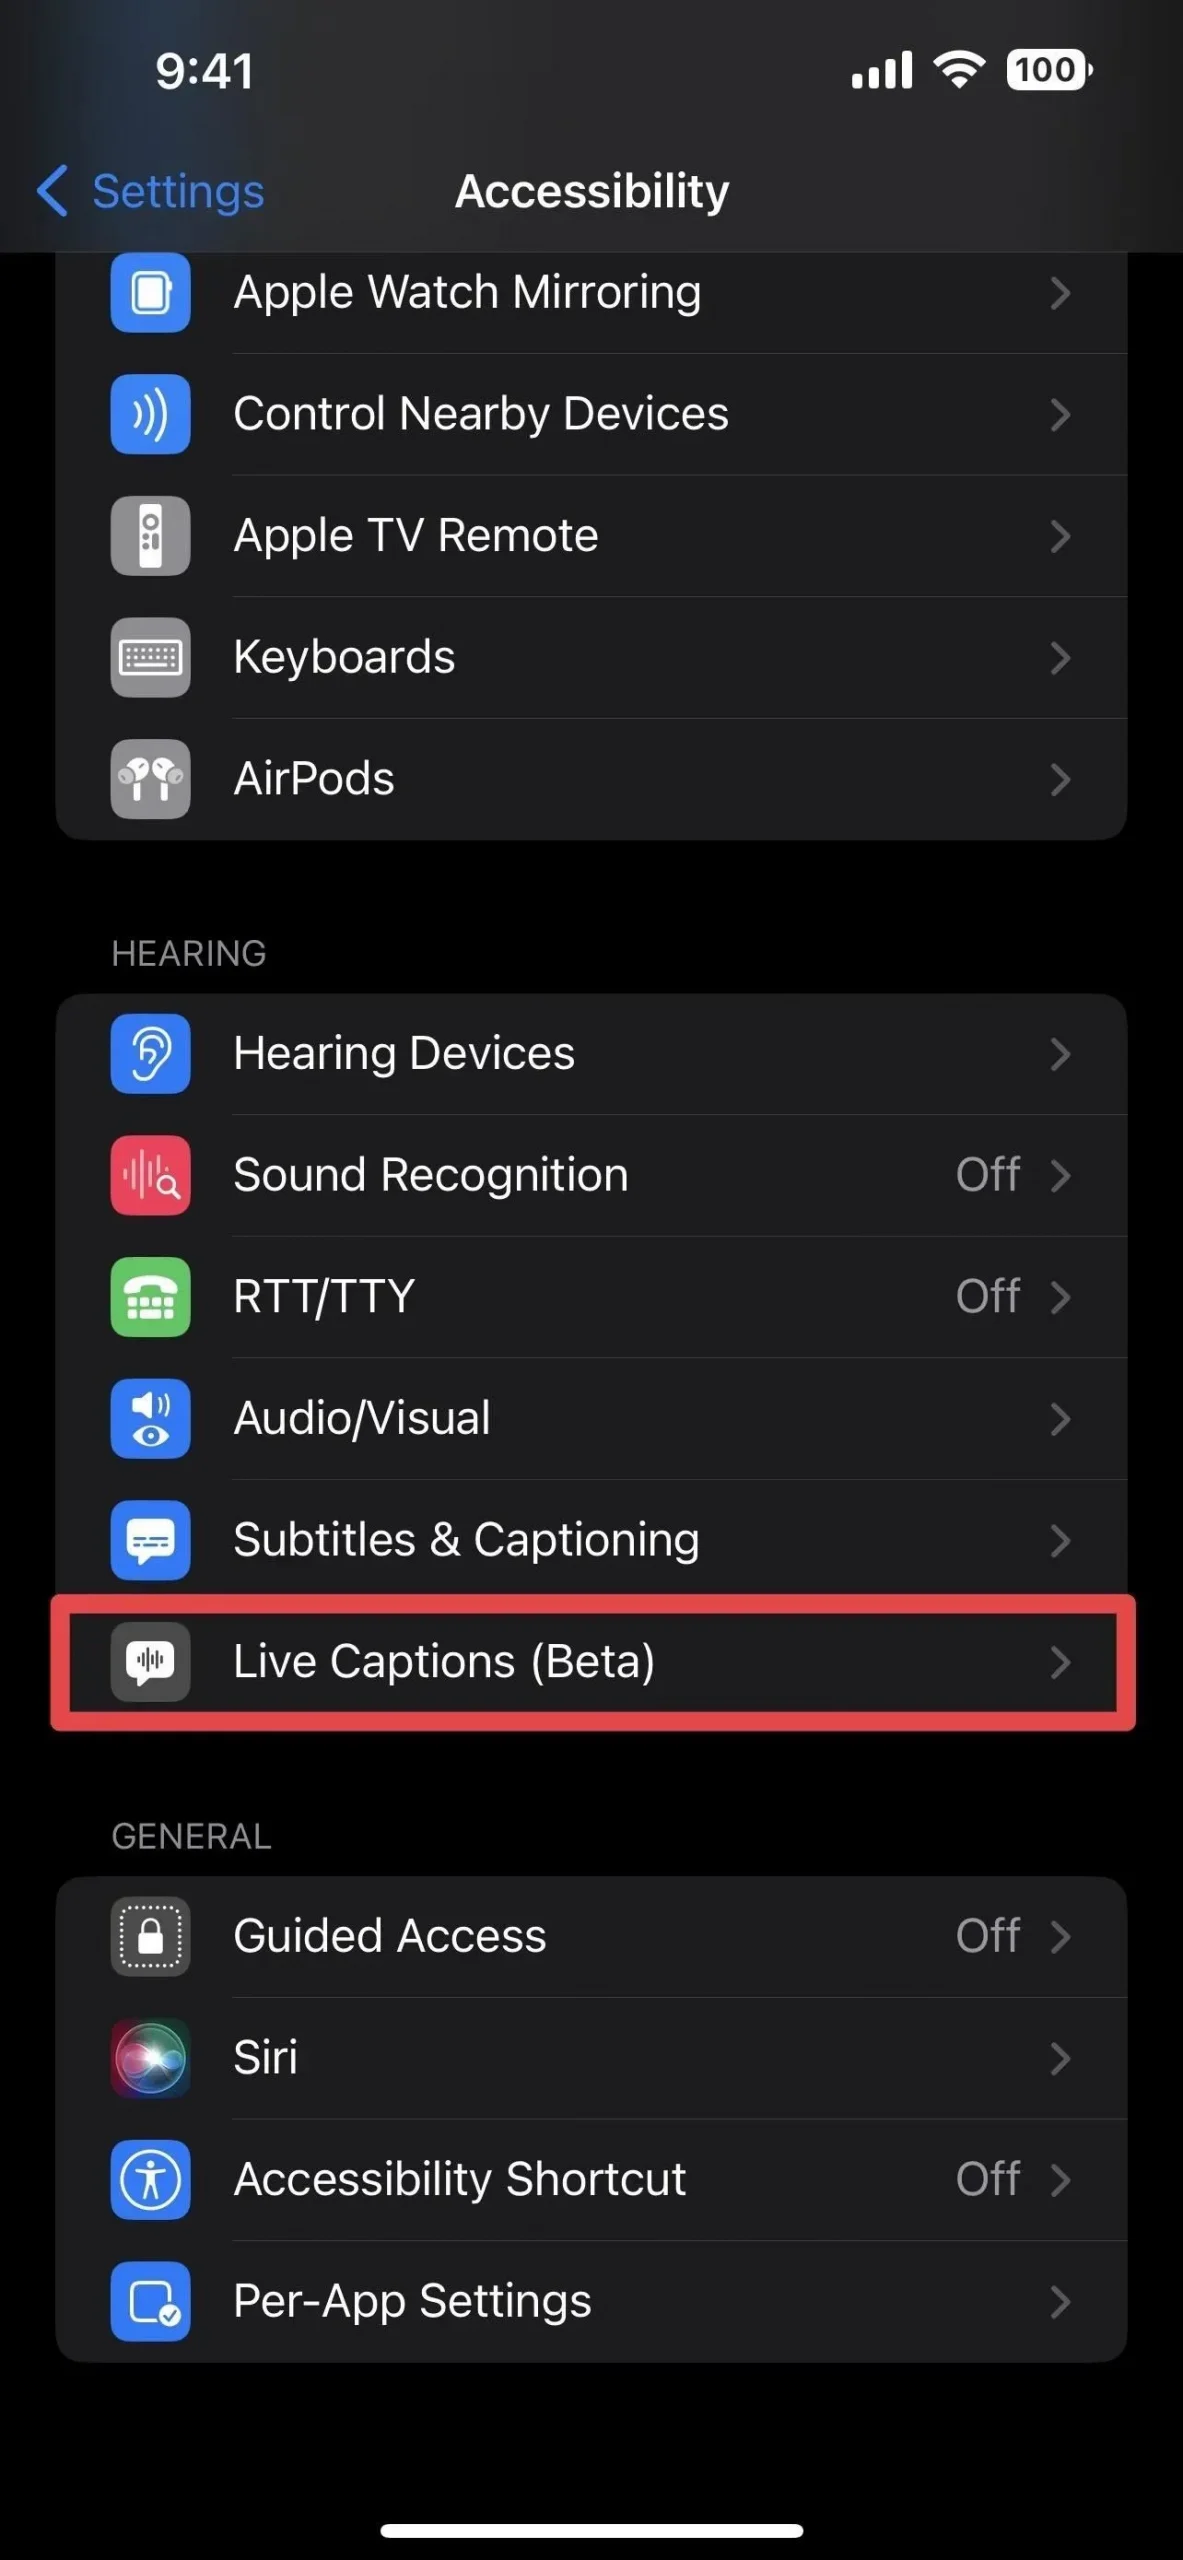
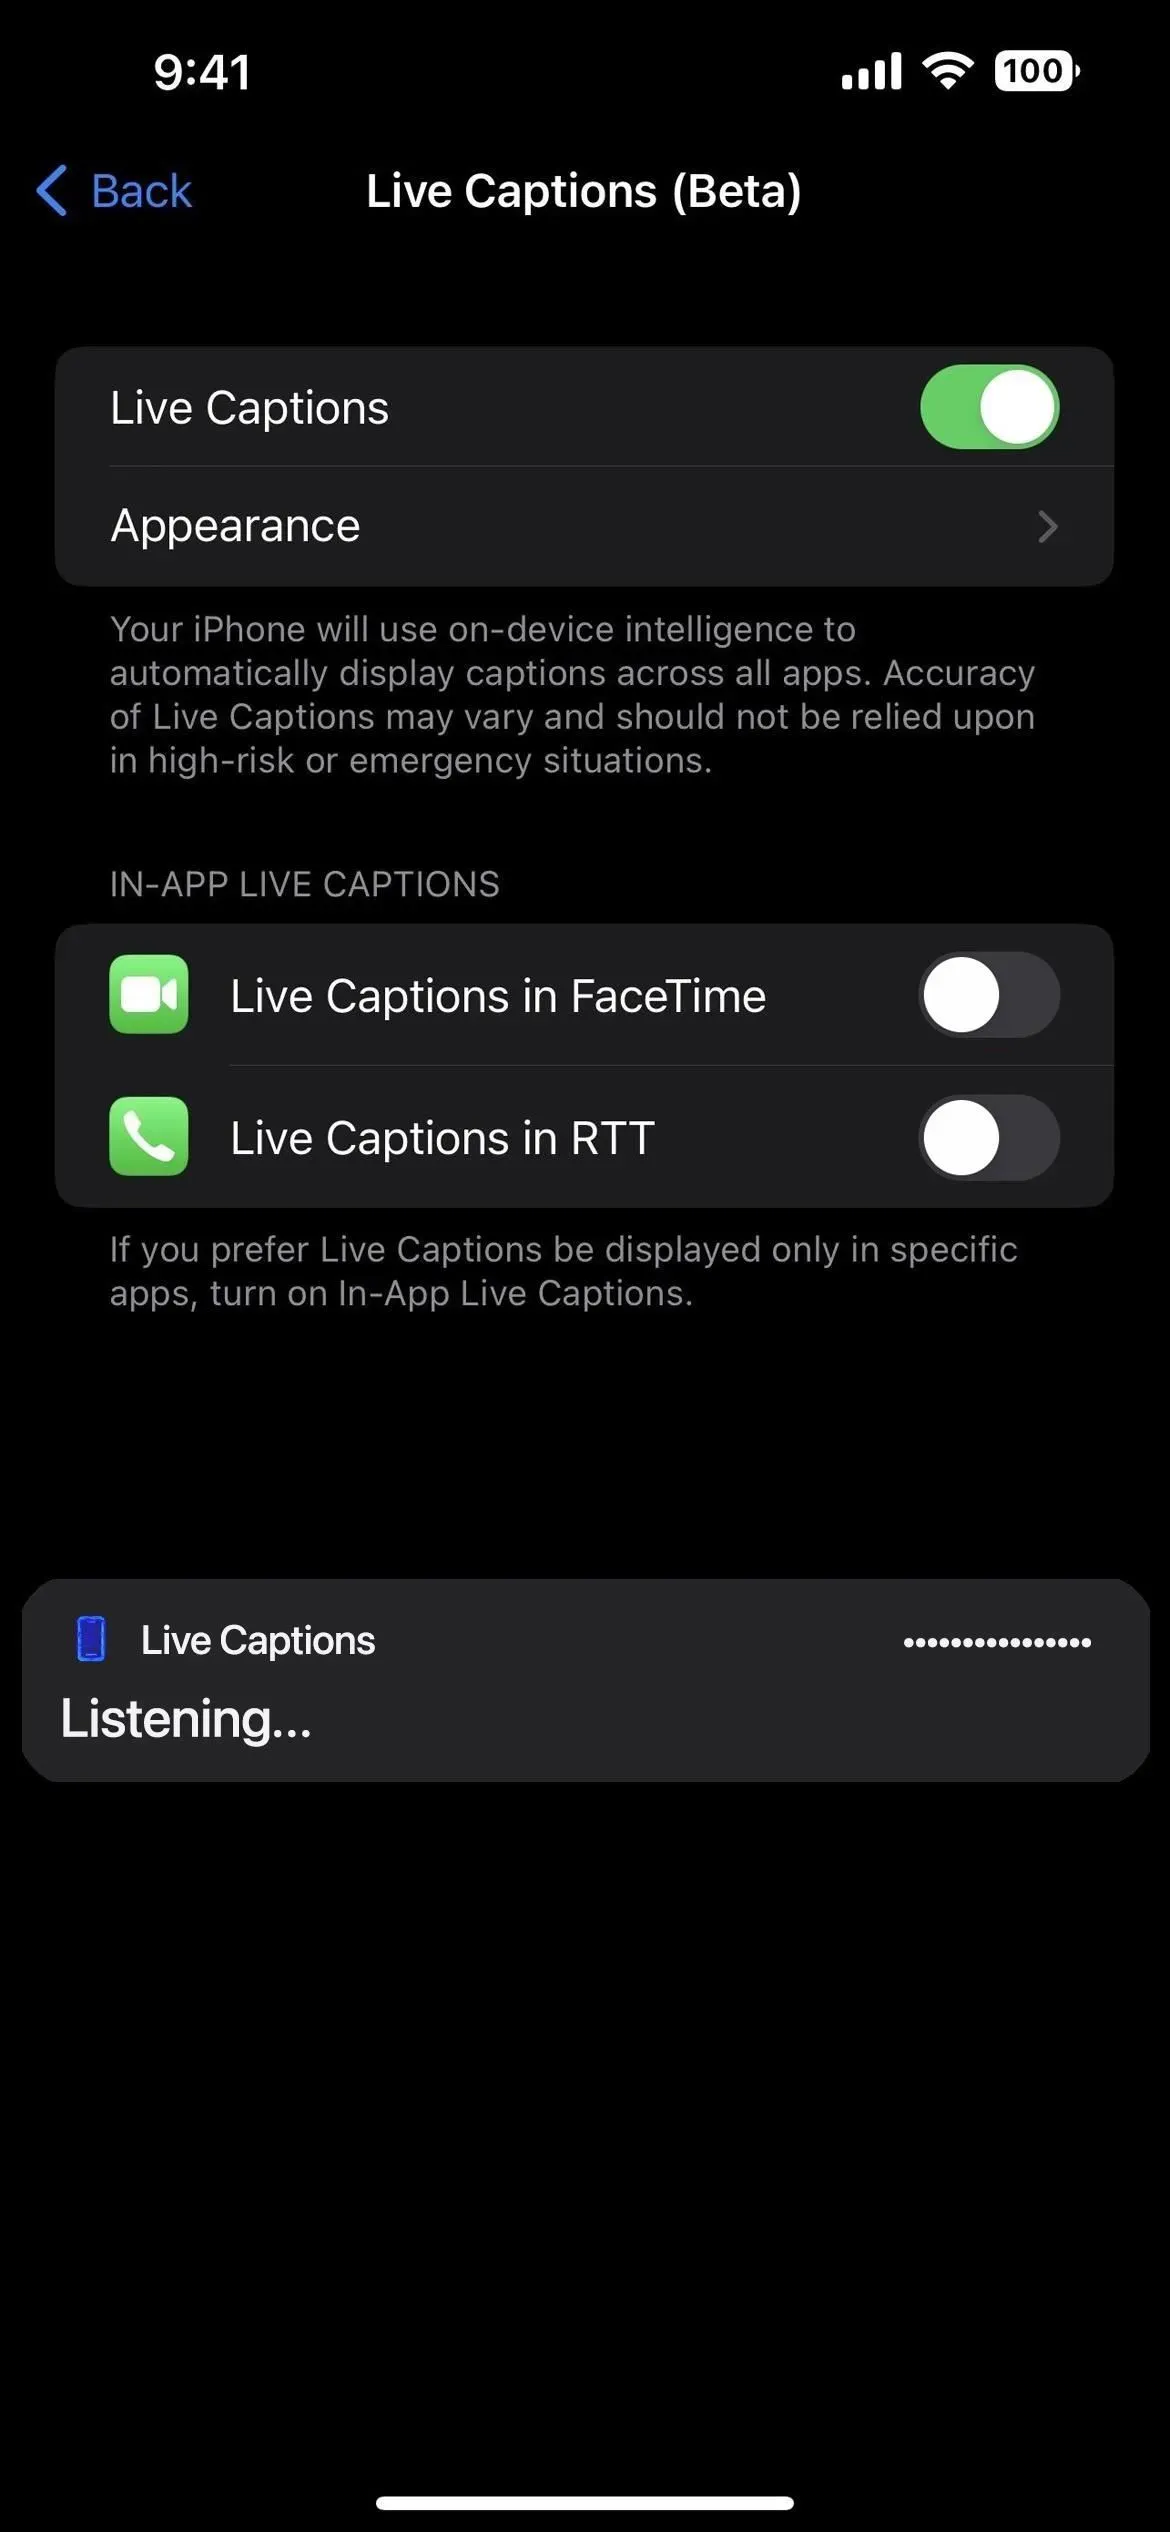
To enable Live Captions on your iPhone, go to Settings -> Accessibility -> Live Captions, then turn on the Live Captions toggle.
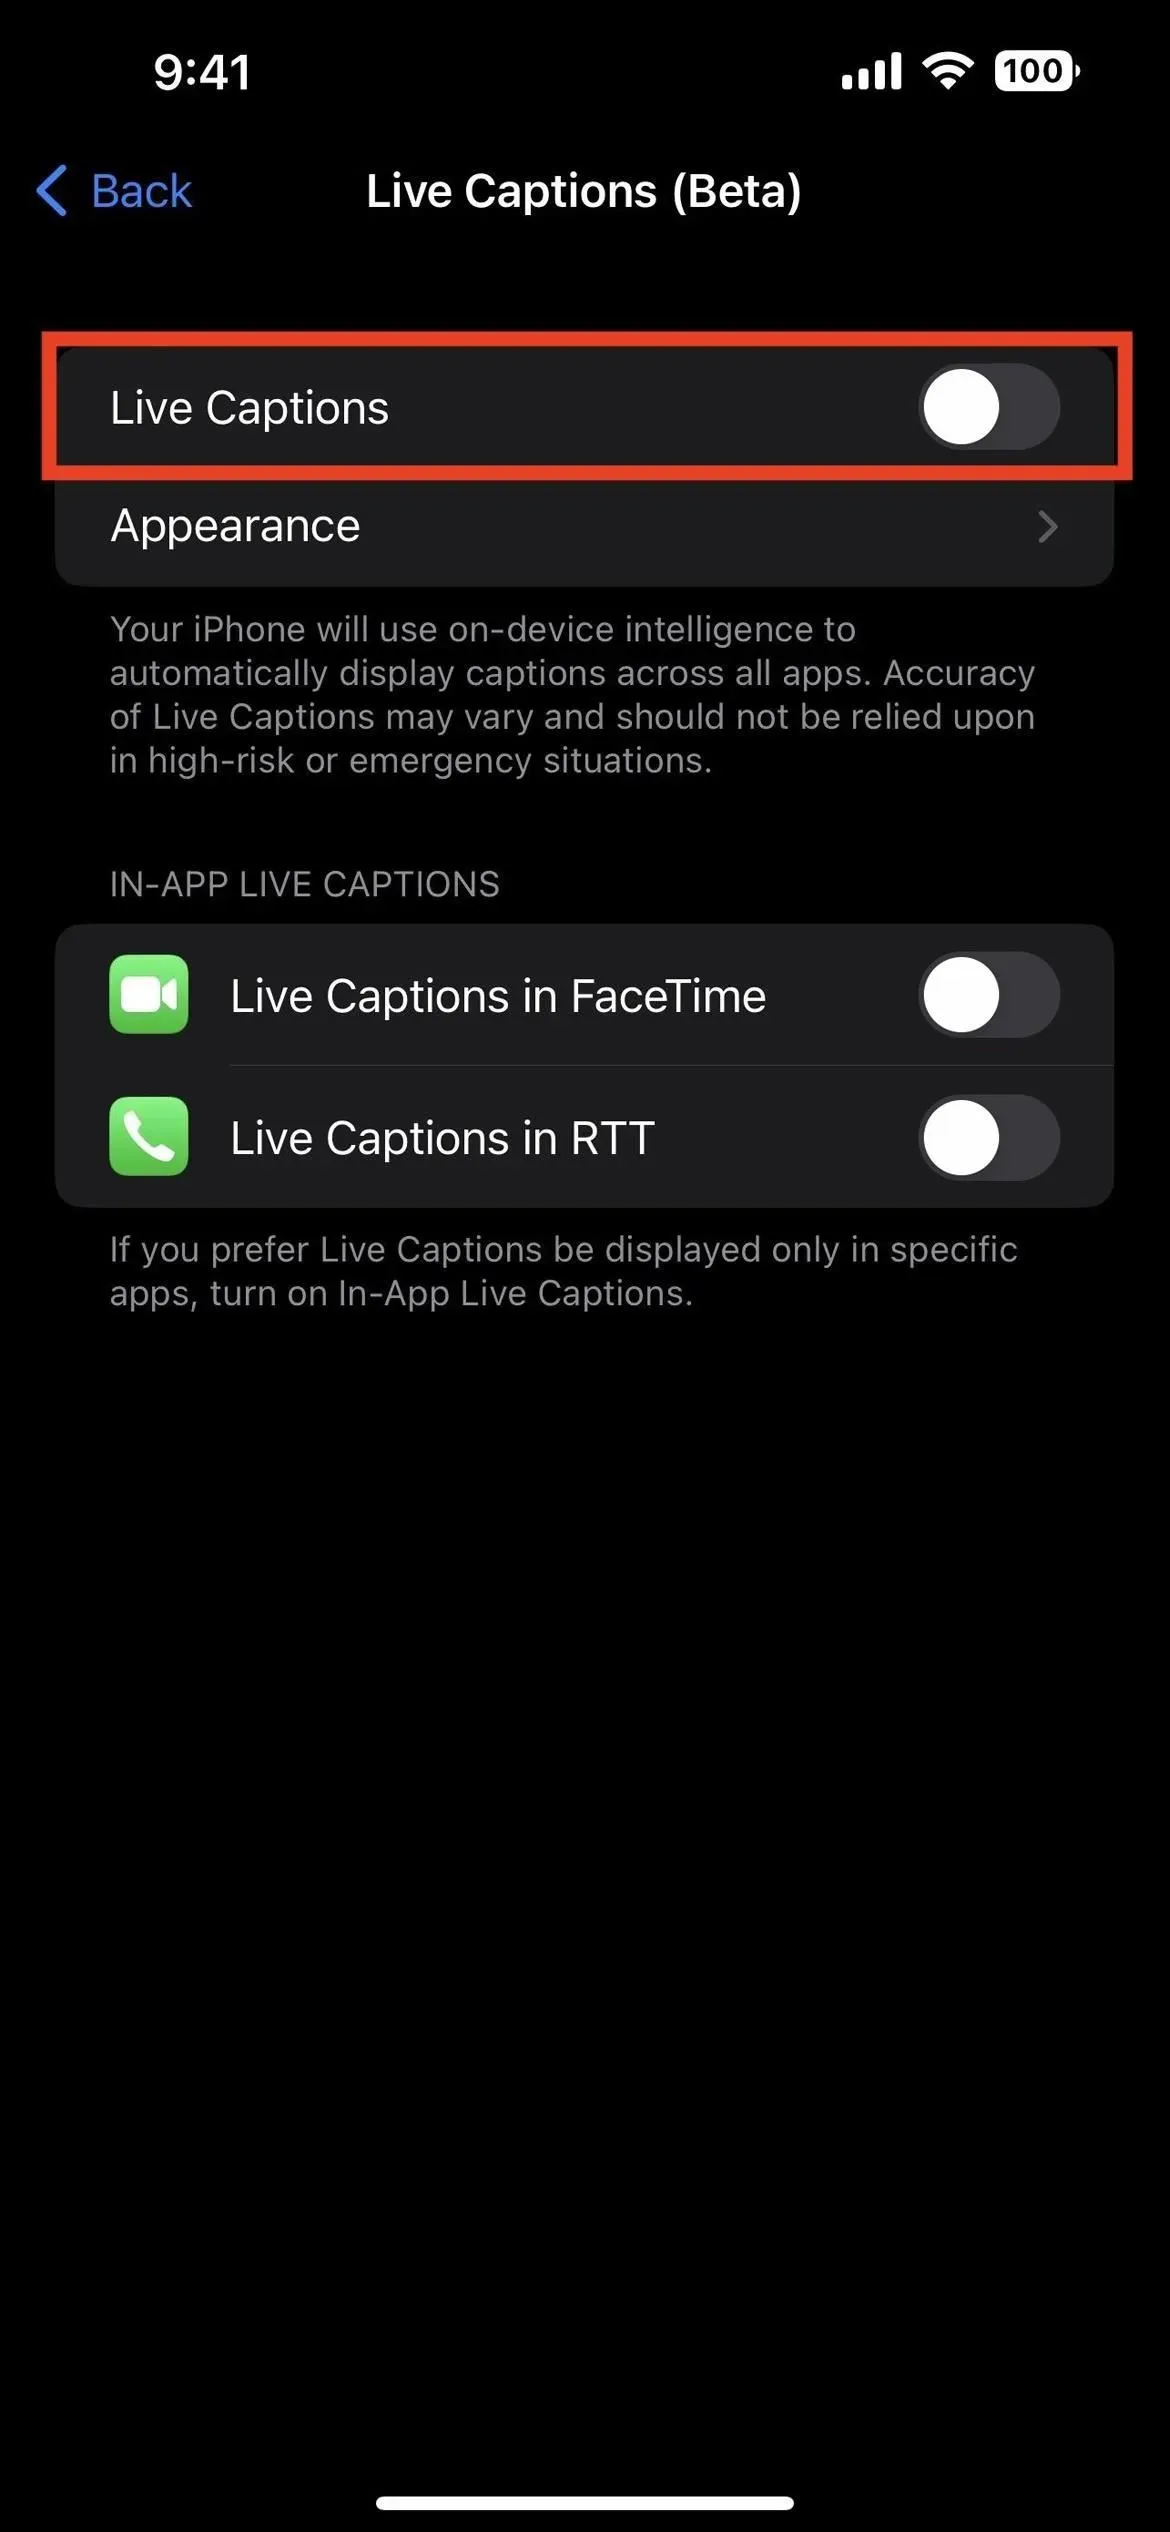
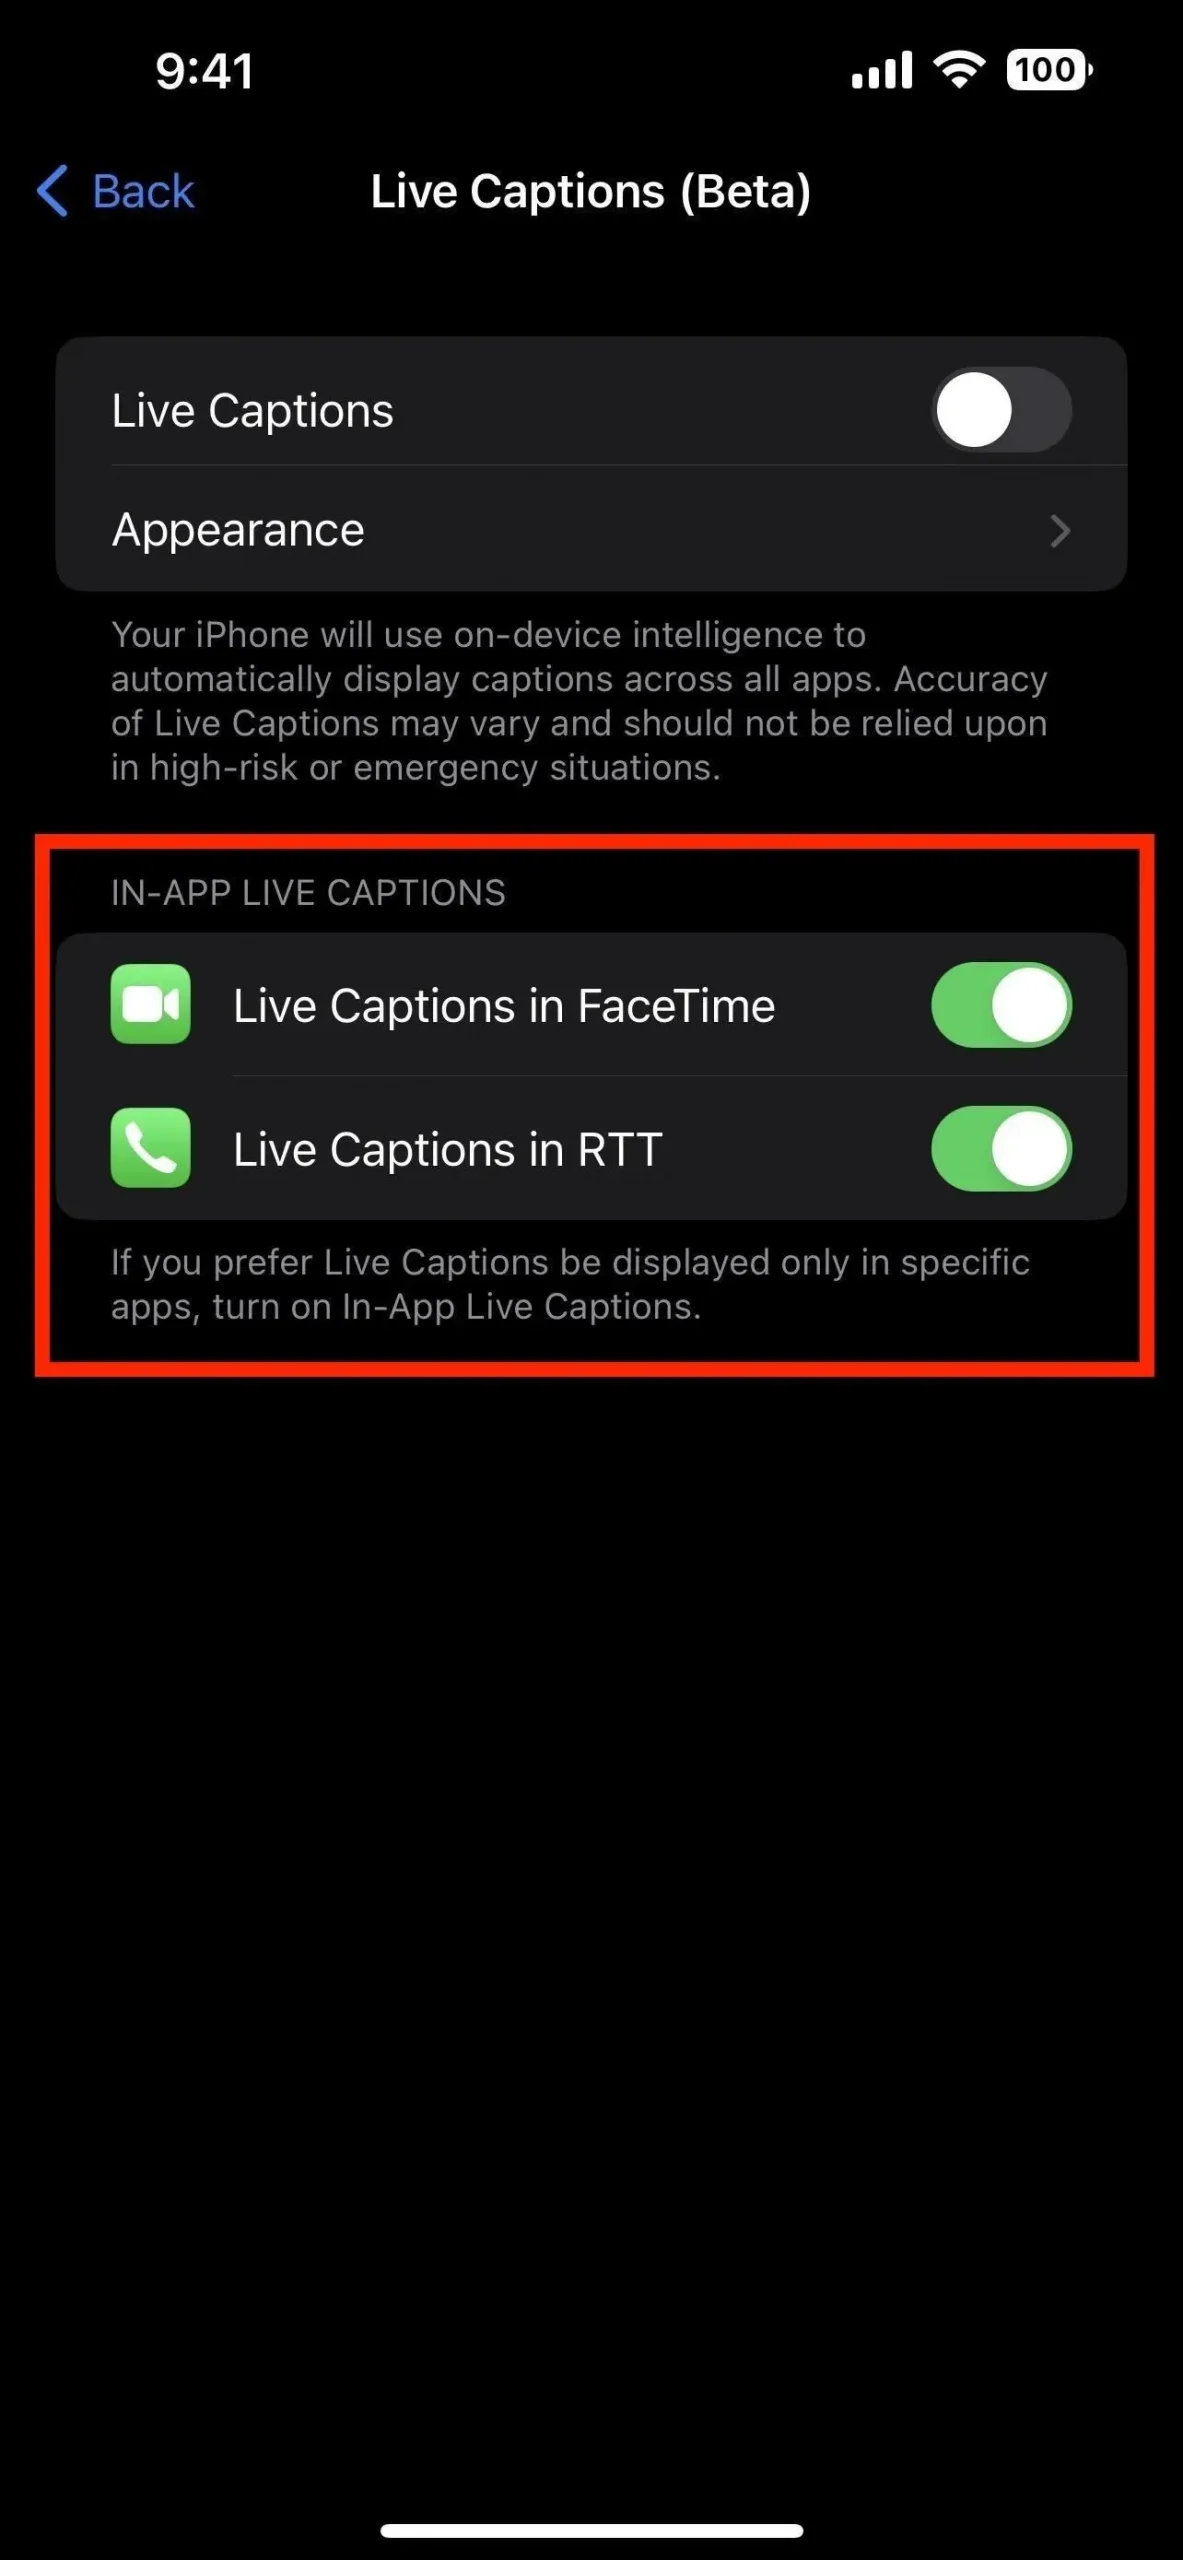
This includes Live Captions system wide for all apps. If you only want to use Live Captions in some apps, you can enable them in the In-App Live Captions group. Currently, only FaceTime and real-time text (RTT) are supported for the Phone app.
Using Live Captioning Controls
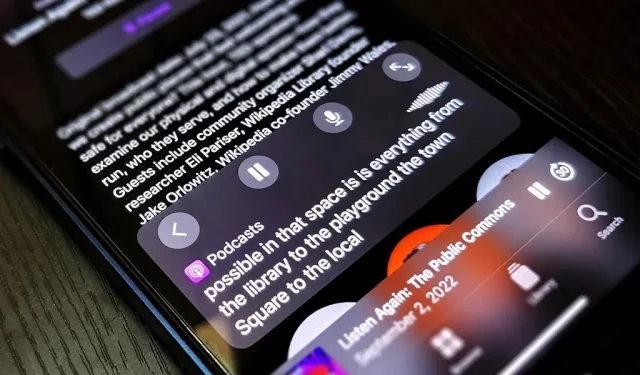
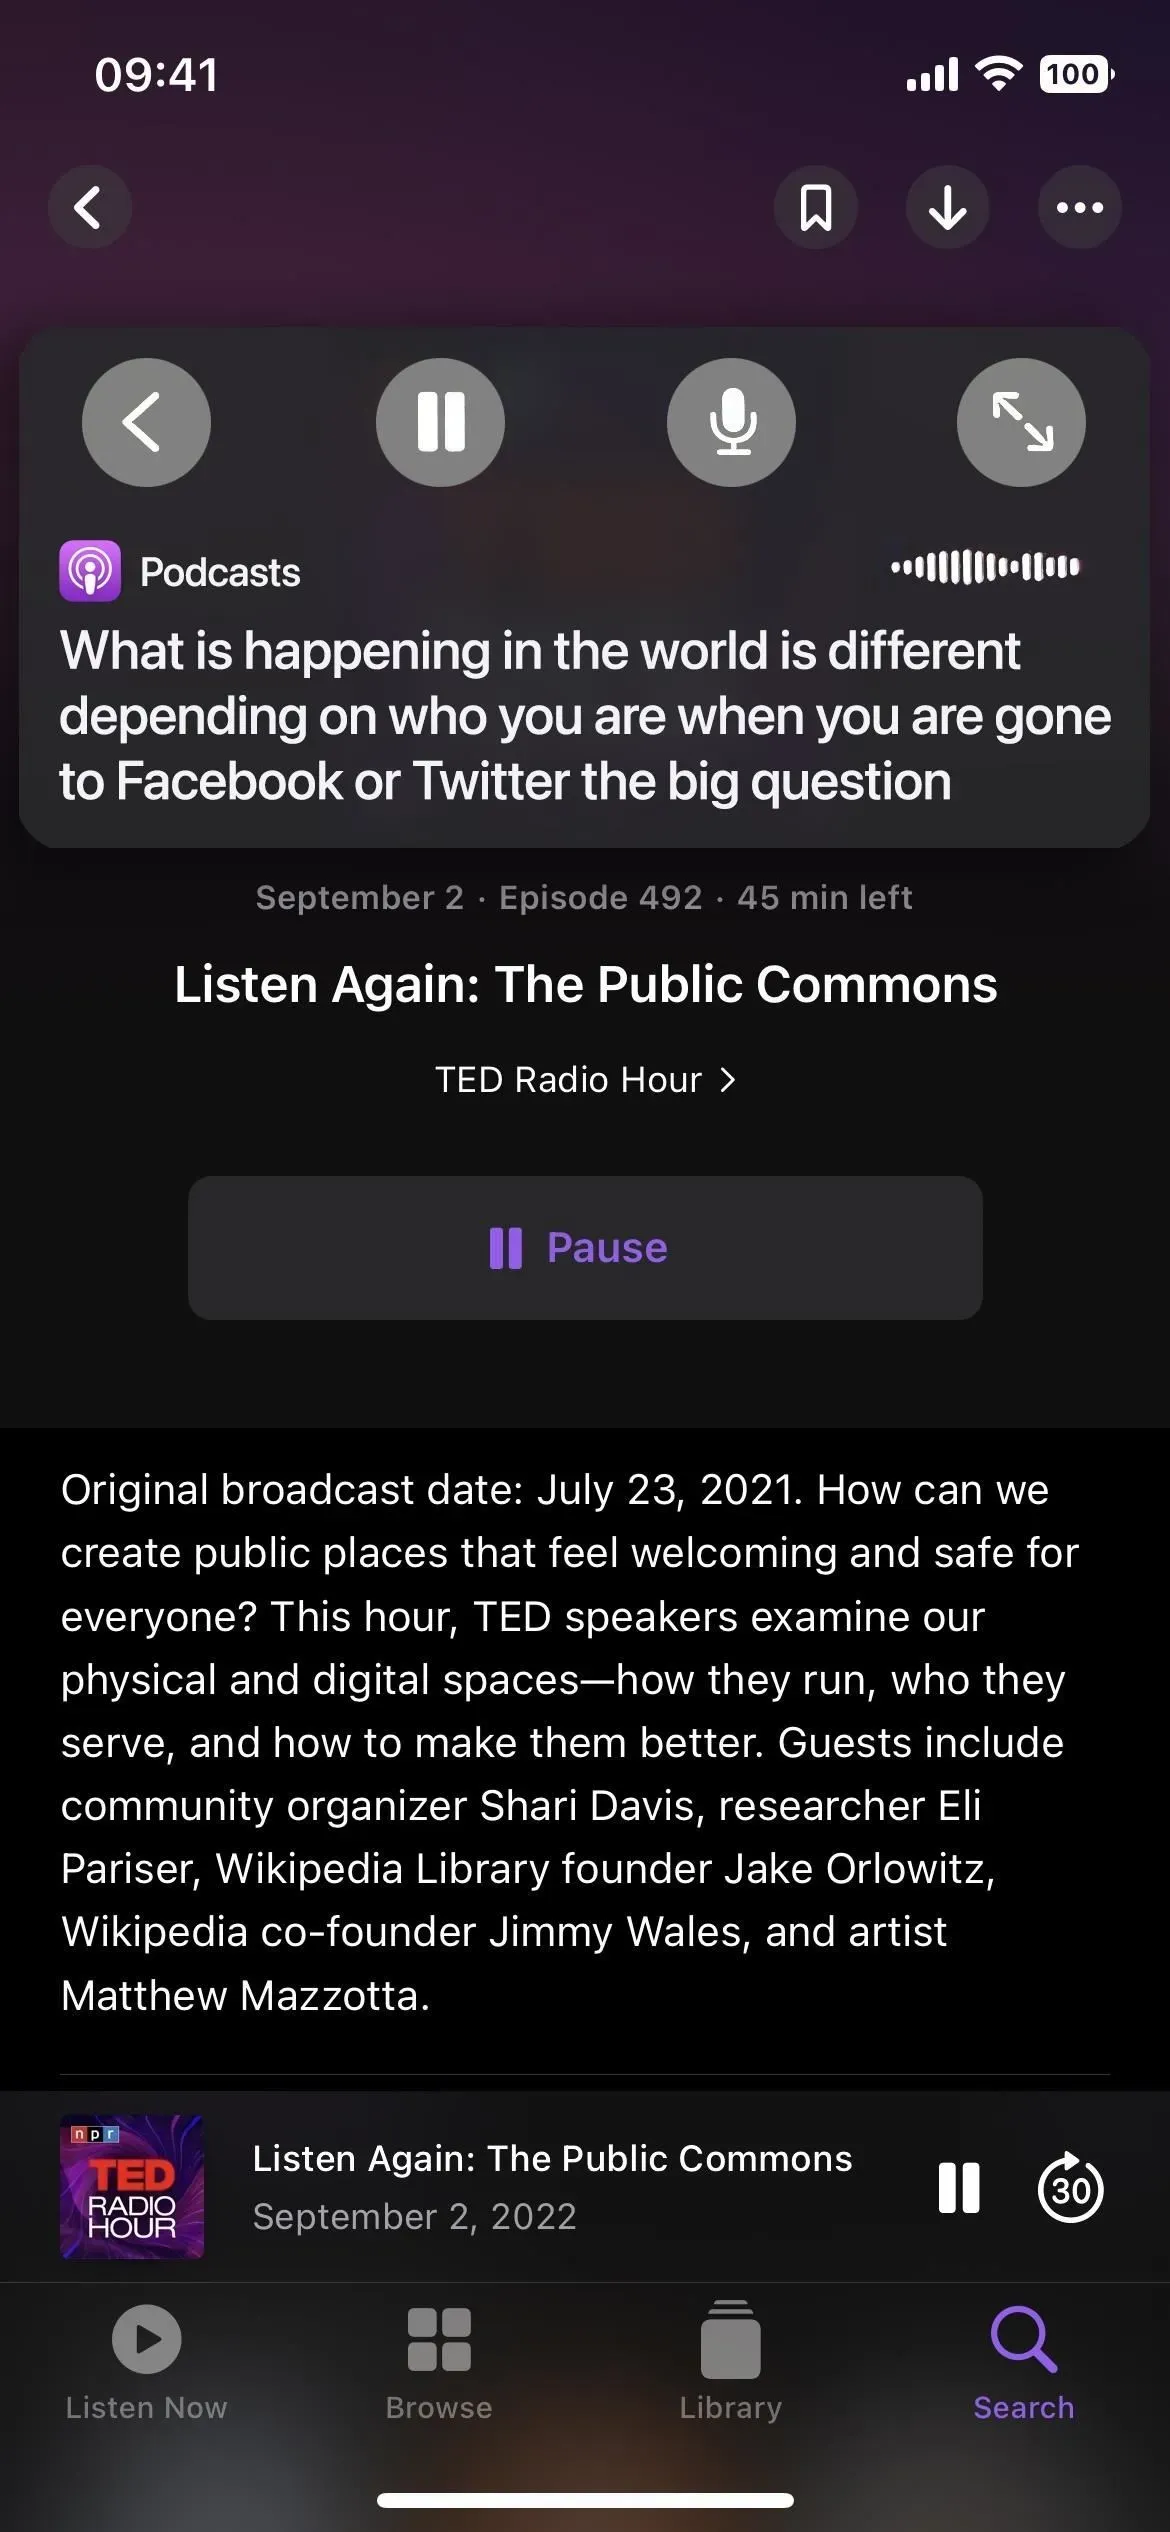
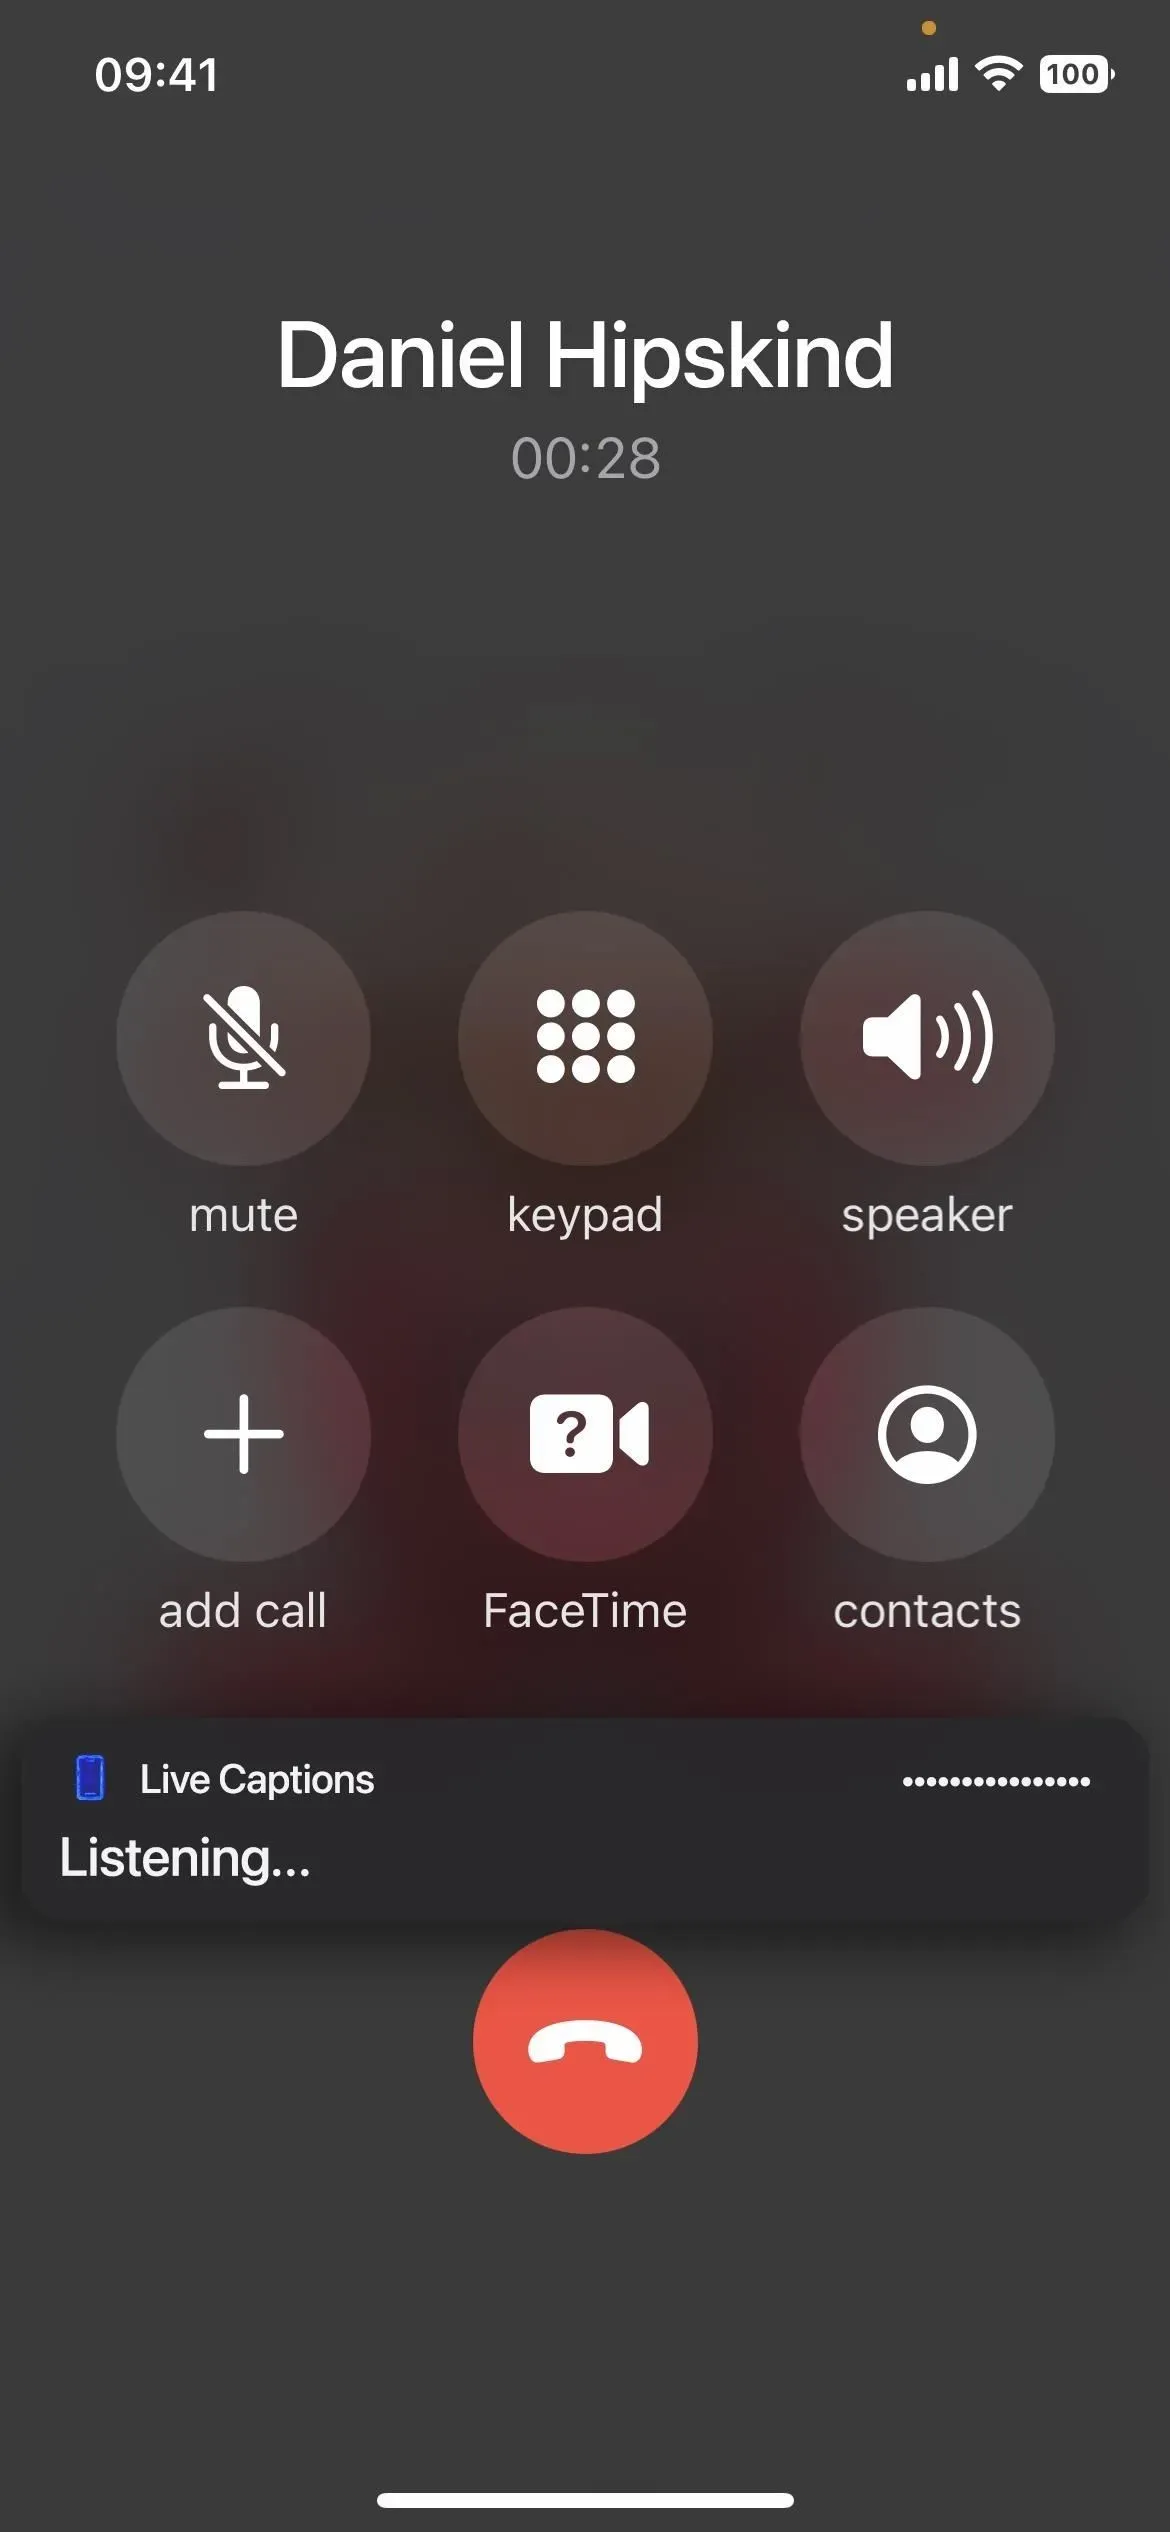
When Live Captions are active, you can move them around the screen just like the Picture-in-Picture player. This way you don’t cover the content you need to see in addition to the captions. If you tap the labels once, the controls will expand, including hide, play/pause, microphone, and expand/collapse buttons.
- Hide: Collapses live titles into a bubble. You can’t swipe it off the screen like you can with a picture-in-picture, but its opacity will change when it’s idle, similar to an AssistiveTouch bubble.
- Play/Pause: Play or pause live titles. If it’s paused and you roll it up into a bubble, a pause sign will appear on the bubble to let you know it’s not trying to transcribe anything.
- Microphone: Changes the input from the device to the outside world so you can get live subtitles on the apps you use and the real life around you.
- Expand/Collapse: When expanded, the entire screen is filled with live subtitles in case you need to focus on reading and not everything else. In full screen Live Captions, minimizing reduces it to the standard floating view.
Using Live Captions for audio and video calls
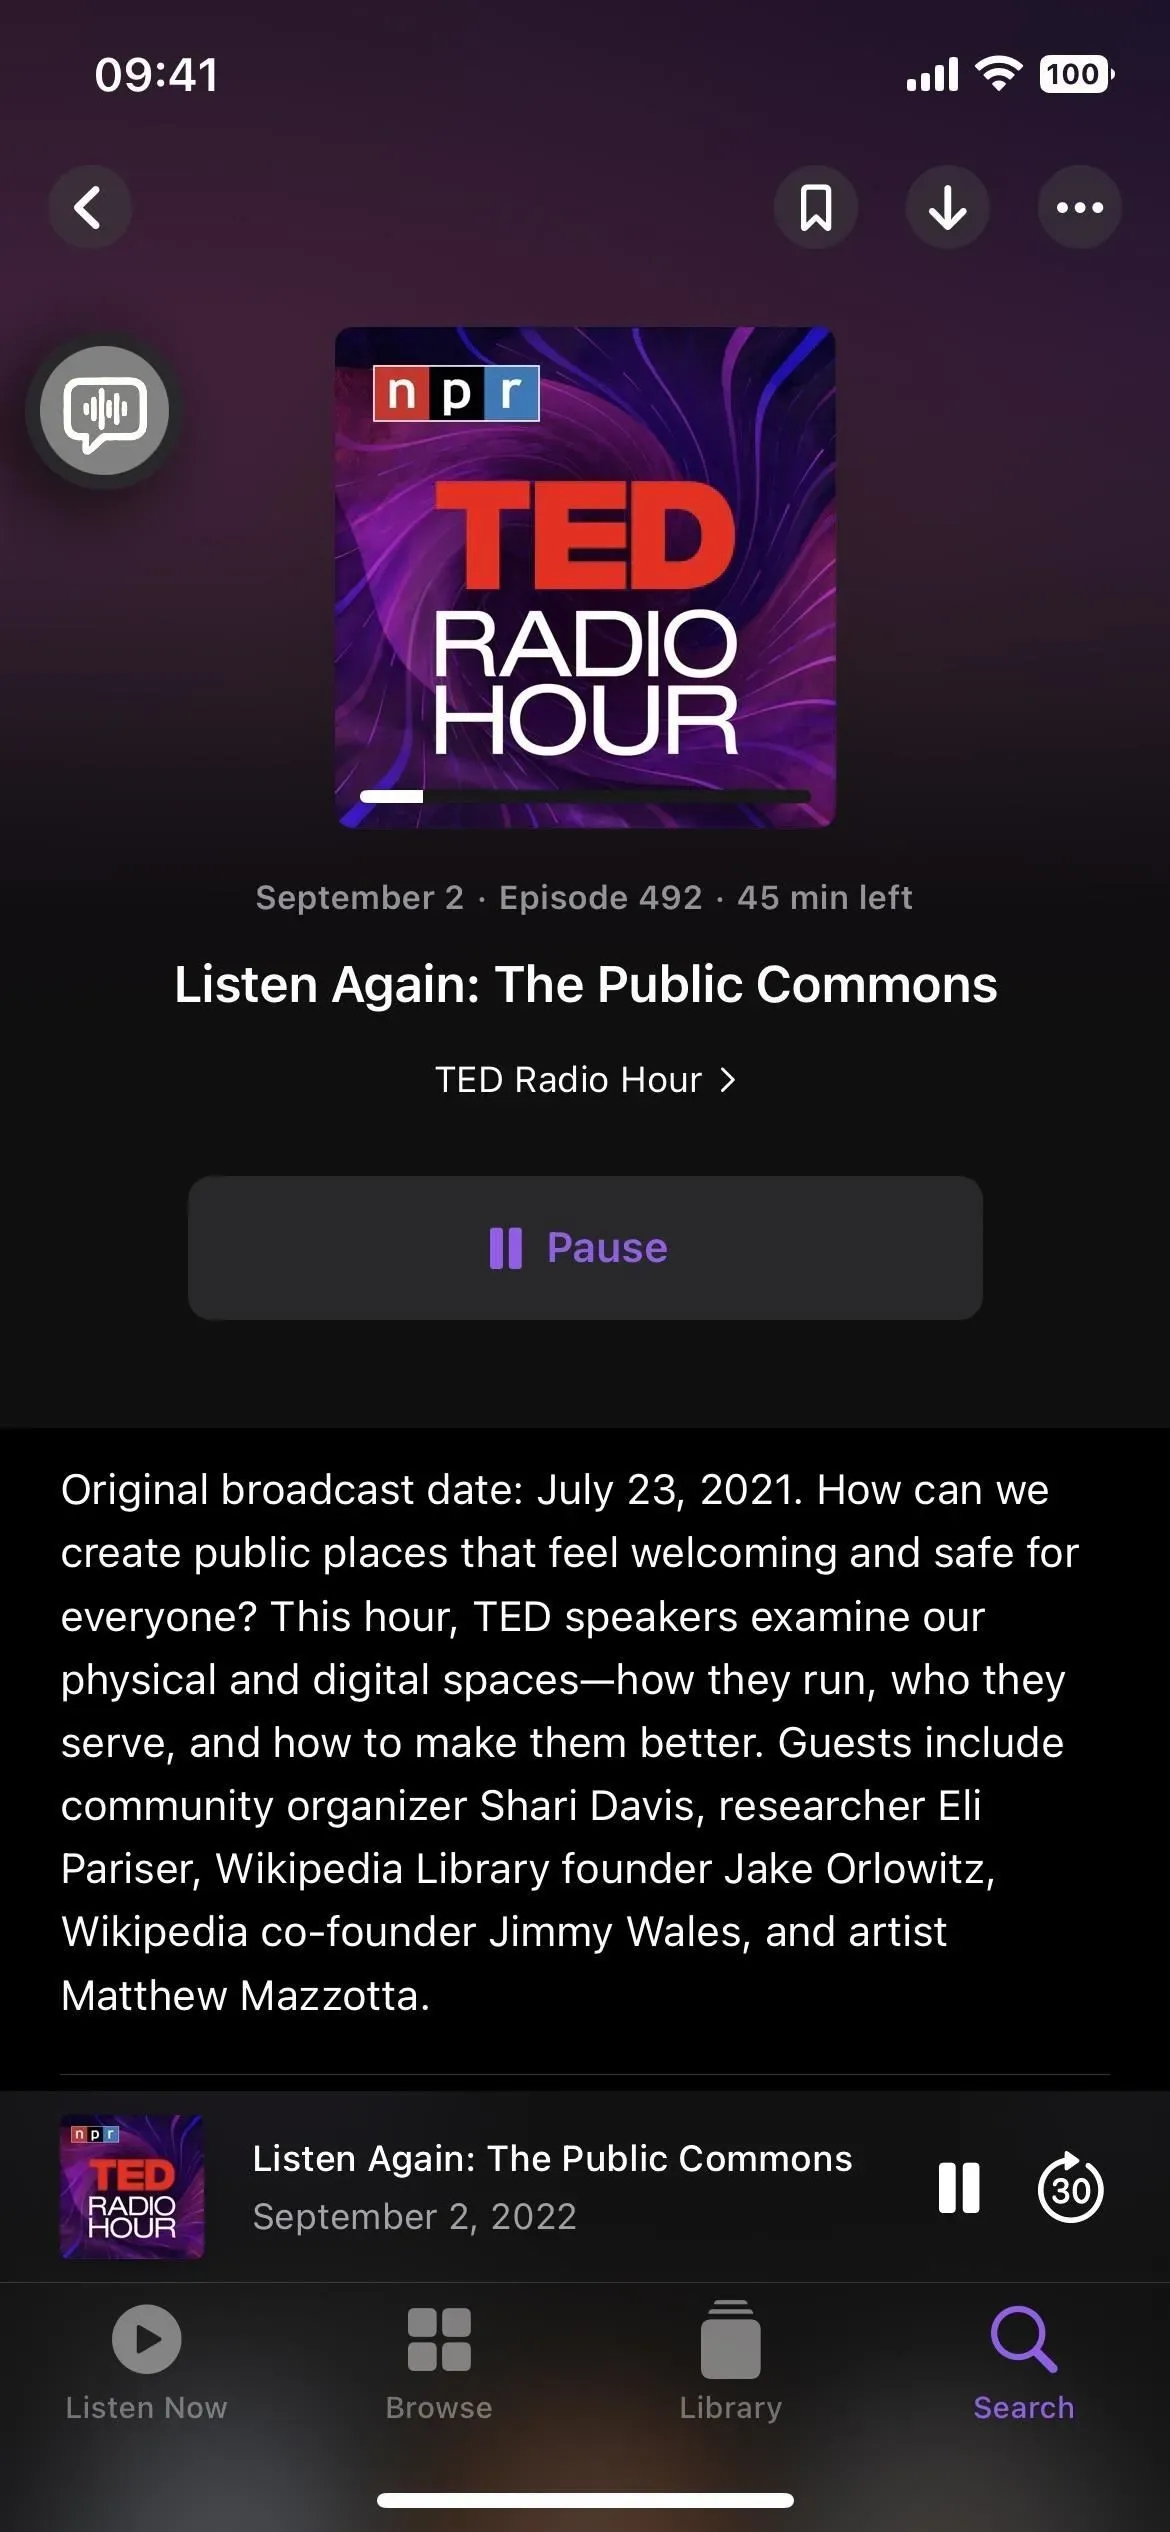
You can use Live Captions while talking to others in an audio or video call on your phone, FaceTime, or a third-party calling or conferencing app. It works on both cellular calls and Wi-Fi calls. In FaceTime, Live Captions assigns real-time transcription of conversations to each participant in the call, so there’s no confusion in the FaceTime group.
Using Live Captions for Music and Podcasts
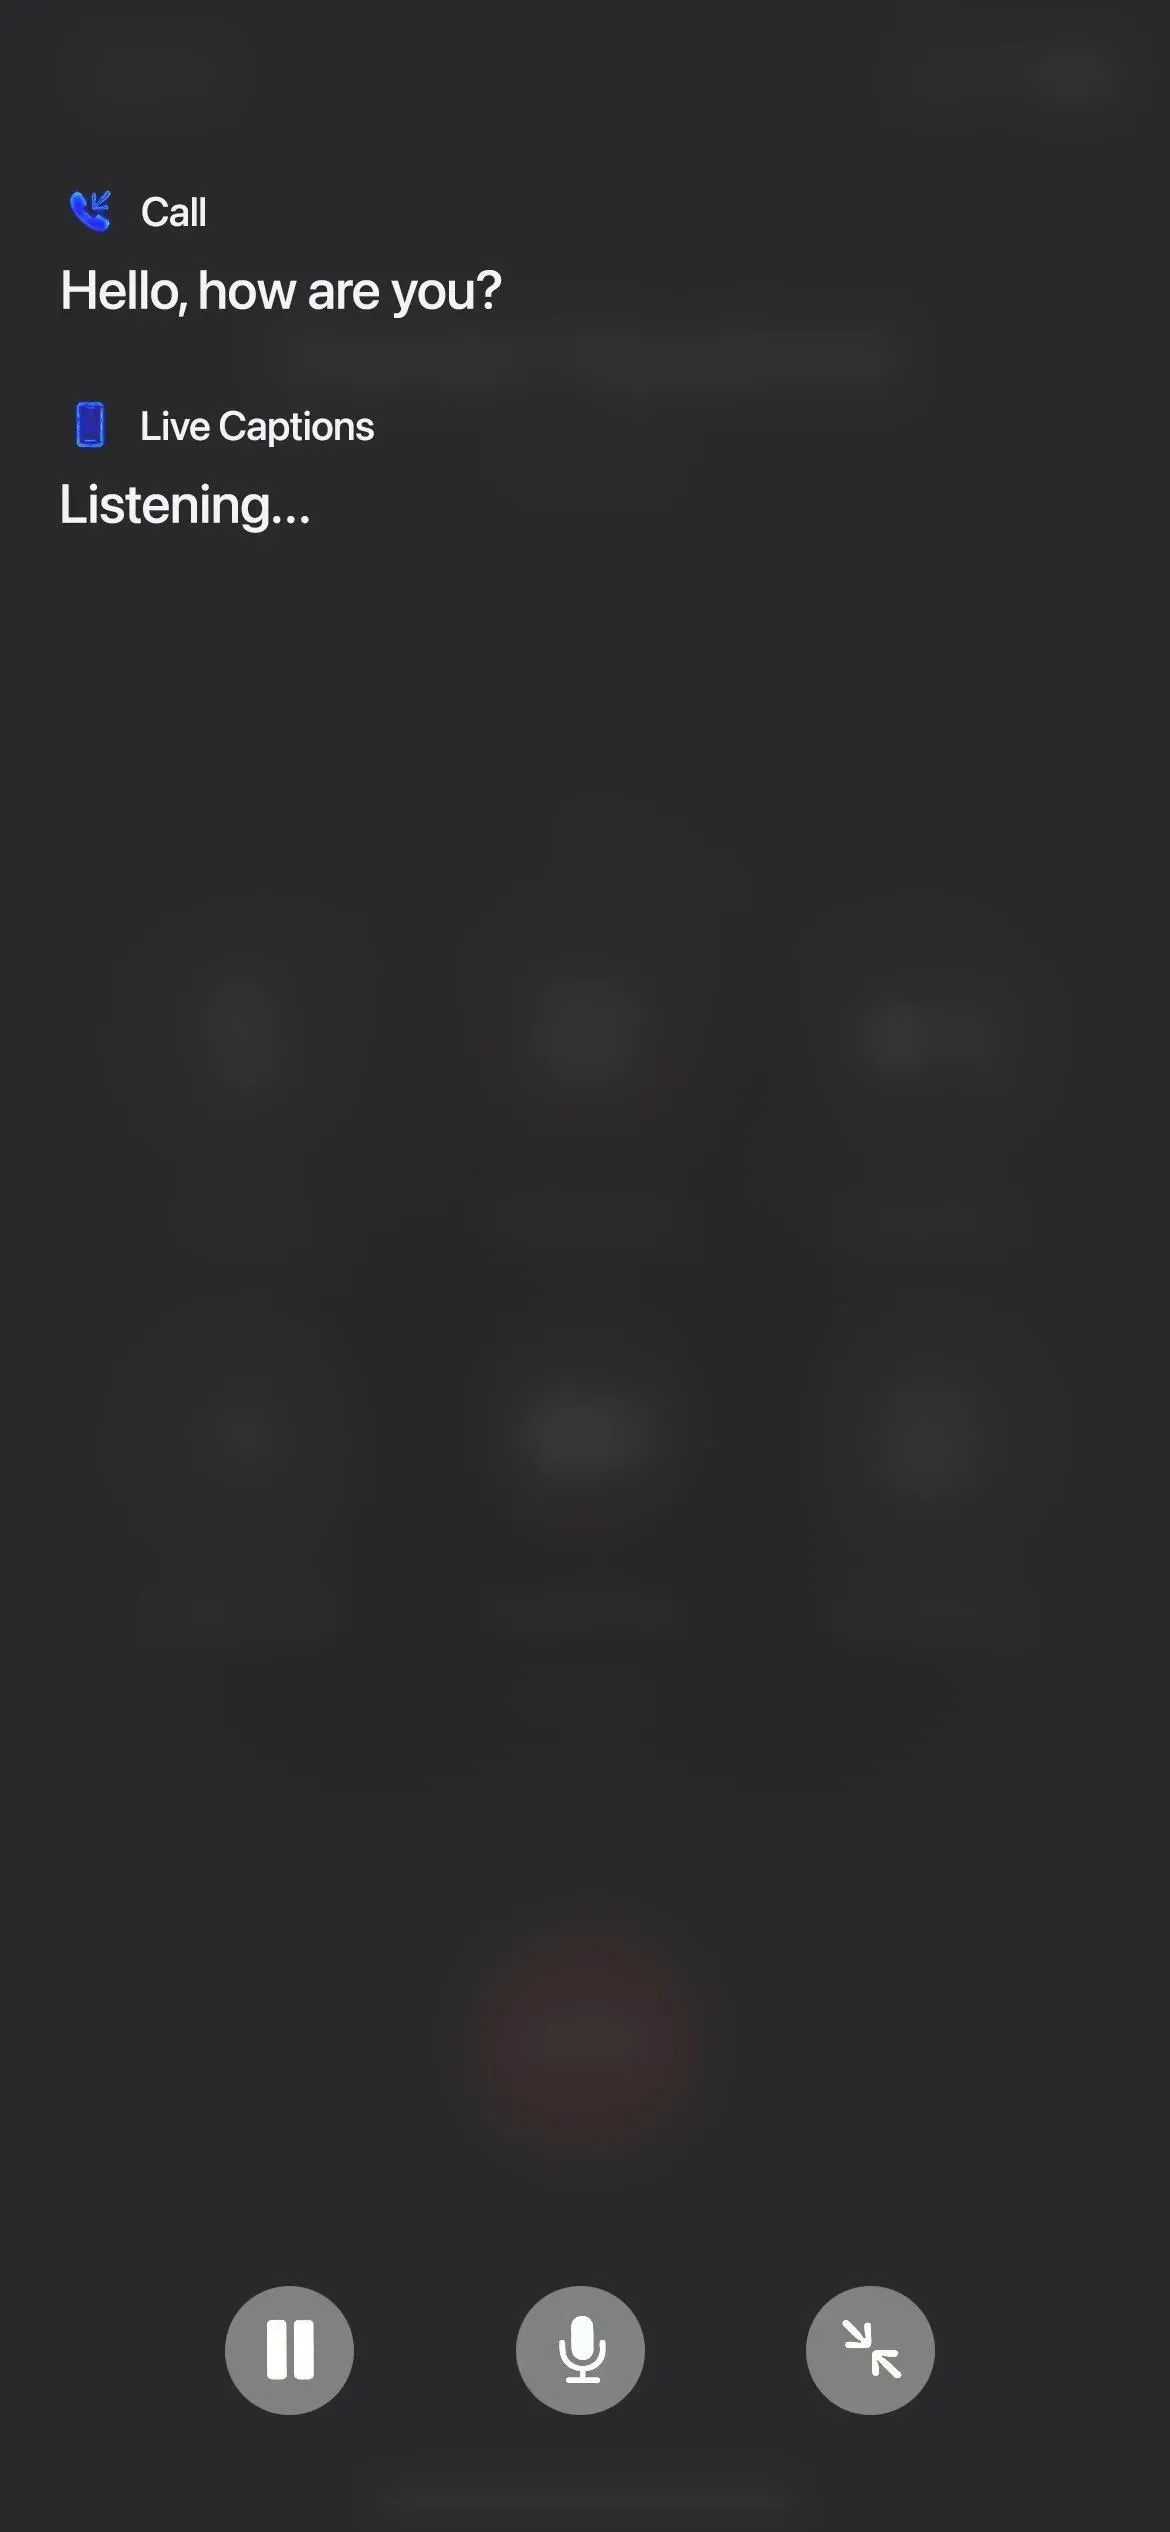
You can use Live Captions to transcribe music, but that doesn’t work if the text isn’t clear and there aren’t many tools to drown out the vocals. For example, I got it to work decently with acoustic music.
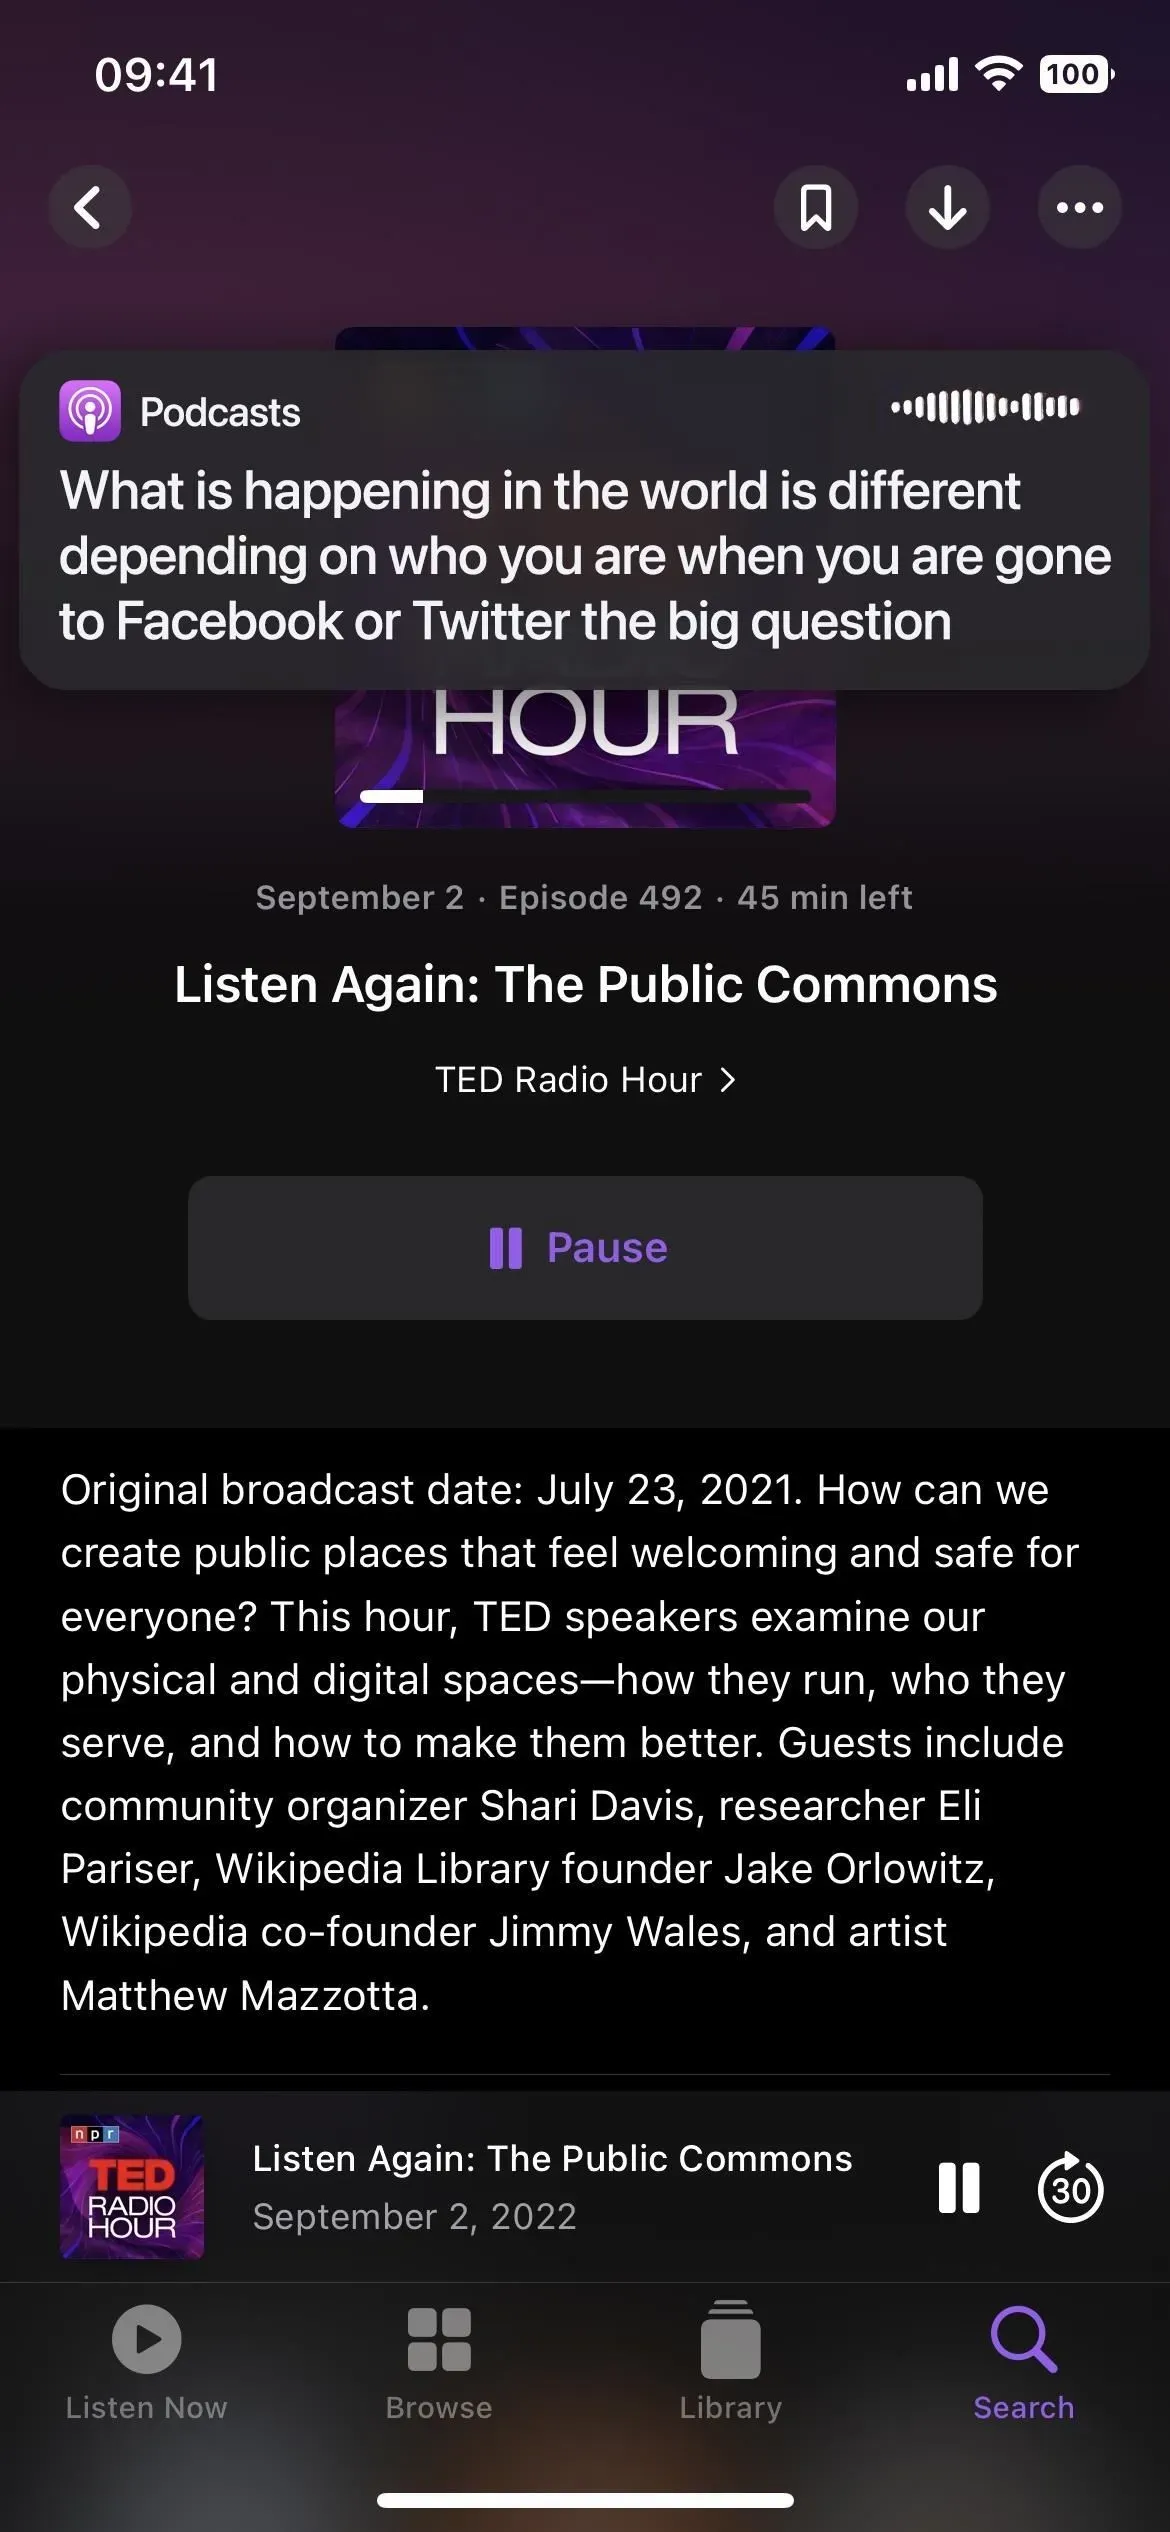
However, it works quite well with podcasts. As long as the podcast isn’t accompanied by loud background music, I’ve had no problems transcribing Live Captions podcasts.
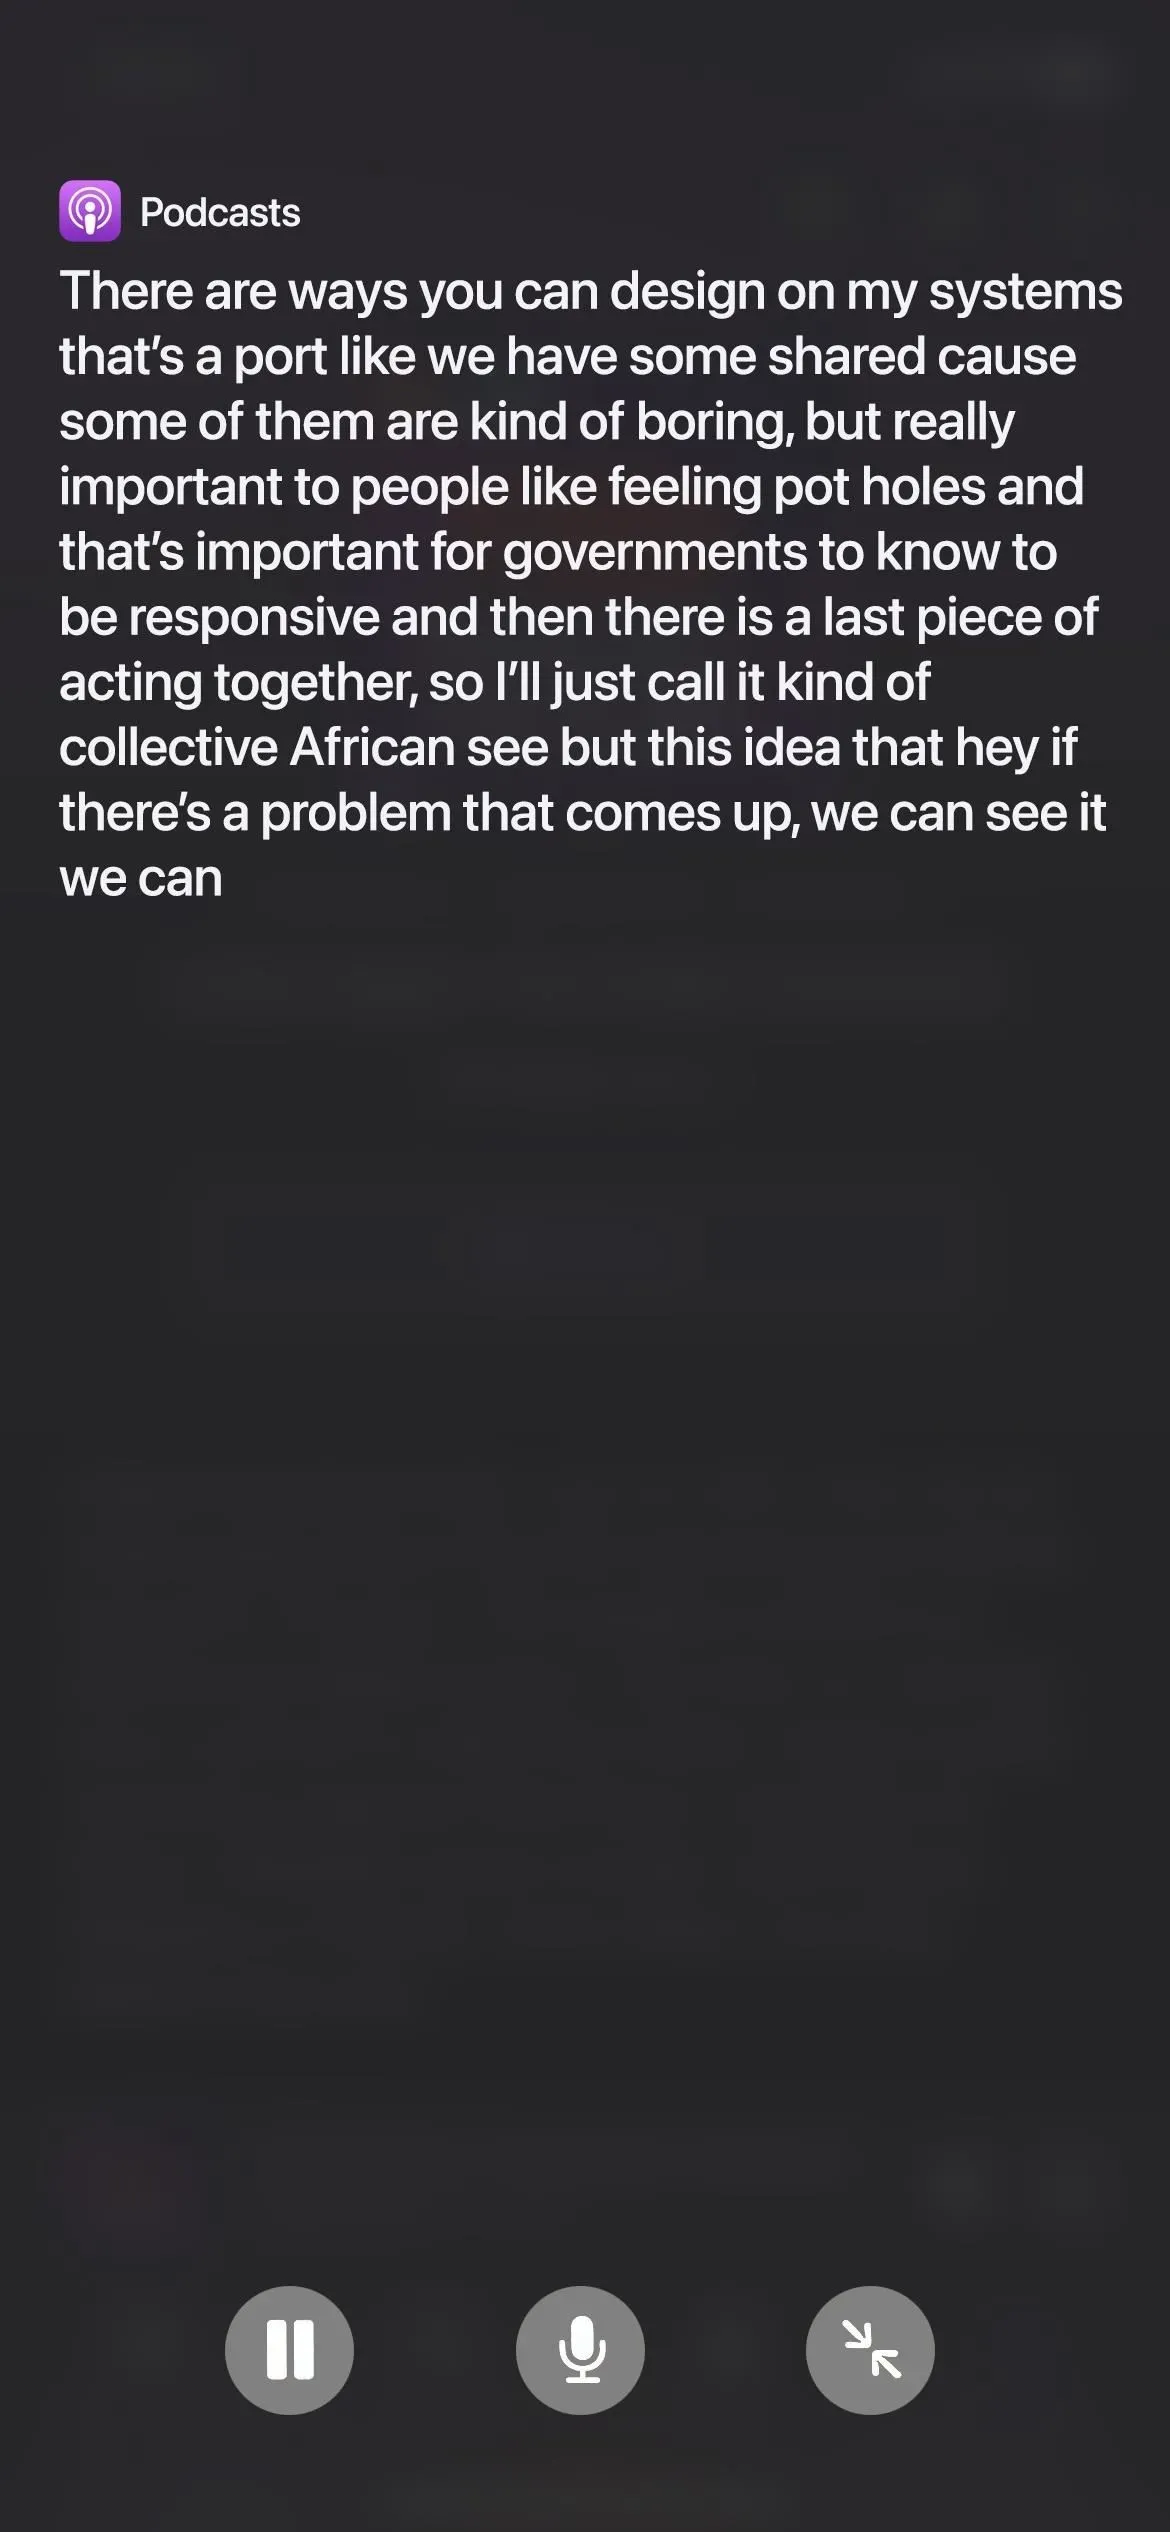
Using Live Captions for Videos and YouTube
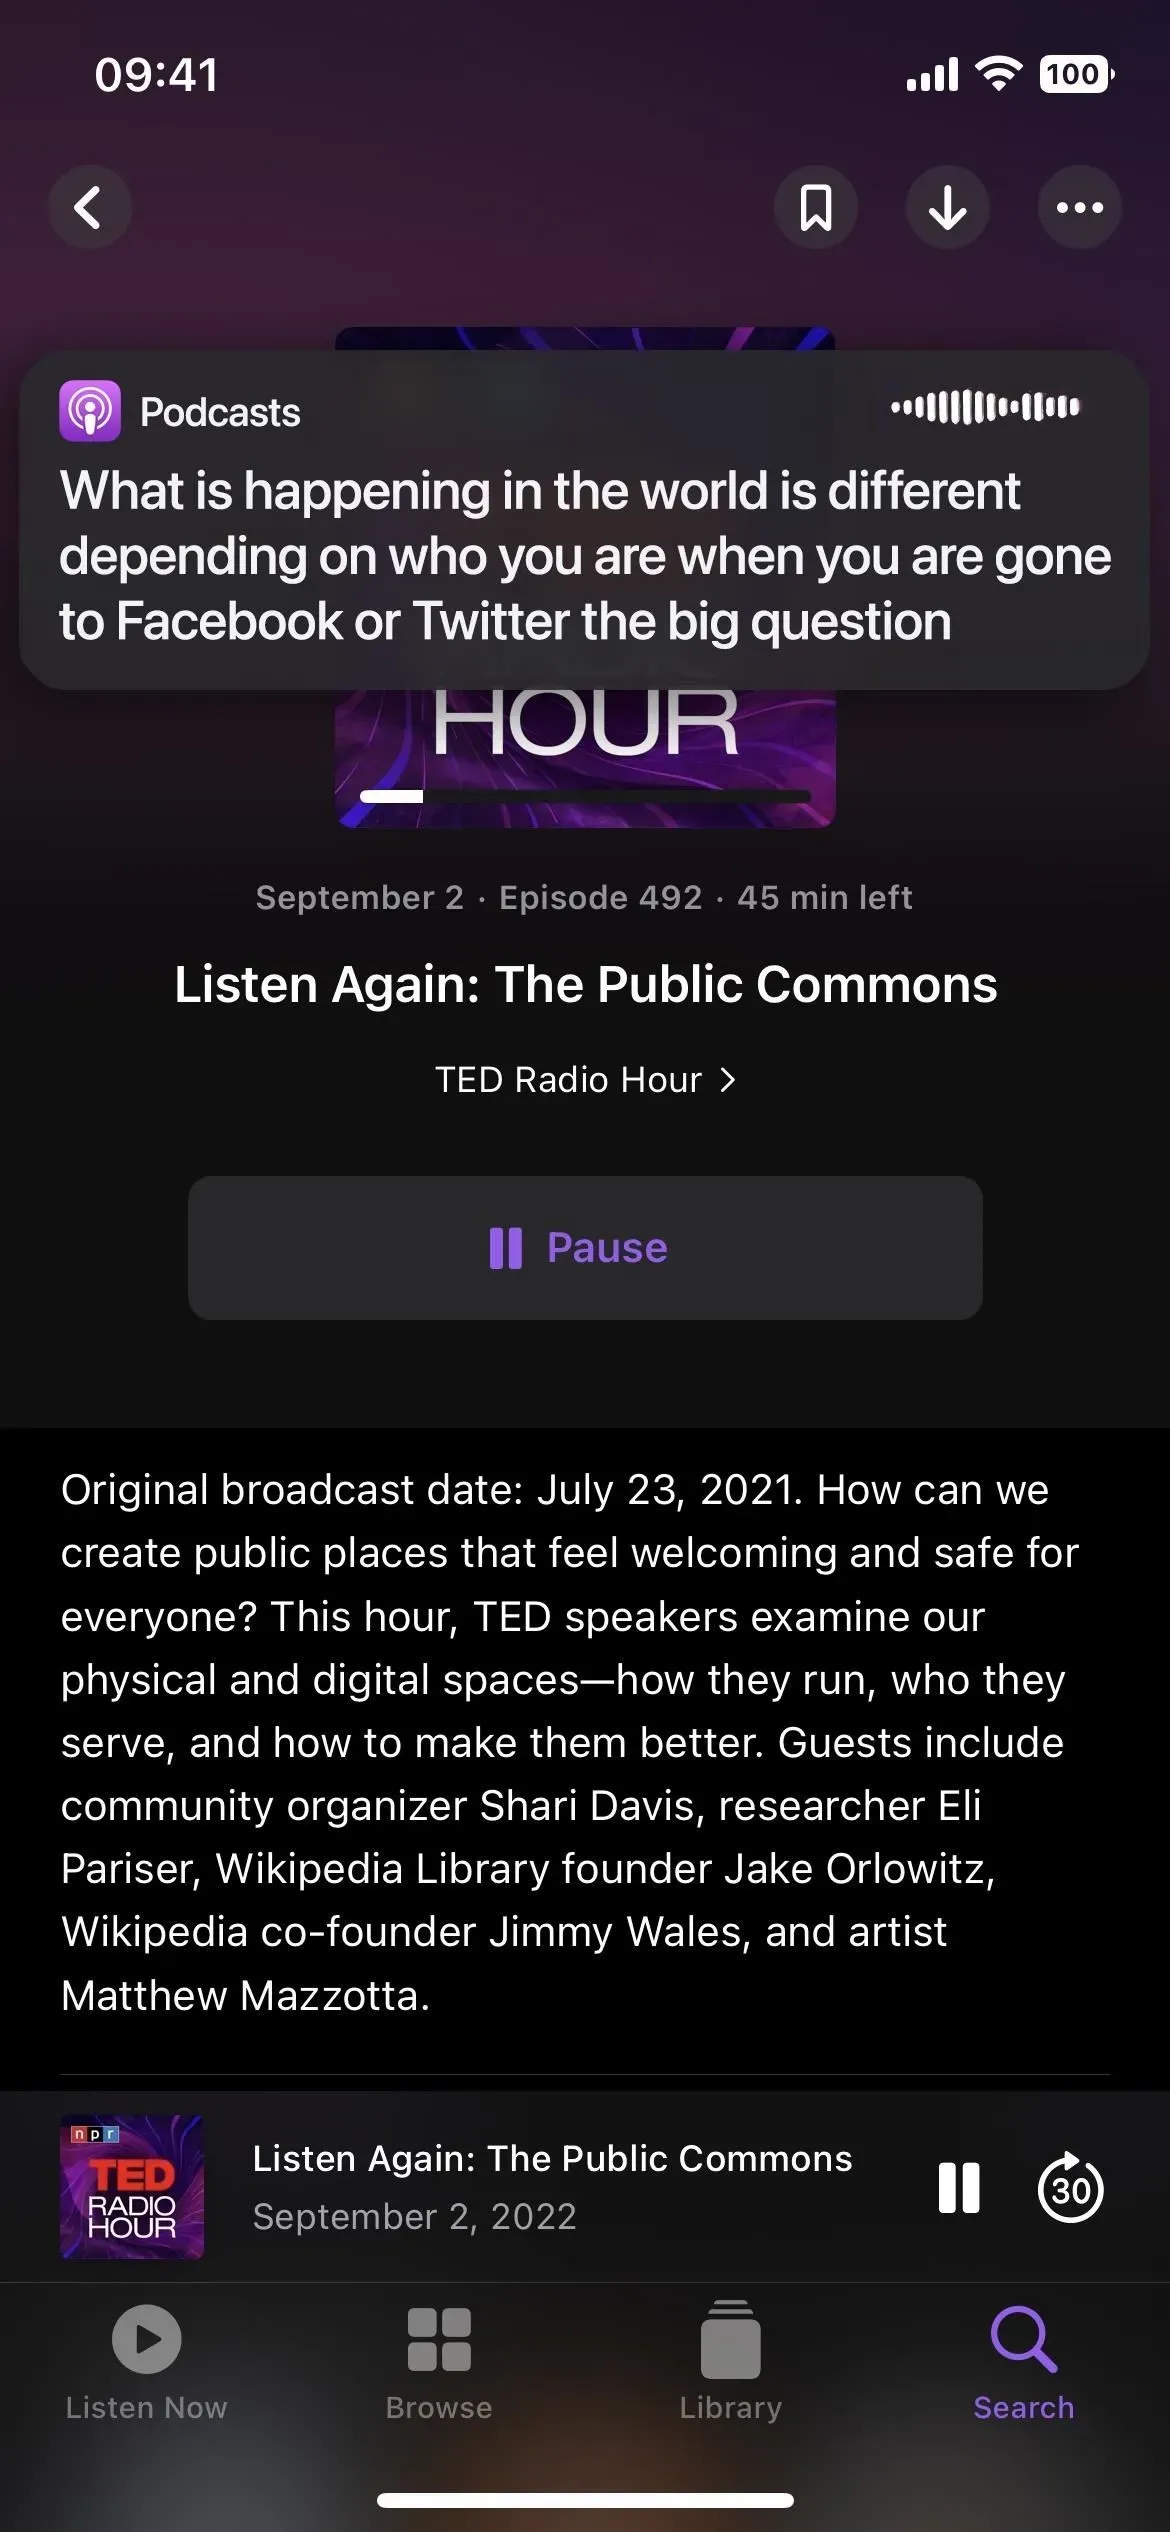
Live Captions also transcribes videos. Keep in mind that many YouTube videos already have closed captions built in, but if you can’t get them to work or are using another service that doesn’t have closed captioning, live captioning is ideal.
However, as with other audio formats, it cannot be something with loud background noise, such as a music video. Also, if you want to watch the entire credits page, it removes the video from the screen altogether.


Customizing the appearance of live titles
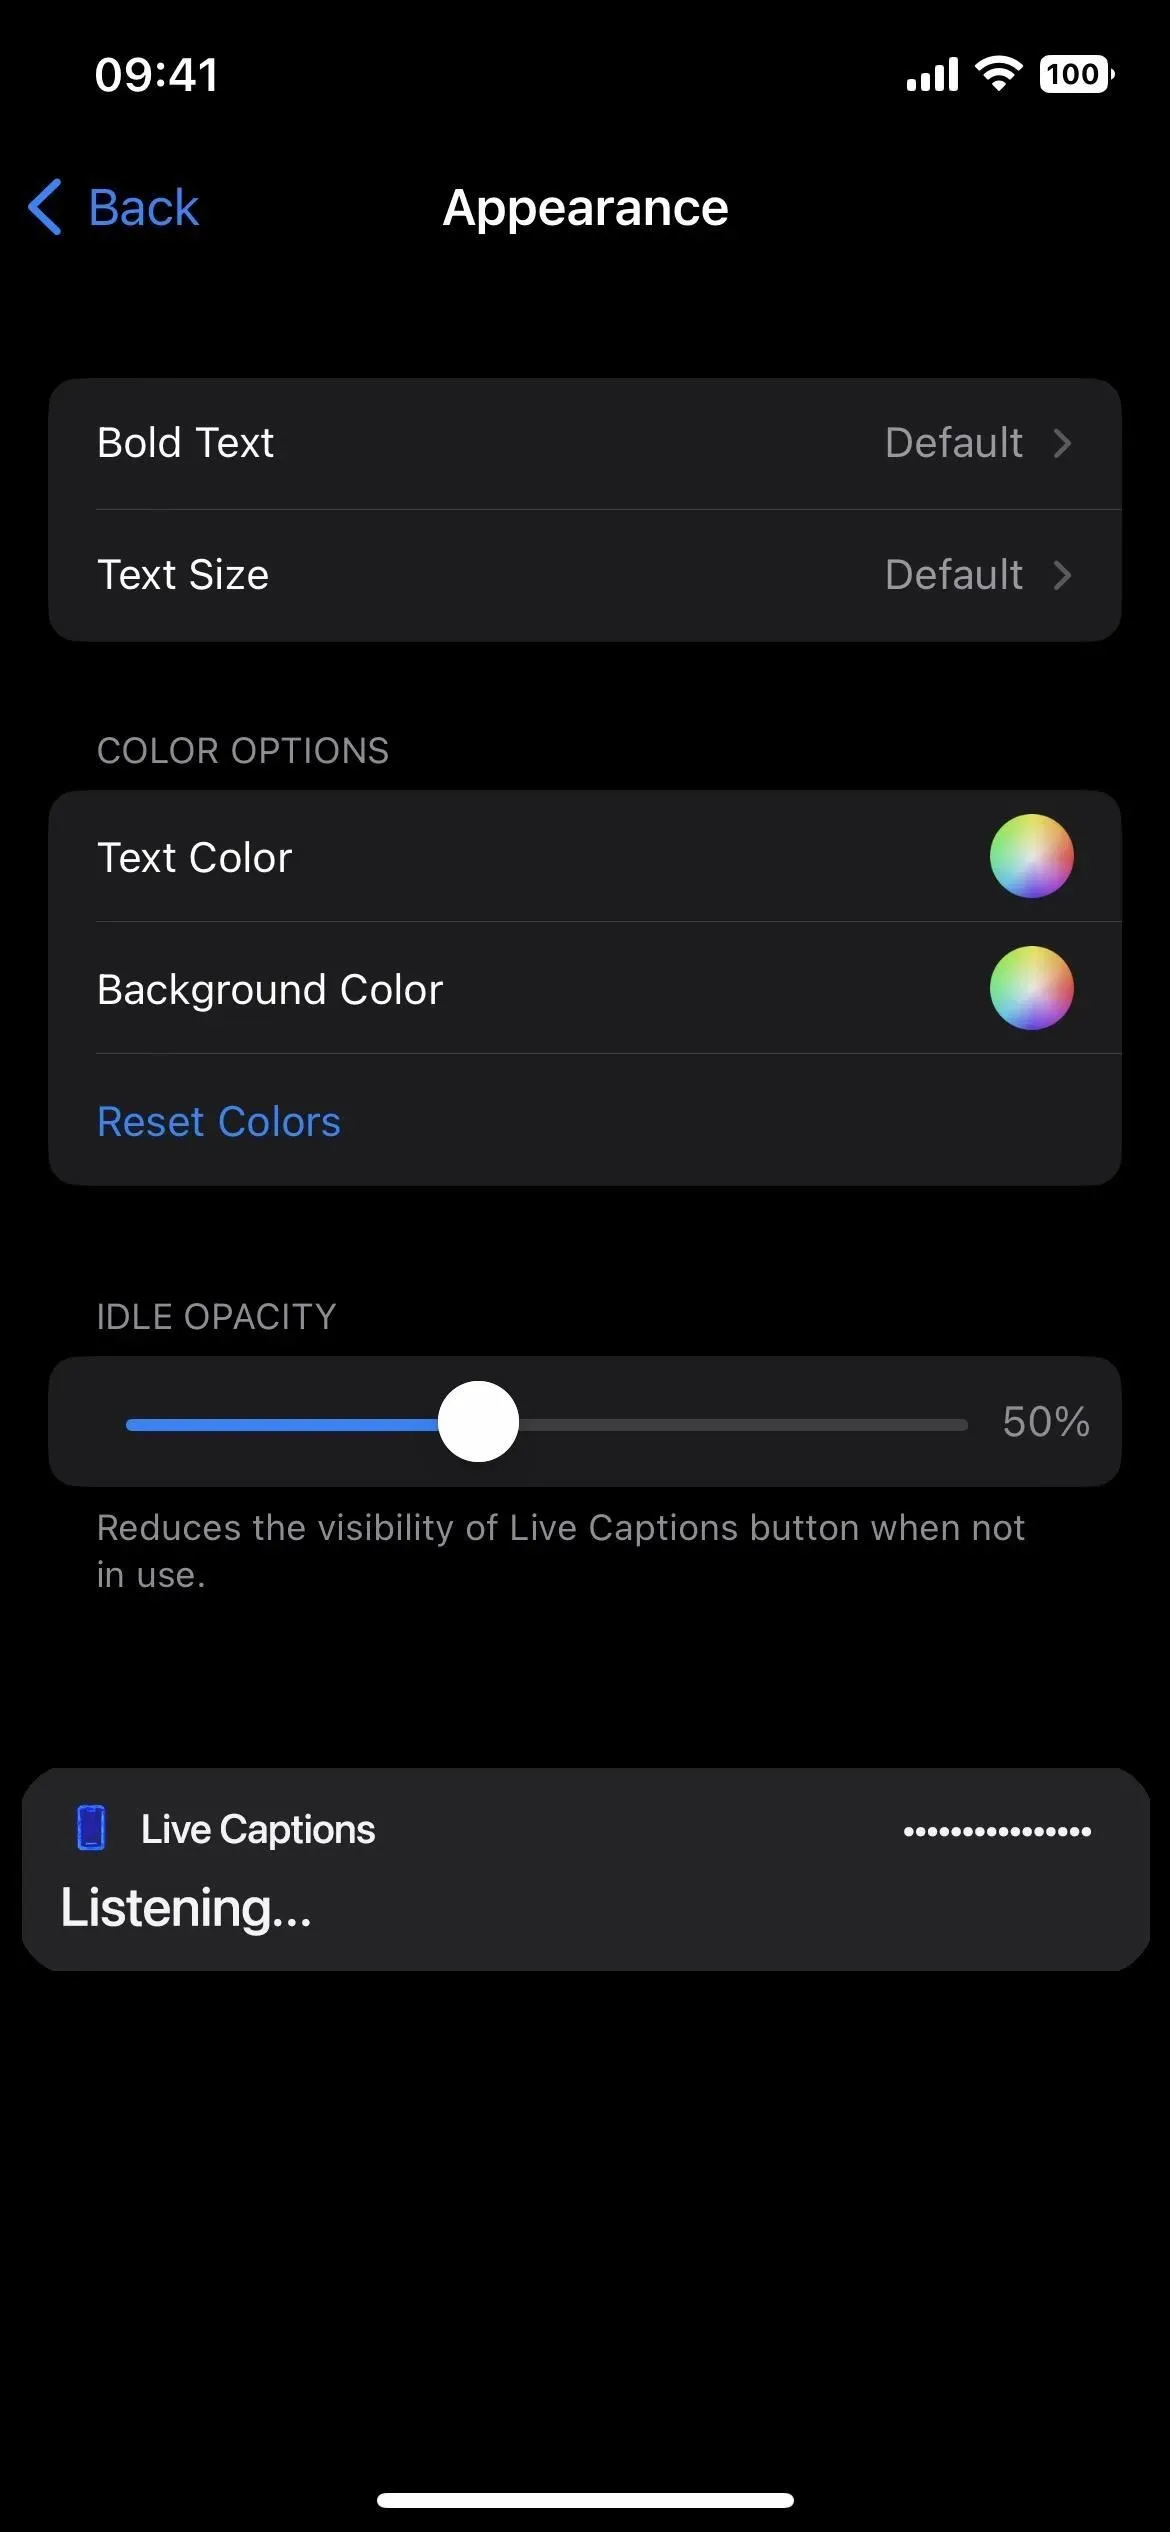
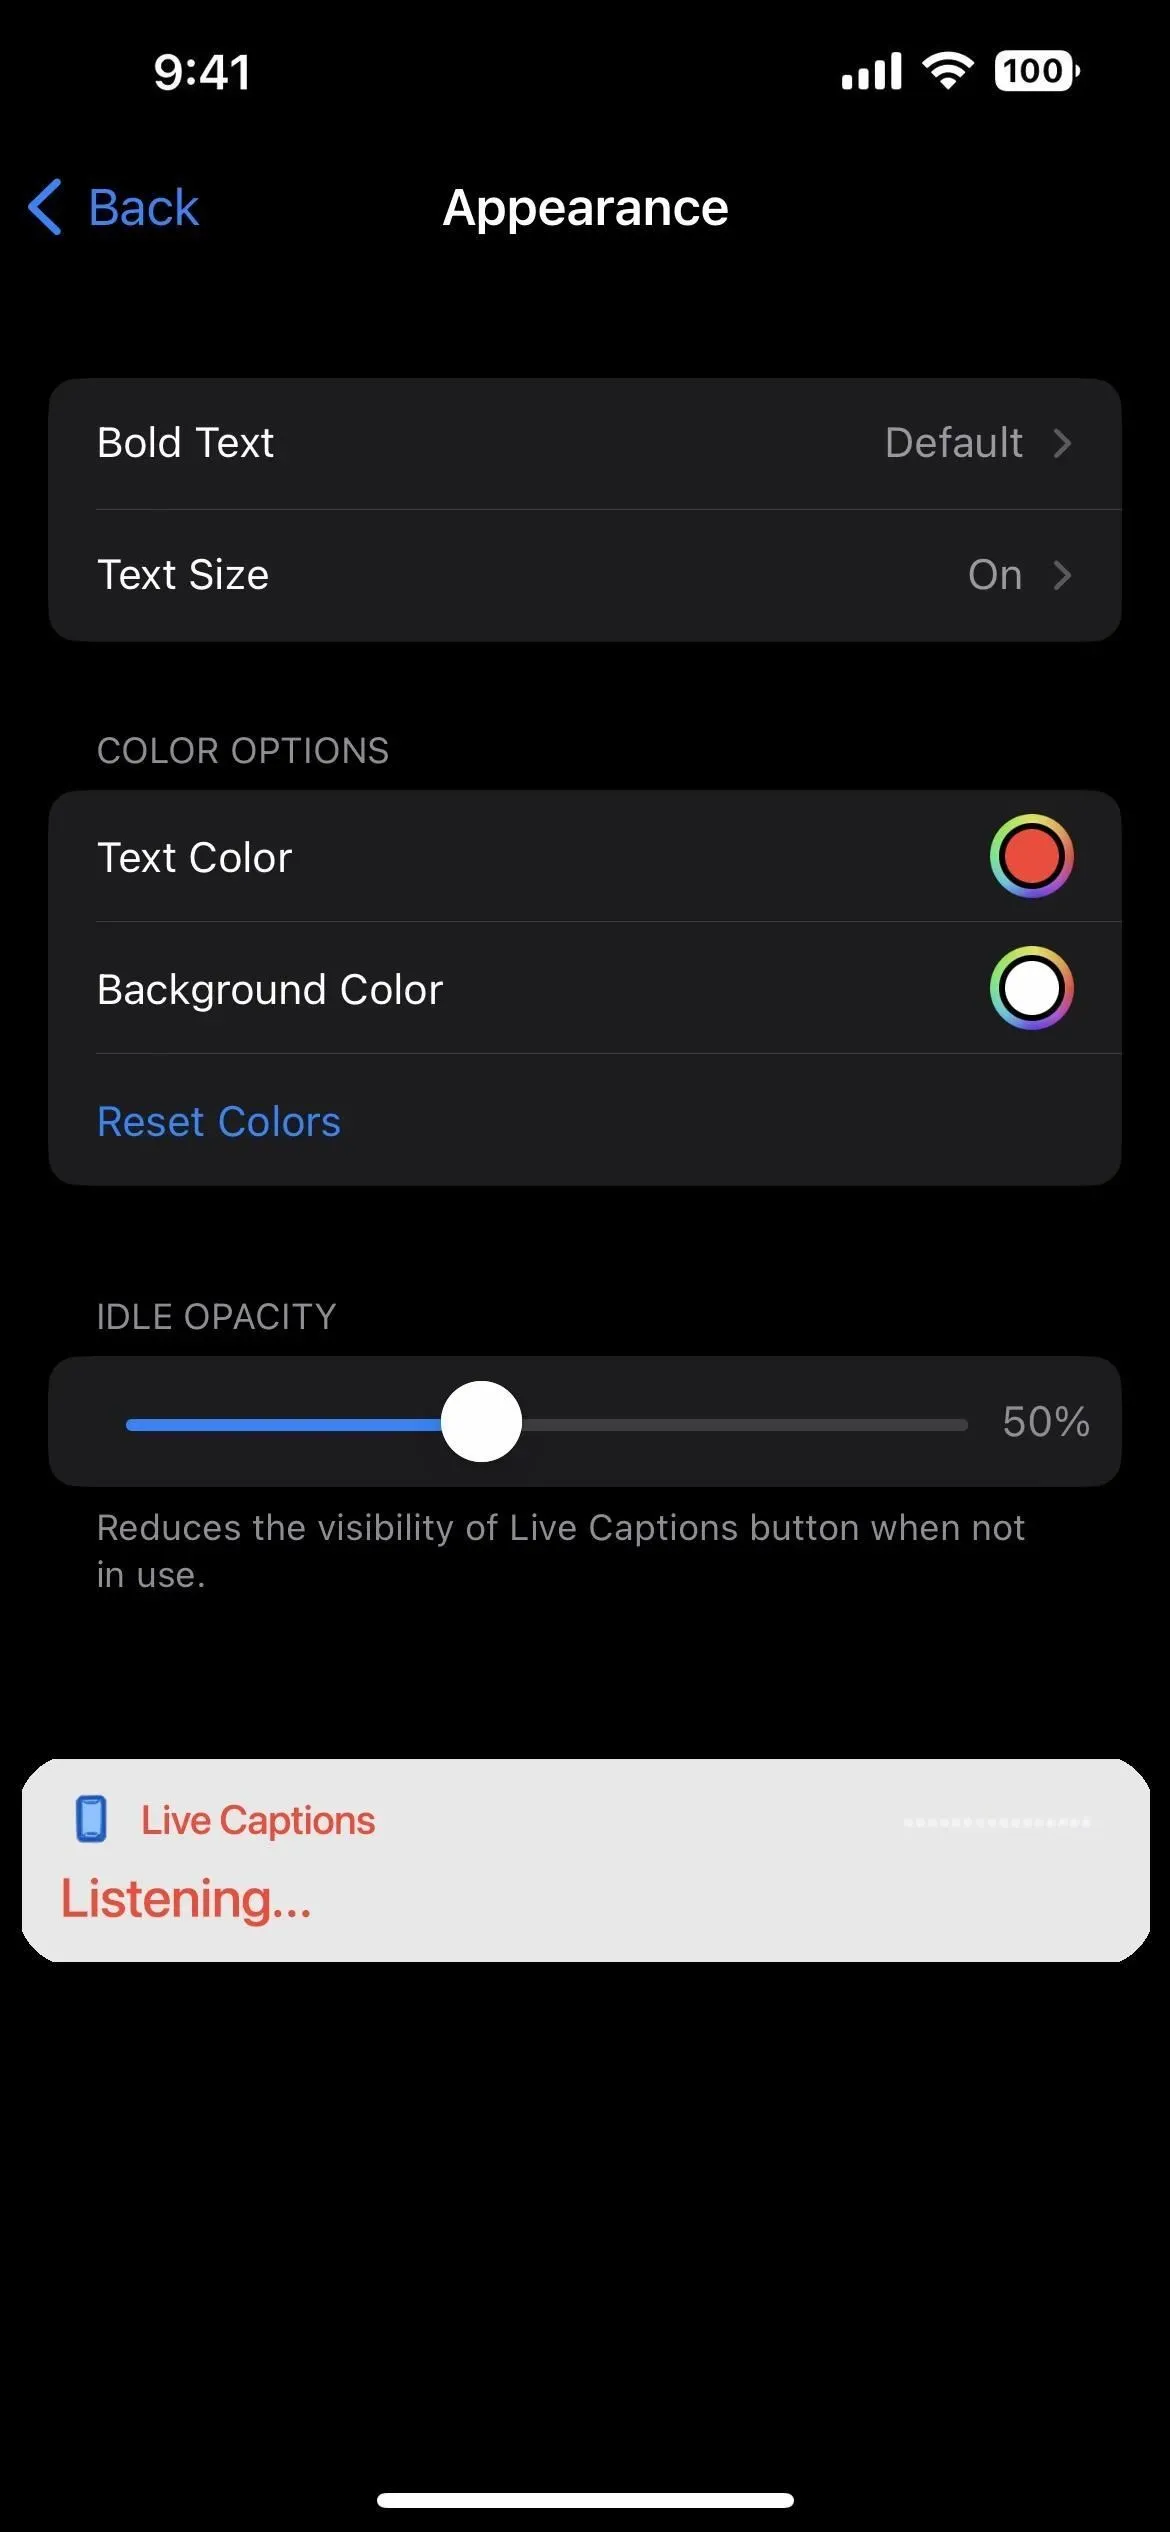
Live Captions has several options that you can adjust if you need to make the transcription easier to view. Back in the Live Captions menu in Settings, open the Appearance menu.
You can change the text size and color, make the text bold, and change the background color. In the example below, I’ve changed the text color to red, the text size to three labels larger, and the background color to white.
There’s also an opacity slider that makes the live subtitles more or less transparent when idle.
