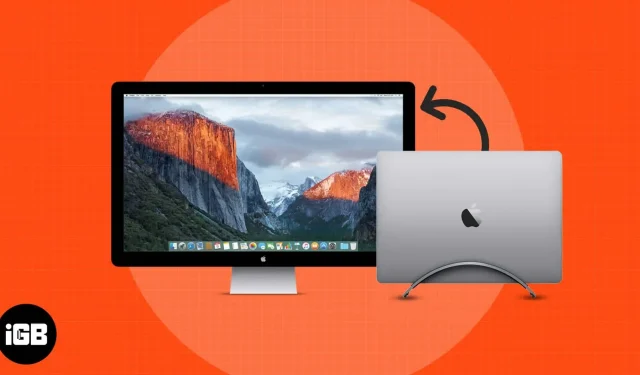
The MacBook’s clamshell mode has been around for quite some time. Clamshell mode is often referred to as closed lid mode. It’s a unique way to get the most out of your compact yet powerful Mac. You get a desktop experience while keeping your Mac practically mobile.
Clamshell mode is extremely useful for people who use their Mac for work and play. Once you start using your MacBook in clamshell mode, there’s no going back. You can enjoy the power of your Mac on large, high-quality, high-resolution displays. If you also want to use a powerful Mac and set up a productive desktop experience, then here is a guide on how you can use the clamshell mode on Mac. But before we dive in, let’s go over a few basics.
- What is clamshell mode?
- Clamshell-enabled MacBook
- Required Accessories
- Connect your Mac with the lid closed to the monitor
What is clamshell mode?
Clamshell mode is when you can use your Mac as usual, even with the lid closed. This is useful when you’re multi-tasking on different windows on your Mac, as well as using the machine for both work and play. Switching to a larger display reduces eye strain, thus providing a smoother experience during extended use.
While clamshell mode is primarily designed to keep your MacBook display covered, it’s important to note the Macs that support this feature and the accessories needed to set them up.
Clamshell-enabled MacBook
- You can connect one external display to your MacBook Air, 13-inch MacBook Pro, iMac, and Mac mini using any of the Thunderbolt/USB 4 ports.
- On an iMac, you can connect to any of the ports with the Thunderbolt symbol.
Required Accessories
- External monitor
- Keyboard and mouse
- Thunderbolt cable
- Thunderbolt to HDMI Converter
Connect your Mac with the lid closed to the monitor
If you’ve never done this in the past, here are some easy steps you can follow to get your MacBook into clamshell mode.
- Make sure you have connected your MacBook to charge. Using clamshell mode is nearly impossible without an adapter connected to your Mac.
- Connect your Mac and an external monitor with a Thunderbolt cable.
- Then connect your keyboard and mouse to your Mac. The keyboard and mouse can be either wired or wireless.
- Now that everything is set up and the MacBook screen is displayed on the external monitor, just close the MacBook lid. Voila! Ready.
If you haven’t set everything up yet, here’s what you need to do before using your MacBook in a clamshell:
Connect an external monitor using the appropriate cables for your MacBook (or hub). After connecting an external monitor, your monitor may prompt you to select several settings.
To better customize your monitor and make changes to your display settings, go to System Preferences → Displays.
Conclusion
That’s all. Clamshell mode can instantly turn your regular MacBook into a great workstation. Tell me in the comments below if this was helpful for you! Here are some more readings that can improve your Macbook experience.


