
A webcam is now an almost essential accessory for any computer. You can very easily improve the audio and video of your calls. Here’s how.
You may be spending more time in front of the webcam than you did a few years ago before the pandemic. Similarly, you are more likely to watch people in front of their webcam on your screen. Videoconferencing has exploded, and it’s in the interest of other participants that it’s in your interest to ensure the best audio and video quality possible.
In a few minutes, with a few changes, everyone will thank you. This article is not asking you to buy a better webcam or a better microphone, but simply to improve the final rendering with what you have.
How to adjust your own settings for the best picture
There are several basic settings in Windows that you can influence to improve the audio and video quality from your webcam. On Windows, open the start menu to find “Settings”, then select “Bluetooth and devices”, then “Cameras”: you will be able to select your webcam and directly control the brightness and contrast.
Adjusting these two settings will immediately improve the video quality, and you can see the change in the preview window above the highlighted buttons. If you want to return to the default values, click Reset, and if you have problems with the webcam, click Diagnose.
On macOS, things are different. There are no native settings for the webcam and this will depend on the app you are using for the camera. FaceTime, offered by Apple and installed by default on macOS, is something of a native option, and as soon as you launch the app, you’ll see that the webcam is immediately active.
If you click the Control Center icon in the menu bar, you’ll see a Video Effects button – to turn on background blur in portrait mode – and a Microphone Mode button to choose between Standard, Voice Isolation – ambient noise is suppressed – and Wide. Spectrum – which lets ambient noise through -.
The best third-party tools for the best quality
If you need more optimization options than your operating system offers, you can use a third party tool. These utilities have been designed as an overlay for your OS and work with your webcam, whatever it is.
There is, for example , FineCam for Windows and macOS, which allows you to adjust saturation, sharpness, brightness, contrast, white balance and many other things, and can also automatically improve the quality of the stream in low light. In addition, many filters and effects are available. You can use the software for free, but many advanced features require a paid subscription, starting at $6.90 per month.
ManyCam is another interesting software with many features. You can control brightness, contrast, and saturation, combine multiple displays, and even control some picture-in-picture effects. It’s a set of tools that goes far beyond simple audio and video optimization, but most of these utilities require a paid subscription starting at $49/year.
You can also stock up on optimization options with CyberLink PerfectCam for $9.99/month as a premium – there’s a free trial if you want. Brightness, contrast, exposure are available. You can even let the program automatically adjust some of these aspects. There are also effects such as blurring the background and the ability to insert your own wallpaper.
There is also a chance that your webcam has its own software. So look at…
App settings for best quality
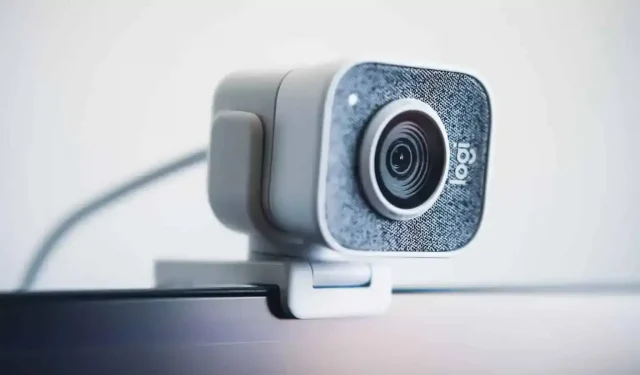
If you have purchased an external webcam, it will most likely work as soon as you connect it, but most likely it has its own software with many settings and options. Logitech webcams, for example, have Logi Tune.
From the main panel of the app, select your webcam and open the Video tab. You’ll see that you can adjust the zoom level, field of view, and manually adjust brightness and contrast, as well as enable or disable autofocus. On the Settings tab, you can enable or disable HDR mode to improve overall visibility.
Also, feel free to dig into the apps used for your video calls, it’s possible they have their own options even if you’ve never used them. Zoom is a good example: click the gear icon at the top right of the interface, then switch to the Video and Audio tabs on the left to make some adjustments.
In the Video section, you can activate “Fix My Appearance”- to erase some wrinkles – and “Adjust for Low Light”- you’ll be more visible in the dark. You can also select “Advanced”to find the noise optimization option. The Audio section has settings to automatically adjust the volume during calls, as well as to suppress background noise.