

In this guide, we’ll show you how to add, edit, and change your Apple ID’s shipping and billing address using your iPhone, iPad, or Mac.
Note. Adding or changing addresses is associated with your Apple ID. So as soon as you make changes on one device, say your iPhone, they will also be reflected on your iPad, Mac, and all other devices using that Apple ID. You don’t have to change the address on every device you own.
Add or change shipping address
When you visit the Apple Online Store to place an order, it gives you the option to add a shipping address or change the currently added address during checkout.
It is recommended that you update your shipping address to speed up checkout and prevent accidental use of the old shipping address.
Using an iPhone or iPad
1) Open the Settings app and tap your name on the top.
2) Click “Payment and Shipping”.
3) Enter your Apple ID password if prompted.
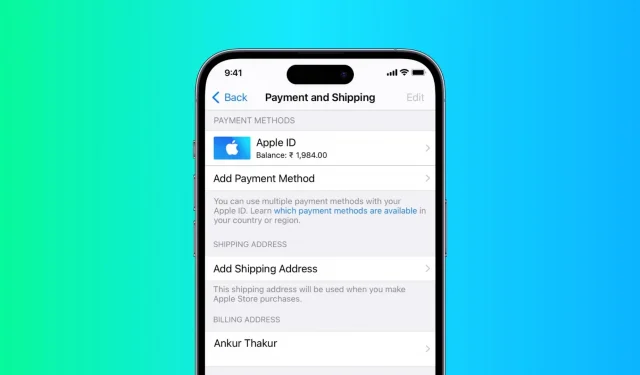
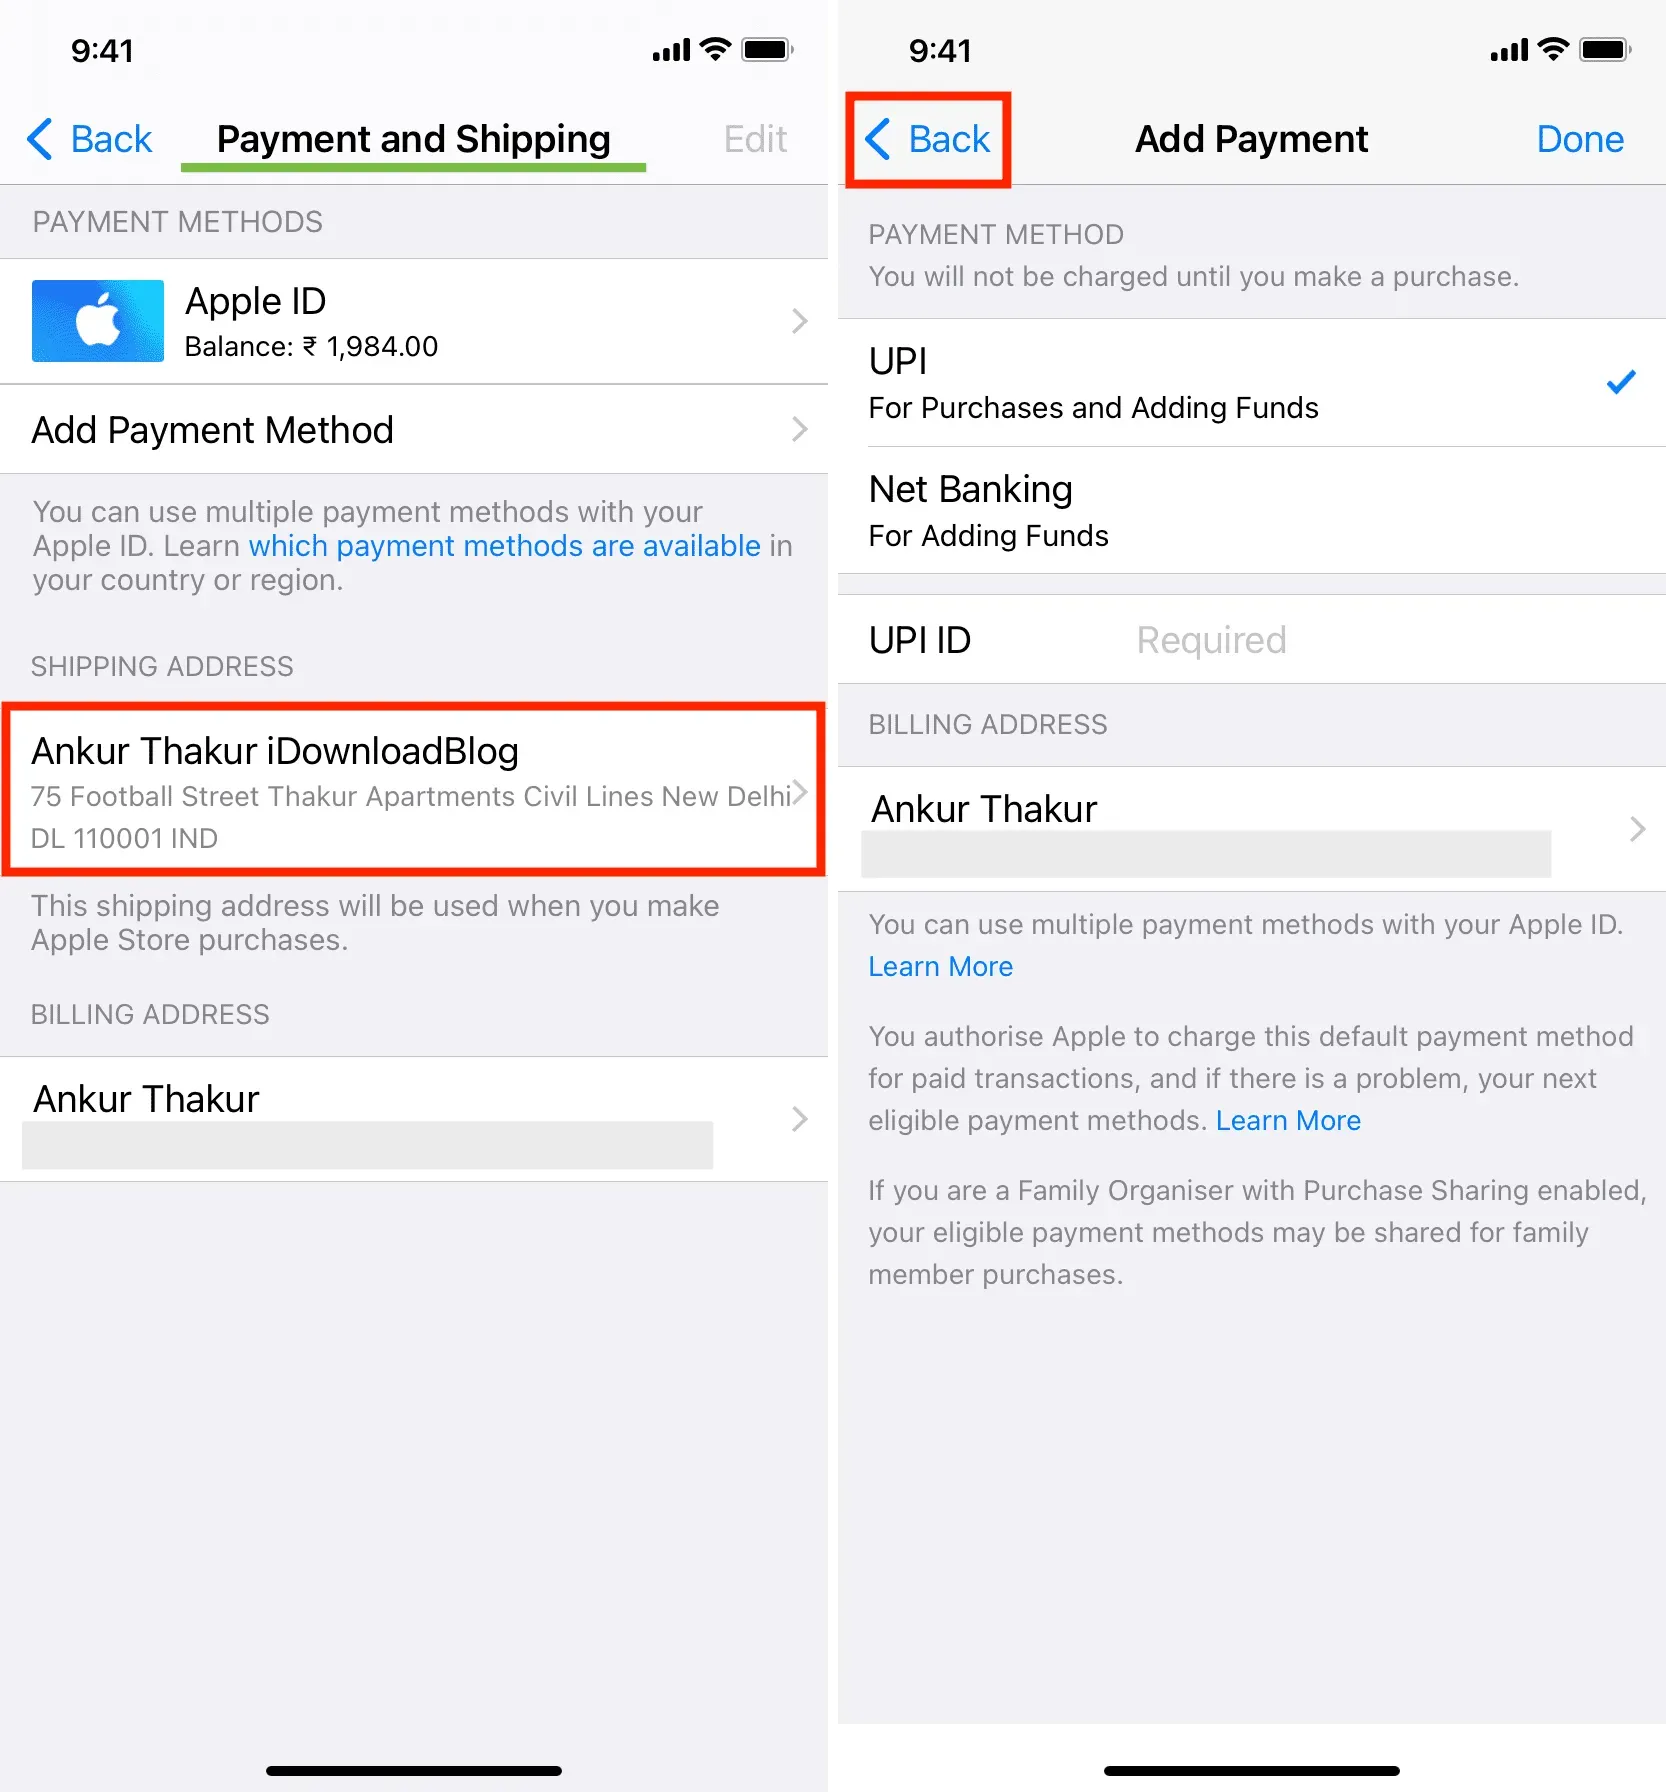
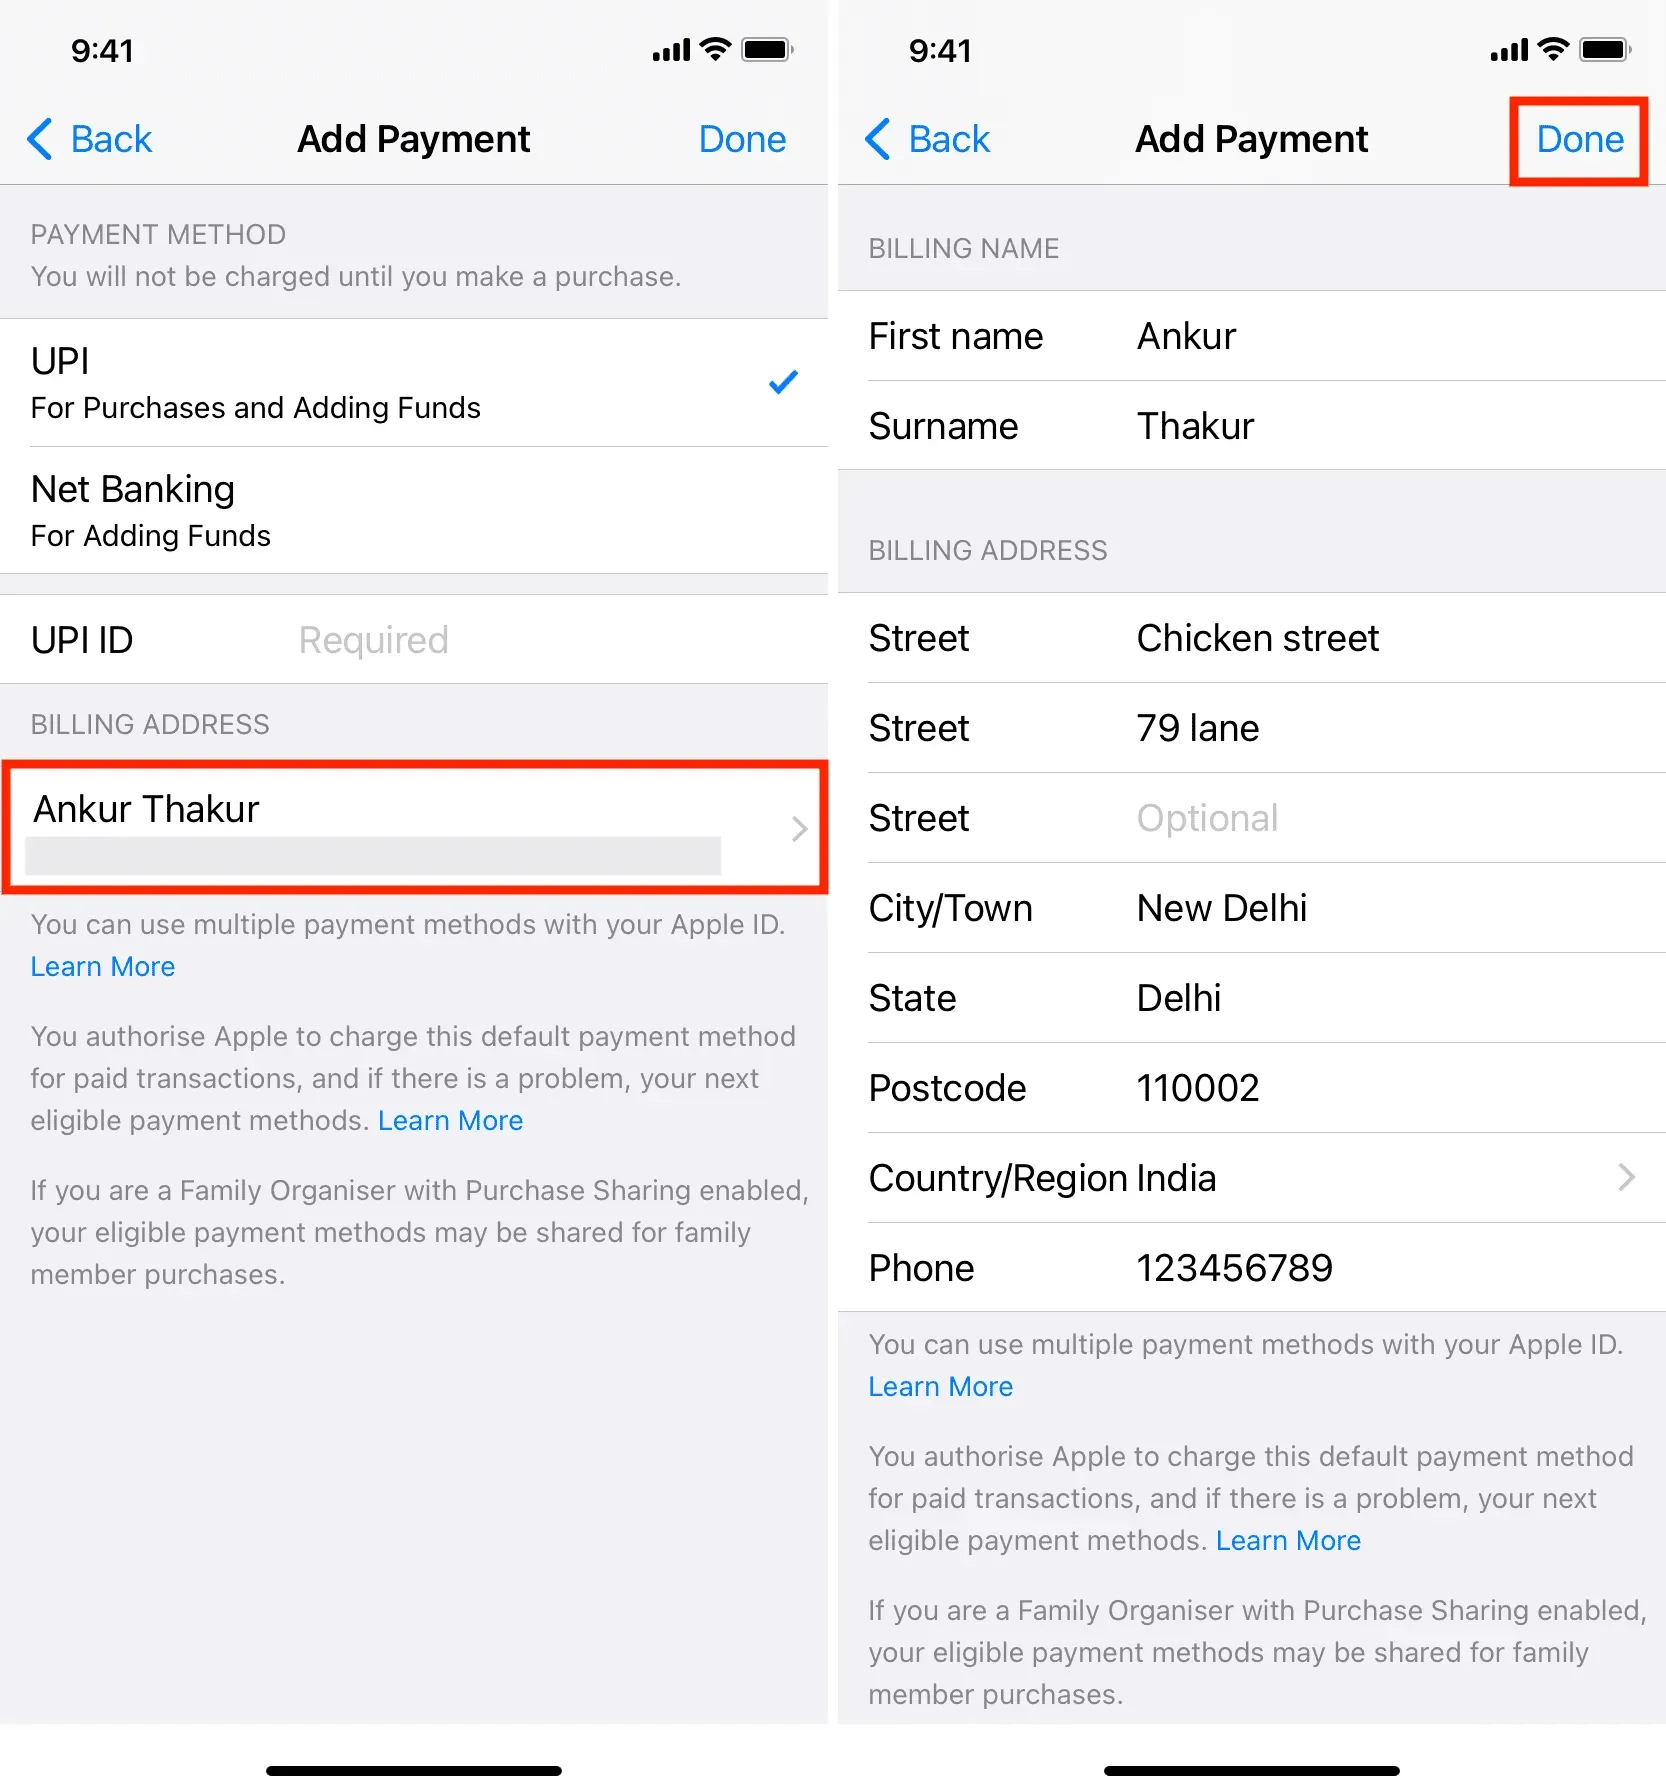
4) You should now see the payment and delivery screen. It will have the heading “Delivery Address”. Click Add Shipping Address (if you haven’t already added one) or click on an existing shipping address to edit it (left image below).
If you don’t see the Payment and Shipping screen, it means you are on the Add Payment screen. In this case, click “Back”(right image below). You should now see the payment and shipping screen.
5) Enter a new shipping address and click Done.
Note. Even after you click Done, you may not see any visual confirmation. In this case, try touching it a few more times or wait a minute on this screen. If it still stays on the address screen, just press back. Now go to the Payment and Shipping screen again and you will see that it has already saved your shipping address.
Mac use
1) Click the Apple icon and select System Preferences.
2) Click Apple ID.
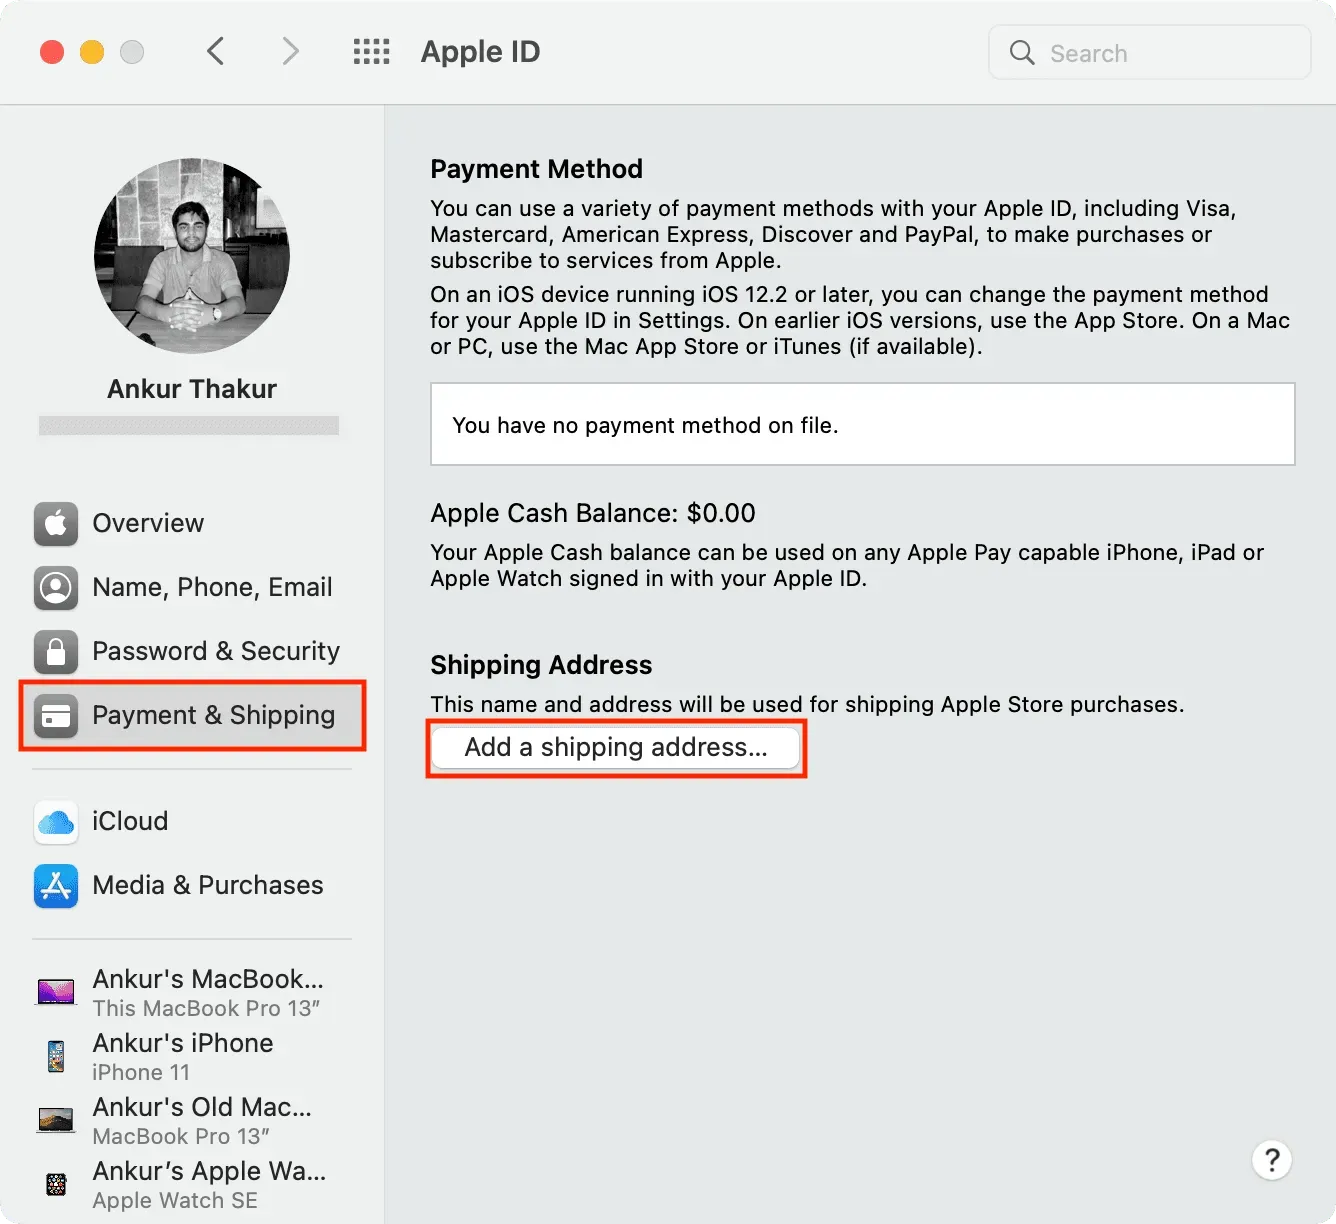
3) Select “Payment and Shipping”on the left sidebar.
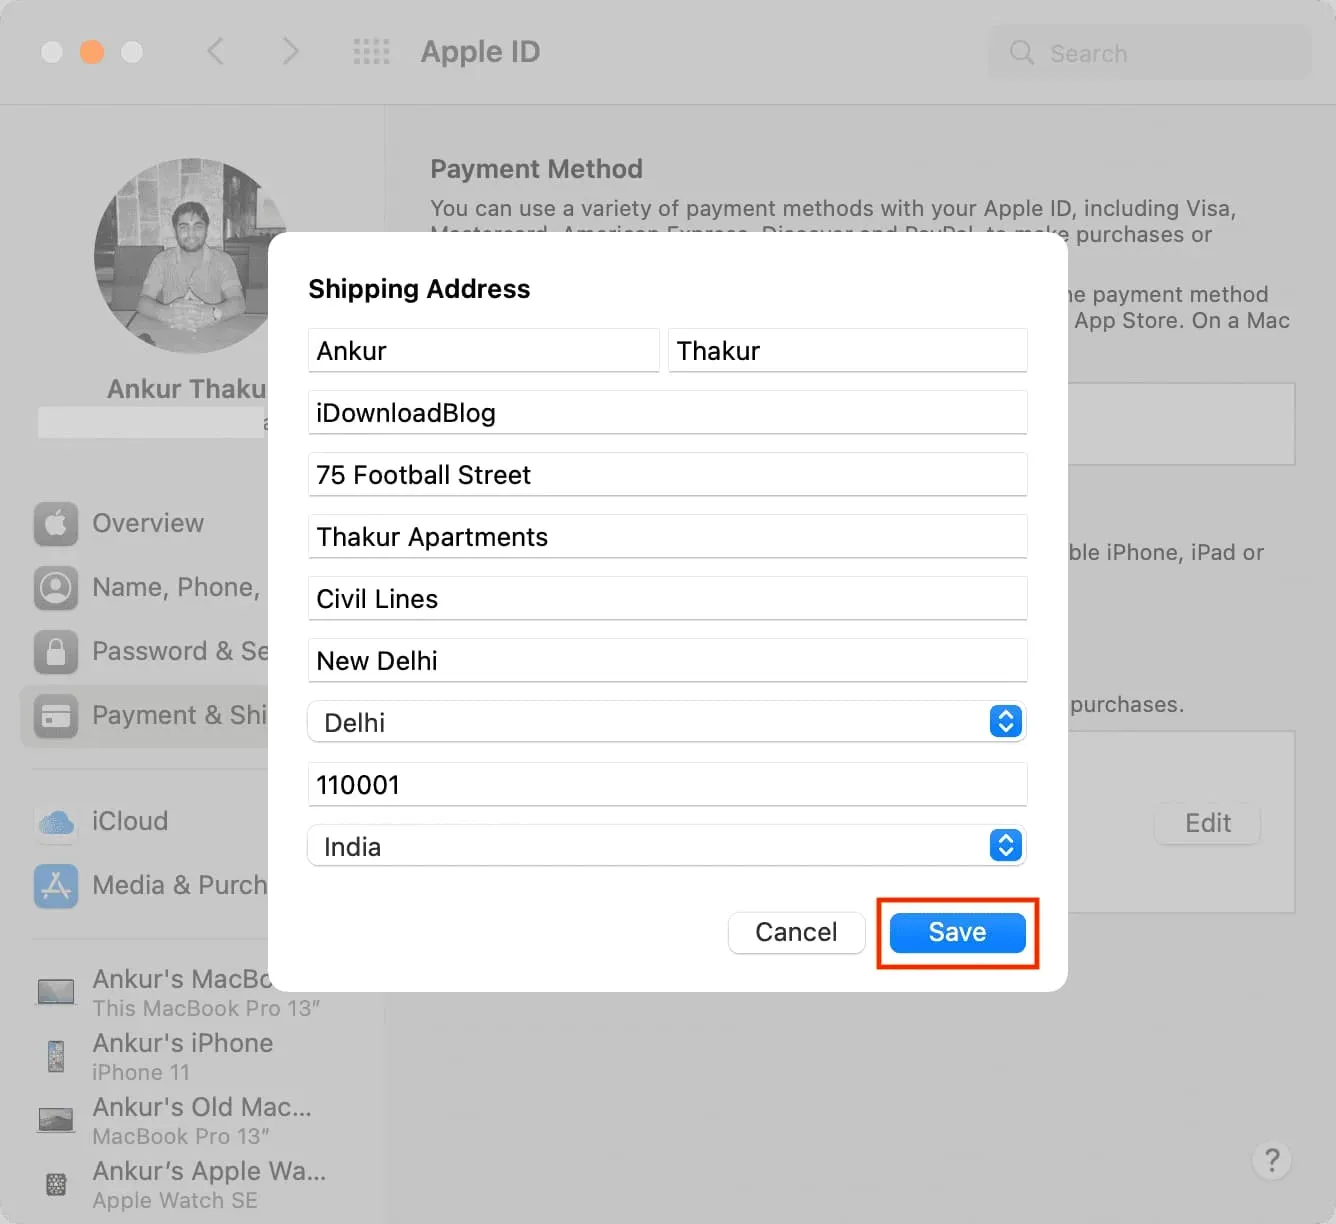
4) If the shipping address is not added to your account, click Add shipping address. And if it’s already added, click “Edit”next to it.
5) Enter a new shipping address and click Save.
Add or change billing address
You must have an updated billing address for your Apple ID as it appears on your bill for apps, subscriptions, and services you purchase from the App Store, iTunes Store, and more. A correct address can be helpful for record purposes and will also come in handy when receiving benefits, reimbursements and disputes.
The first time you use a new Apple ID to download a free or paid app, the App Store will ask you to add a billing address. Just tap this popup and enter your billing address.
And if you’ve moved to a new location, it only takes a few minutes to update your current billing address. Here’s how.
Using an iPhone or iPad
1) Open the Settings app and tap your name on the top.
2) Click “Payment and Shipping”.
3) Tap the tile below the billing address.
4) If necessary, enter the updated street, city/town, state, zip code, country/region, and phone number. Tap Done to save your new Apple ID billing address.
Mac use
1) Open the Music or TV app on your Mac. We choose Music.
2) Click “Account”> “Account Settings”on the top menu bar.
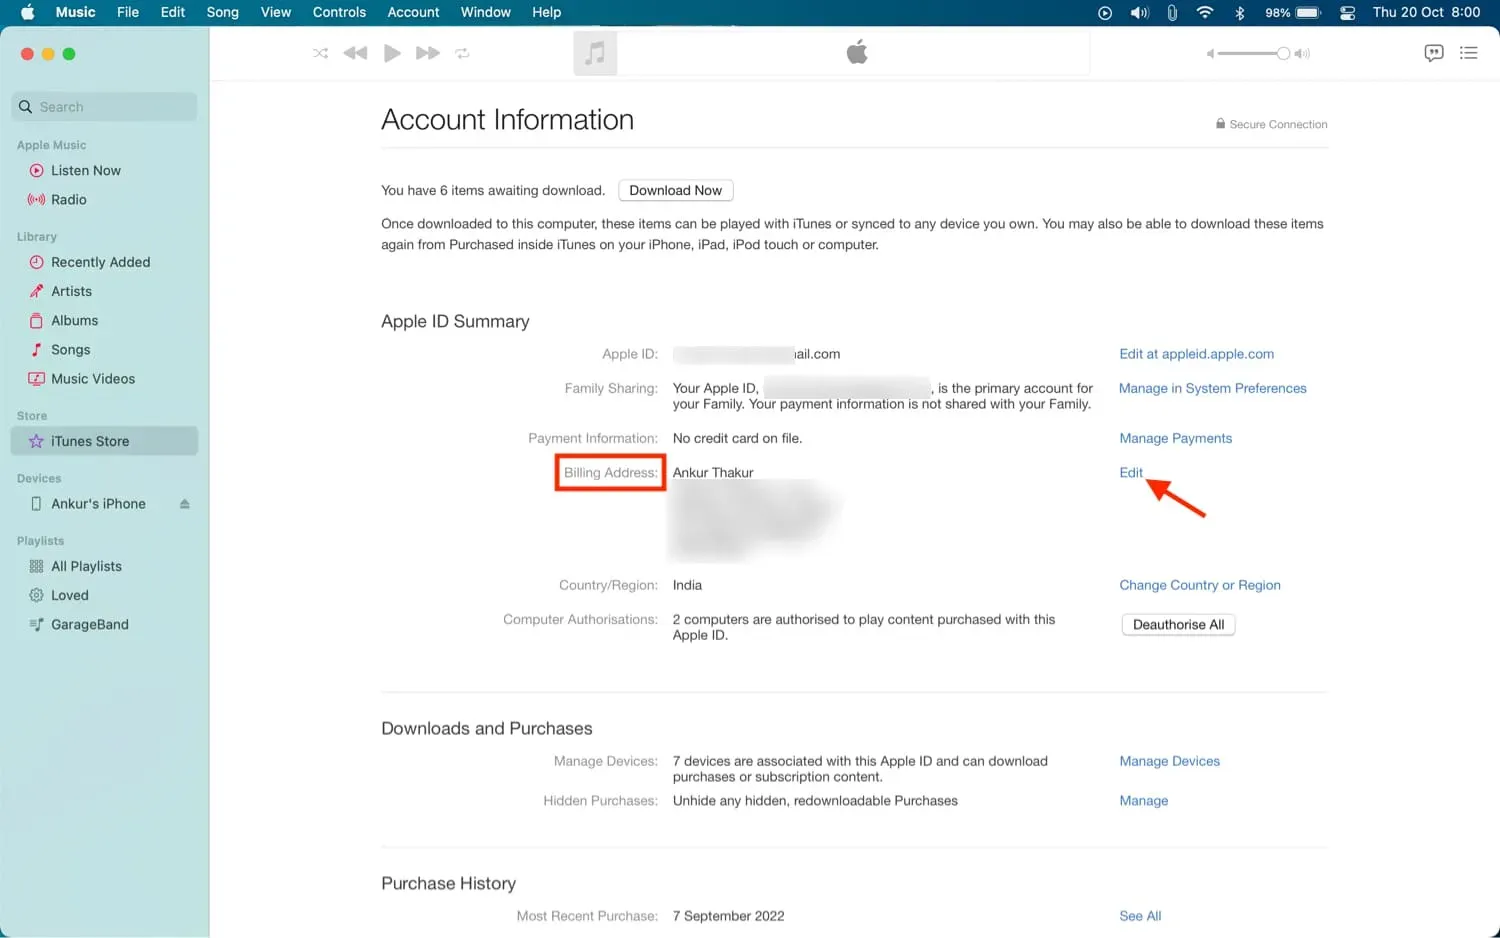
3) Enter your Apple ID password if prompted and you will see an account information page.
4) Under the Apple ID Summary heading, click Edit next to Billing Address.
5) Make changes to your billing address and click Done.
Note. It is perfectly fine to have the same address as your billing and shipping address.
Are you using an Apple Card?
If you use an Apple Card, you can update your billing address from the iOS Wallet app. Open Wallet and select Apple Card > More button (three dots inside a circle) > Card Details > Billing Address > tap your current address > Update Billing Address. Finally, enter new data and save it.
Can’t change your billing address?
Follow these steps if you can’t change your Apple ID billing address:
- Reboot your device and try again.
- Try changing it on another Apple device.
- Sometimes Apple’s servers may experience temporary outages that prevent you from editing data. Please try again after a while.
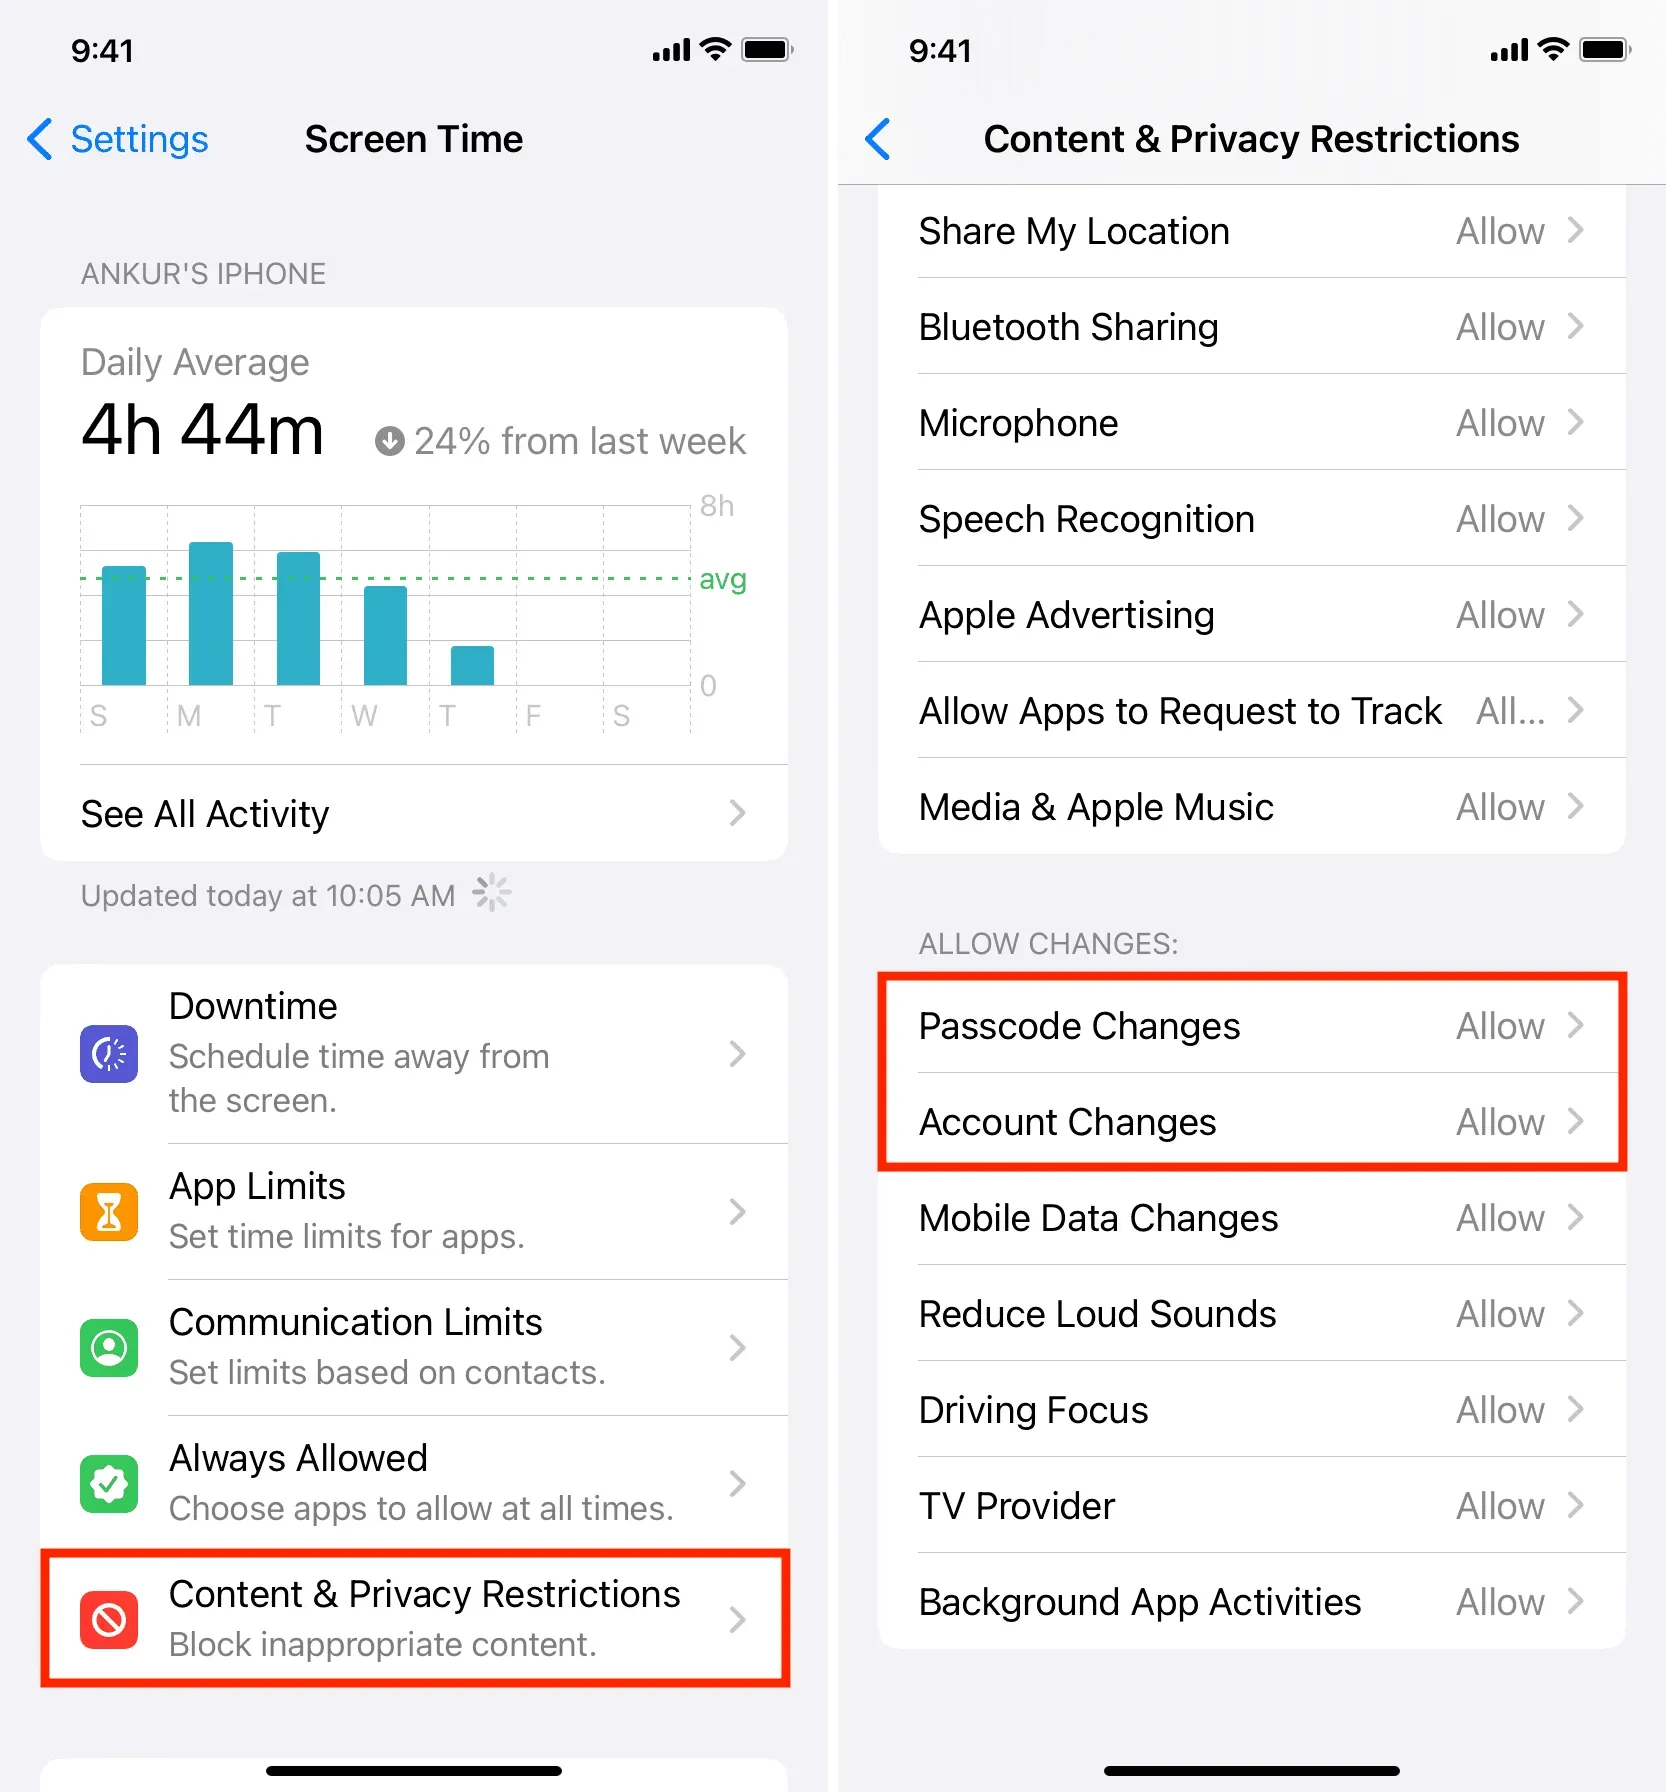
- Go to Settings > Screen Time > Content & Privacy Restrictions. Scroll down and make sure the “Change Password”and “Change Account”options say “Allow”. If not, click and select “Allow”on the next screen.