


In case you live under a rock, there is a jailbreak based on the checkm8 bootrom exploit for A9-A11 devices running iOS or iPadOS 15.x called Palera1n. While primarily aimed at developers, Palera1n also has the strongest foothold in the iOS and iPadOS 15 community of all jailbreaks at the moment.
If you have considered jailbreaking palera1n, we recommend that you read the next section before you do so. But if you end up deciding to try it on your device, we’ll show you how in this guide.
What you should know about palera1n
We reiterate that currently the palera1n jailbreak is for developers only. With that in mind, if you’re not one of them, you can play it safe trying to go through the semi-complicated installation process or troubleshoot problems that may arise after a jailbreak. You have been warned.
It’s worth noting that, unlike other iOS and iPadOS 15 jailbreaks that have yet to see the light of day, palera1n is not without roots. It supports injecting tweaks on iOS and iPadOS 15.0-15.7.1, which means you can install and run jailbreak tweaks as long as they are listed in the compatible jailbreak tweaks list.
As for the type of jailbreak that palera1n is, you can choose between tethered or semi-tethered depending on your preference. We’ll go into detail on the differences between the two in another post, but the short explanation is that tethering requires you to use your computer to re-power your device after each reboot, while semi-tethering at least allows you to boot in a non-jailbroken state. until you can get to the computer. In this tutorial, we will set the semi-attached option for the convenience of the user.
Note that since Palera1n uses the checkm8 bootrom exploit, it can only hijack devices that are susceptible to this bootrom exploit. This includes A9-A11 devices running iOS or iPadOS 15.x, but embedding settings is only supported up to iOS or iPadOS 15.7.1. Supported devices include the following:
- iPhone x
- iPhone 8 Plus
- iPhone 8
- iPhone 7
- iPhone 7 Plus
- iPhone 6s
- iPhone 6s Plus
- iPhone SE
- iPad (7th generation)
- iPad (6th generation)
- iPad (5th generation)
- iPad Pro 12.9″(2nd generation 2019)
- iPad Pro 10.5″(2017)
- iPad Pro 9.7″(2016)
- iPad Pro 12.9″(2015)
- iPod touch (7th generation)
Also, due to how palera1n works for a semi-tethered jailbreak, your device must have more than 16GB of onboard storage. You also cannot set a passcode on phones with an A10-A11 chip when trying to hack with palera1n.
Installing palera1n isn’t as easy as other jailbreaks you might be used to, and that’s because it’s meant for developers. This means that you will be using a lot of terminal commands for most of the installation process, and it also means that installation is only possible on a Mac or Linux computer.
Whether or not you choose to endure the steps in this guide is up to you, but you do so at your own risk. So if you’re ready to continue despite our warnings that this is a developer first, then keep reading…you’ve been warned.
How to install palera1n jailbreak
If you agree to move on despite warnings not to jailbreak Palara1n on an iOS or iPadOS 15.x device unless you are a developer, then you can follow these steps:
1) You will need to install Homebrew first if you haven’t already. To do this, launch a terminal window and enter the following command:
/bin/bash -c "$(curl -fsSL https://raw.githubusercontent.com/Homebrew/install/HEAD/install.sh)"
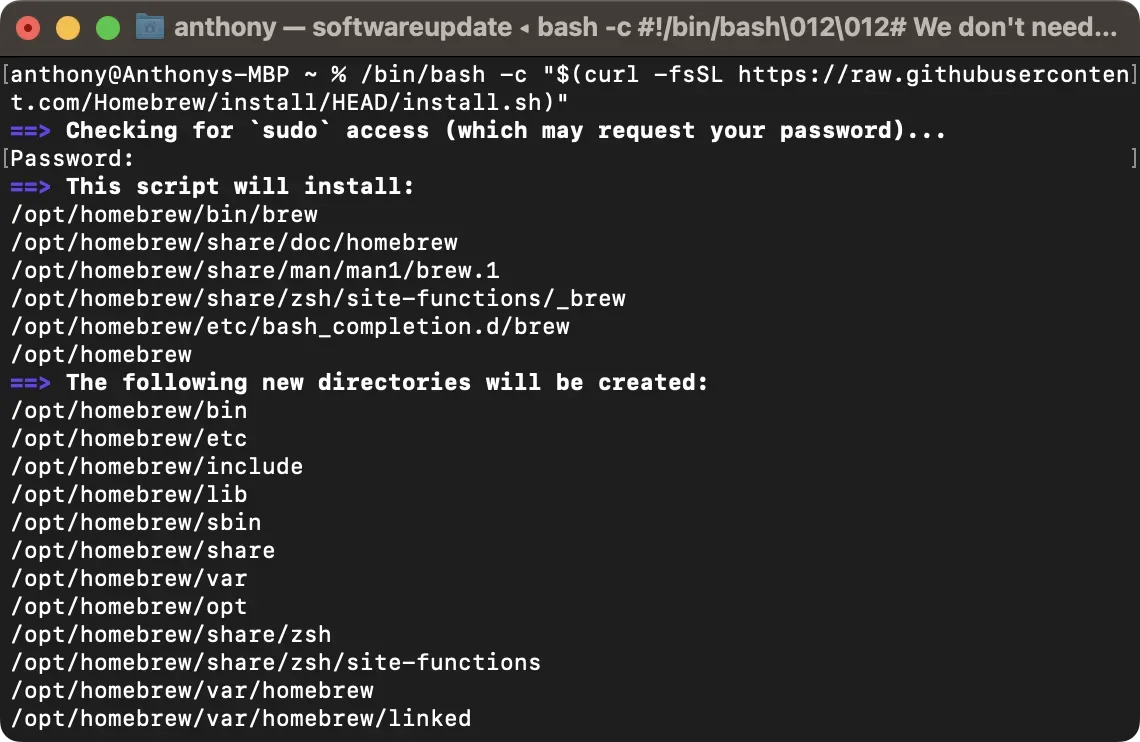
2) You will be prompted for an administrator password in a terminal window to continue installing Homebrew. Go and do it.
3) After installing Homebrew, you will need to run a few additional commands. You will need to change the bits we denote with square brackets to match your system:
echo '# Установить PATH, MANPATH и т. д. для Homebrew.' >> /Users/[имя вашей домашней папки]/.zprofile echo 'eval "$(/opt/homebrew/bin/brew shellenv)"' >> /Users/[имя вашей домашней папки]/.zprofile eval "$(/opt/homebrew/bin/brew shellenv)"
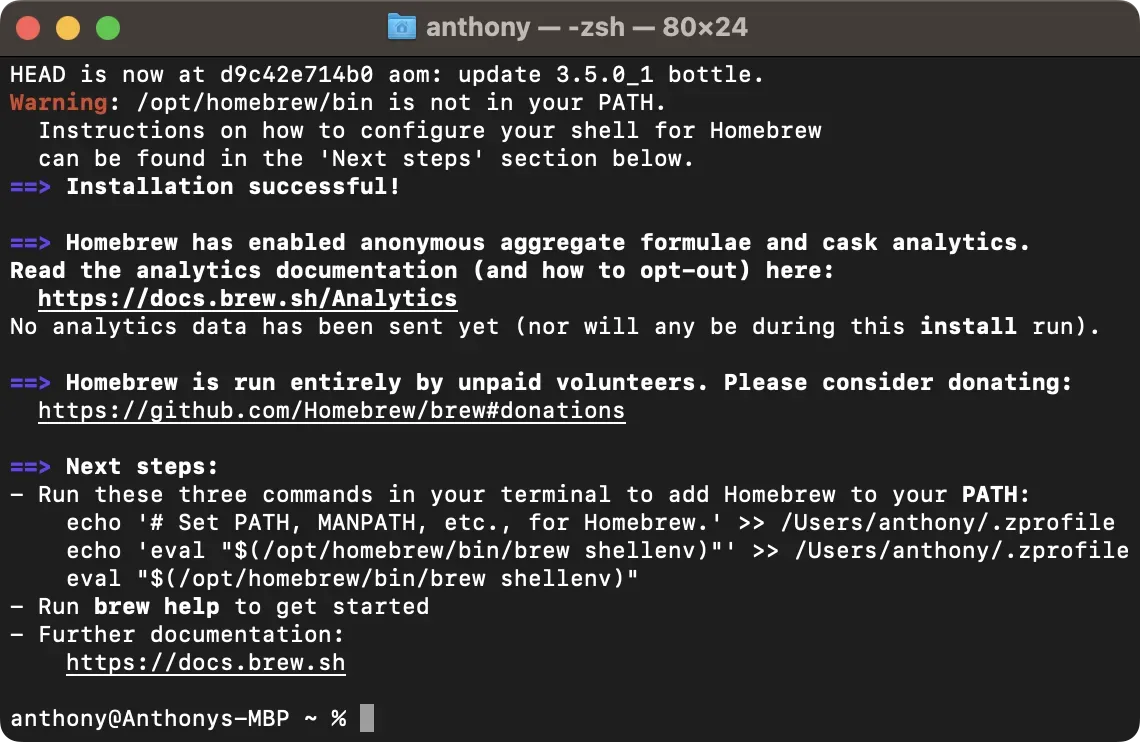
Note. Homebrew is now set up and ready to accept commands.
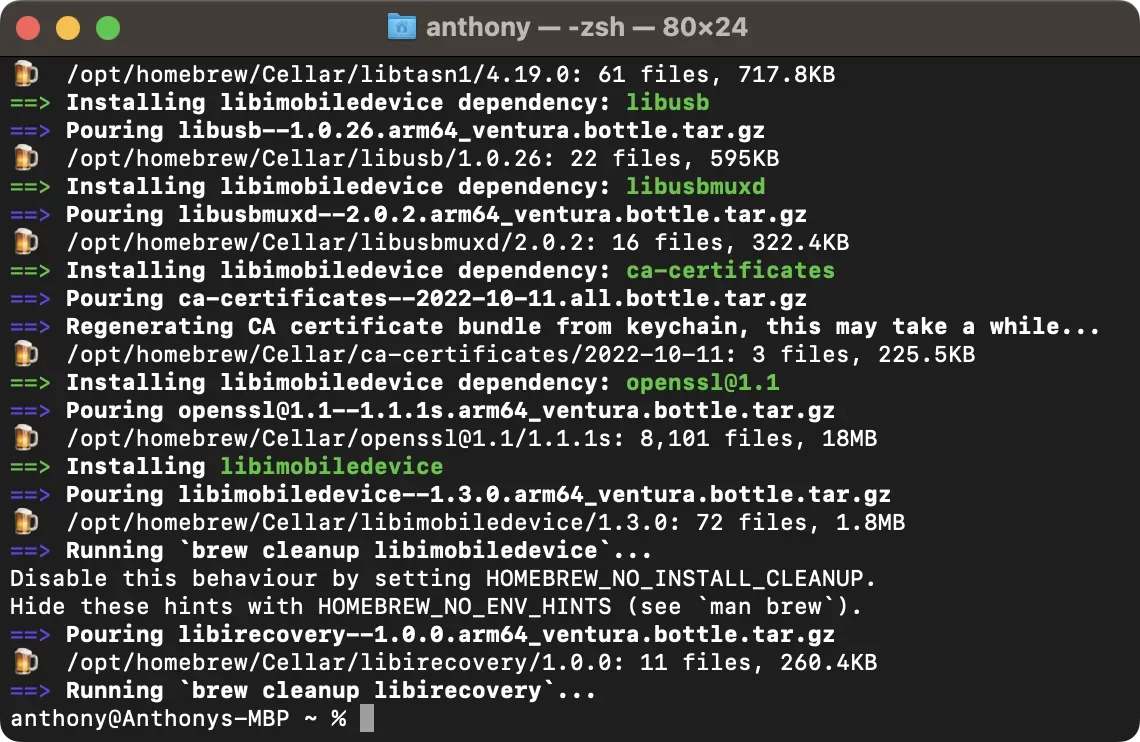
4) Run the following command to install the dependencies you will need to move forward:
варить установить libimobiledevice libirecovery
5) Next, you will install Python. Visit the website below and download and install the latest version for your computer:
Note. The installation process is similar to installing any other software, so the installation wizard will guide you through it. You may need to enter the administrator password again.
6) Once the Python installation is complete, return to the Terminal and run the following commands to clone the Palera1n GitHub repository:
загрузки компакт-дисков git clone --recursive https://github.com/palera1n/palera1n && cdpalera1n
7) After the GitHub clone process is complete, you can connect the device you are about to unlock to your computer and put it in DFU mode.
8) In DFU mode, you will need to enter the command below in the Terminal. Change the part we denote with square brackets to match your firmware version and don’t type the square brackets while doing so. For example, if you’re using iOS 15.5, you just need to enter 15.5 in this field:
sudo bash. /palera1n.sh --tweaks [ваша текущая версия iOS] --semi-tethered
9) After pressing the “Return”key on the keyboard, you will be prompted to enter the administrator password in the Terminal. Go and do it.
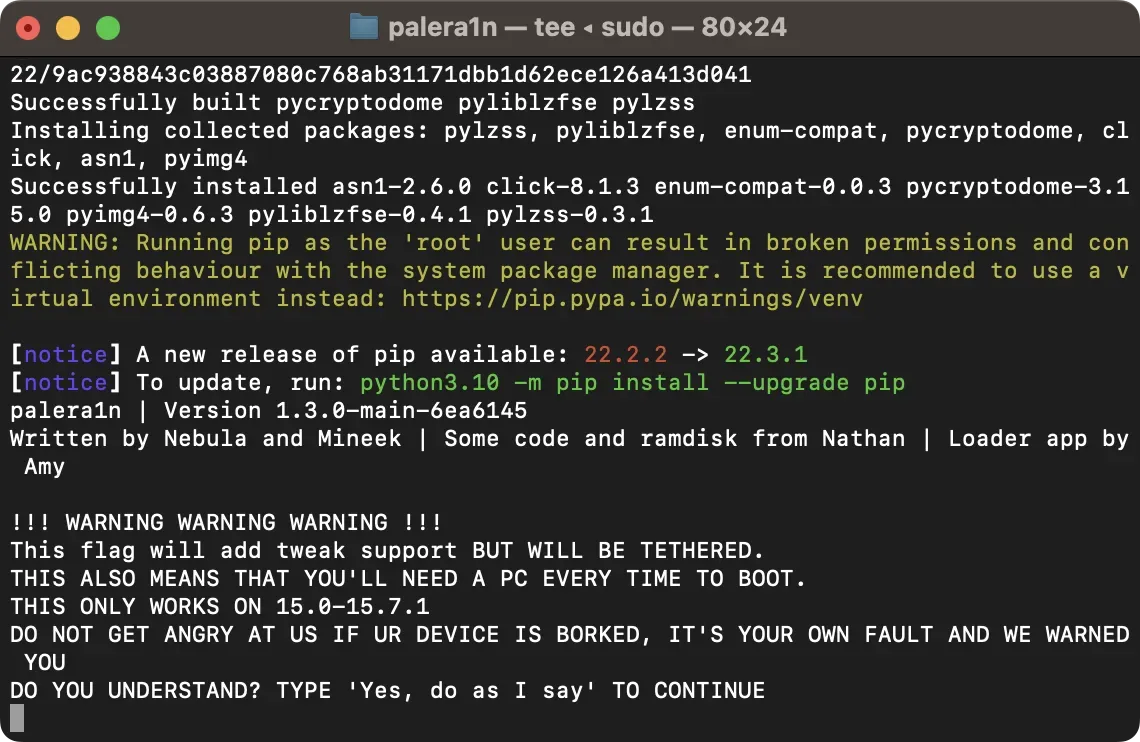
10) The terminal starts installing palera1n. You will need to enter the following in the Terminal, word for word:
Да, делай, как я говорю
11) Then enter the following word for word in the Terminal:
Да, я уверен

Note. The terminal window will display all sorts of messages about the progress of the jailbreak. Wait until the device completes the blob reset and reboots.
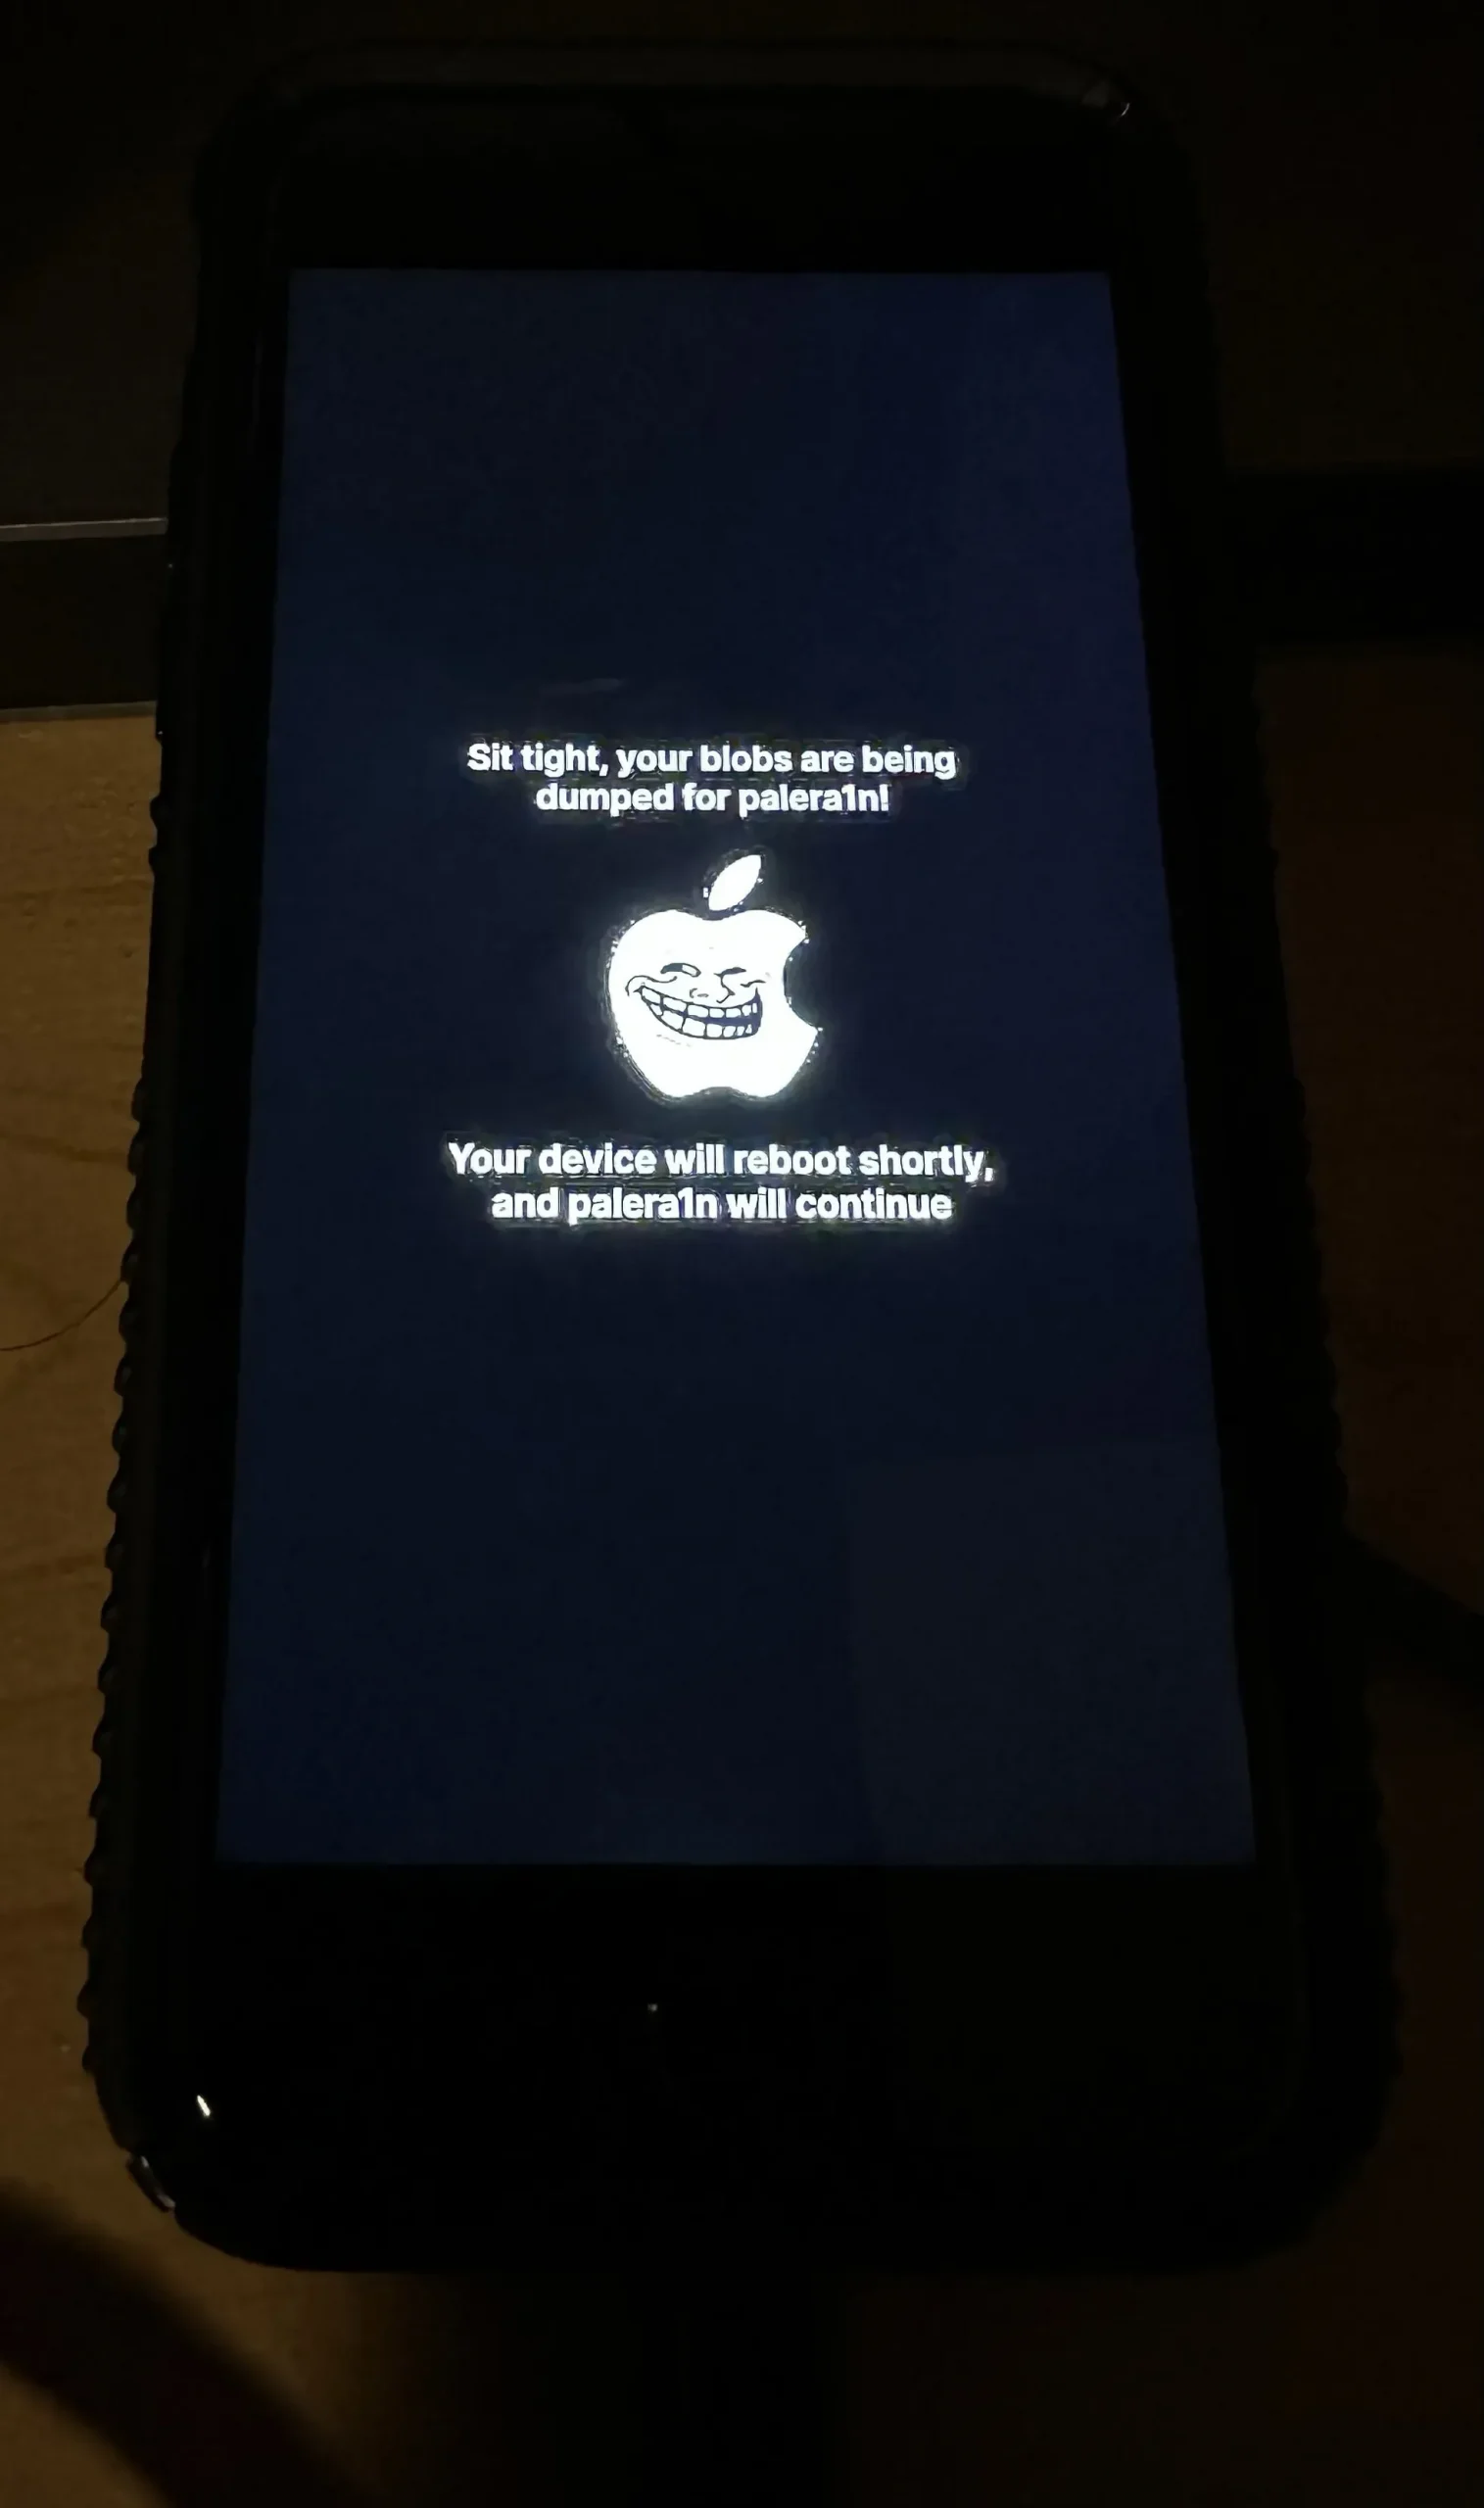
12) Your device will reboot and enter recovery mode, and a message will appear in the Terminal about entering DFU mode. Press any key to continue and follow the on-screen instructions to enter DFU mode.
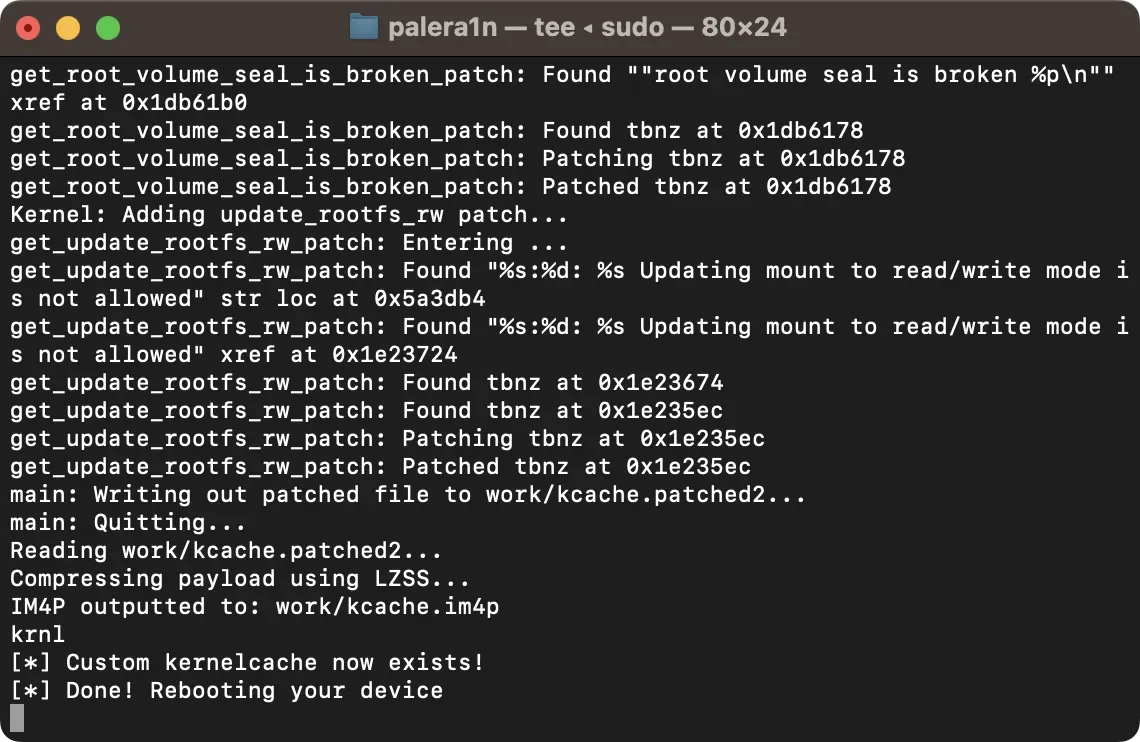
13) After entering DFU mode, the Terminal does some more work, after which your device enters verbose boot mode (black screen with scrolling white text). The terminal will look like this:
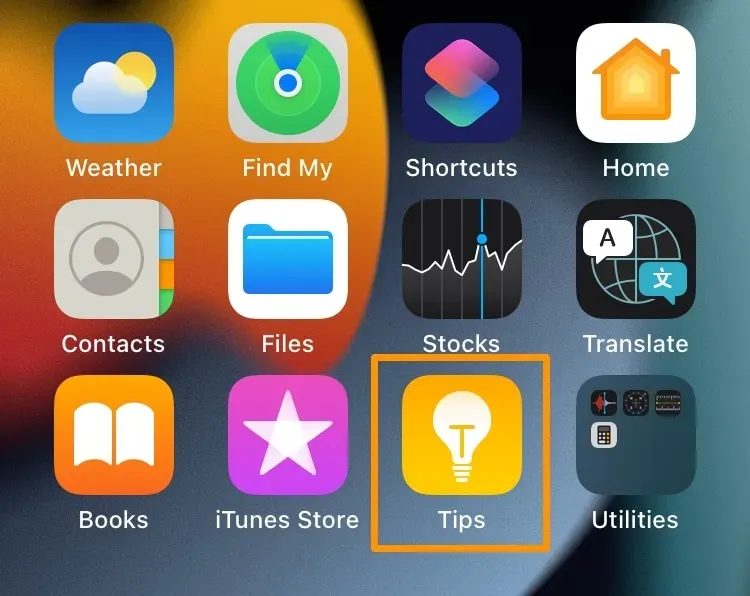
14) When the device boots up again, launch the Tips app:
15) Click on the “Install”button:
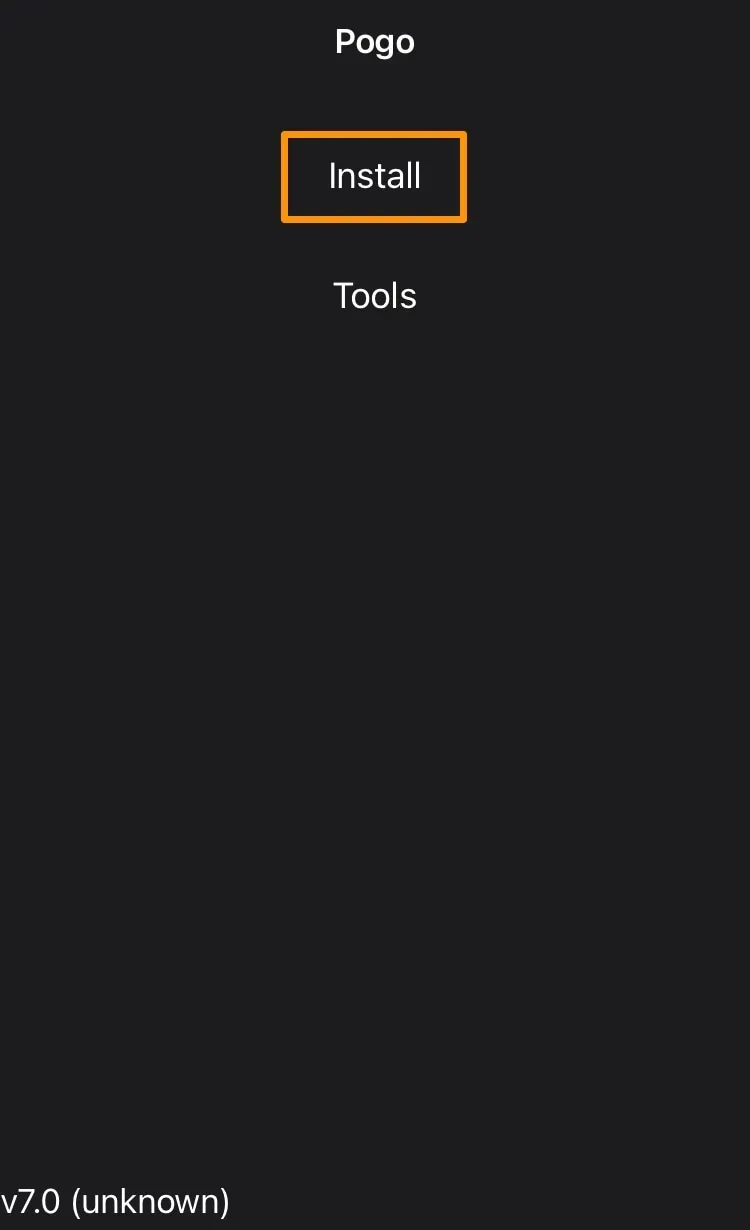
Procursus loader with Sileo package manager will be installed along with Substitute to implement tweaks. When it has completed everything it needs, Sileo should appear on your home screen.
Congratulations, you now have a jailbreak with palera1n!
The palera1n developers actively maintain the jailbreak settings work page, which you can refer to for information on what will and will not work with your palera1n device.
Summarizing
Before we get started, we’ll reiterate that palera1n is for developers only. If you are not a developer, then using this jailbreak is unlikely to benefit you, unless you are a hardcore master.
Due to the high amount of command line usage when jailbreaking with palera1n, it’s easier to make mistakes compared to clicking buttons in the GUI, so take your time to ensure accuracy when typing.
Also note that Palara1n is a work in progress jailbreak, so it is not completely bug-free. Many users have reported issues with the AMFI fix on certain combinations of devices and firmware, and it’s possible that you may experience the same.
Have you jailbroken your device with palera1n? Let us know how it was for you in the comments section below.