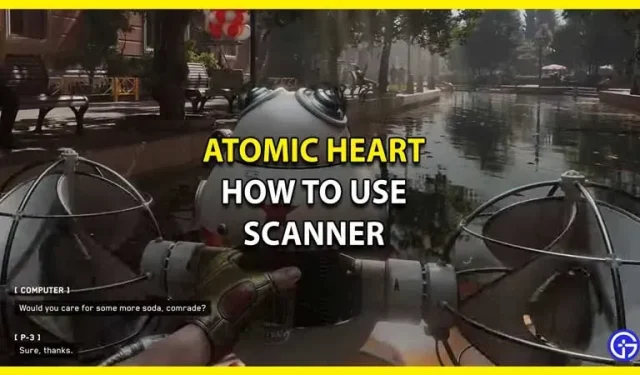


Are you wondering how to use the scanner in the Atomic Heart tutorial? Then you are in the right place as this guide is all you need. The first obstacle during the game is the transition through the tutorial, and often players complain about the scanner. Although there is no official information that this is a glitch, fortunately, you can easily work around it. Since this is one of the most important game mechanics, you will have to learn how to use it. This will allow you to be prepared for many situations and at the same time help you find many items. Therefore, if you are having problems with your scanner, we recommend that you read below.
How to use the scanner in Atomic Heart
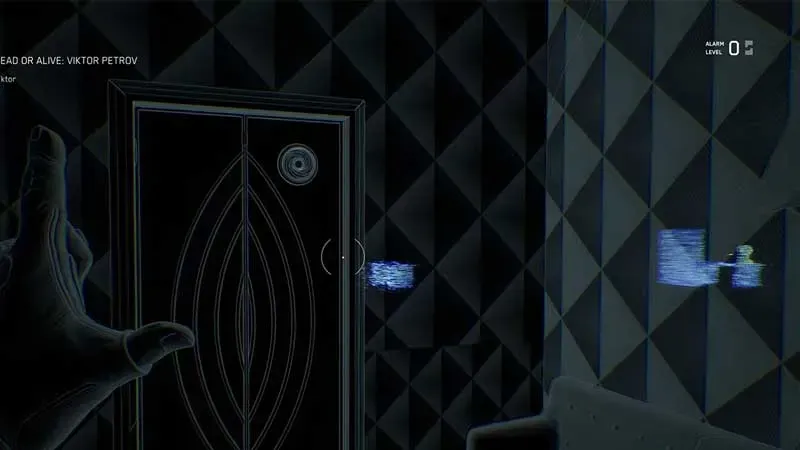
To use the scanner in the Atomic Heart Tutorial, you need to press R1 twice on the PlayStation and then hold it after the second press. For an Xbox user, the method remains the same. All you have to do is press RB twice and then hold it down a second time. Now that you know the controls, you also need to remember how each element will look under the scanner. Or more specifically, what color code do they have:
- Blue represents chests, crates, and other containers that contain resources that you can mine.
- White represents objects that you can interact with, such as save stations, elevator call buttons, and others.
- Purple represents the items needed for the story part of the game. Although you will get a lot of help in terms of referral, sometimes you will need to use the scanner in Atomic Heart.
- Orange represents enemies, and if you point the scanner at a specific enemy, you can see a list of their resistances and weaknesses. Along with that, you can also check out the loot they will drop upon victory.
That’s all for using the Scanner in Atomic Heart. While you’re here, be sure to check out our other guides.