If you shoot video on your iPhone in low light conditions, you may not always get the results you want. And this applies when recording video at 720p, 1080p, and even 4K. But there is an easy way to maximize video quality when shooting in dark environments.
When taking photos with any iPhone 11, 12, or 13 series, the Camera app can intelligently detect when the scene is too dark and turn on Night Mode to improve image quality. The iPhone 12 Pro and 13 Pro models can even do this with portraits. But it won’t work when shooting video, as Night Mode only works for time-lapse on iPhone 12 and newer models.
When shooting at 60 frames per second, less light can pass through the shutter because it shoots one frame every 16.67 milliseconds. Less light in dark environments results in grainier footage with a loss of high dynamic range. This also means that the codec works harder in fast-moving scenes, which increases the file size. The result is more like a cheap home video than the high quality recording you’d expect from an iPhone.
Compare that to 30 frames per second, where one frame is taken every 33.33 milliseconds, letting twice as much light through the shutter. The more light comes in, dark scenes will look much better. Turn that down to 24fps and you get 41.67 milliseconds for the light to do its thing, so your video in the dark will look even sharper. And it all applies to whether you’re shooting in 4K, 1080p, or 720p.
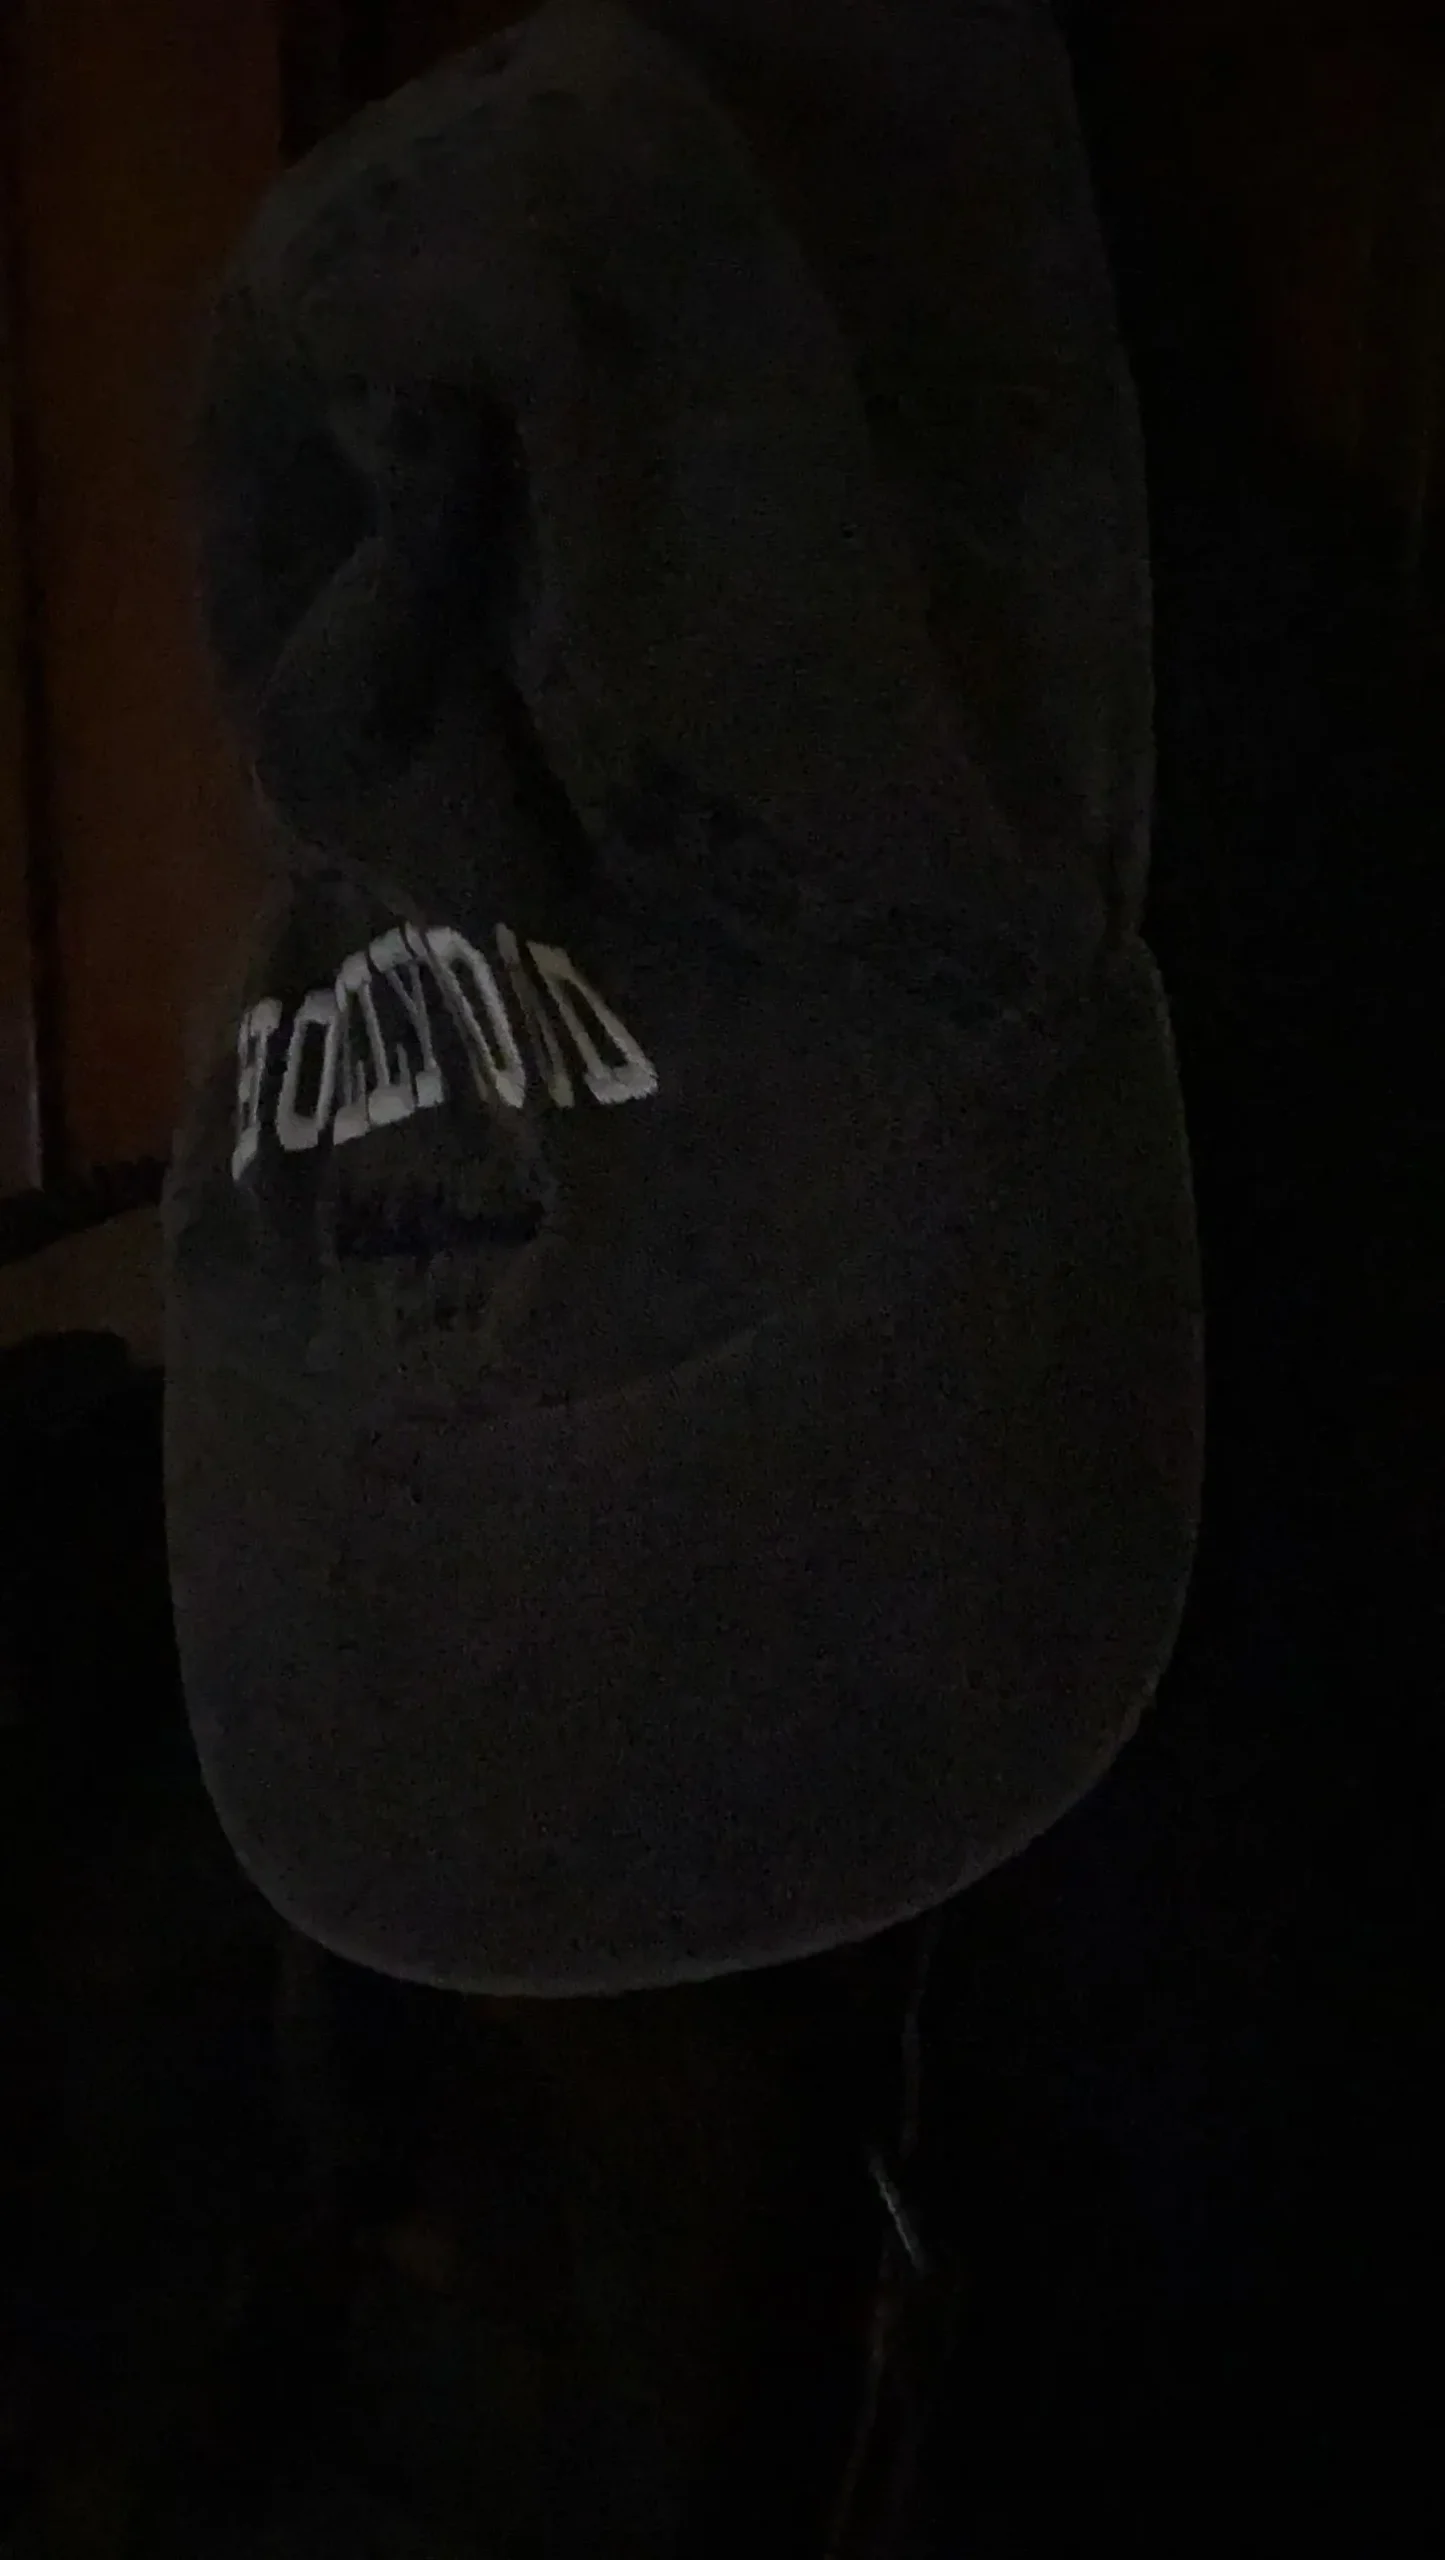
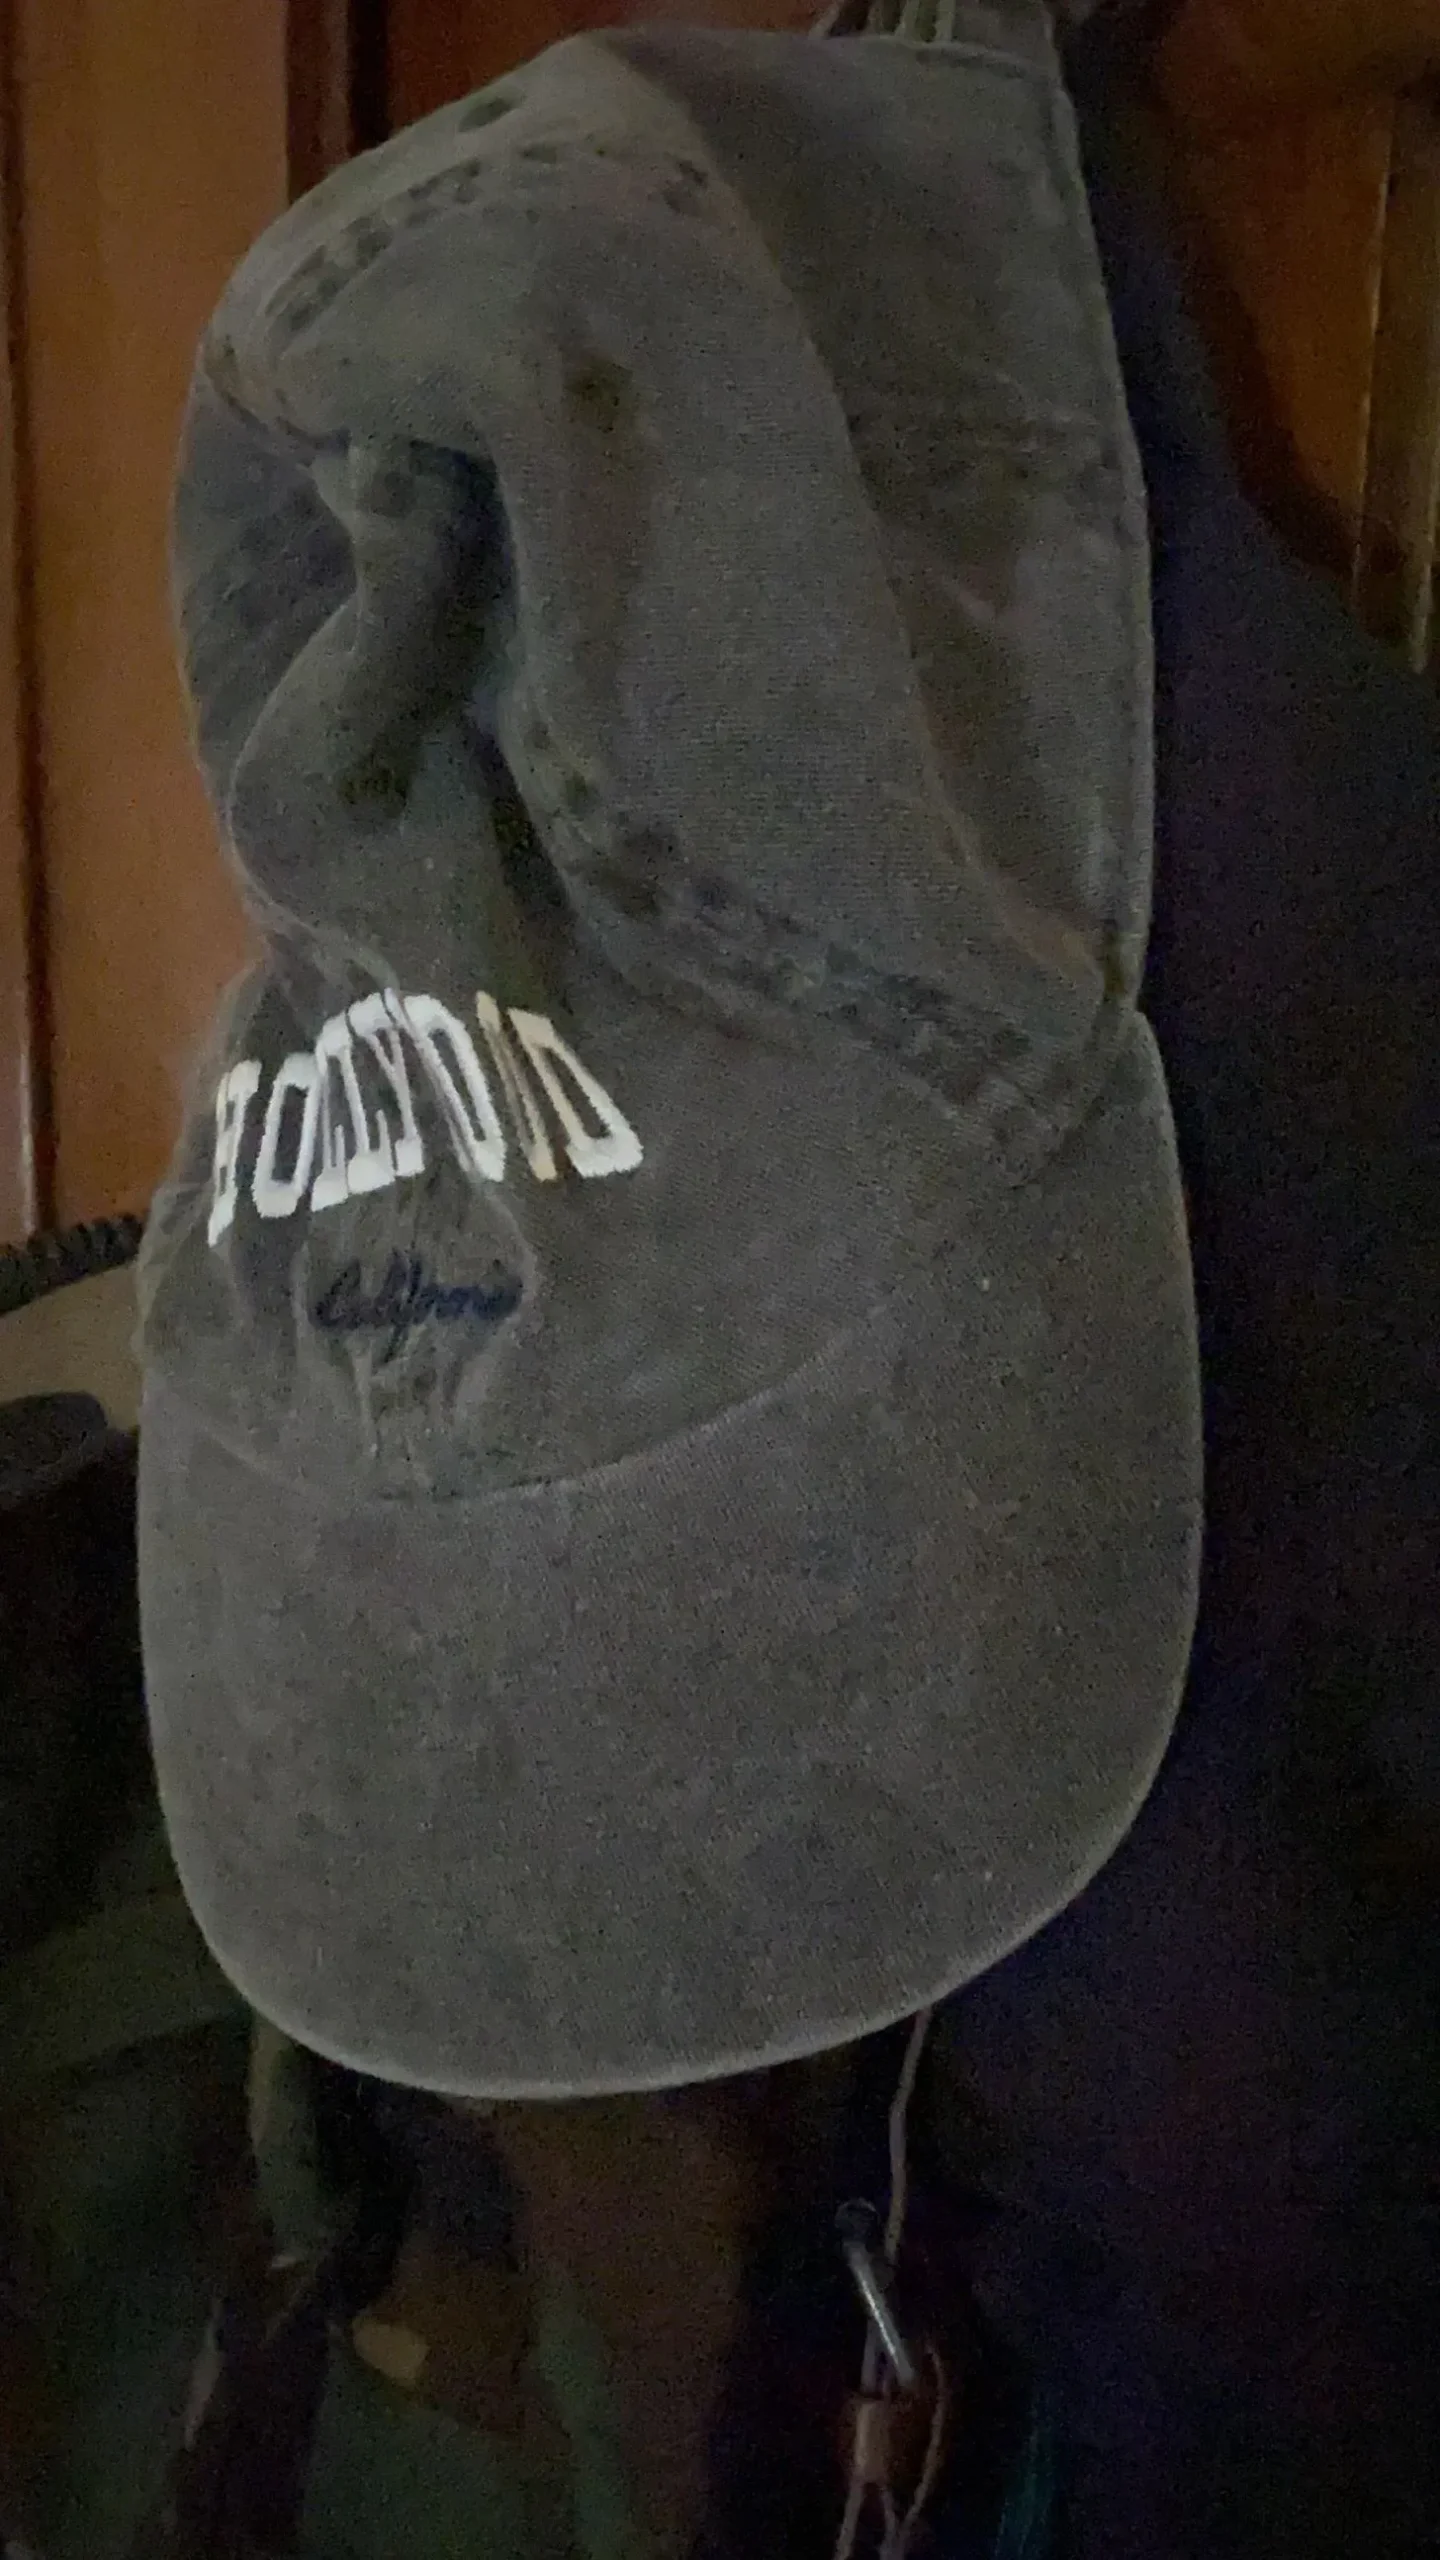
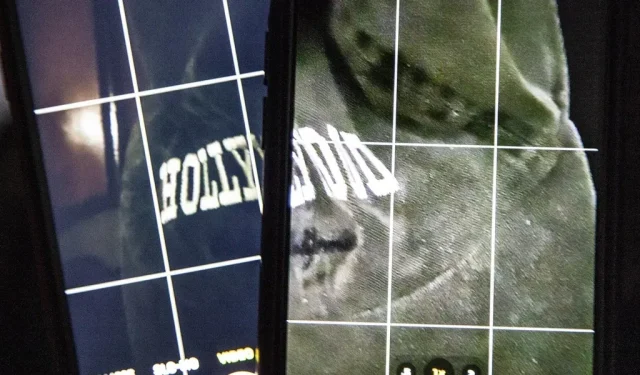
Screenshots from video shot at 60 fps (left) and 24 fps (right) under the same lighting.
You can go into the Camera app settings to manually change the frame rate to 24fps, but that’s not very convenient. There’s also an in-app frame rate switch that you can use to switch in place. However, it’s better if you don’t have to change the frame rate yourself, because you might forget to change it back in brighter scenes.
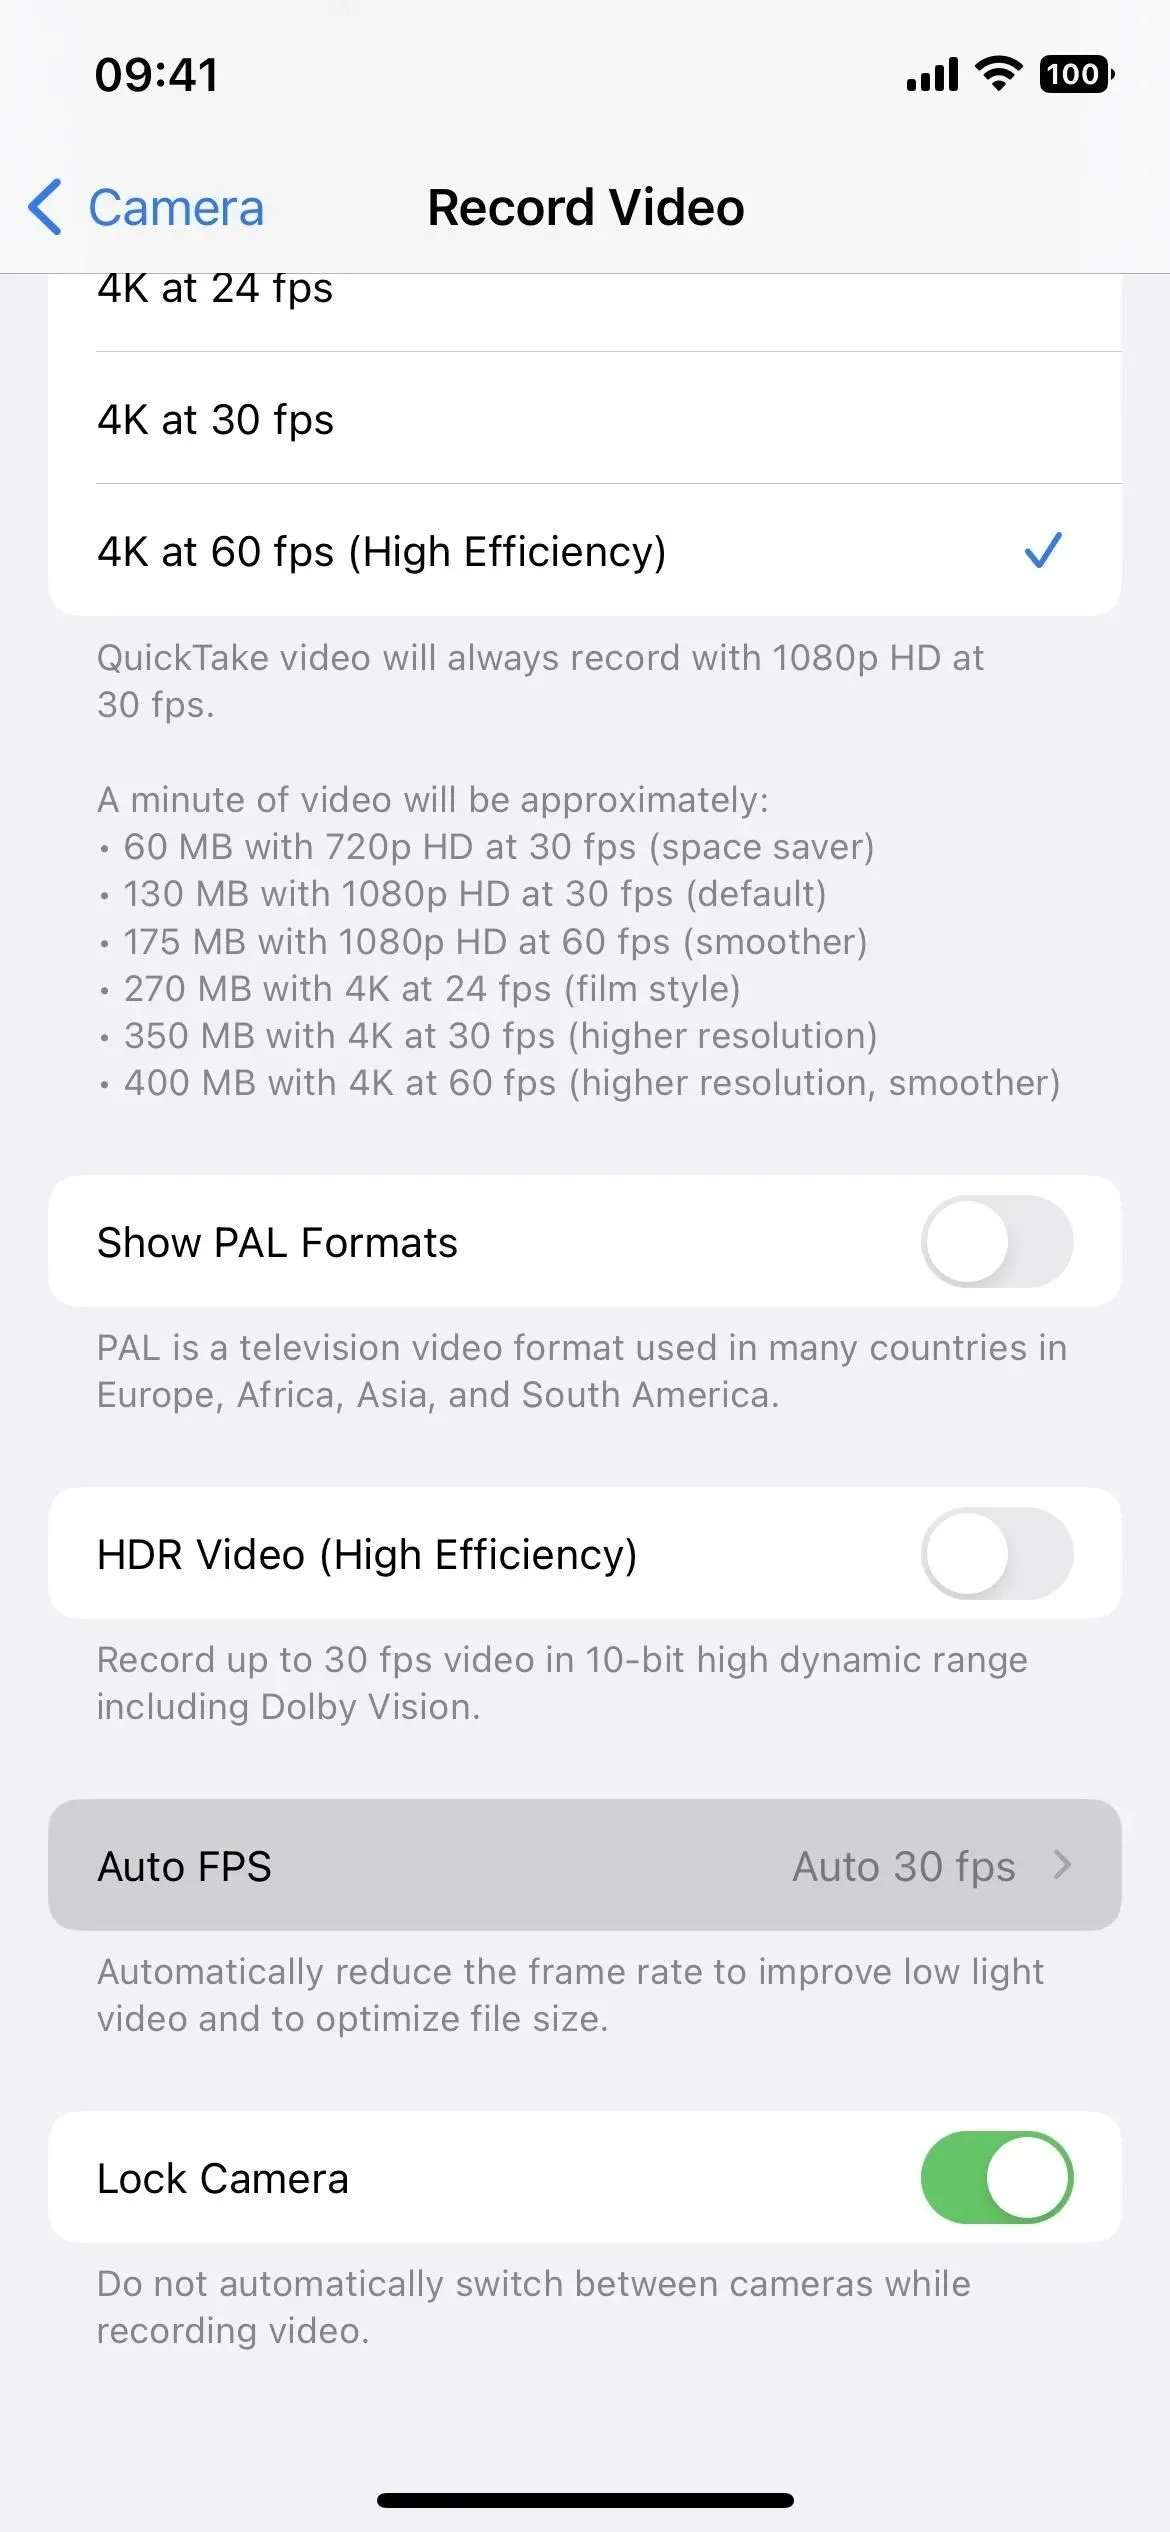
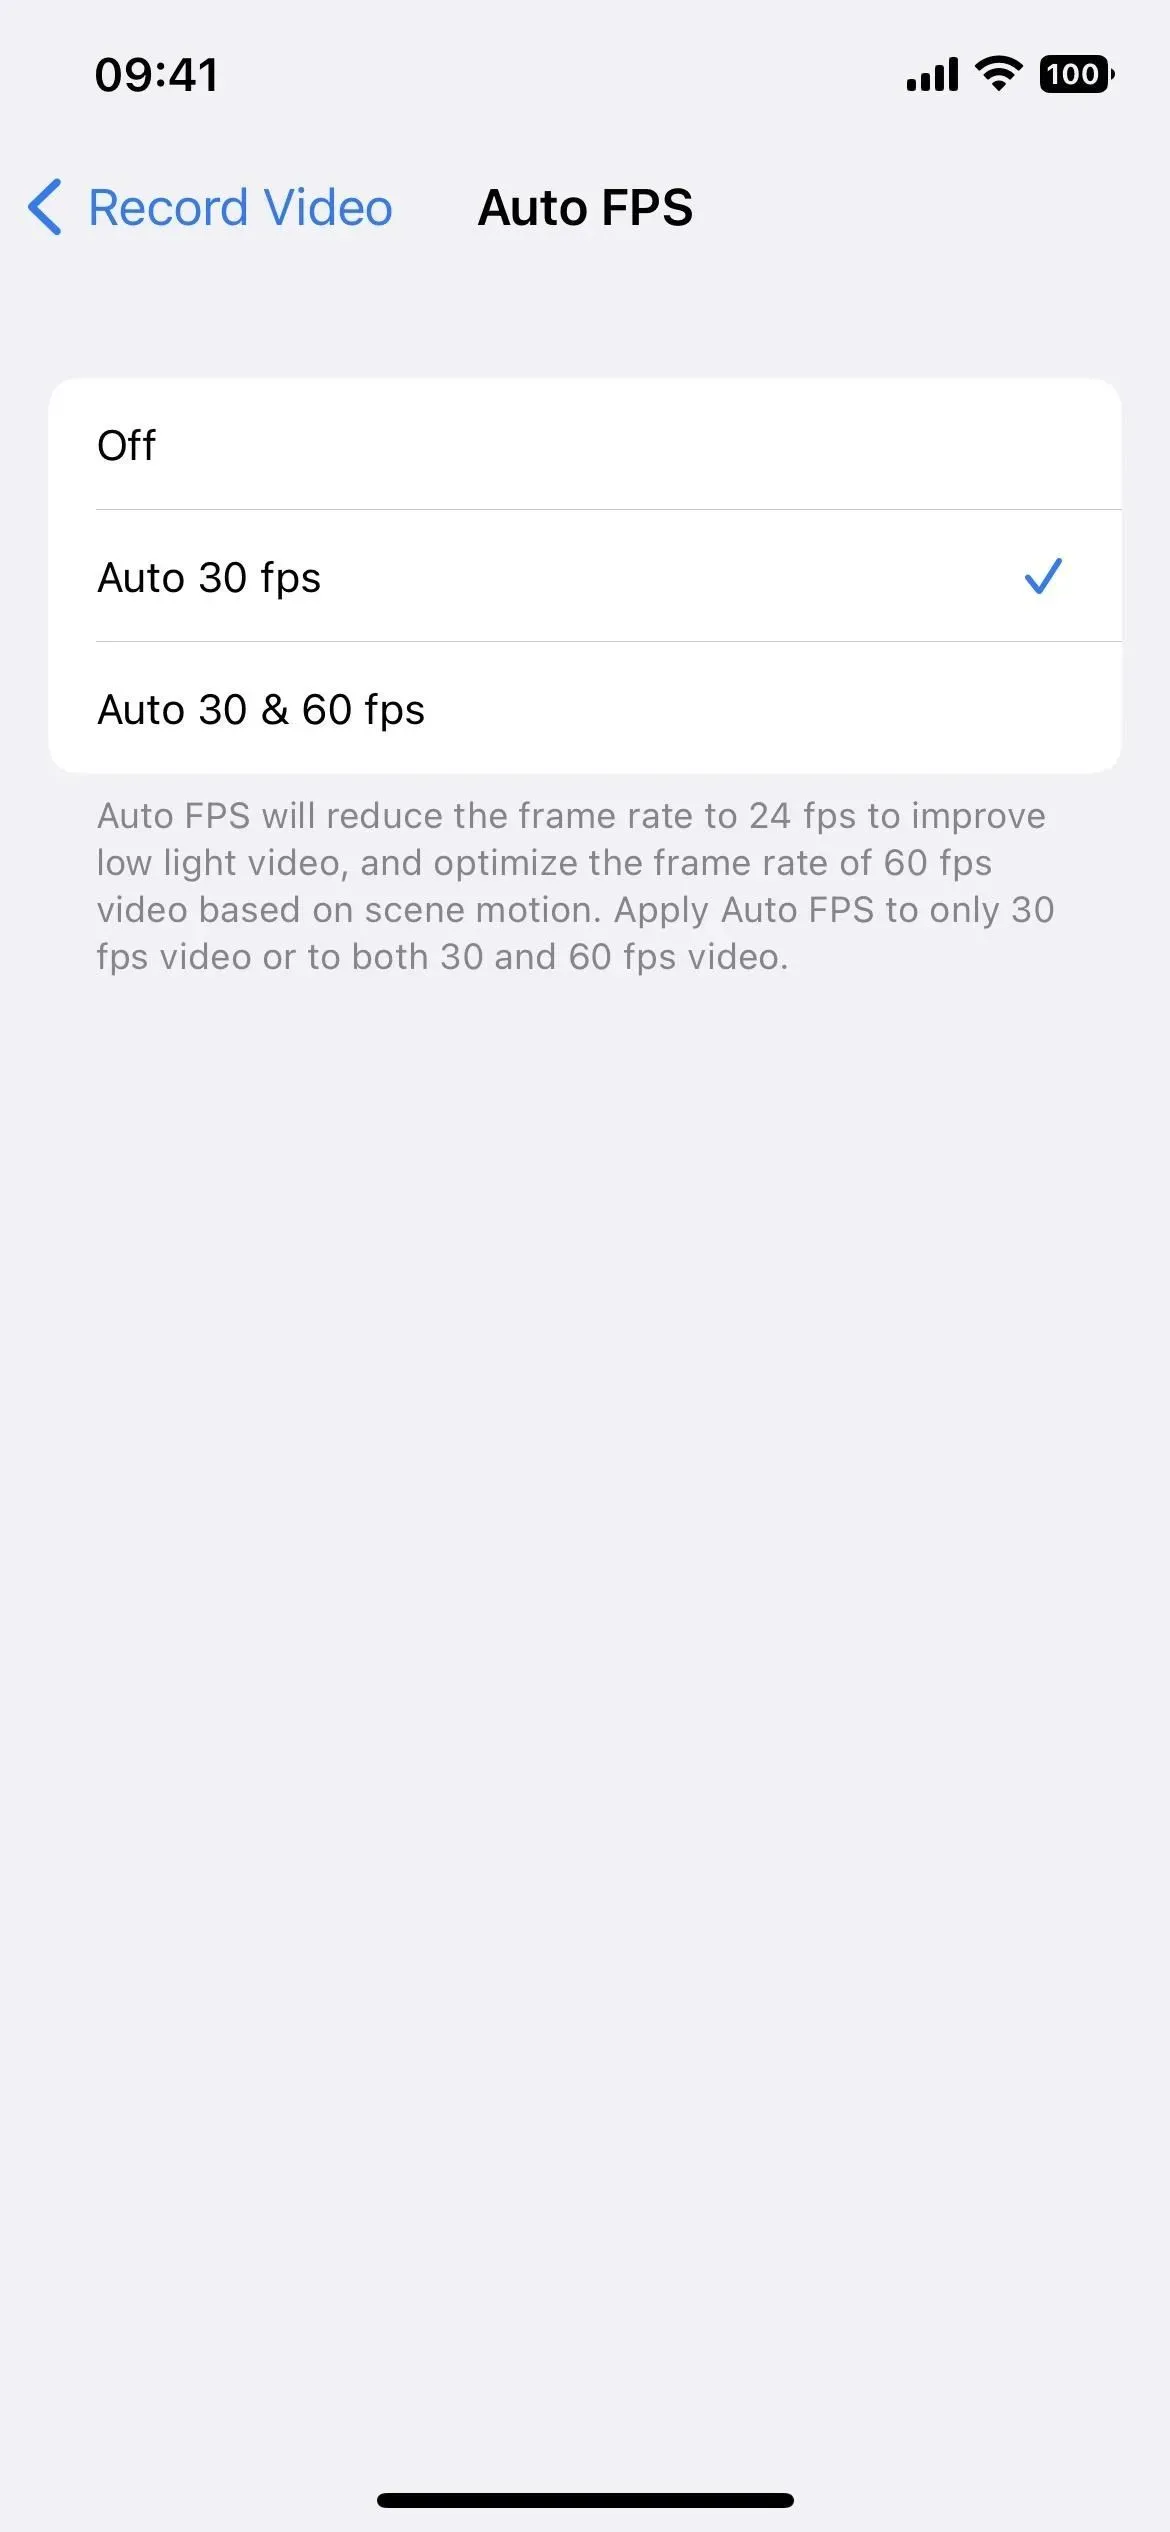
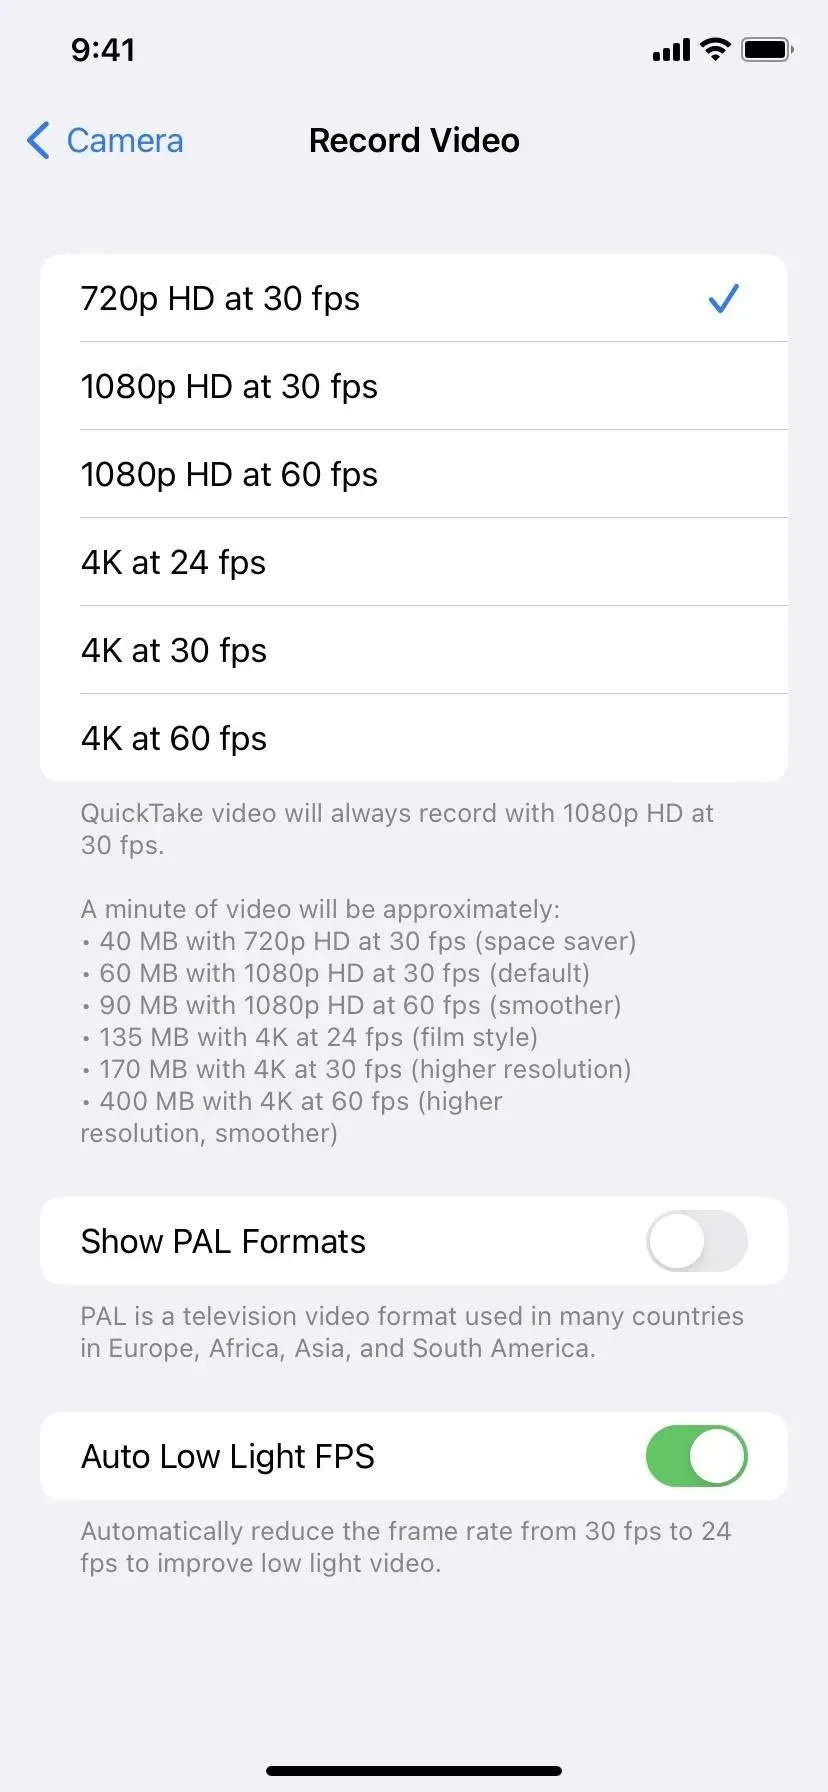
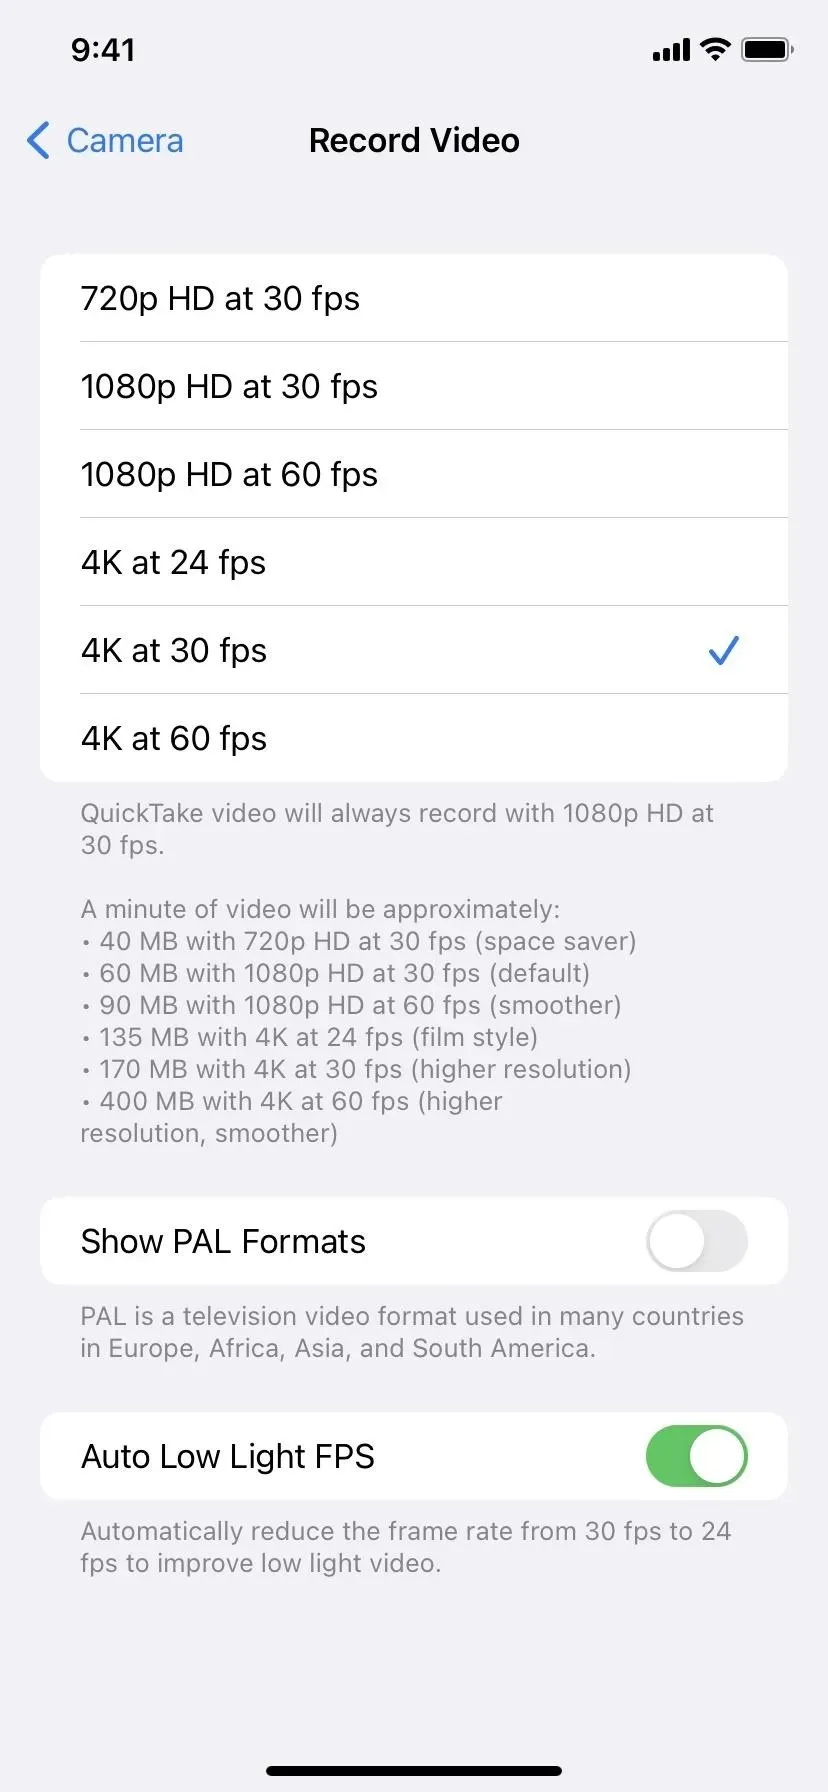
To help you out, Apple has a setting you can turn on to automatically lower your frame rate in the dark to improve your video quality. To install it, go to “Settings”-> “Camera”-> “Video Recording”. The next steps depend on which model of iPhone you have.
iPhone 12 series and later
Select the Auto FPS option, then apply it to the 30fps video setting. Unlike older models, you can also set Auto FPS to record videos at 30 and 60 fps. So you don’t have to switch to 30fps in 60fps mode to reap the benefits.
- Applies to iPhone 12, iPhone 12 Pro, iPhone 12 Pro Max, iPhone 13, iPhone 13 mini, iPhone 13 Pro, iPhone 13 Pro Max, iPhone SE (3rd generation) running iOS 14, iOS 15, or iOS 16.
iPhone XR and older models
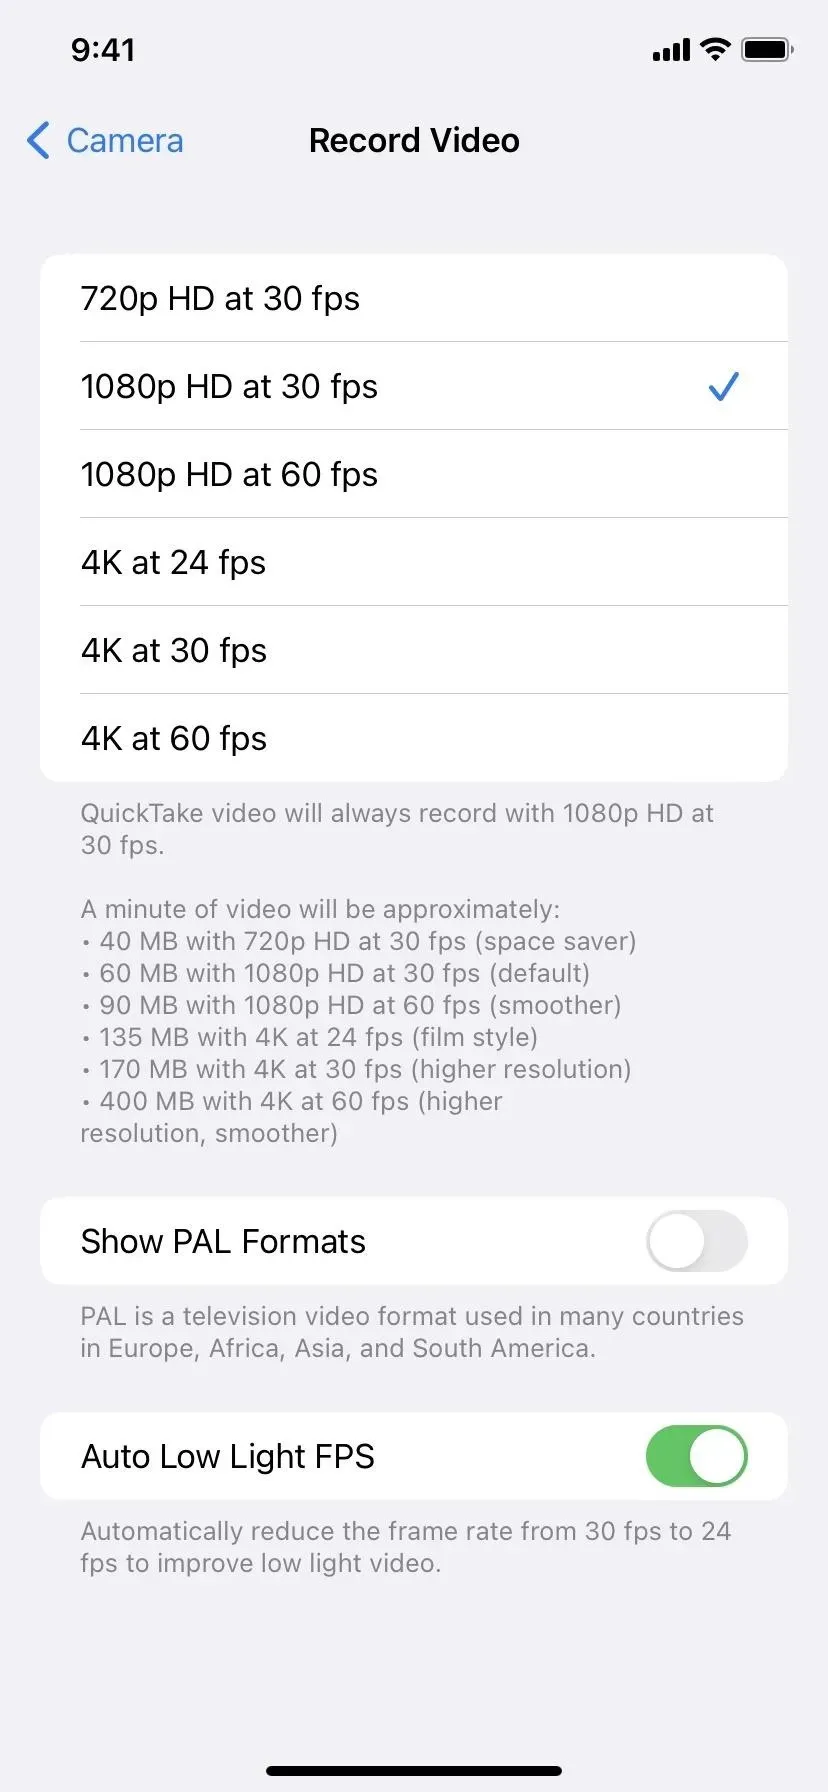
Turn on the “Auto Low Light FPS”switch. You can only enable it in 30fps shooting modes, so choose 720p HD at 30fps, 1080p HD at 30fps, or 4K at 30fps. Whatever you choose, it will also enable Auto Low Light FPS for the other two 30fps modes.
- Applies to iPhone 6S, iPhone 6S Plus, iPhone SE (1st generation), iPhone 7, iPhone 7 Plus, iPhone 8, iPhone 8 Plus, iPhone X, iPhone XS, iPhone XS Max, iPhone 11, iPhone 11 Pro, iPhone 11 Pro Max, iPhone SE (2nd generation) running iOS 14, iOS 15, or iOS 16.
How it works when shooting
In the Camera app, whenever you’re recording a video and iOS detects that the scenery isn’t well lit, it switches to 24fps. It can do this before the shoot starts or during the current recording if the lighting has changed enough for it to work.
You won’t notice the frame rate change in the Camera app indicator until you tap record – it will always show the frame rate you choose, even if it’s using 24 fps (as shown below). But you’ll be able to tell it worked by swiping up when viewing a video in Photos on iOS 15 or iOS 16, which lists the recorded frame rate. In iOS 14, you can use the EXIF parser on your iPhone to see the frame rate.
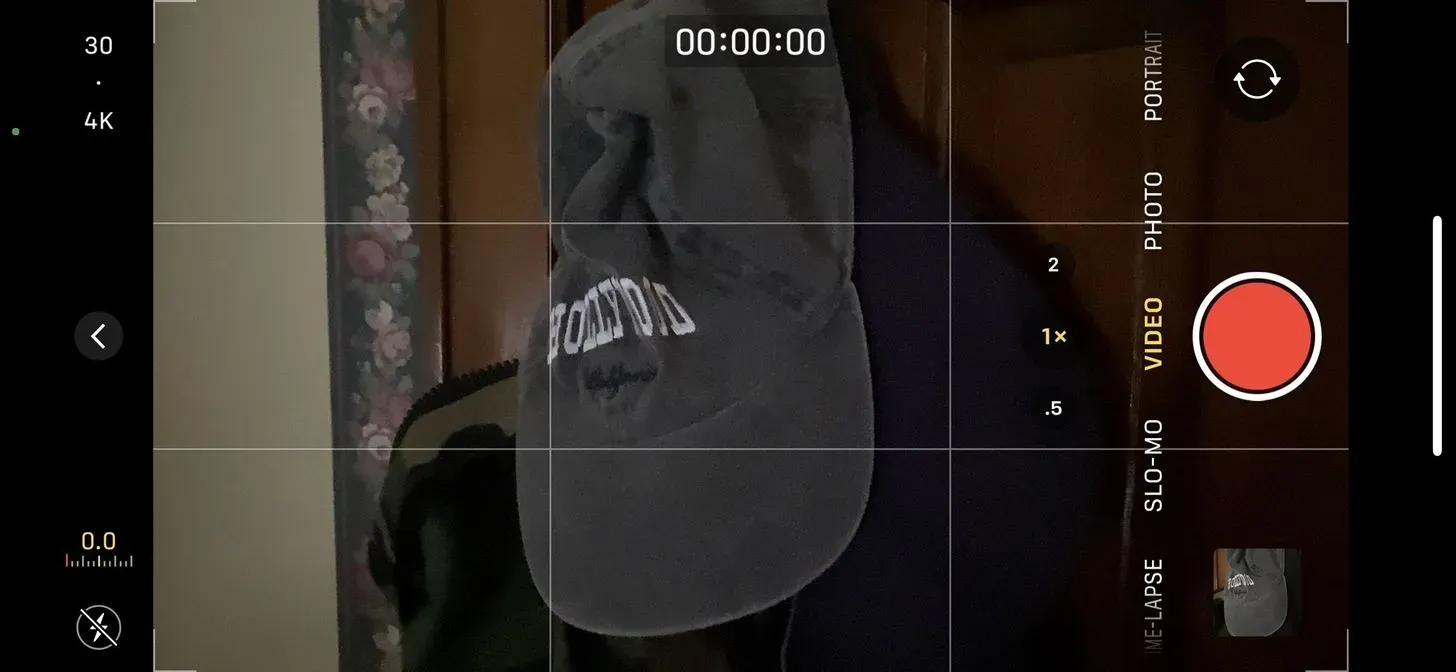
If it was dark all the time, that would be 24 frames per second. If the lighting changed in the middle of filming, you could end up with something like 25.5 fps or even 43 fps, depending on what mode you chose, how long the footage was, and how often it was at 24 fps in second compared to the option you selected.
