

In Grounded, tools are your best friends, without them you’re likely to be hunted by creatures. So to survive, make sure you keep your tools close by. However, there are certain types of tools that tend to deteriorate and eventually break. After the automatic destruction of the tool, it disappears from the inventory. This forces the player to create a new one again from scratch. But there’s also a way you can fix your tools before or after they’re on the verge of breaking. If you don’t know how to repair tools in Grounded, we can help you.
How to fix tools in Grounded
To repair tools in Grounded, you will need quartzite. This item is considered one of the rare items in the game. For reference, here are the places where you can easily find quartzite.
- Slug Lantern Post
- pond laboratory
- Rake Rock Point Cave
- anthills
- Surroundings of the barn
- upper meadows
- Hedge Lab
- Black Anthill Laboratory
- caves
- Fog
- Fog Lab
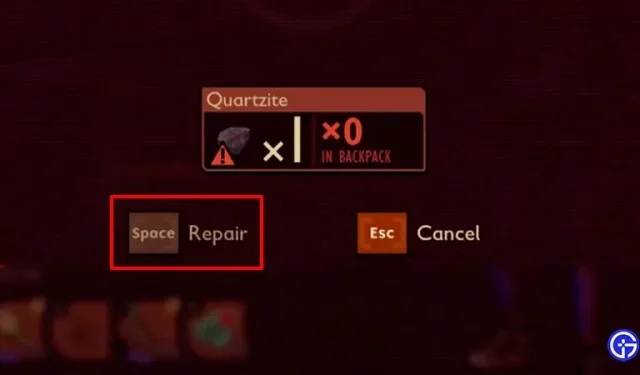
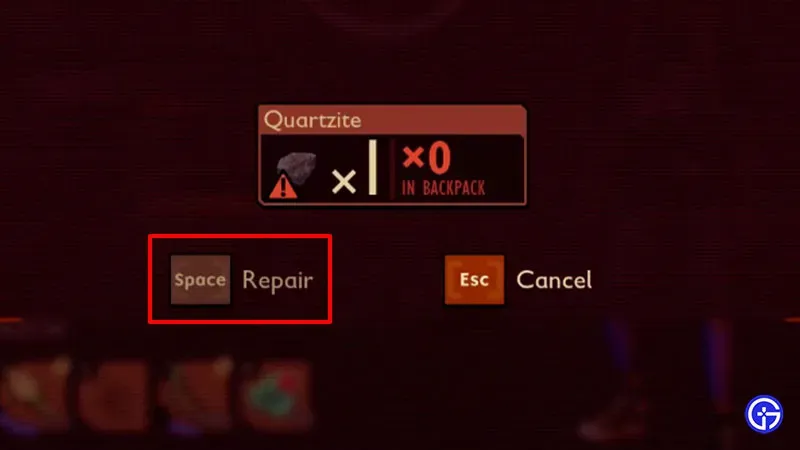
These were the places to find quartzite to repair tools in Grounded. If you’d like to learn more about where you can find this material, check out this Quartzite location guide. Once you have enough resources, follow the steps below to restore the tools in the game.
- First go to your game inventory.
- Then select the tool that needs repair.
- After that, click on the “Restore”option located below.
- And then click the Restore button again to restore it.
That’s all you need to know about tool repair in Grounded. However, we recommend that you only repair an item when it is on the verge of breaking. This is because no matter how damaged your tools are, it will not affect the amount of Quartzite required. That’s it for how you can repair tools in the game. While you’re here, check out other Grounded guides for more tips and tricks.