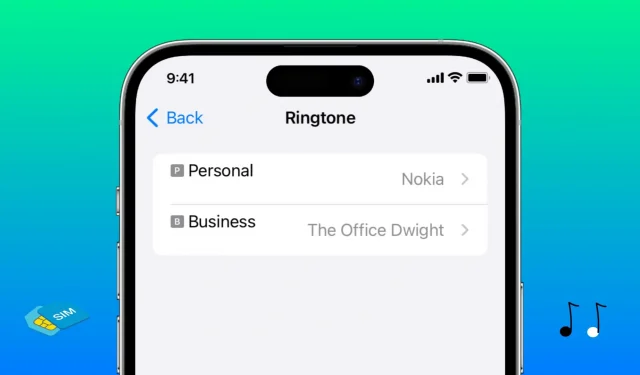
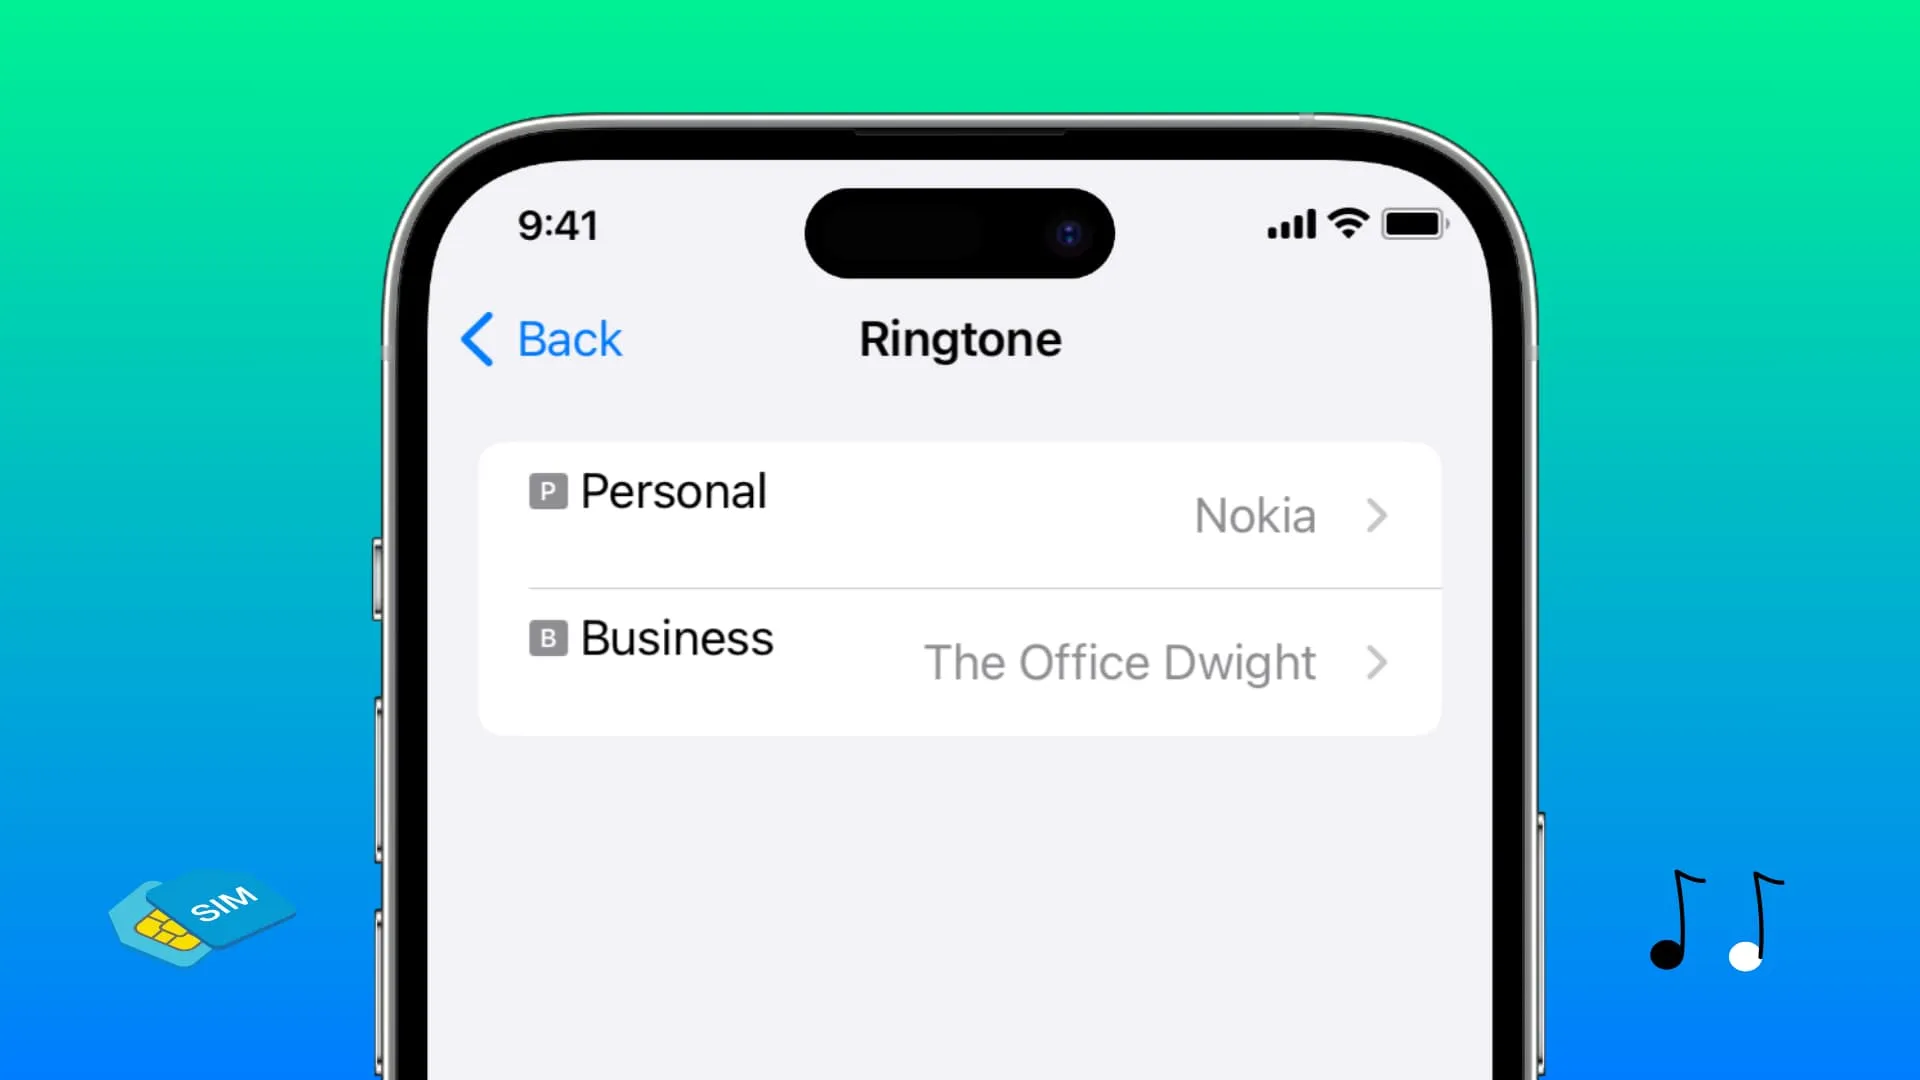
Do you use dual SIM on your iPhone? In this tutorial, we’ll show you how to set separate ringtones for each line so that it’s easy to know which phone number is ringing when you’re getting a call.
Recent iPhone models allow you to set up two or more phone lines. This way, you can have both your business and personal phone numbers active on a single phone.
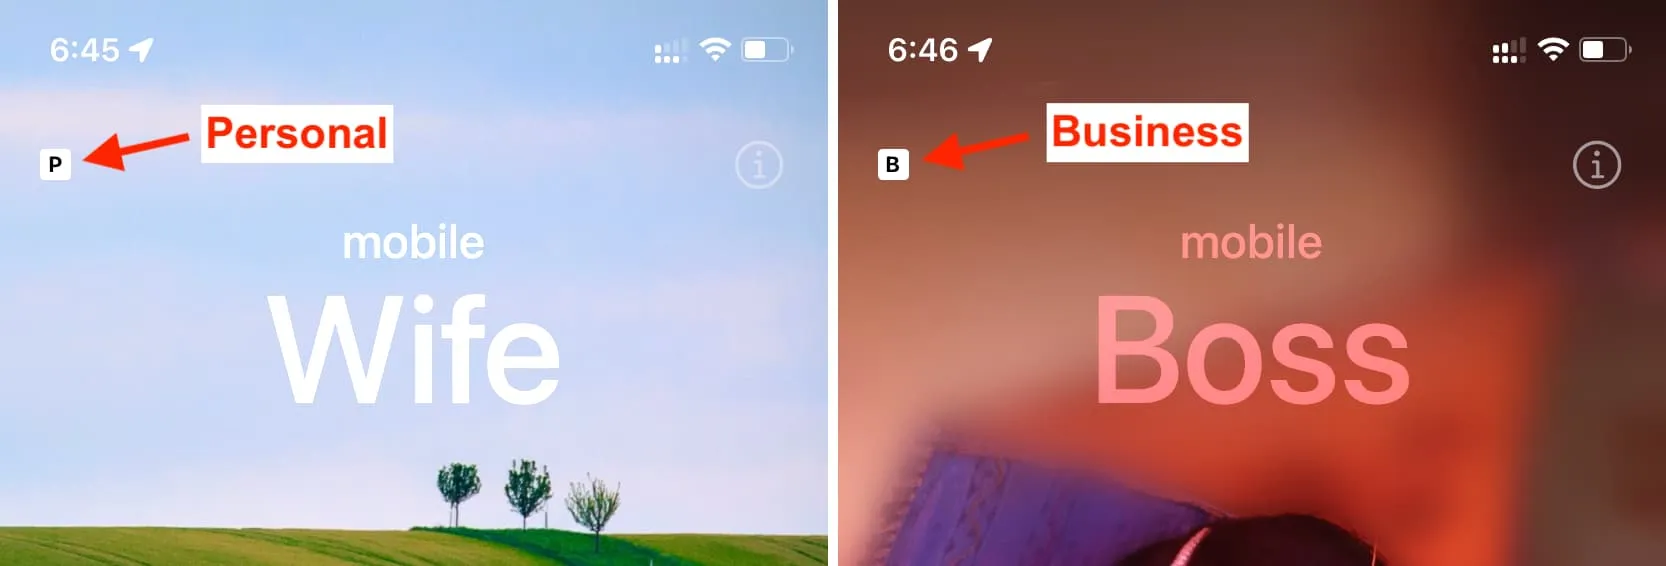
Up until now, there was a unified iPhone ringtone that was the same for both lines. As a result, you had to look at the small letter identifying the SIM card on the iPhone screen to know which line you were getting the call on. This was not very convenient.
Thankfully, iOS 17 has introduced a much-needed improvement that allows you to set separate ringtones for both SIM cards/eSIMs. Here’s how to make use of it.
Assign different ringtones for each SIM card on iPhone
- Open the iOS 17 Settings app.
- Tap Sounds & Haptics.
- From here, select Ringtone.
- You will see both your iPhone lines here. Start by tapping the first one.
- Select a desired tone from the list.
- Now, go back to the previous screen, tap the second line, and pick another ringtone for it.
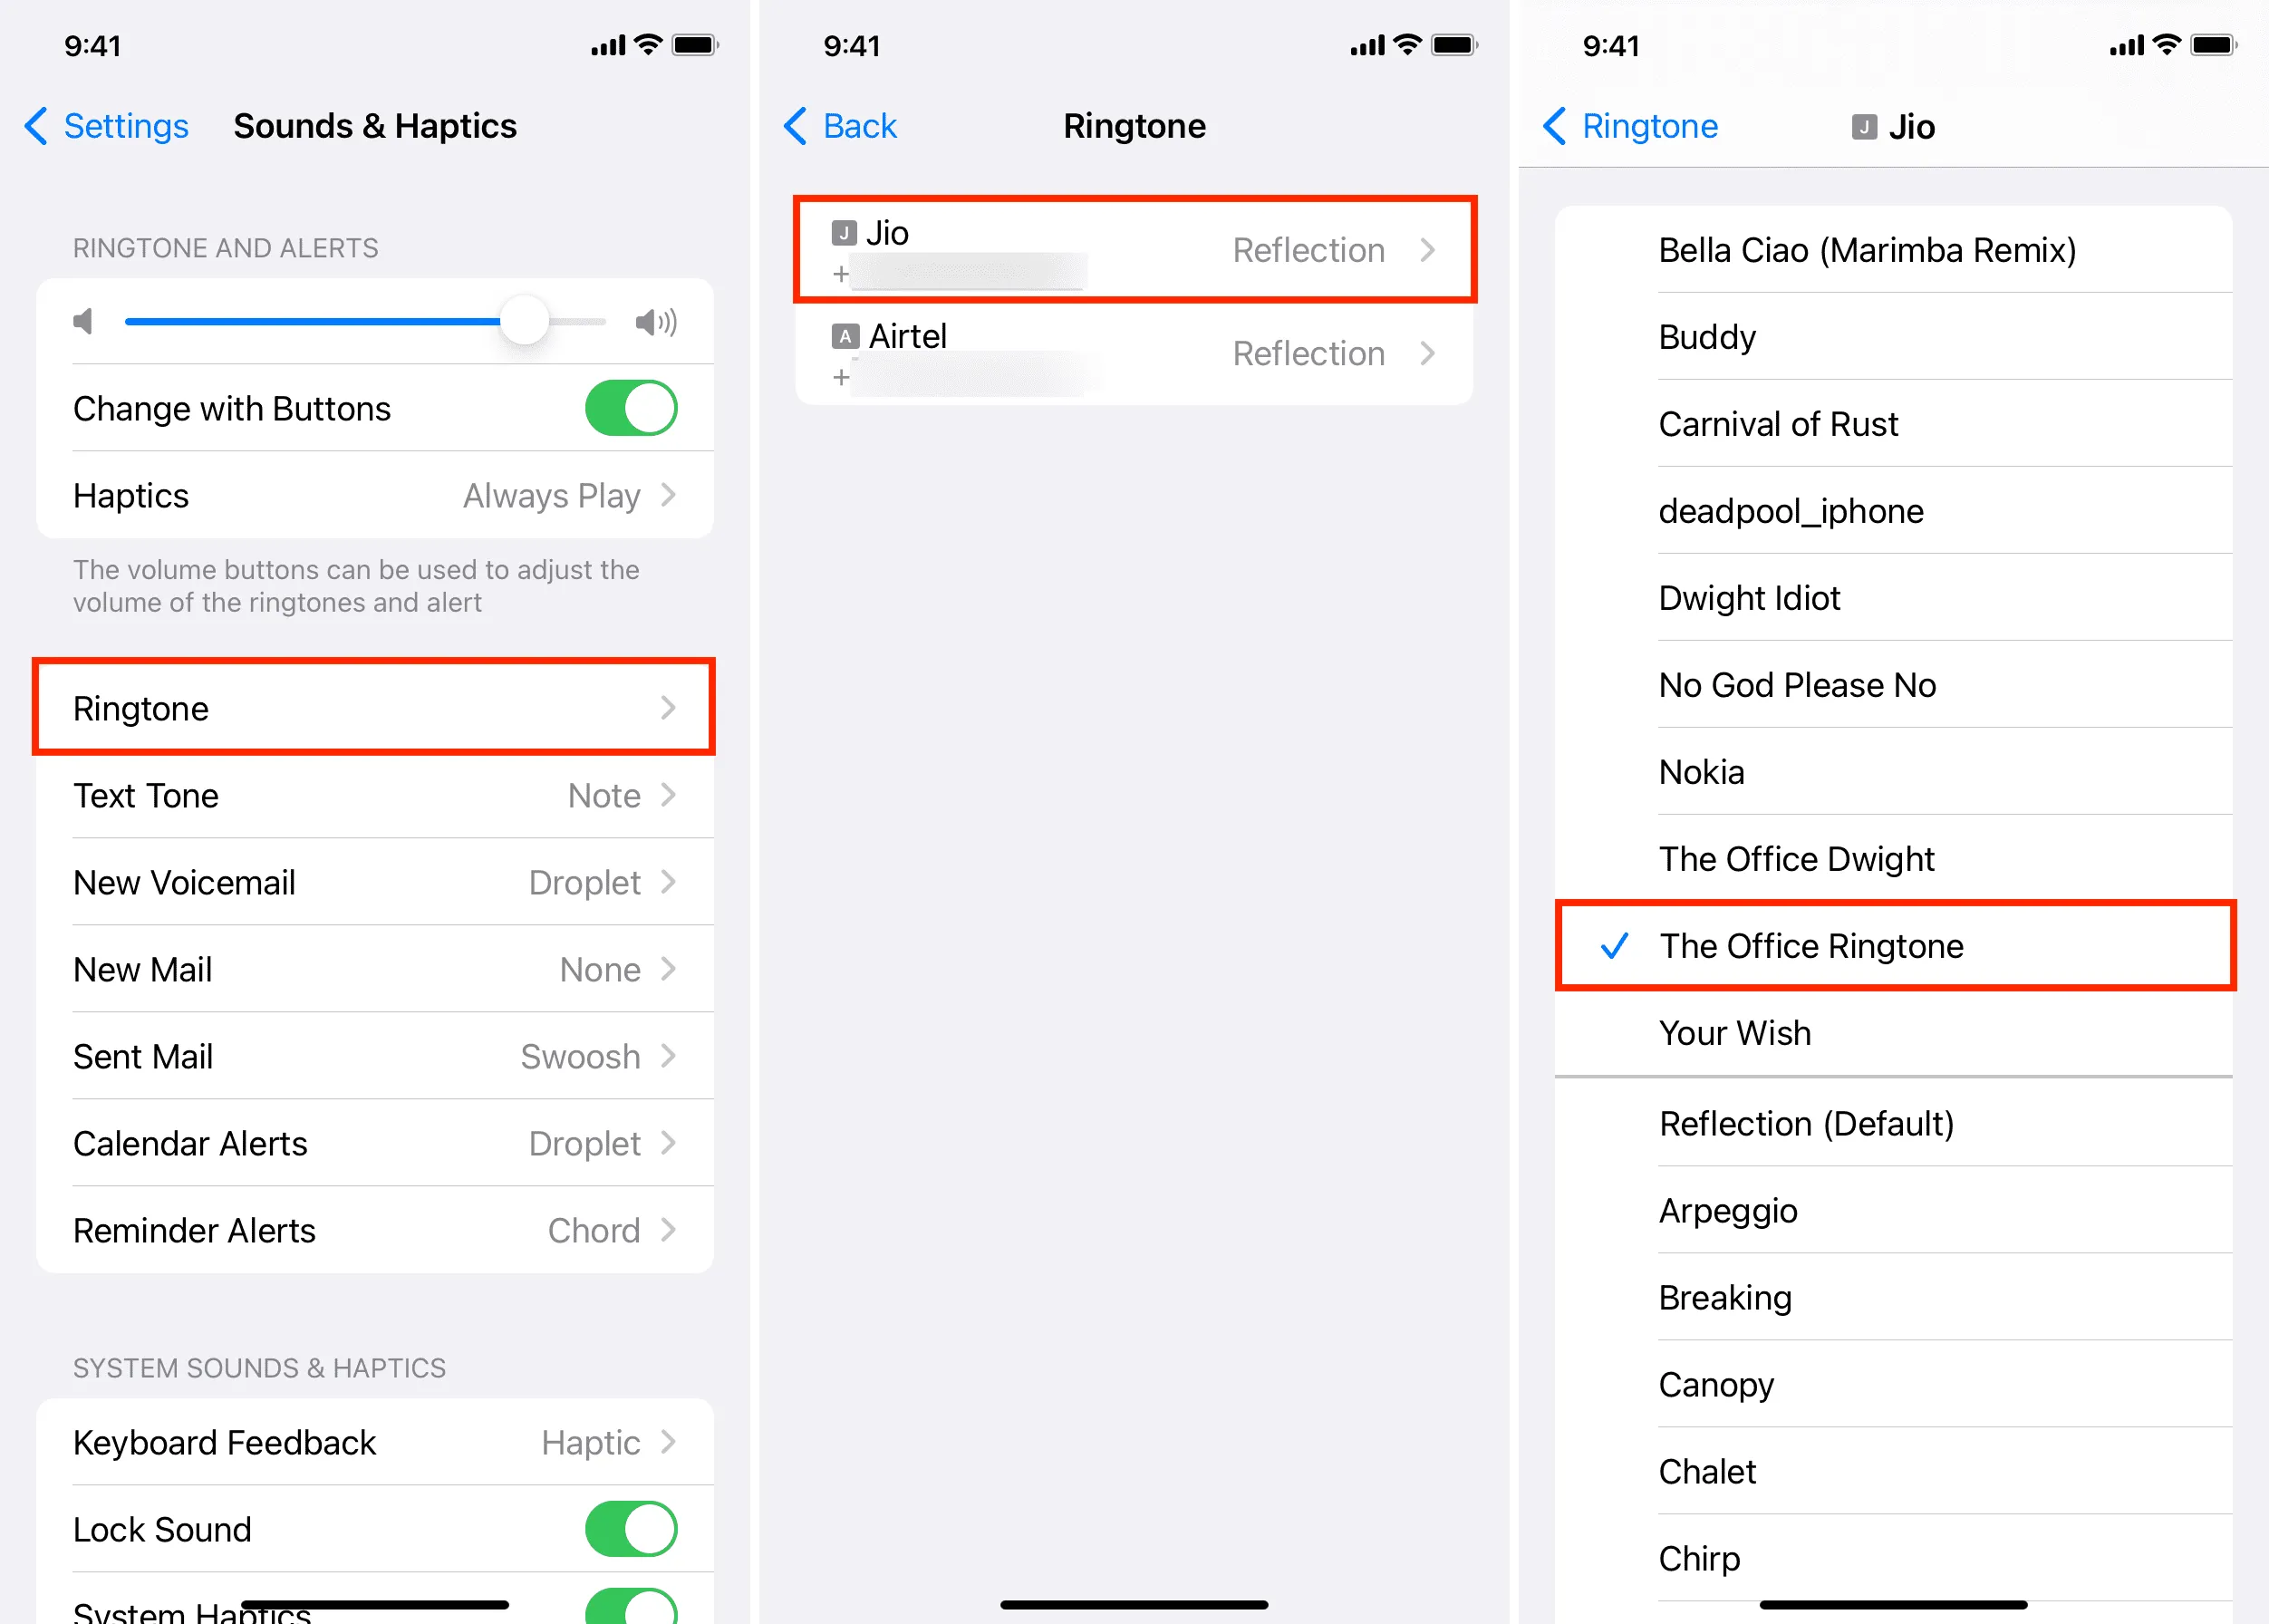
From now on, you will hear different ringtones depending on what line is being called.
No option to change the text tone
While iOS 17 lets you pick different ringtones for both SIM cards on your iPhone, it still doesn’t allow doing the same thing with text tones.
Set different ringtones and text tones for each contact
The above ringtone setting is the default for all calls you get on a particular SIM card. However, you also have the option to override that tone on a per-contact basis.
For instance, I have set different ringtones for my dad, mom, sibling, and wife. This way, I know if they are calling just by hearing the ringtone. I don’t have to see my iPhone screen or turn on a setting that announces who is calling.
If you’re interested, learn how to set a custom ringtone, text tone, and vibration for each contact.
