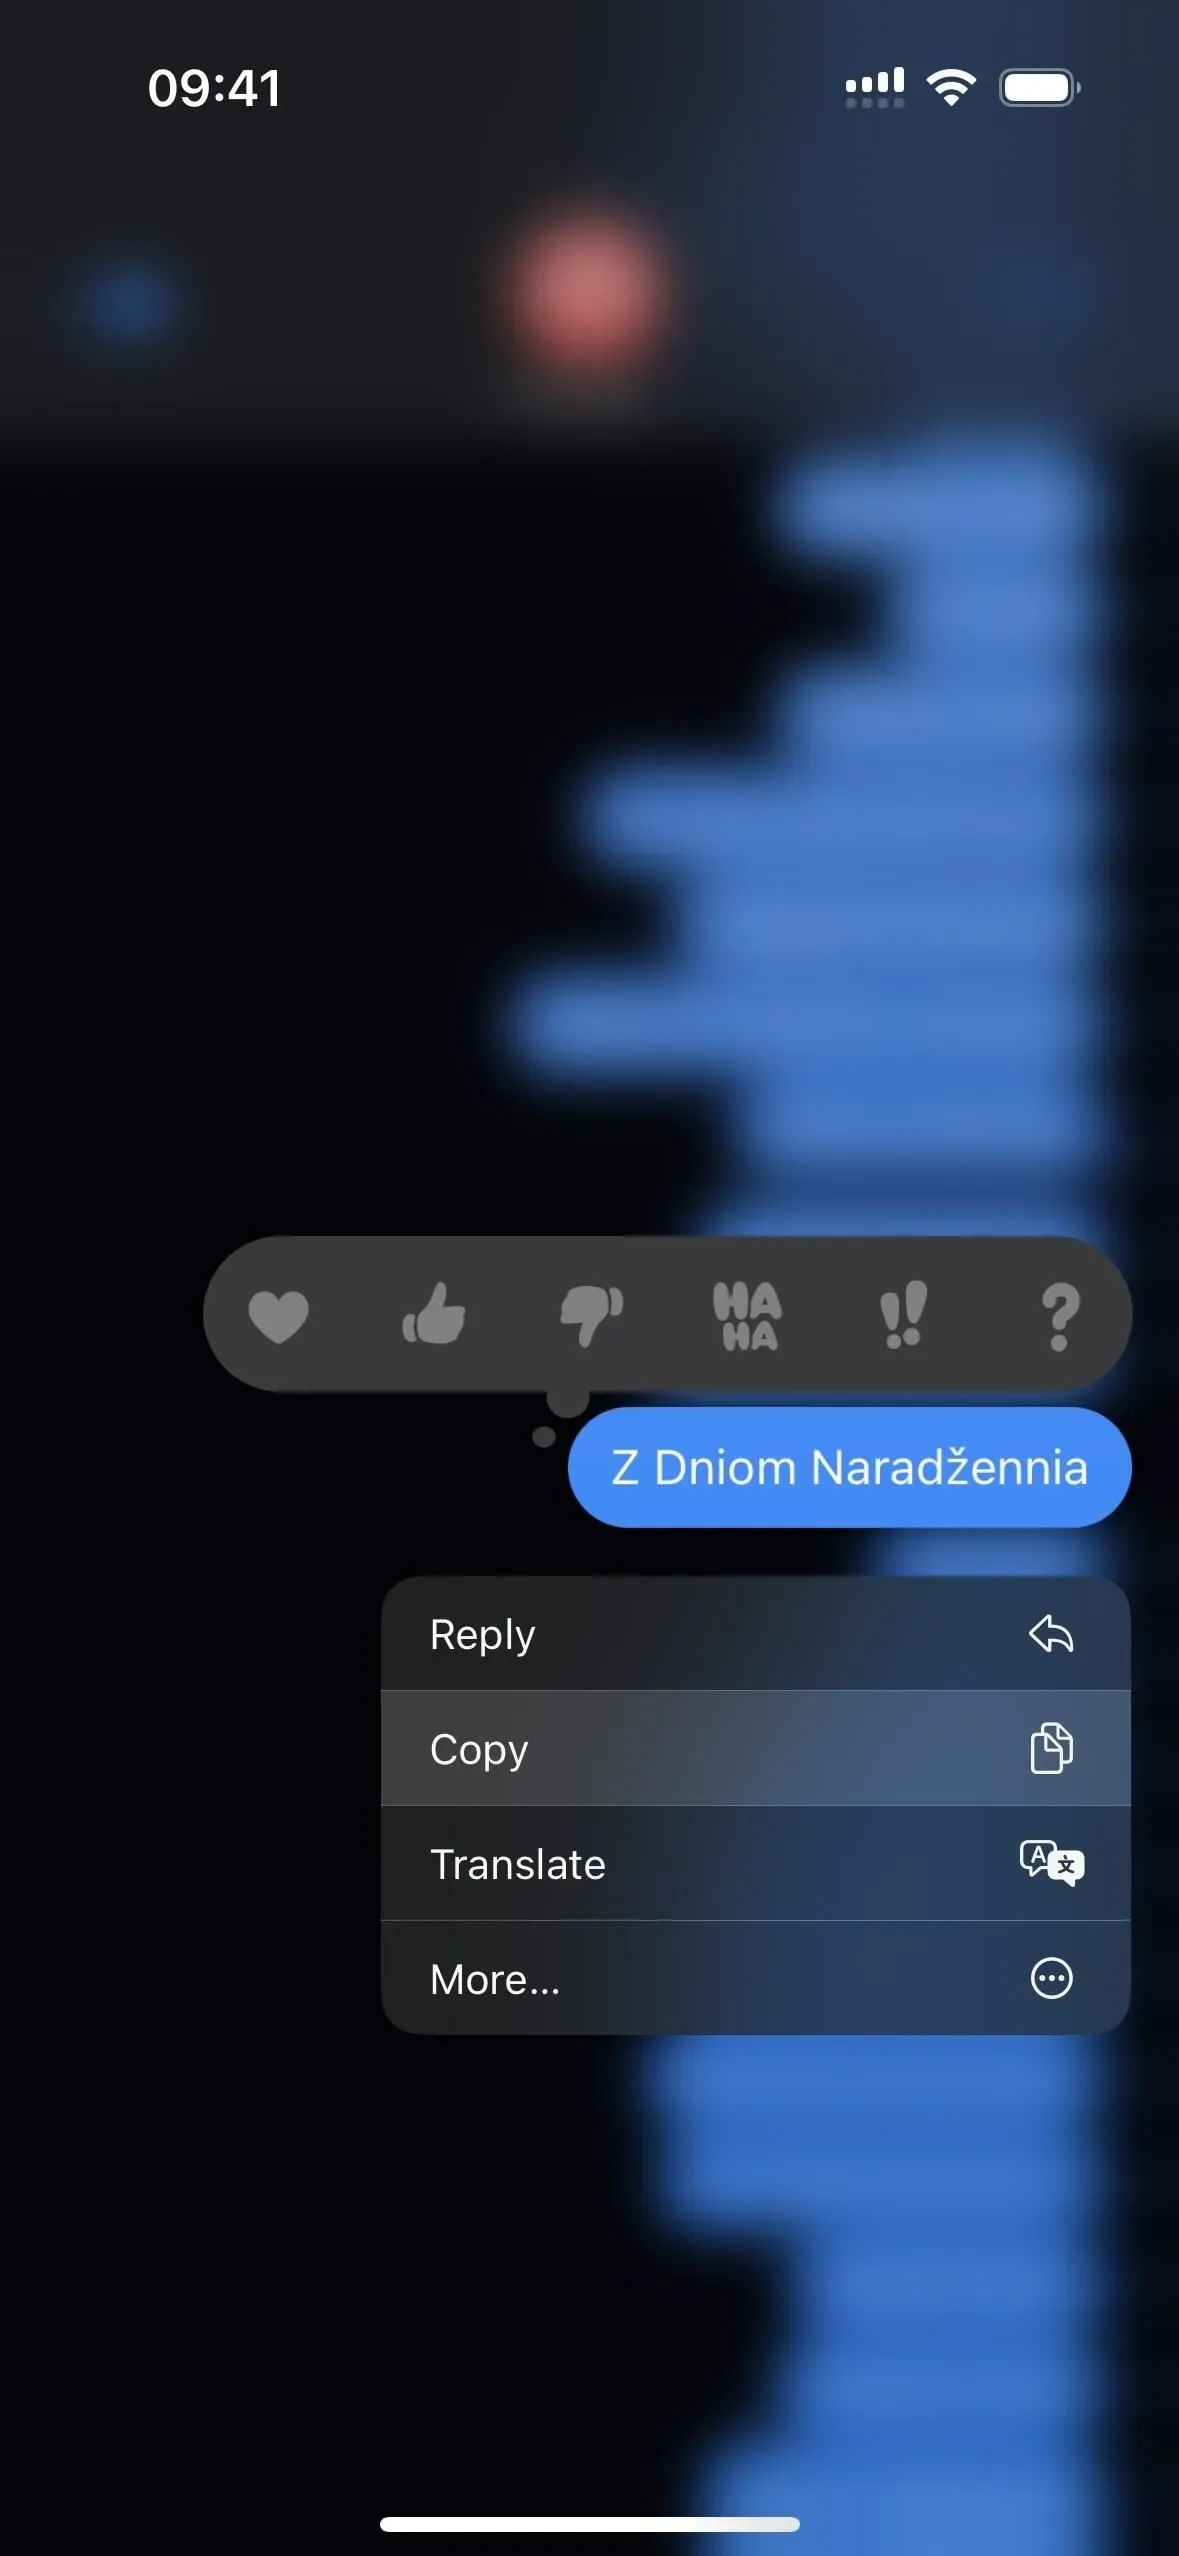


Your iPhone’s clipboard can only save one item at a time, so it may seem impossible to recover your entire history of copied text, images, and other content. Luckily, there is a workaround that can be used to find and copy the previous contents of the clipboard, but it needs to be implemented first.
While there’s no built-in way to view more than one item on your iPhone’s clipboard, you can record and retrieve whatever you copy from that point on. That way you’ll have a record of everything in case you need to recopy something important.
There are third party apps like Clipboard, Clipboard++, Clipboard – Paste Anywhere, Copypasta Keyboard, Paste – Clipboard Manager and Paste Keyboard, that will record whatever you copy to the clipboard. However, they are not the ideal solution.
Why You Should Avoid Third-Party Clipboard Apps
First, most third-party clipboard apps require an appropriate keyboard to search and select clipboard history content. This is quite inconvenient and even confusing, especially if they don’t offer a regular keyboard for typing.
Secondly, you need to open the app or keyboard after each time you copy content to the clipboard. If you don’t, it will only be able to write the last known contents of your clipboard, not everything since you last opened the app or keyboard.
Third, starting with iOS 16, all of these apps must ask for permission to paste the current content of your clipboard from other apps into their app. This can quickly get annoying, but some more modern apps show a “Paste from other apps”menu (in iOS 16.1 and later) in the Settings app, where you can always allow permission without security prompts.
Fourth, you may accidentally let one of these clipboard apps record sensitive information, such as passwords. You can have password management apps like LastPass automatically clear your clipboard after about 30 seconds when you copy a password, but not all apps can do this. Can you really trust the developers of these clipboard apps?
Best Solution: Custom Shortcut
You can create your own shortcut in the Shortcuts app to save the current clipboard entry in a variety of ways. Each clipboard entry can be stored in a separate note or file with the current date and time. Or you can add each entry to the same note or file, specifying the date and time of each entry.
However you create your shortcut, you can assign it to Back Tap. Thus, whenever you want to save something you just copied, just tap the back of your iPhone two or three times right after. After a while, you will even forget that you are doing it.
With your own shortcut, you don’t have to use a weird keyboard or open another app every time you copy something, you can save your clipboard history locally on your iPhone or iCloud and you have full control over what gets saved.
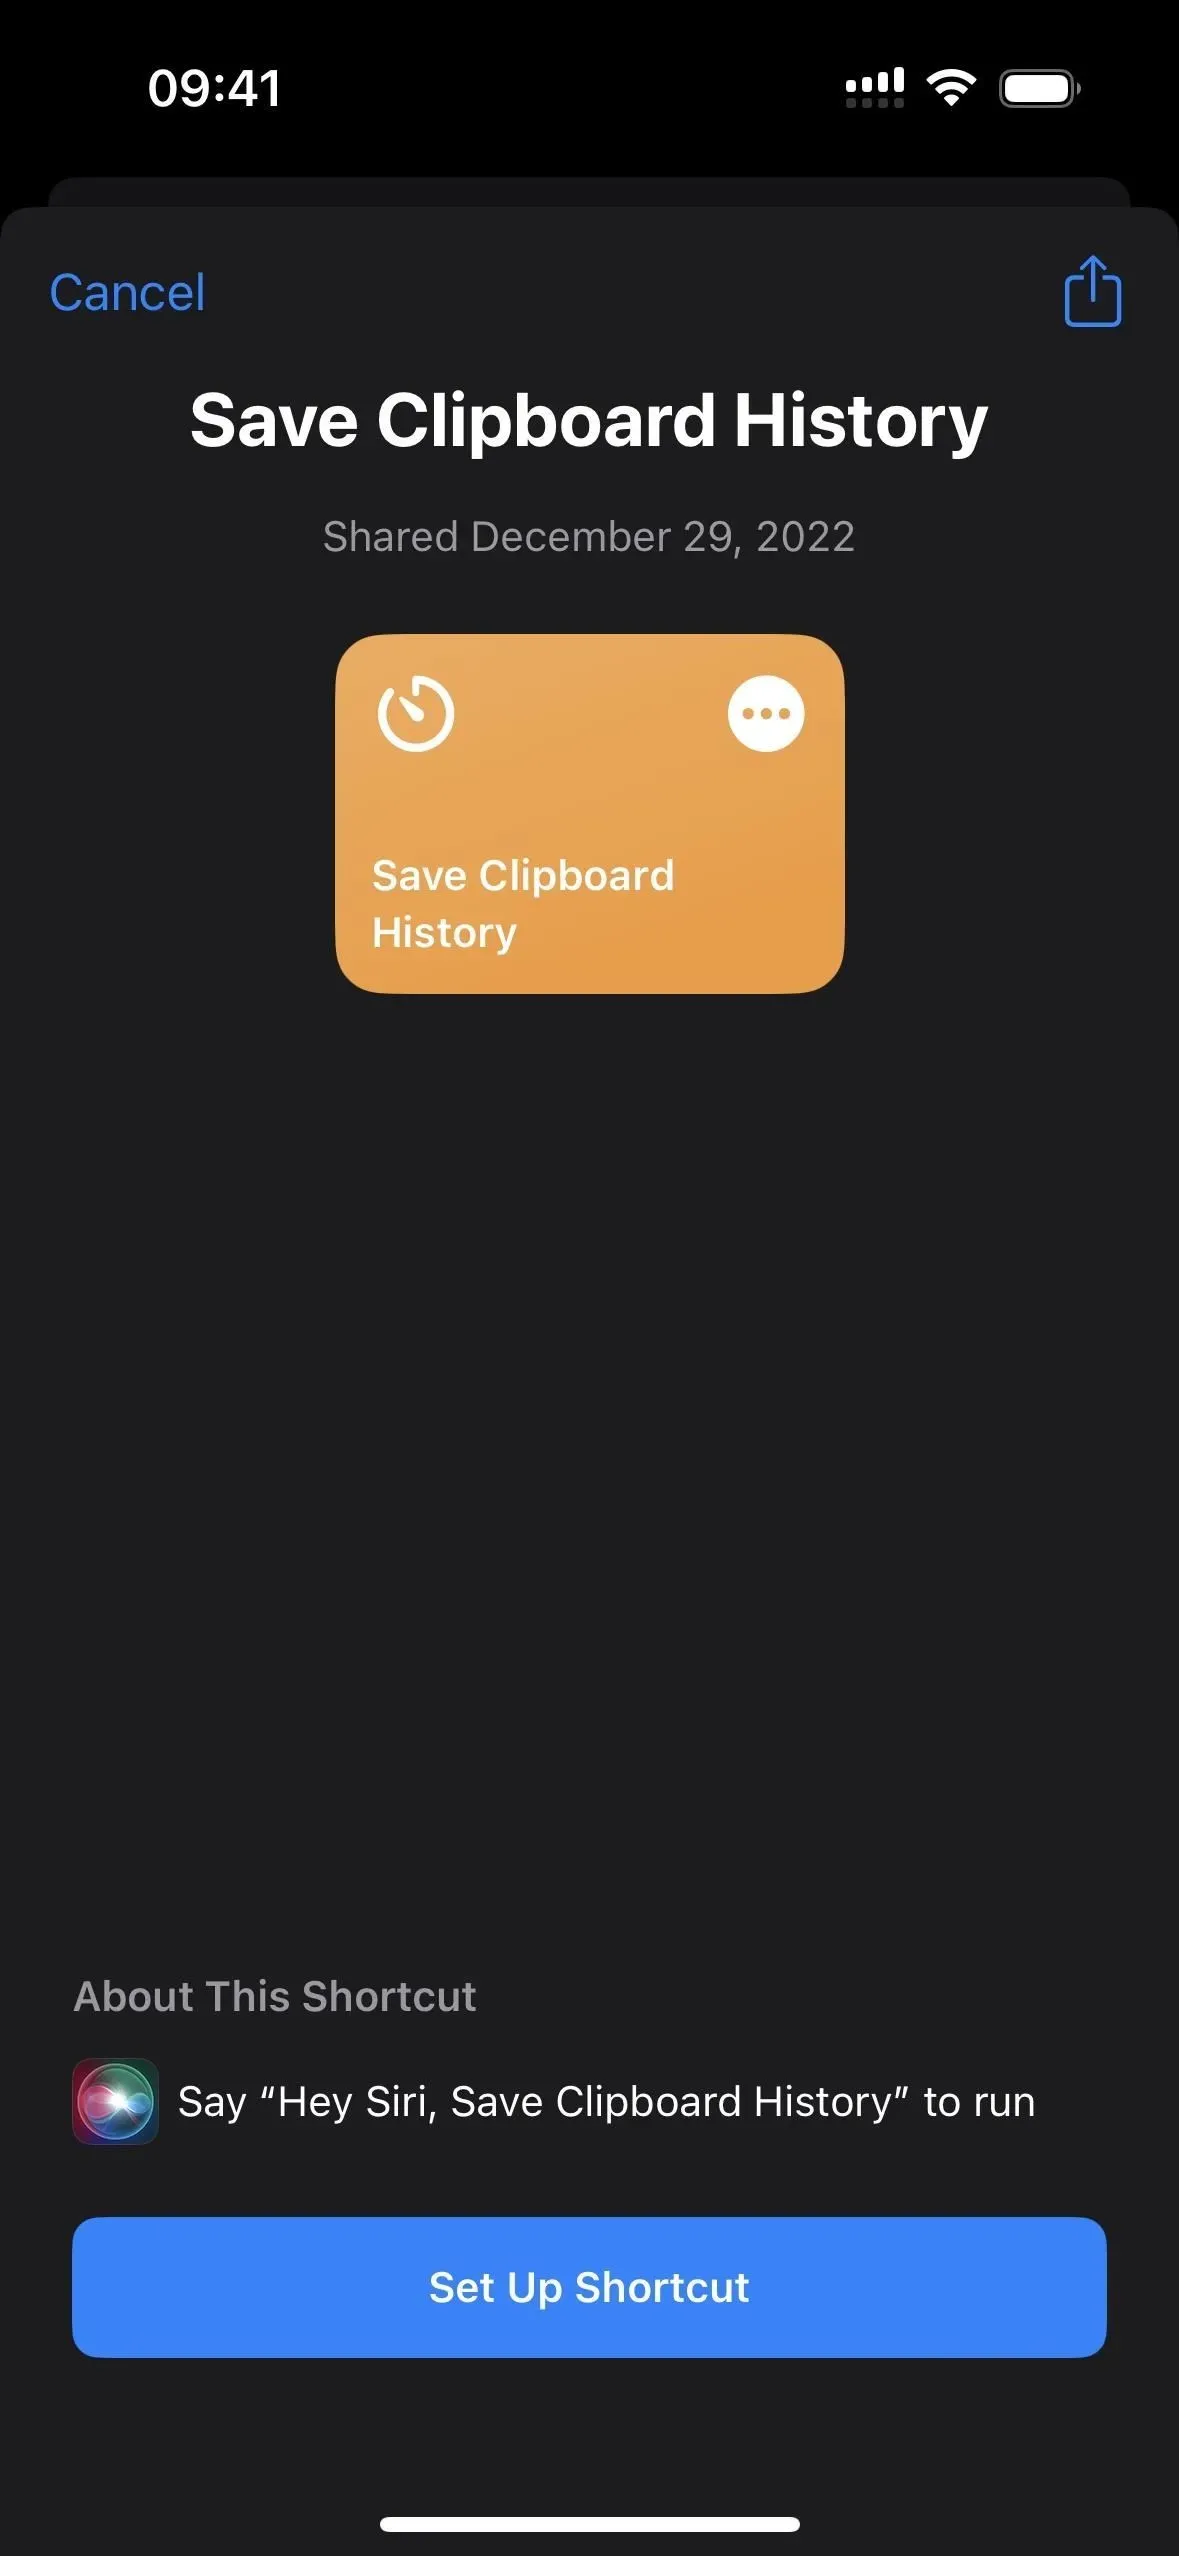
Step 1: Download the shortcut
To save you time, I have created a simple shortcut that you can install. Tap the shortcut link, then select Customize Shortcut when the preview window in Shortcuts opens to start customizing settings.
- Add to Shortcuts: Save Clipboard History (iCloud Link)
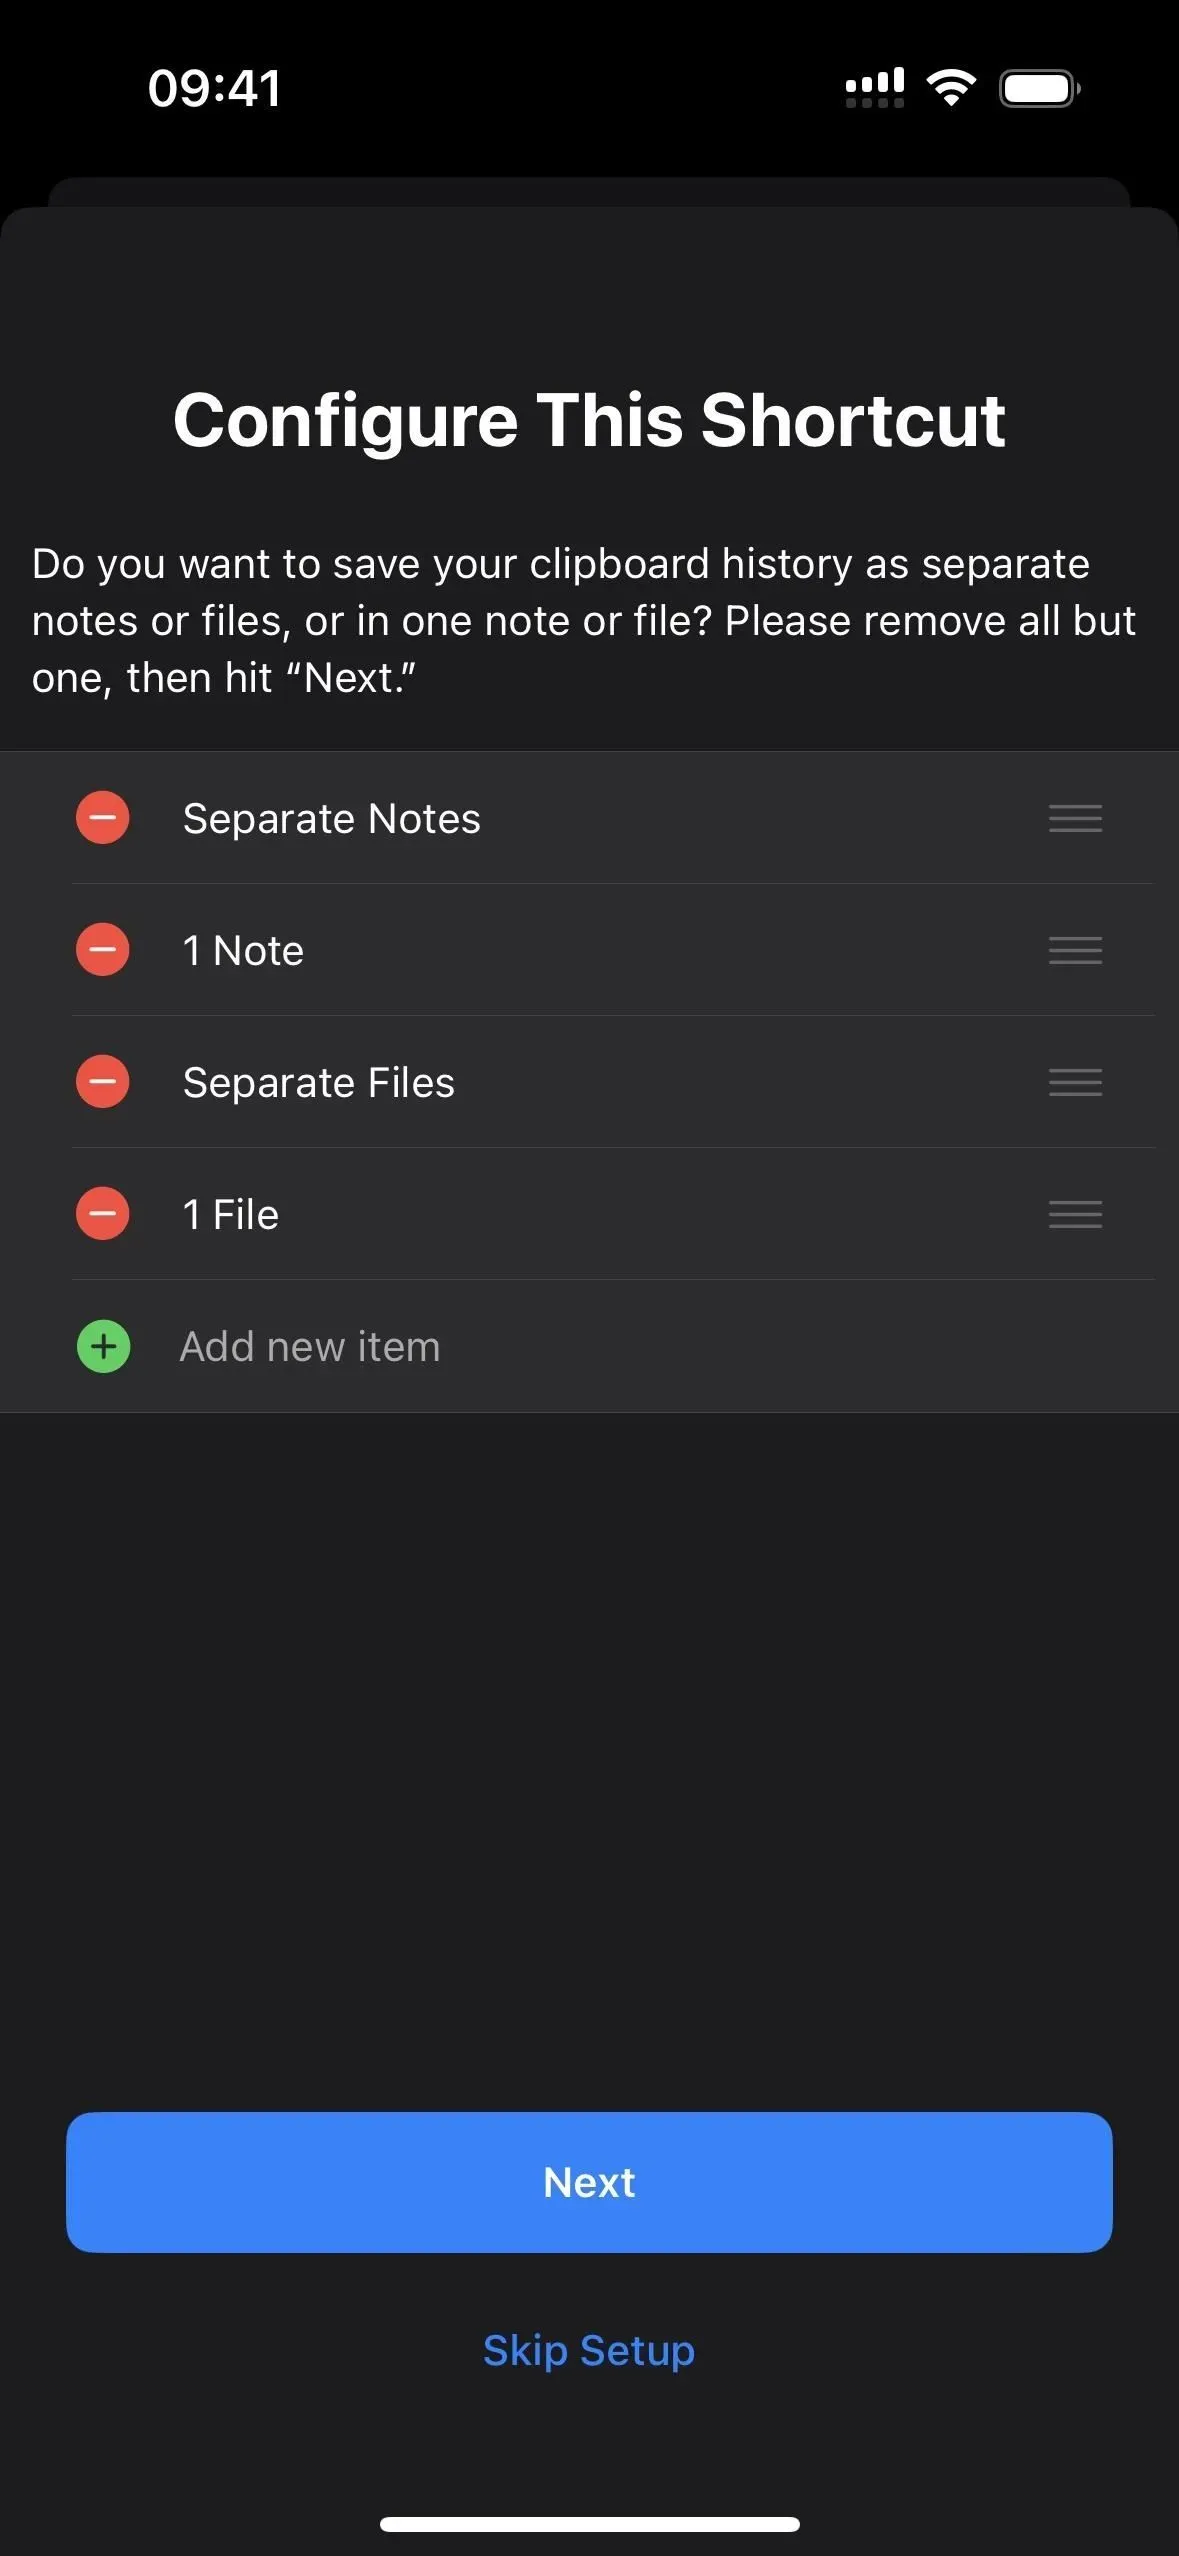
Step 2: Choose a save method
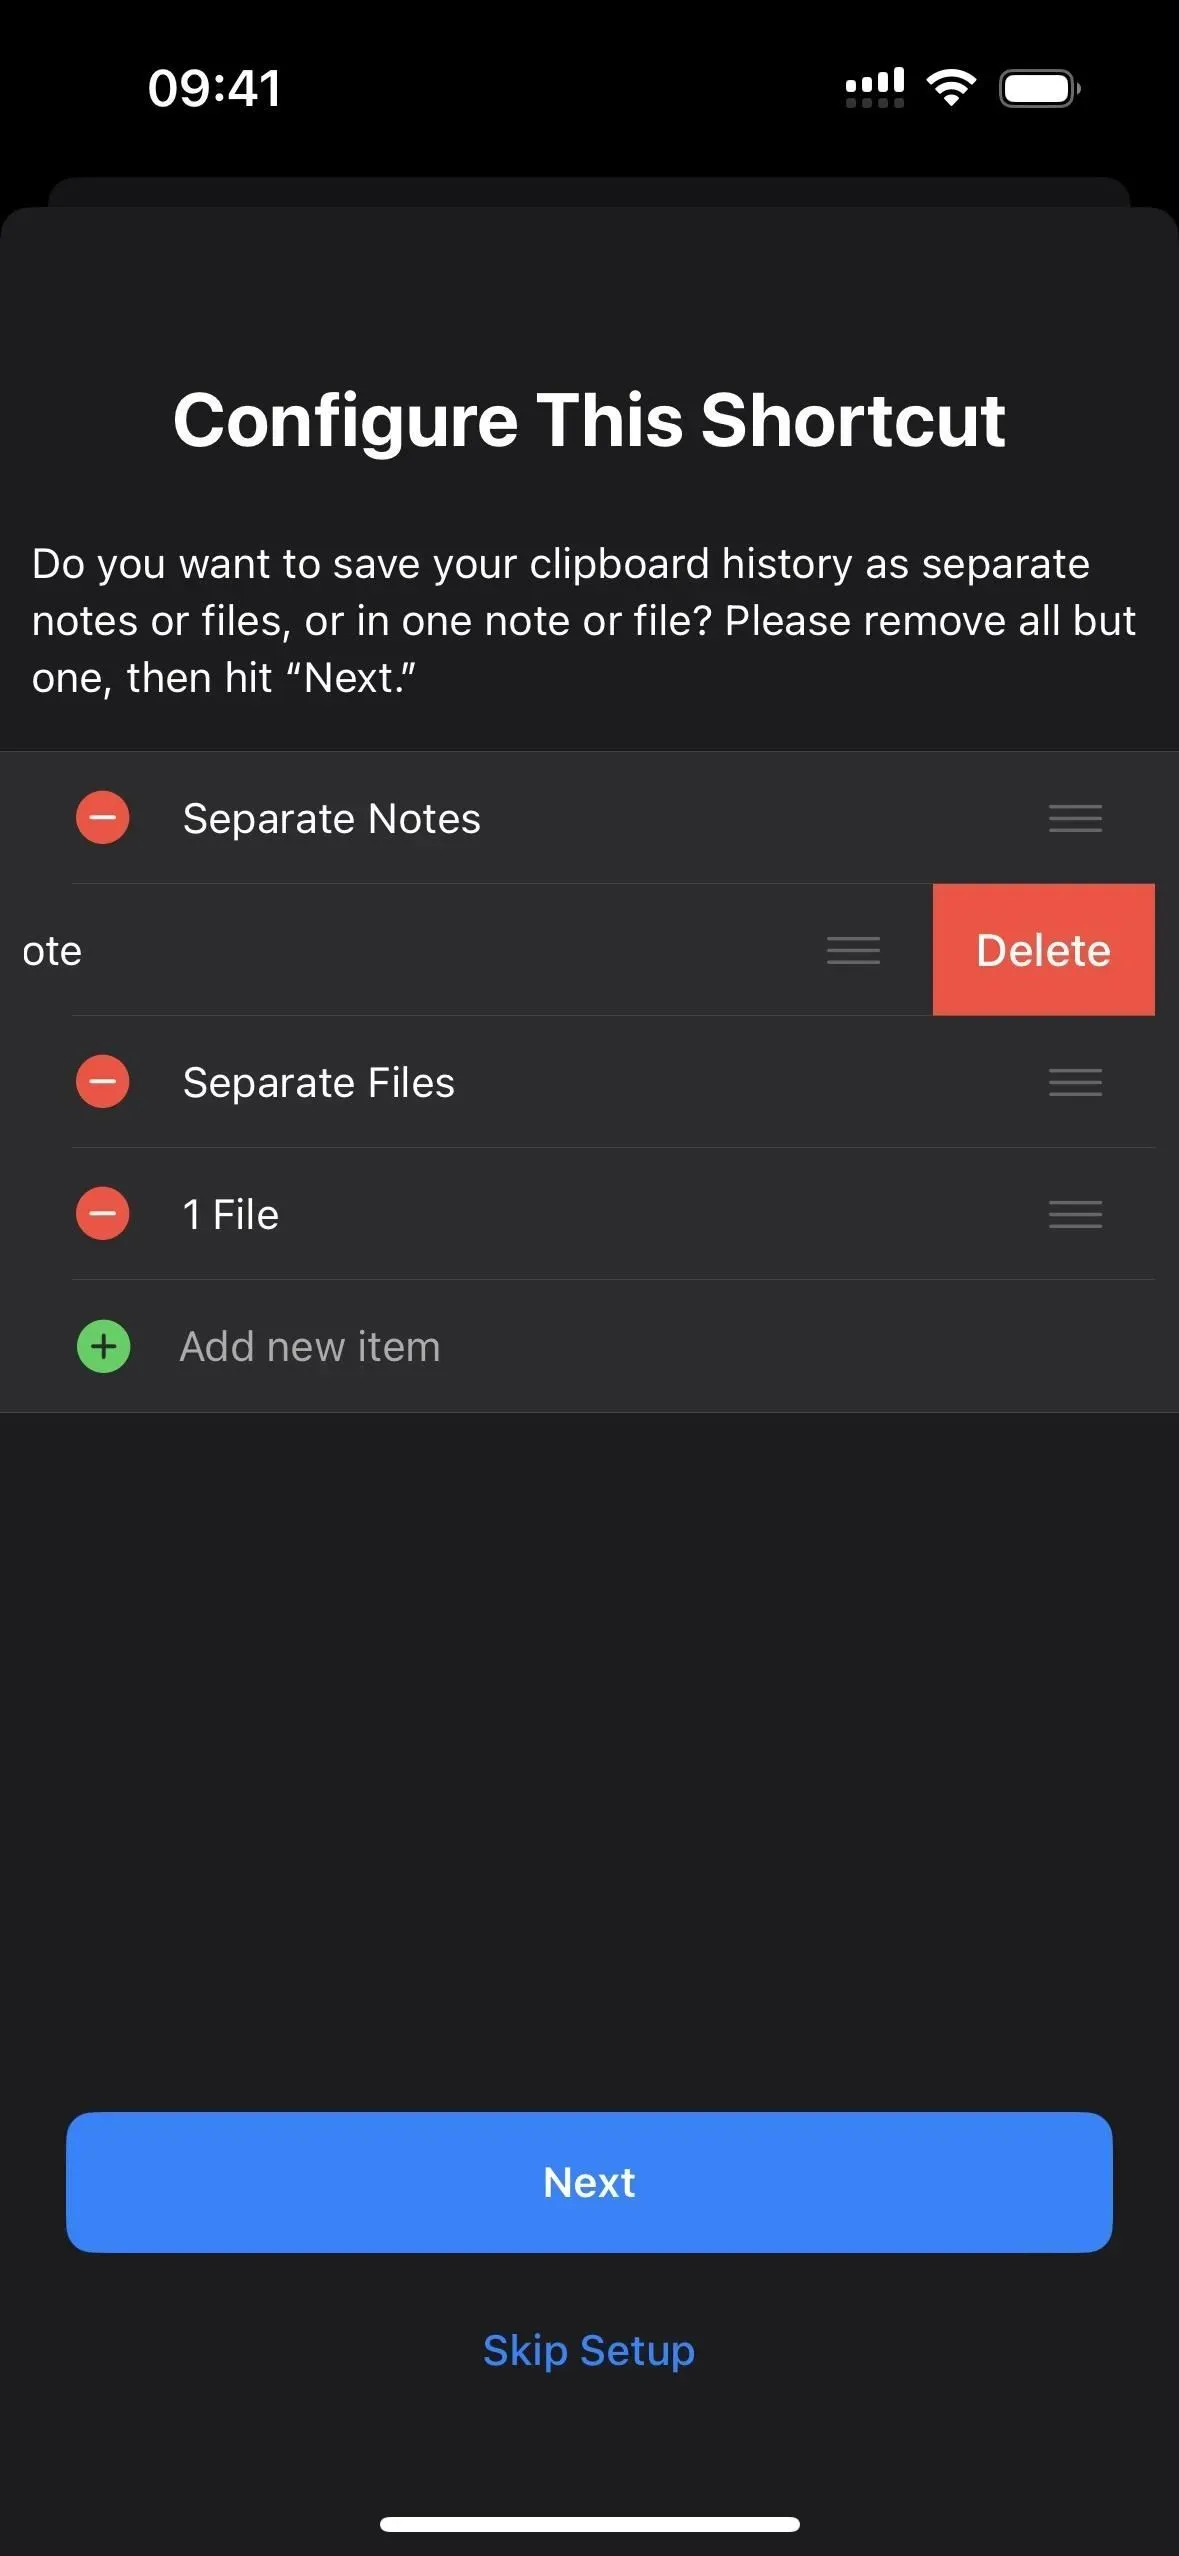
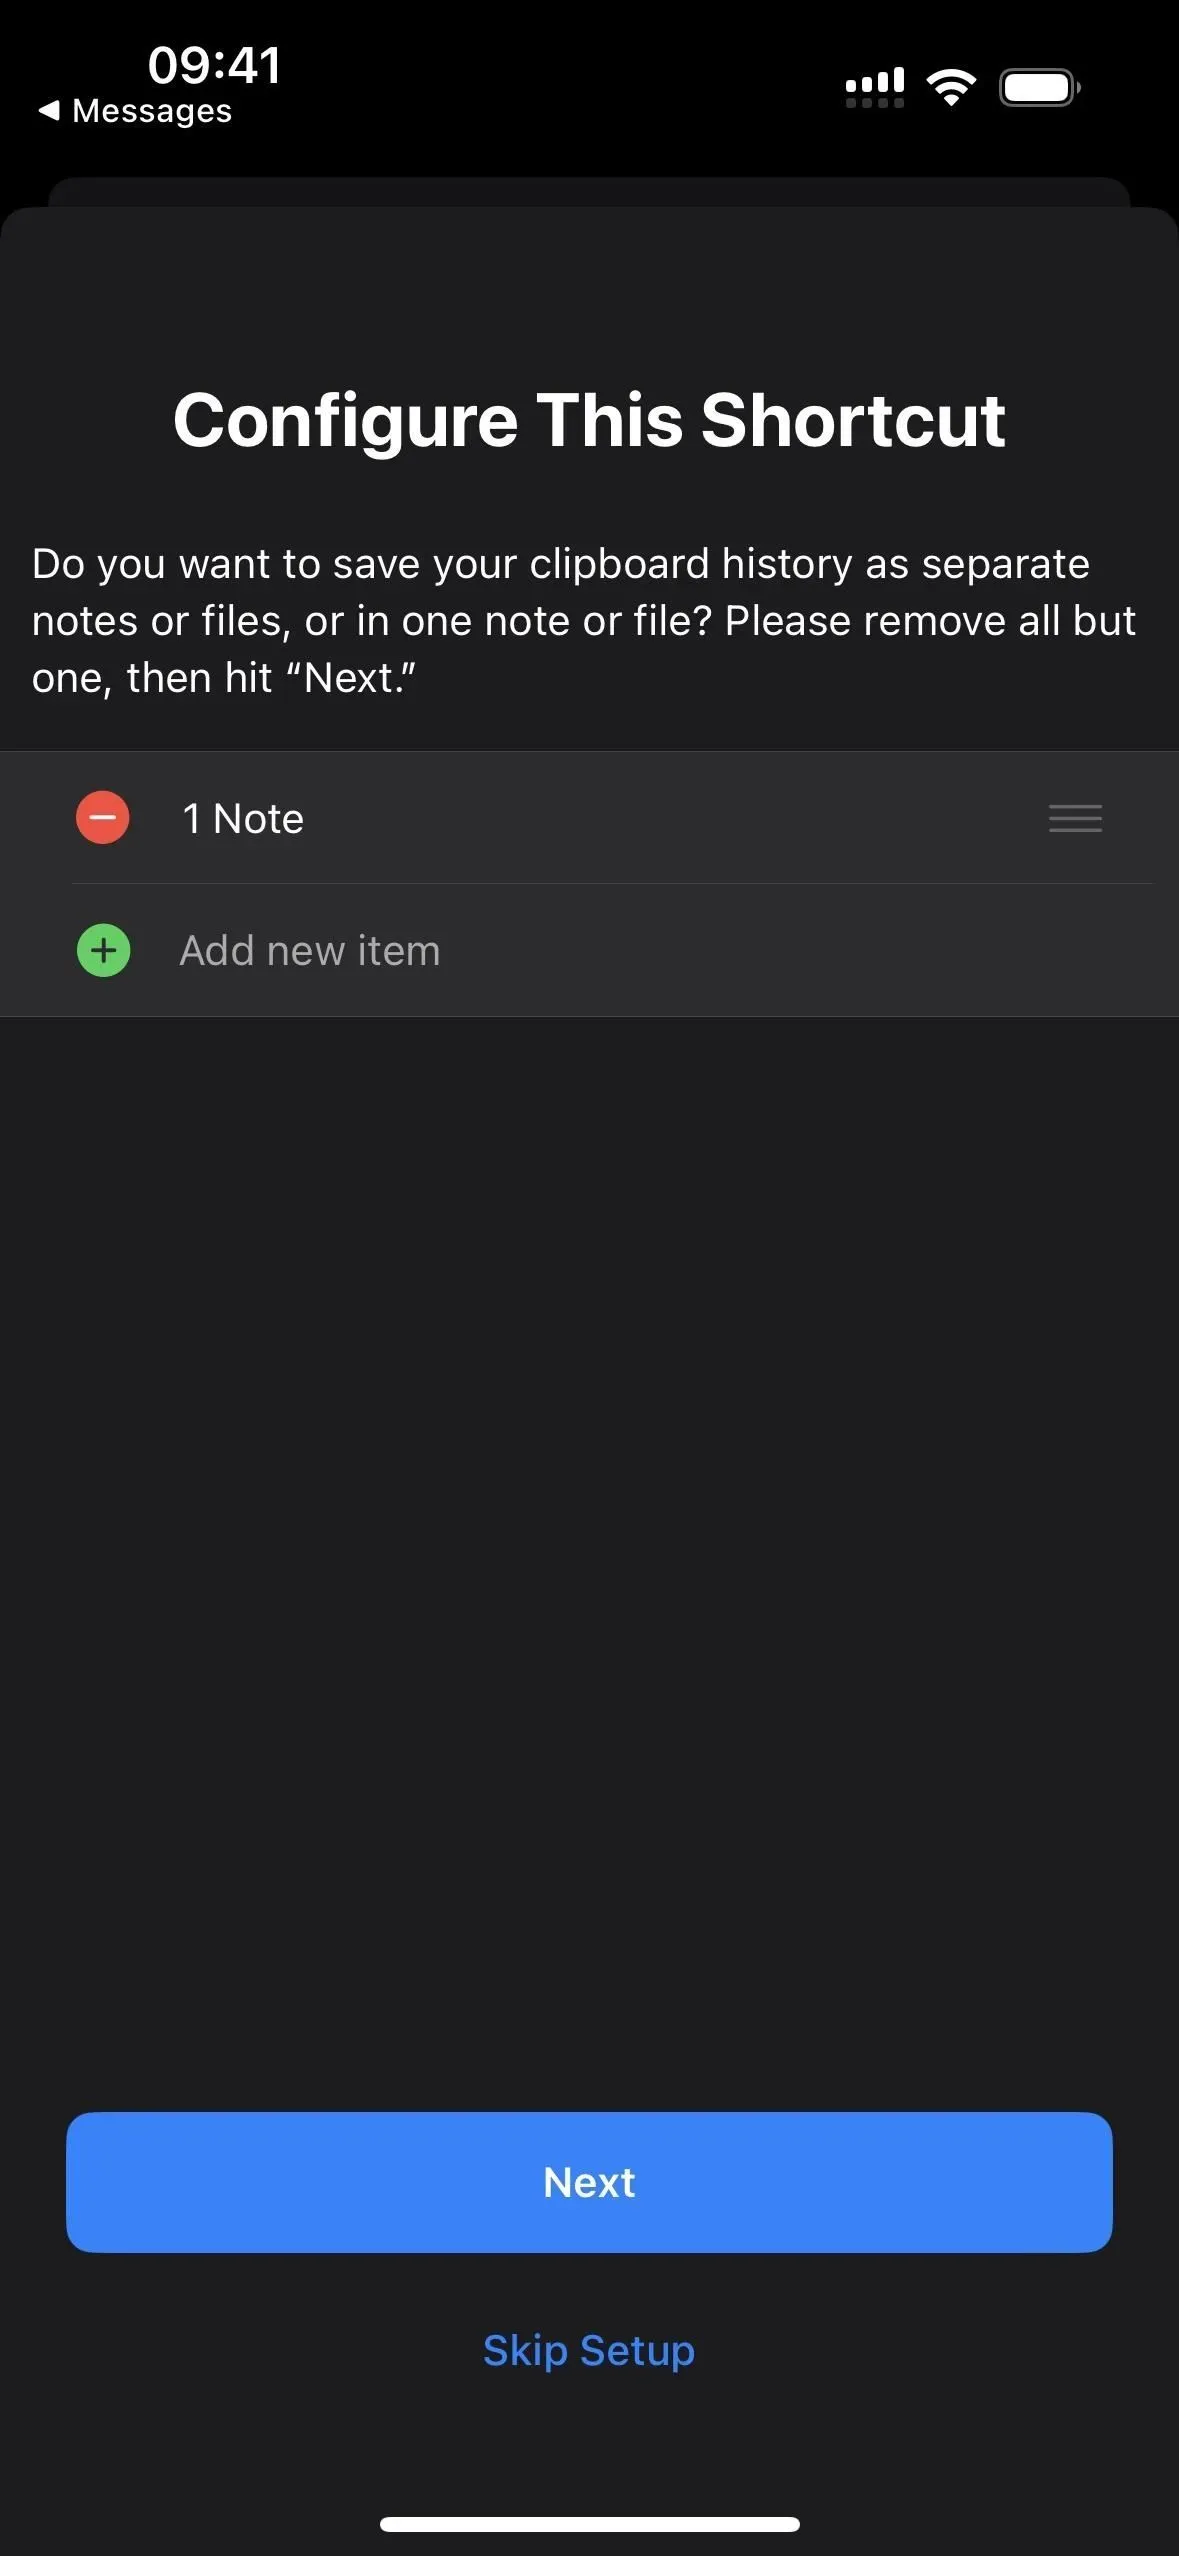
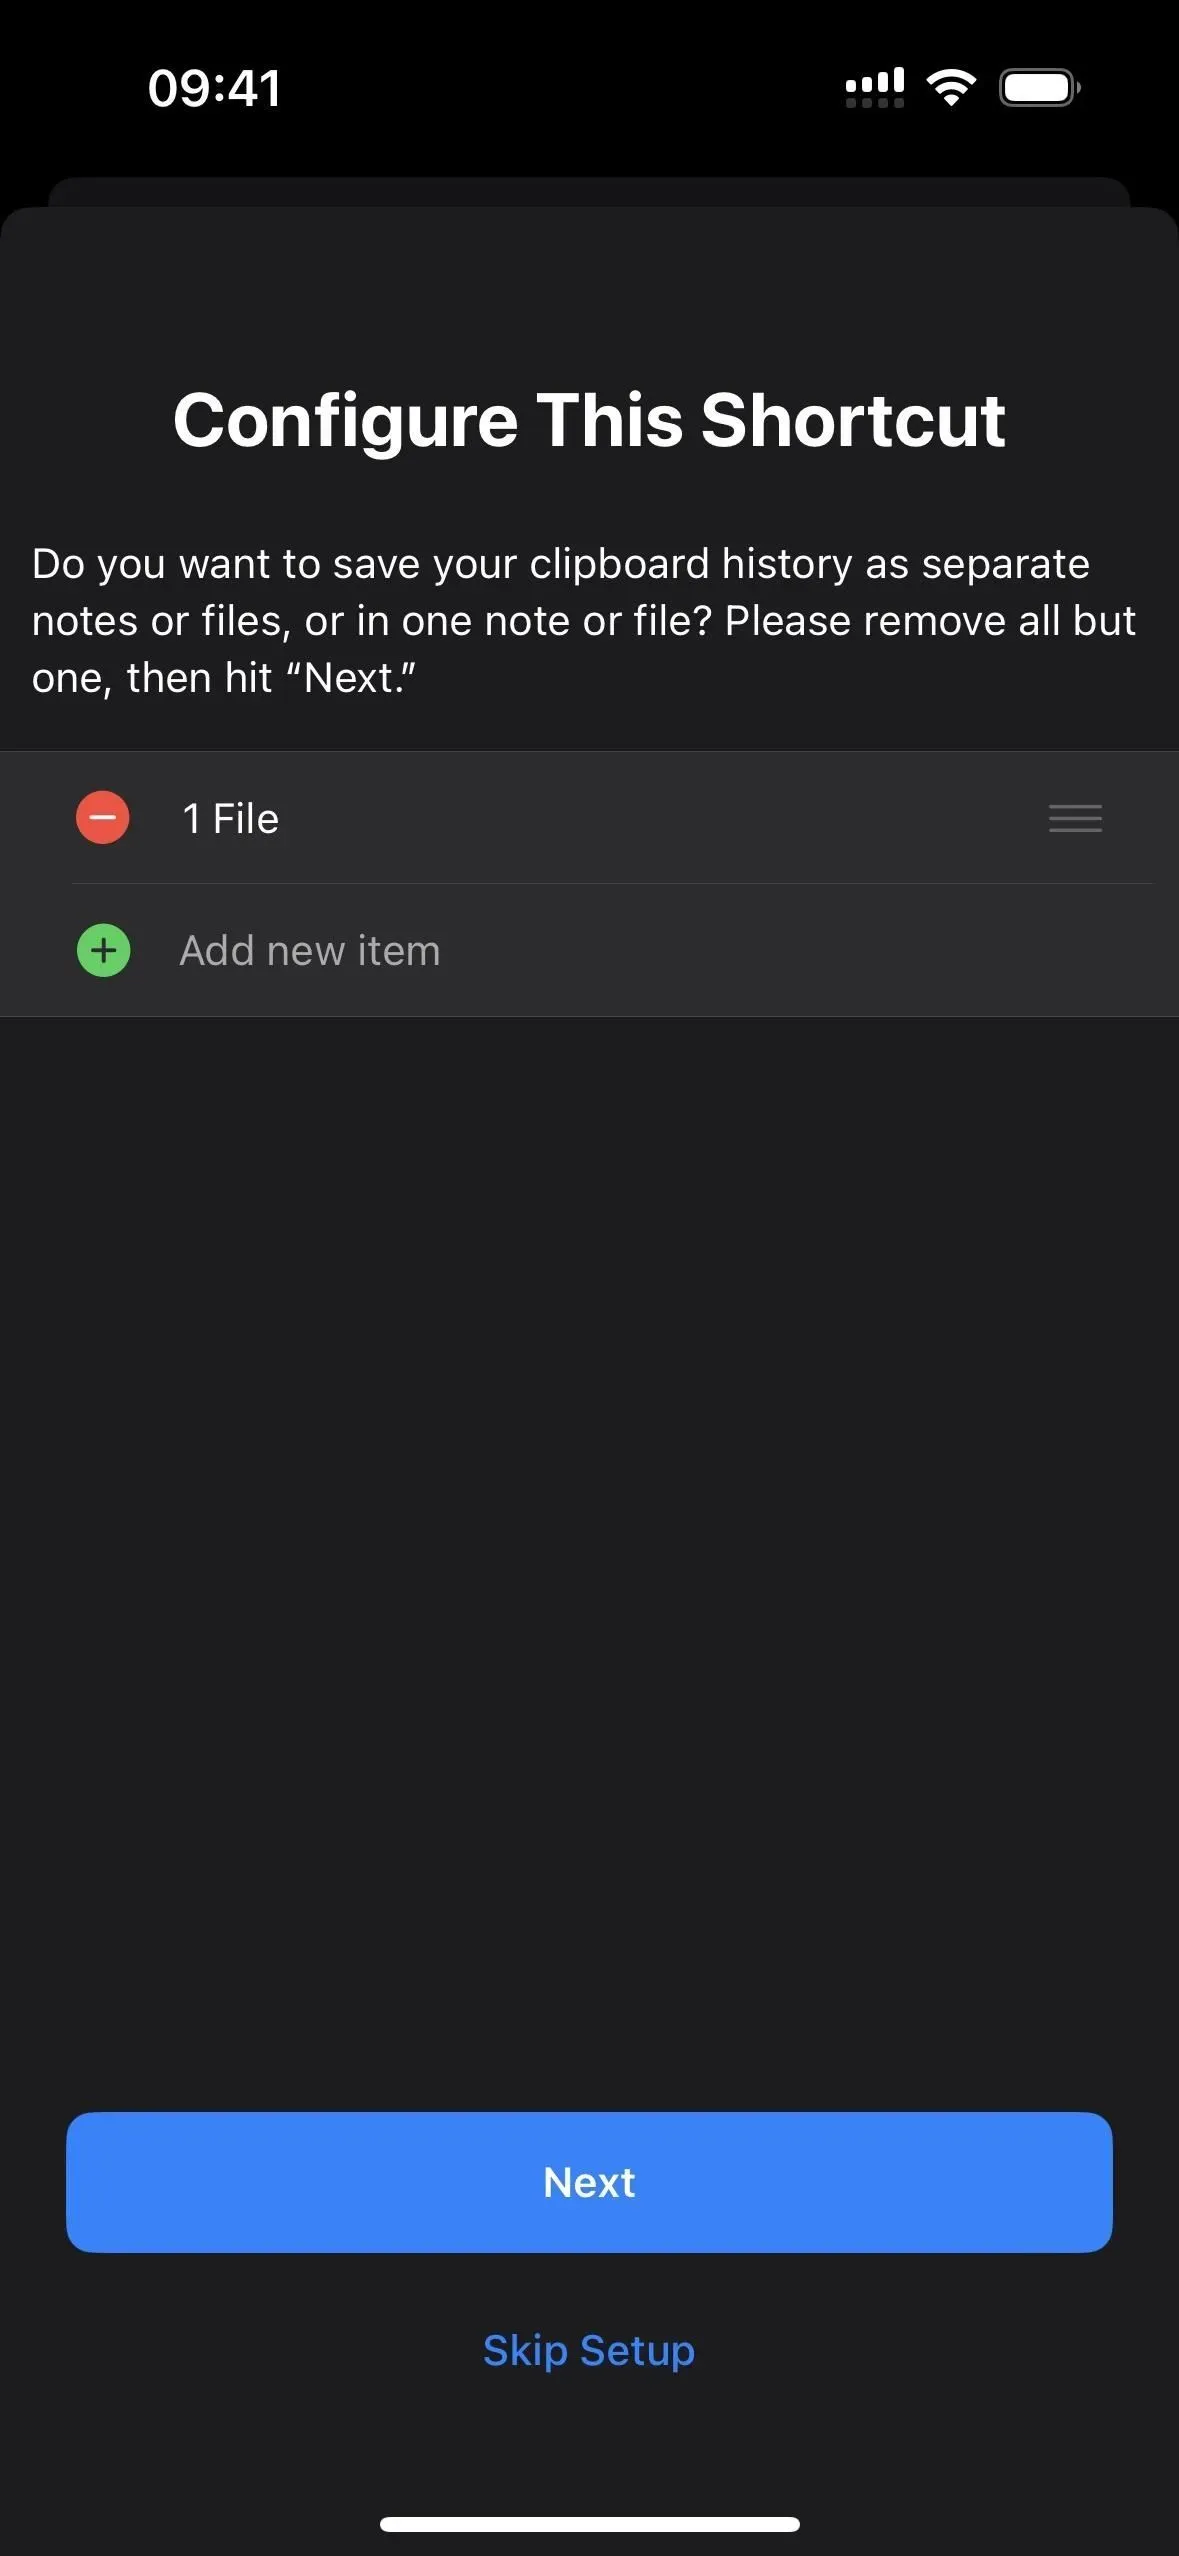
Now choose which method you want to use to save your clipboard history; Remove the rest from the list, then click Next.
Text and media will be preserved if you select the Notes app. If you select the Files app, only text will be saved and any media files will be written as their filenames.
If you want to save media to Files, feel free to play around with the shortcut’s workflow to save it as specific file types, depending on what’s on the clipboard. I tried to shrink this shortcut to keep it simple.
Method 1: separate notes
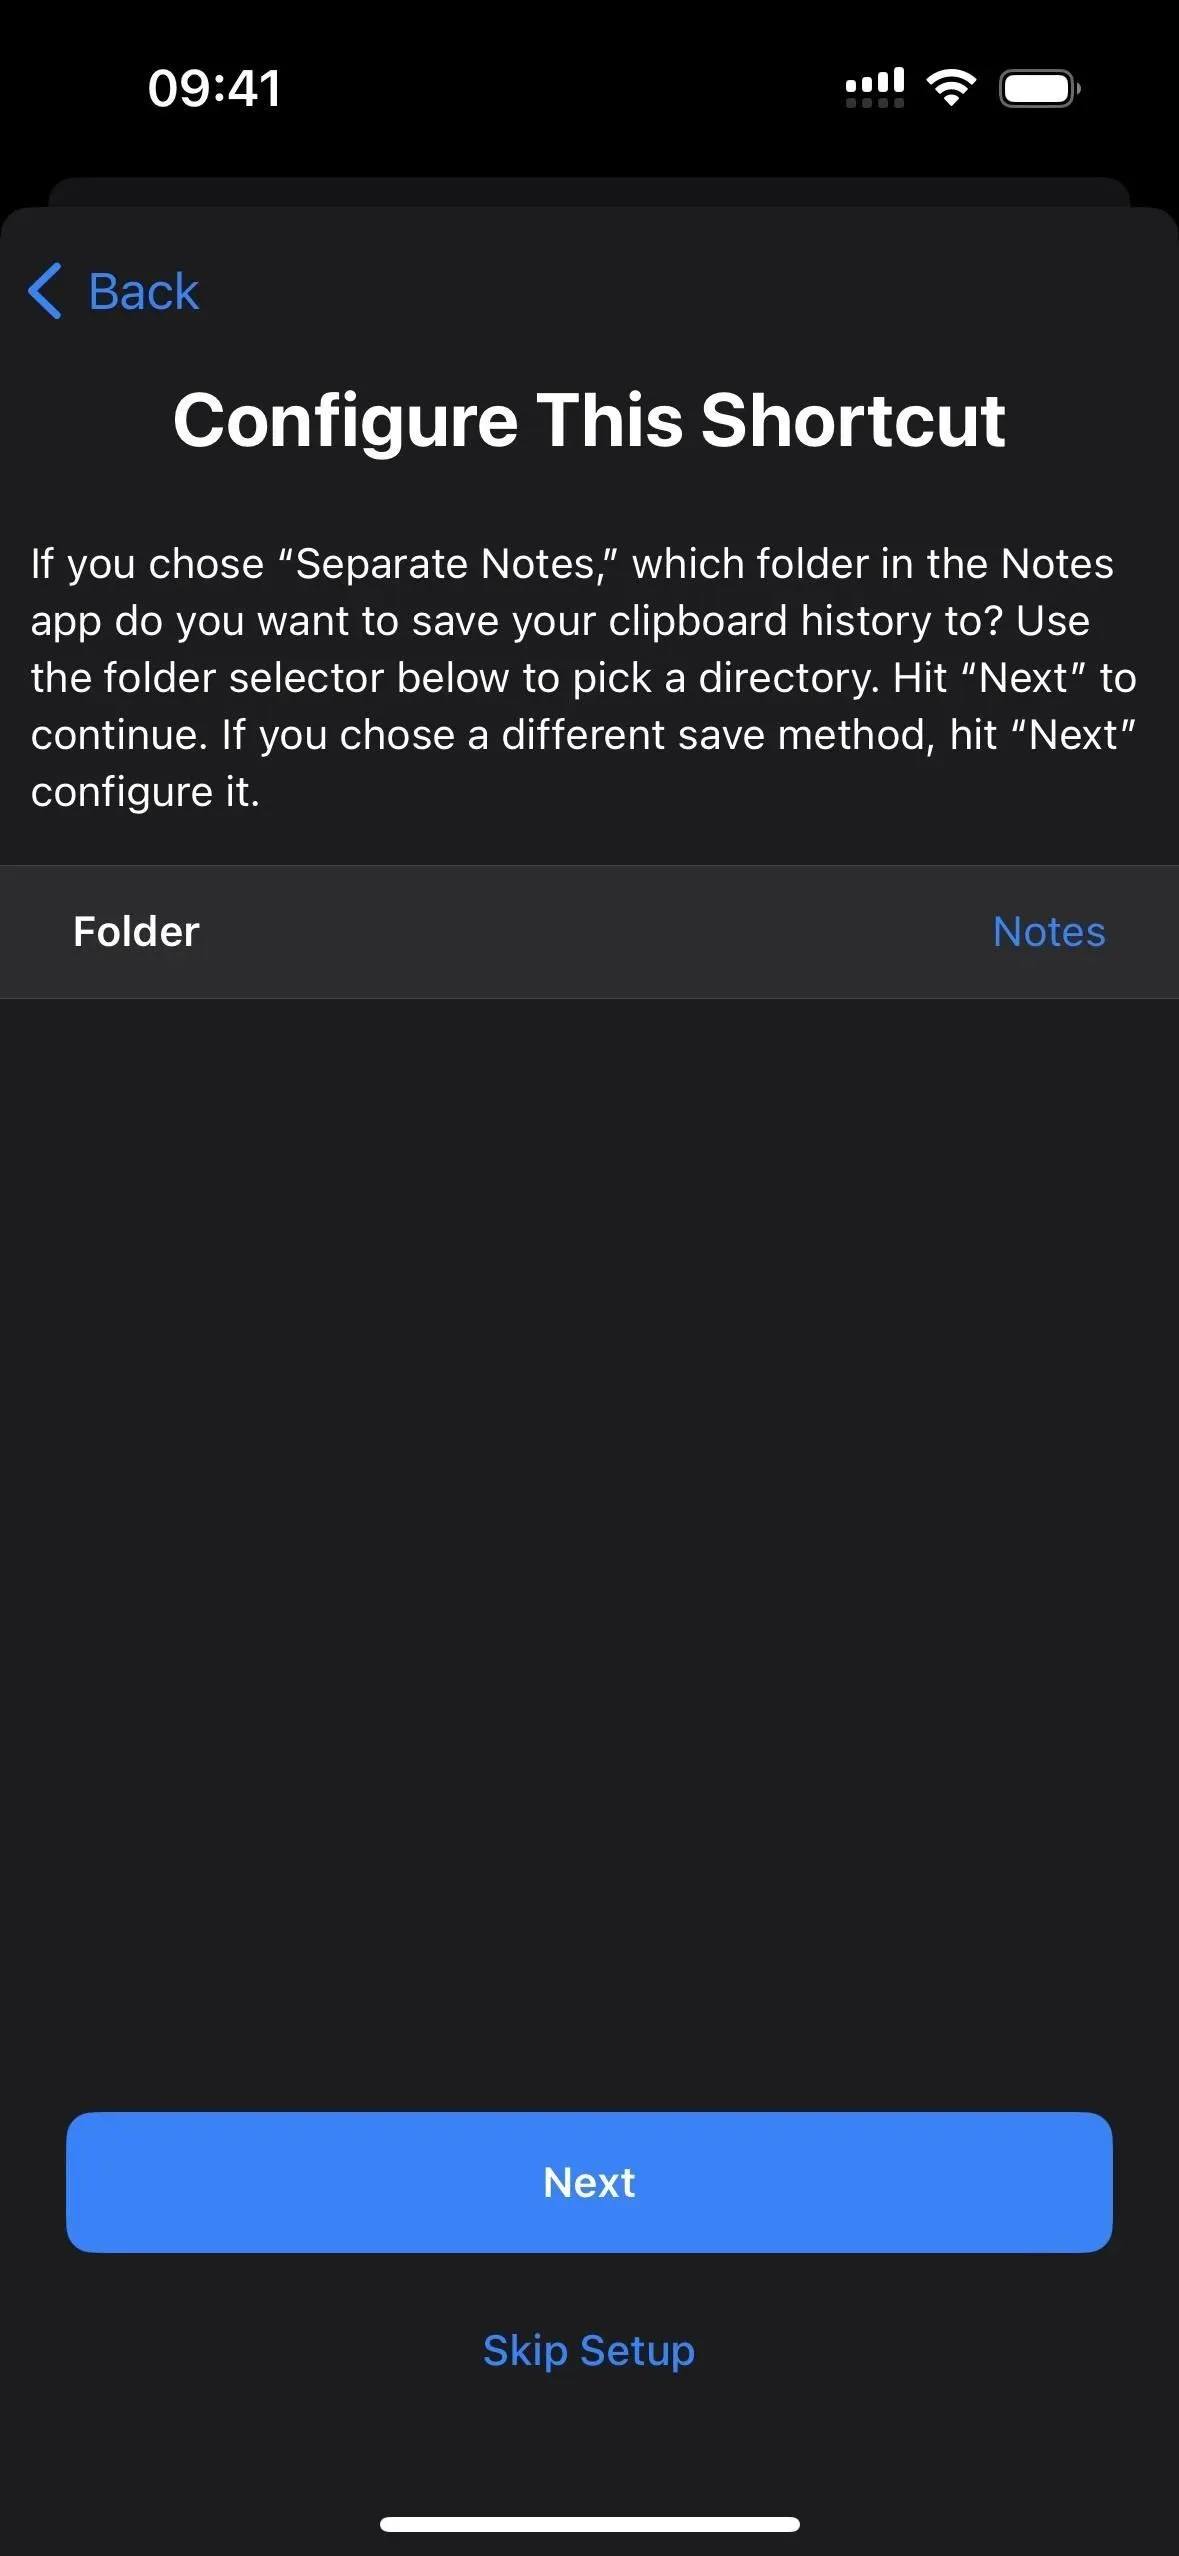
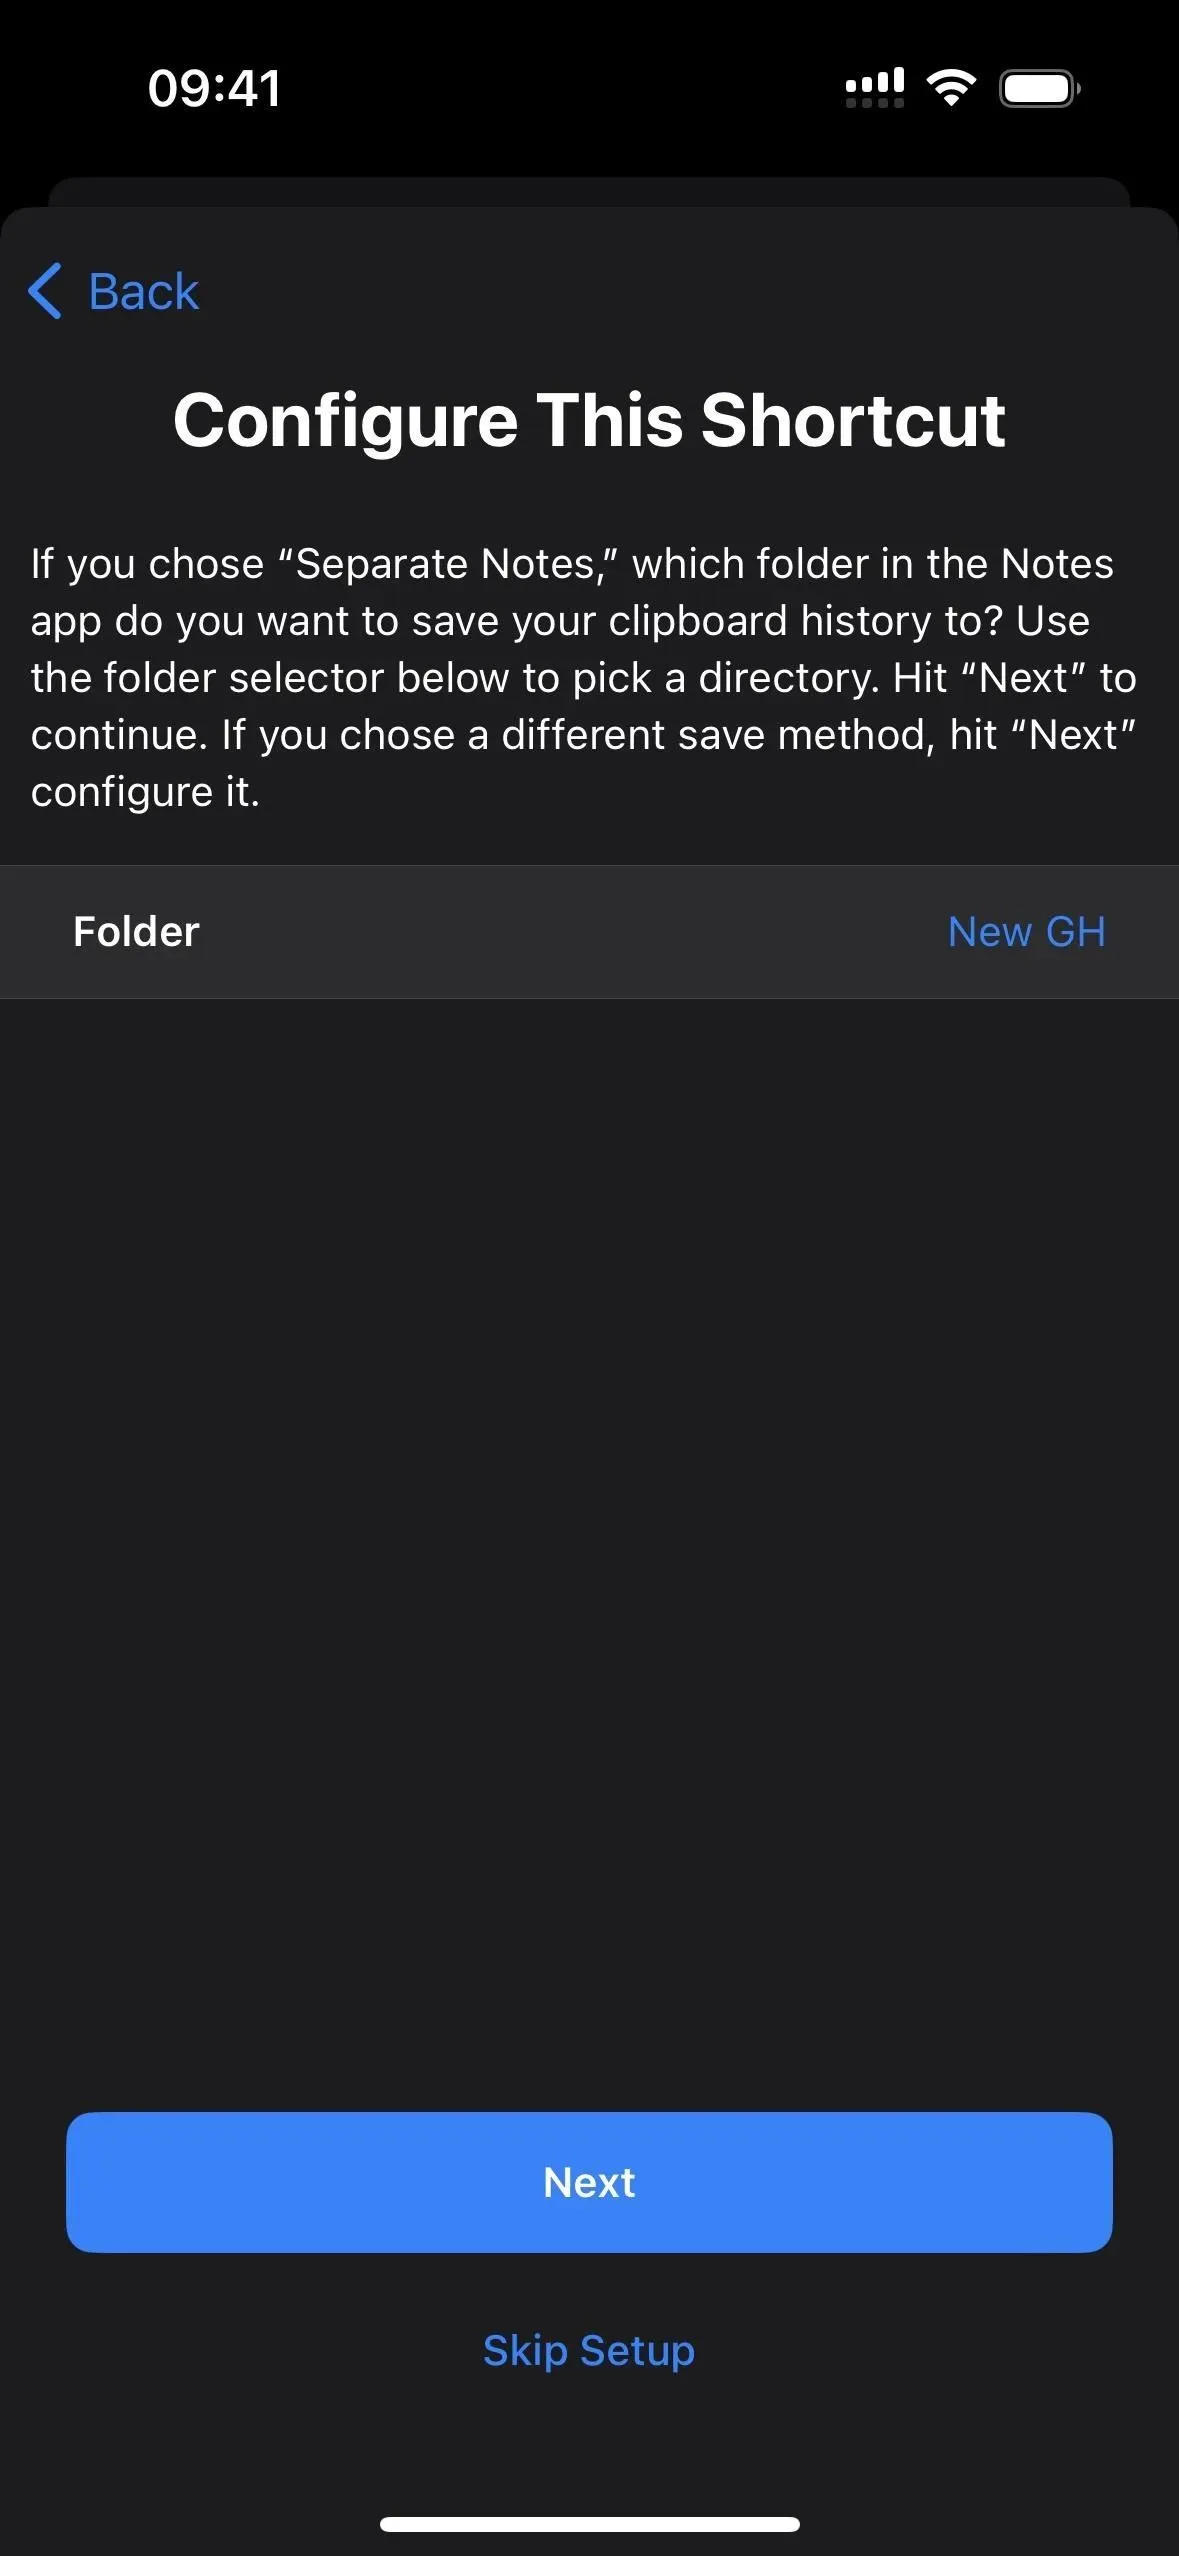
If you choose Individual Notes, select the folder in the Notes app where you want to save each note. It will be saved to the Notes directory by default if you don’t select anything. Click Next until you reach the last configuration page, then click Add Shortcut or Finish to save the shortcut to your library.

To test this, go to the Shortcuts tab, then tap on the new Save Clipboard History shortcut.
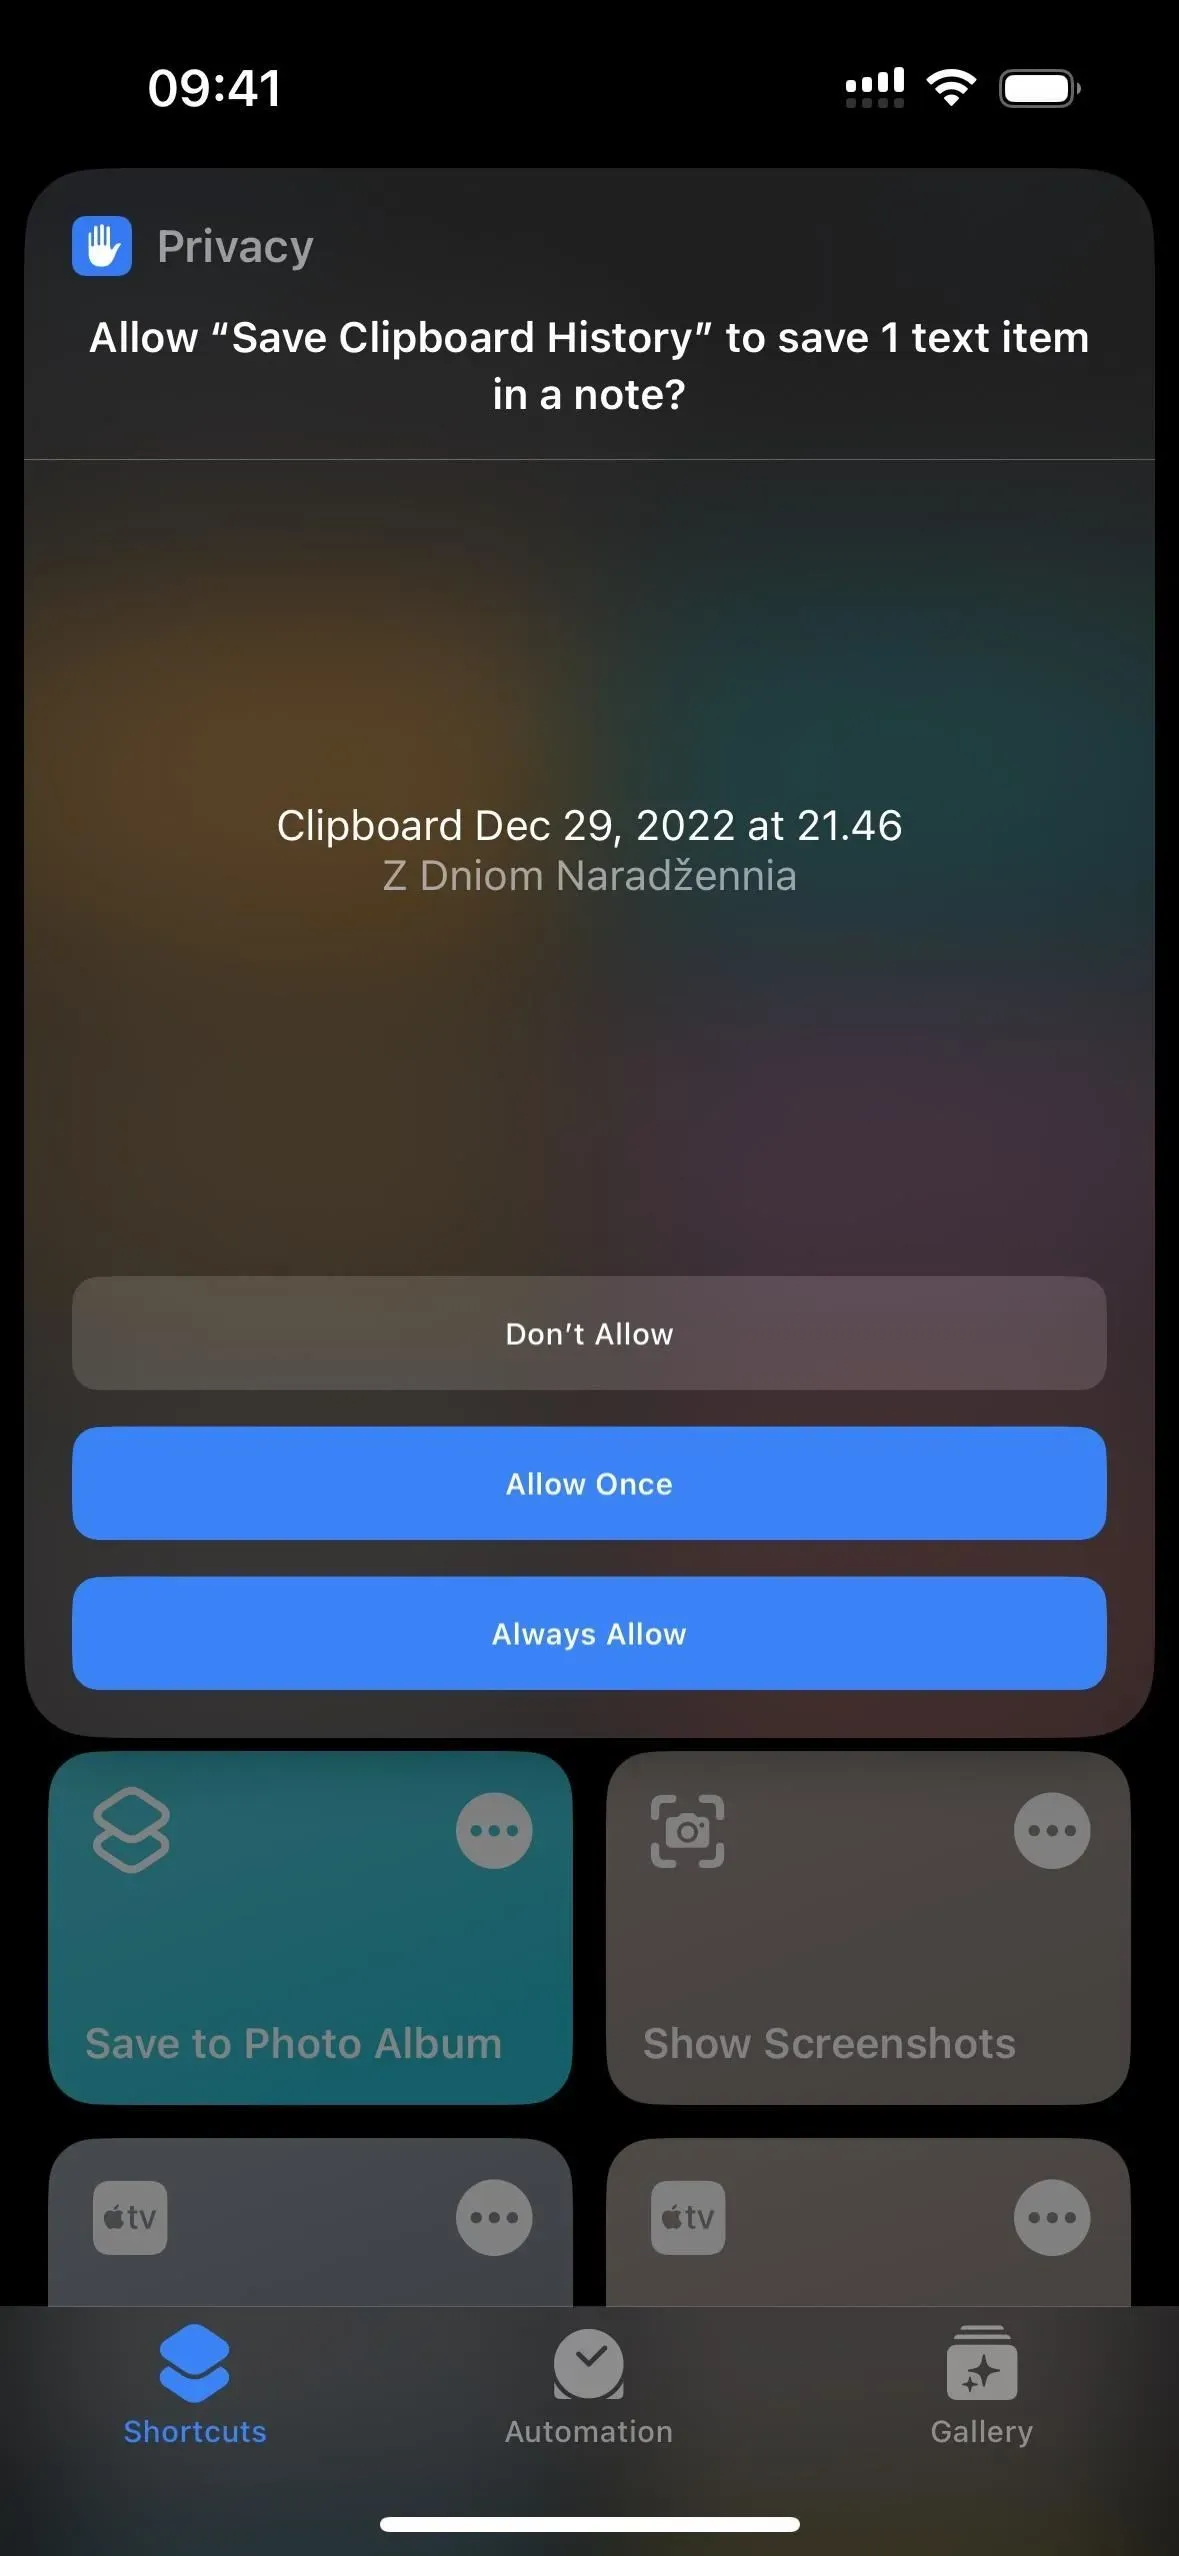
The first time you save text, images, or other media, you’ll be prompted to grant save permissions to the shortcut – select Always Allow. You’ll only need to do this once per media type, so allowing text means the tooltip won’t reappear when any text is on the clipboard.
Once the shortcut launches, it will open directly in a new note in the Notes app. If you don’t want this to happen, go into the shortcut editor, click the arrow next to the folder name you chose in the ‘Individual Notes’ if statement, then disable ‘Open at startup’.
Method 2: 1 note
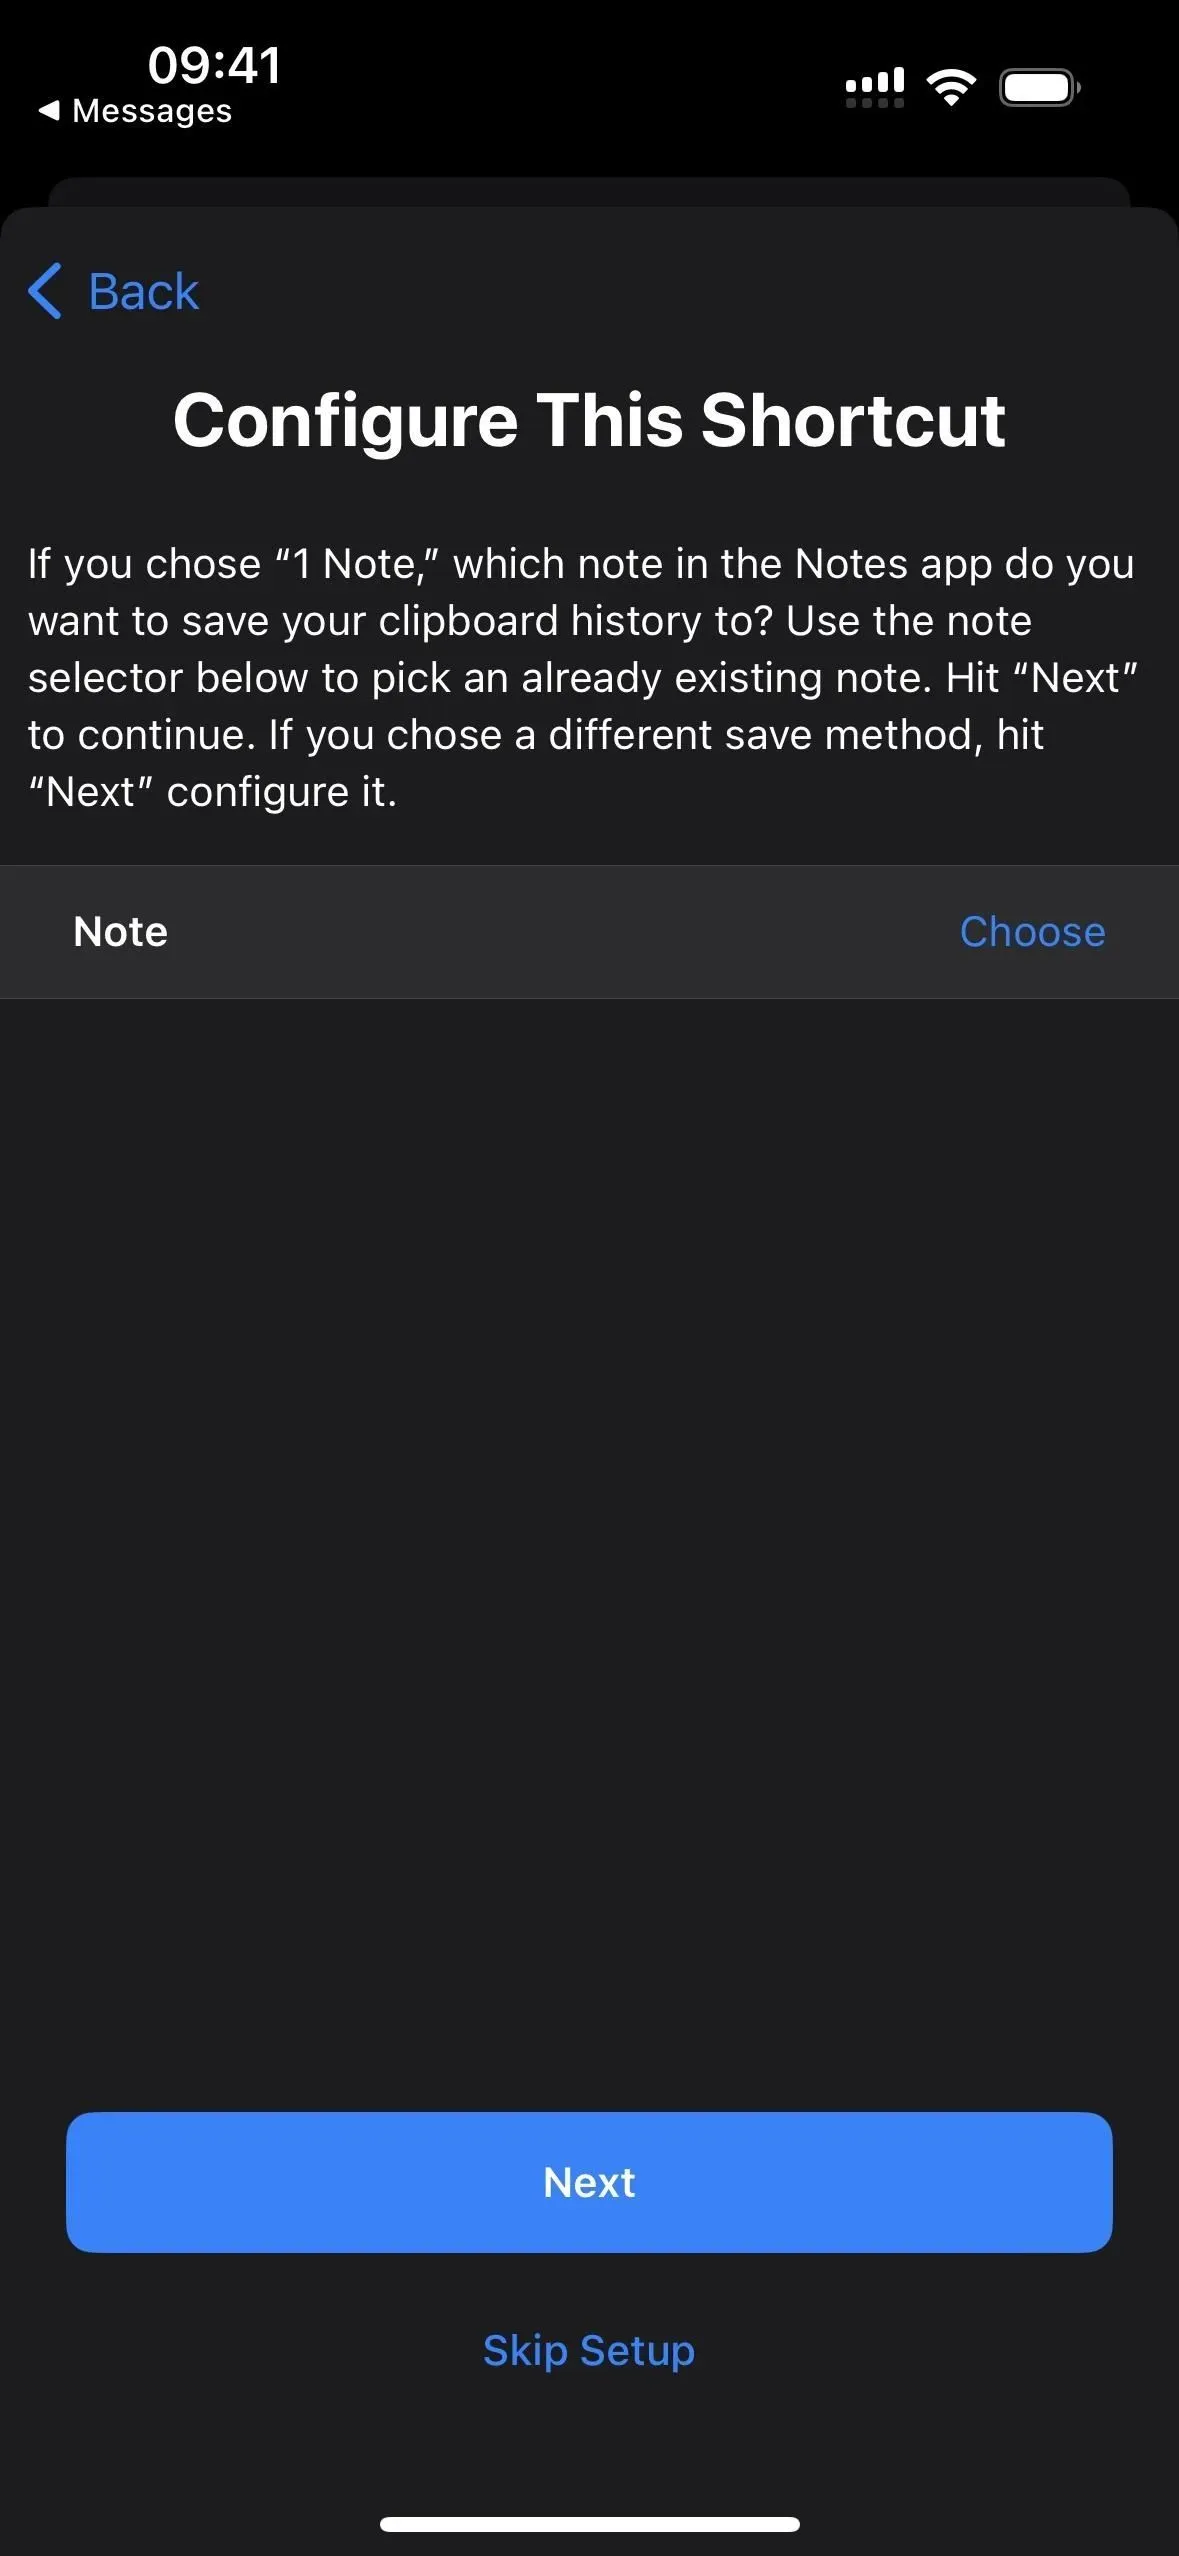
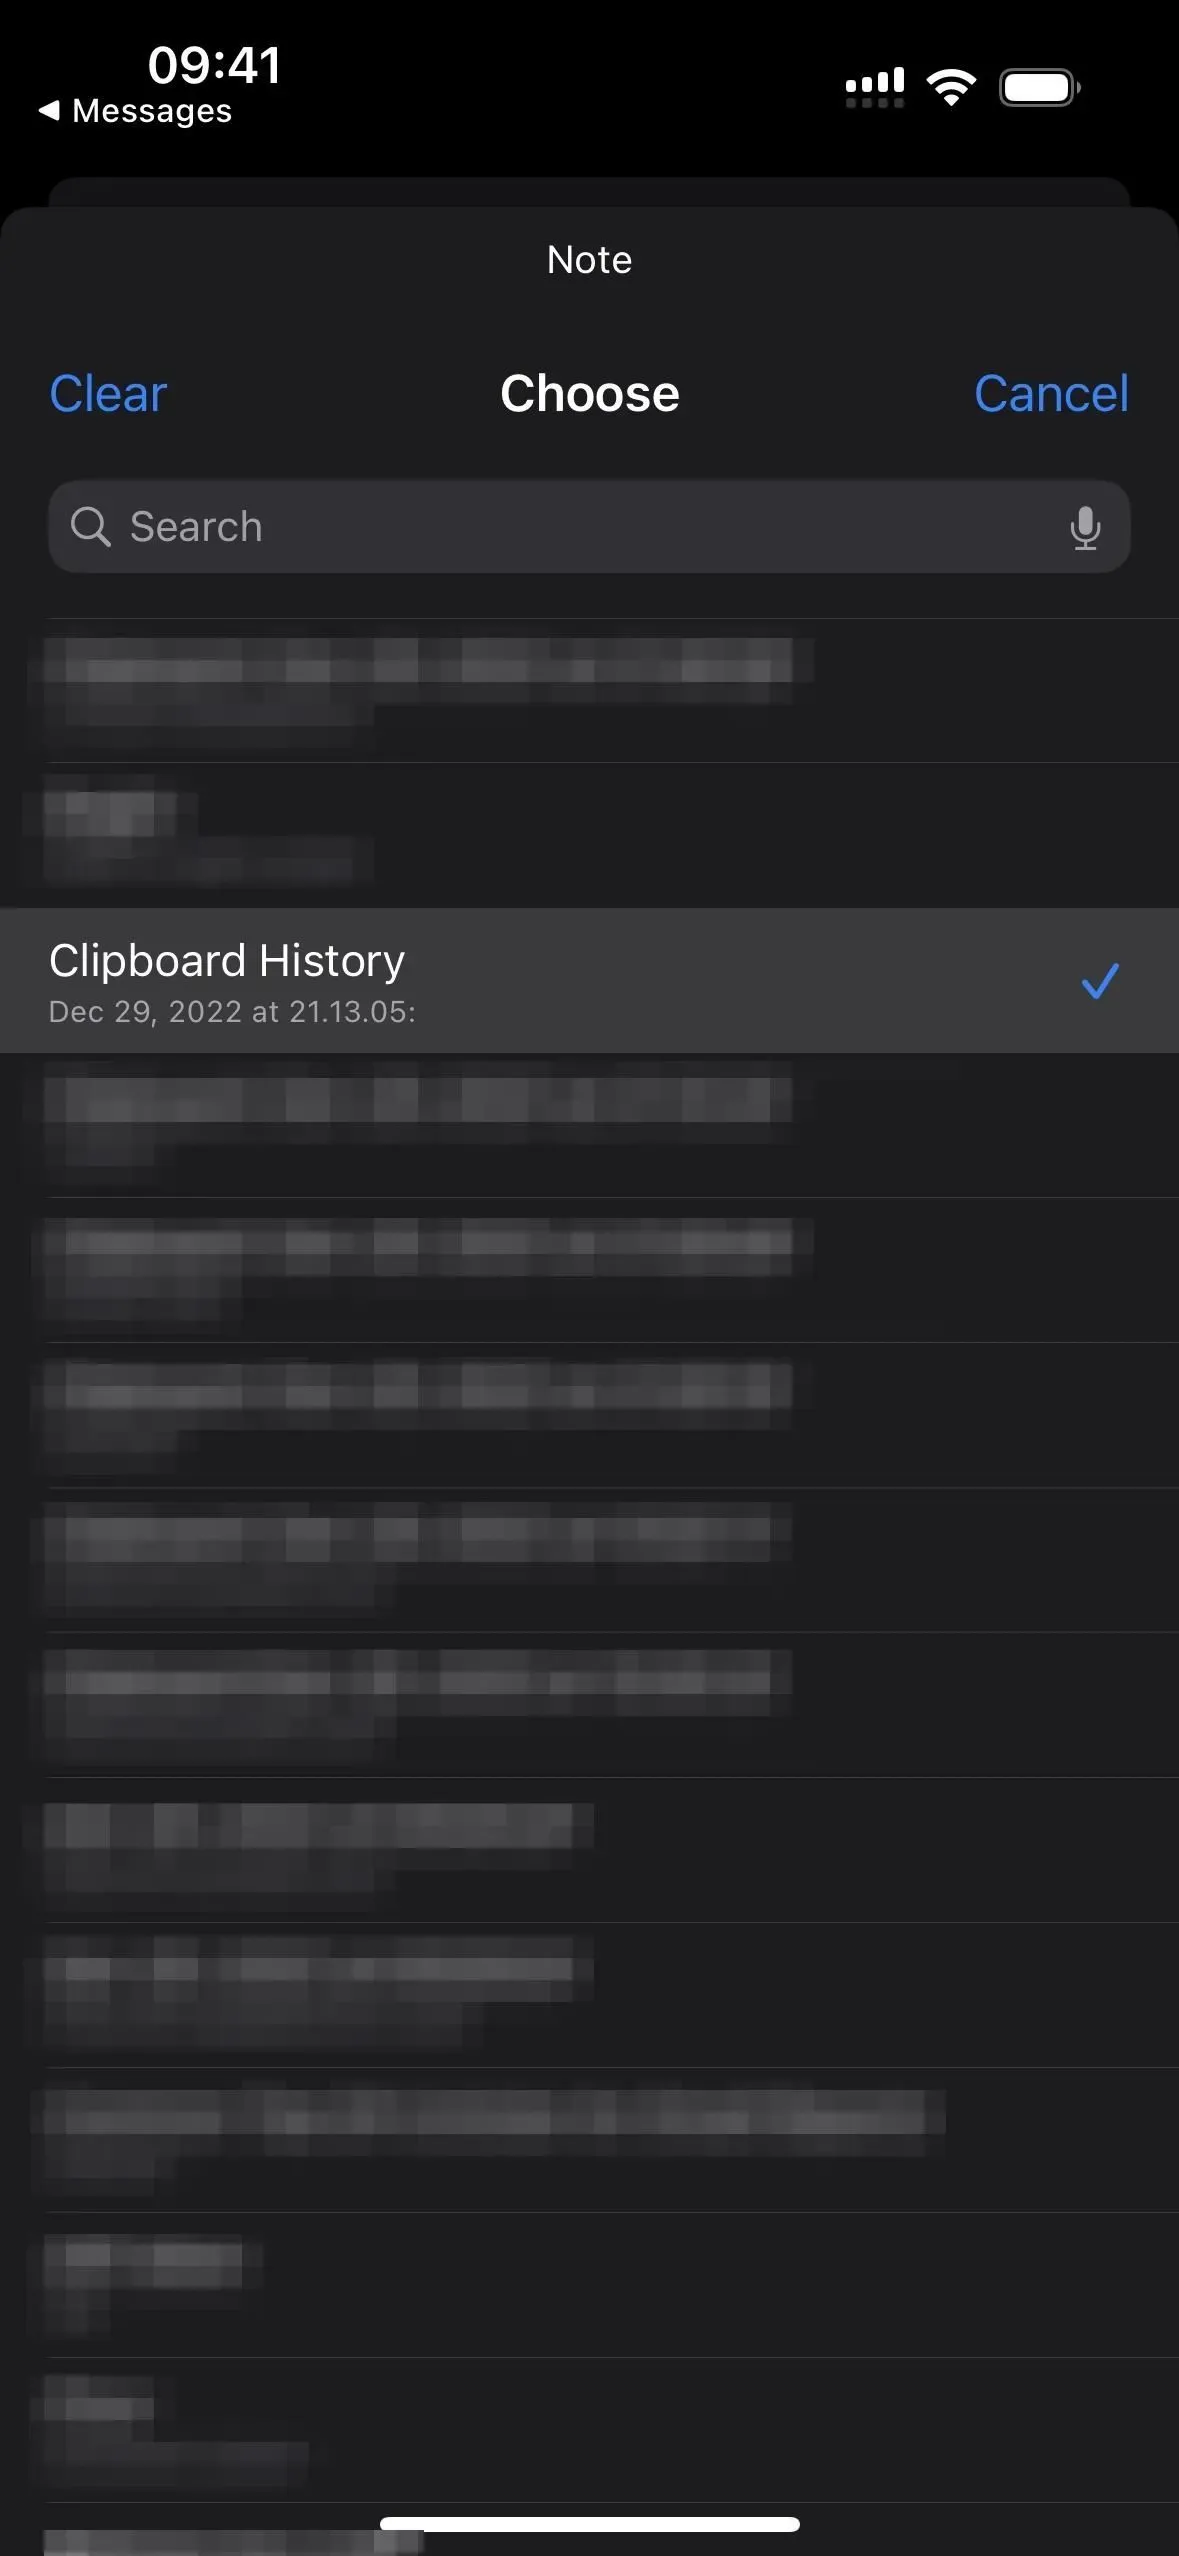
If you choose “1 note”, select the note in the Notes app where you want to save each note to the clipboard. If you don’t select anything, you will be prompted to select a note each time you launch the shortcut. Click Next until you reach the last configuration page, then click Add Shortcut or Finish to save the shortcut to your library.
To test this, go to the Shortcuts tab, then tap on the new Save Clipboard History shortcut.
The first time you save text, images, or other media, you’ll be prompted to grant save permissions to the shortcut – select Always Allow. You’ll only need to do this once per media type, so allowing text means the tooltip won’t reappear when any text is on the clipboard.
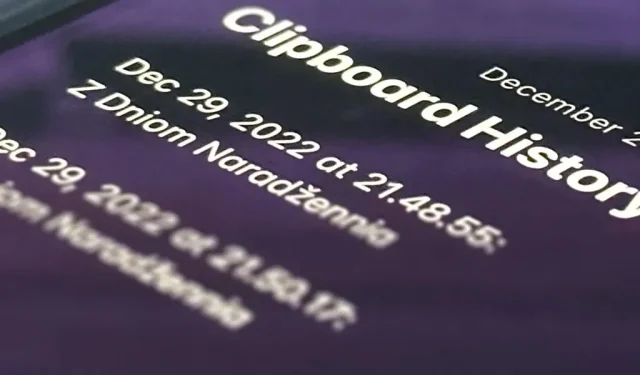
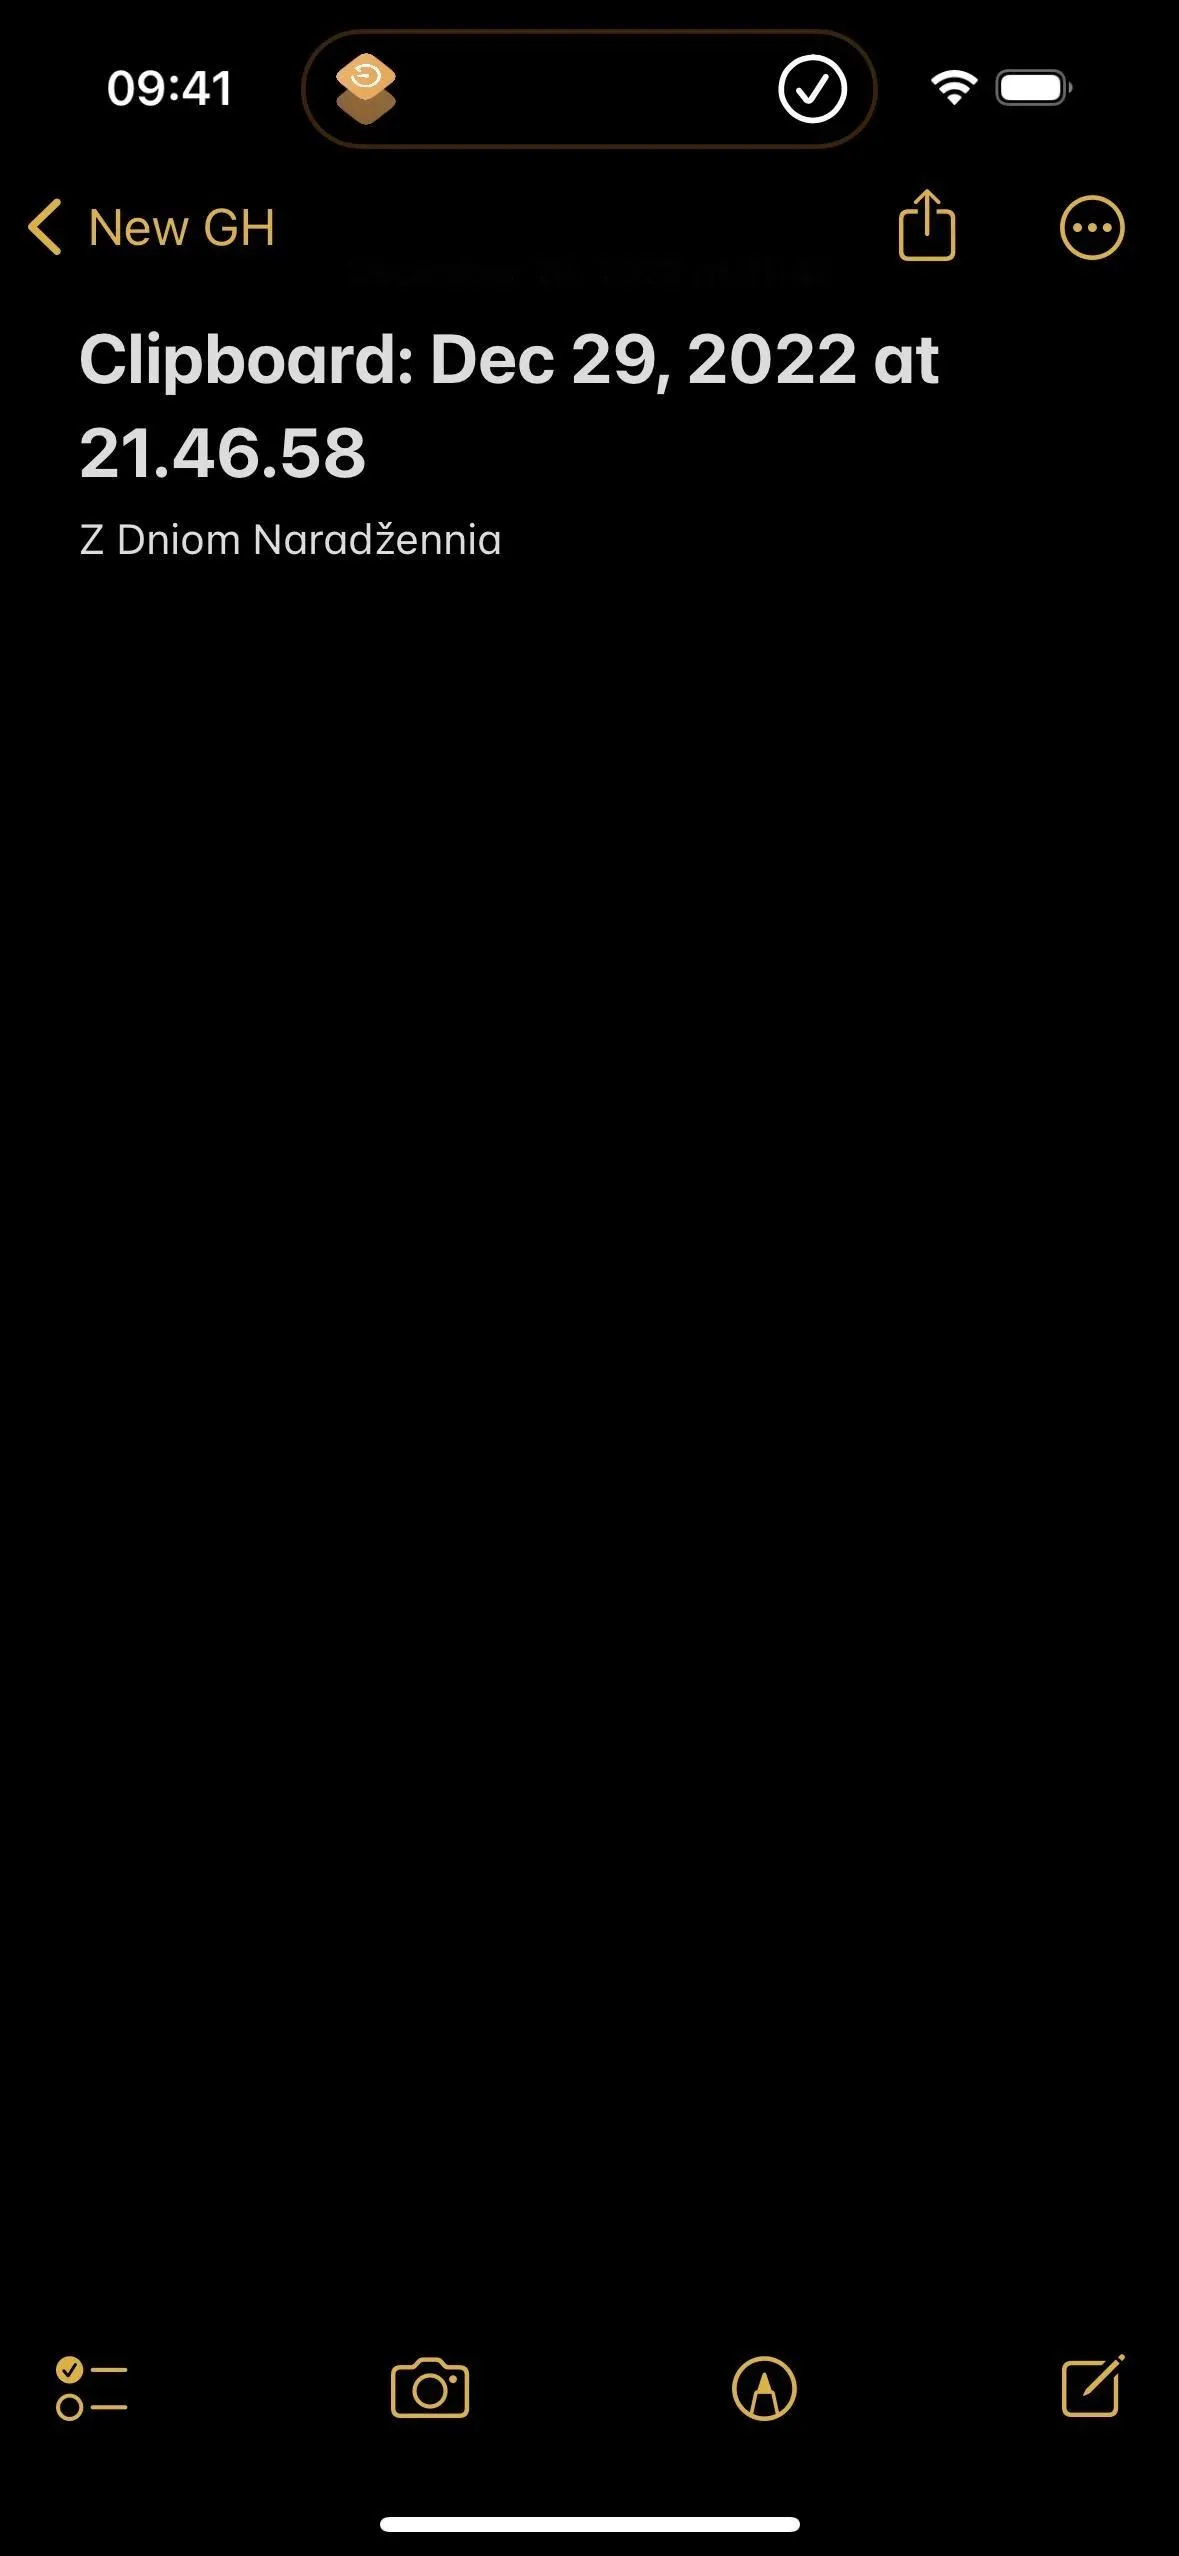
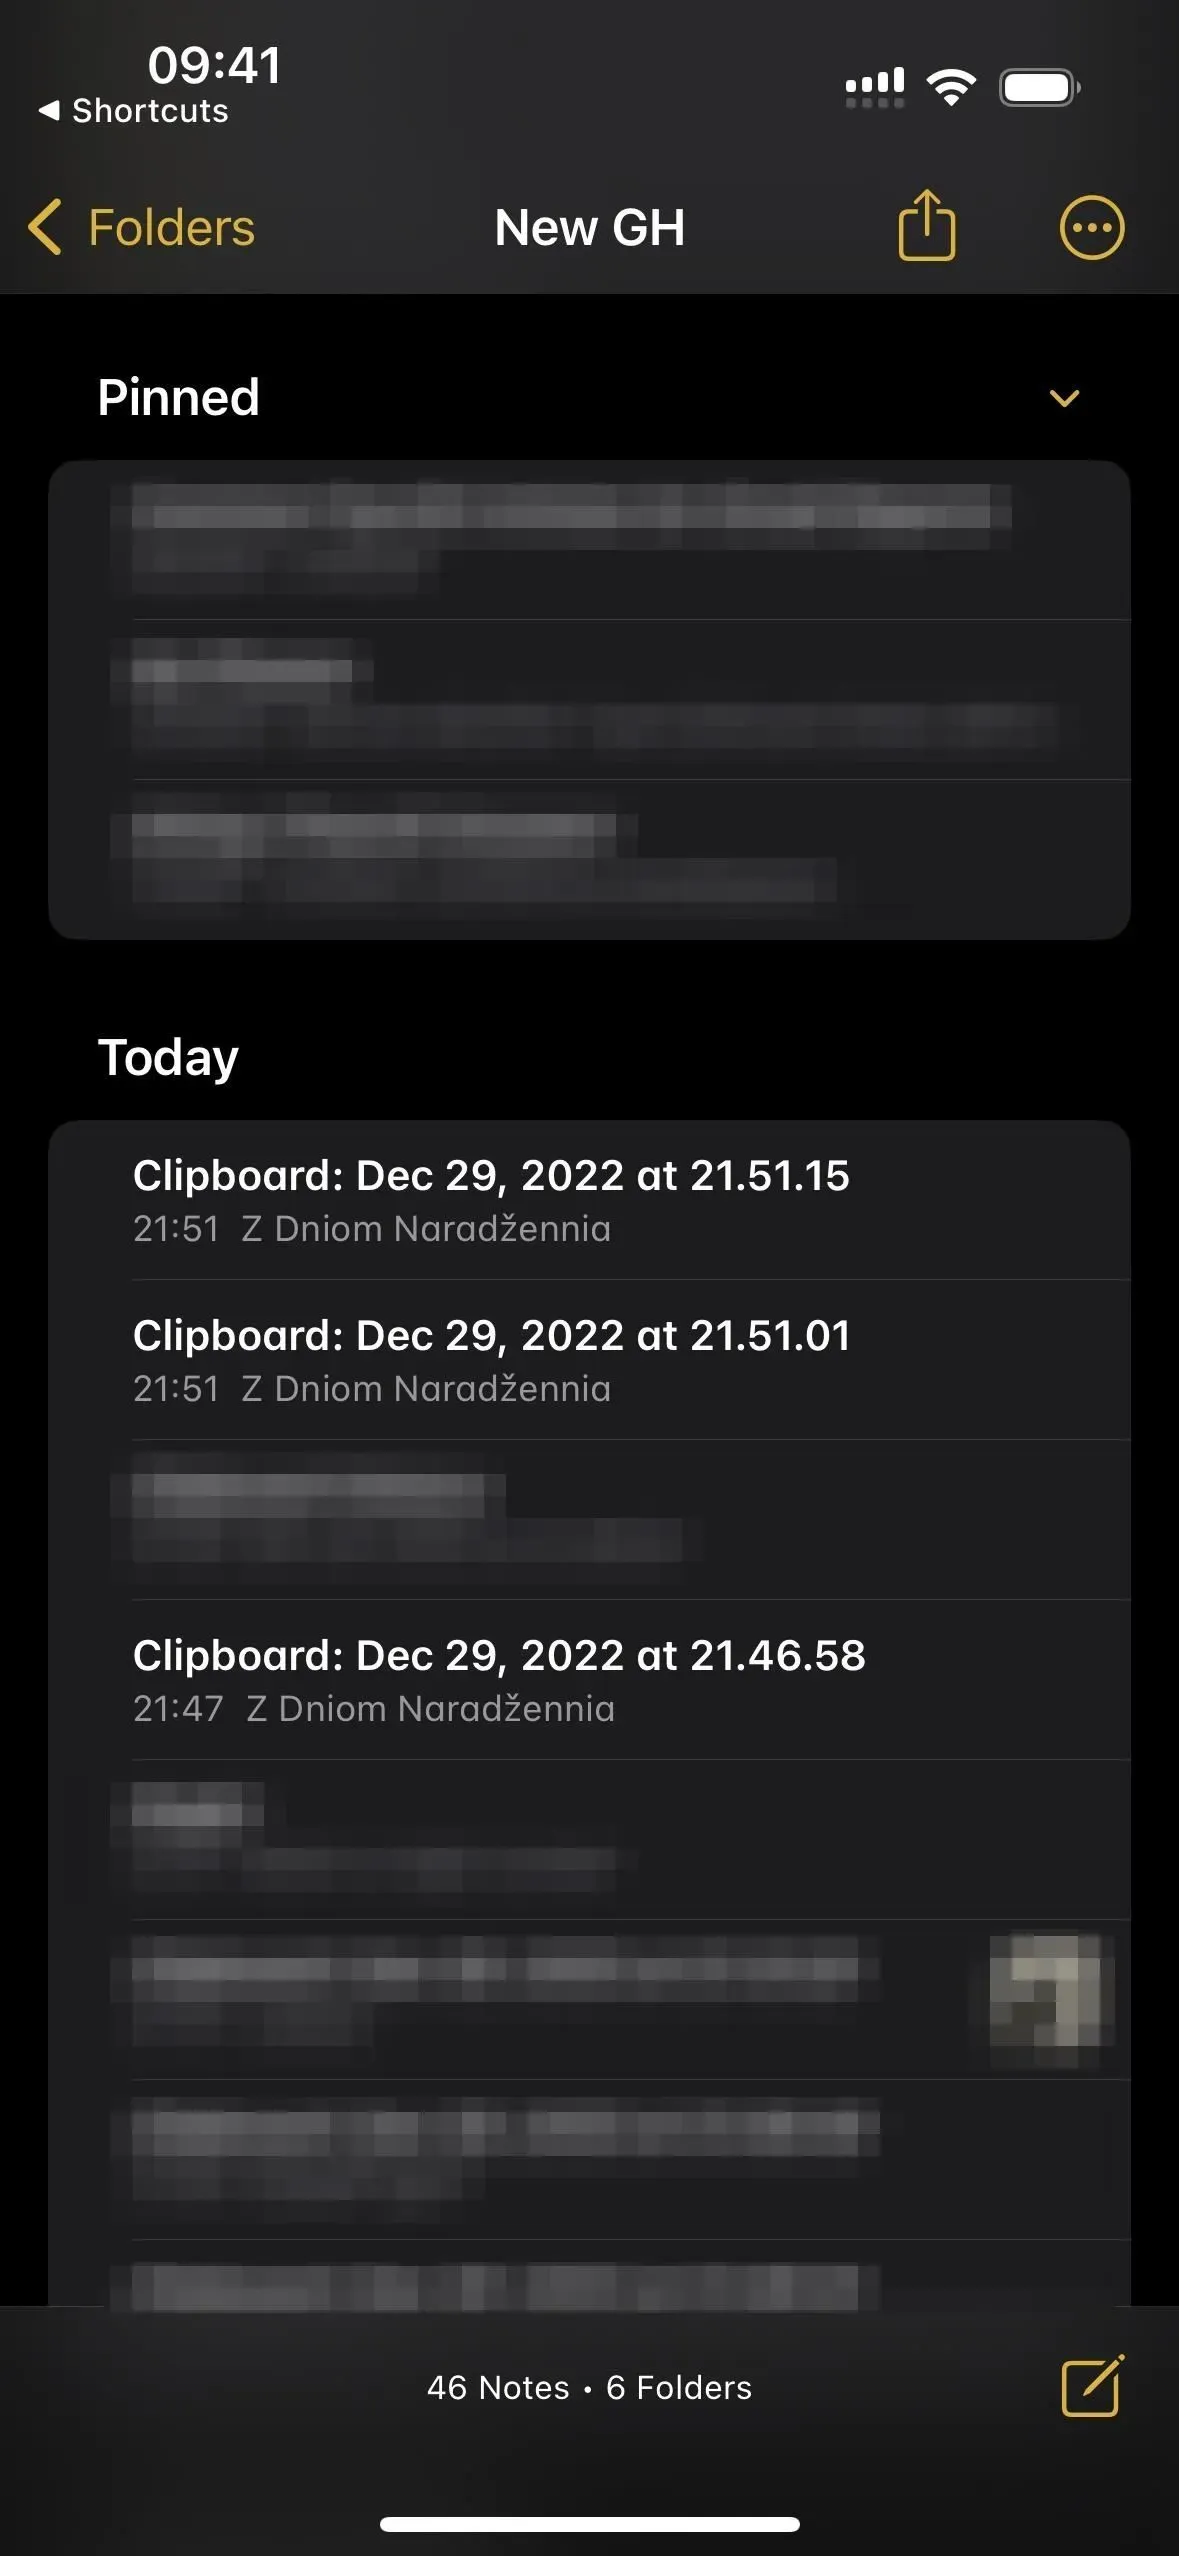
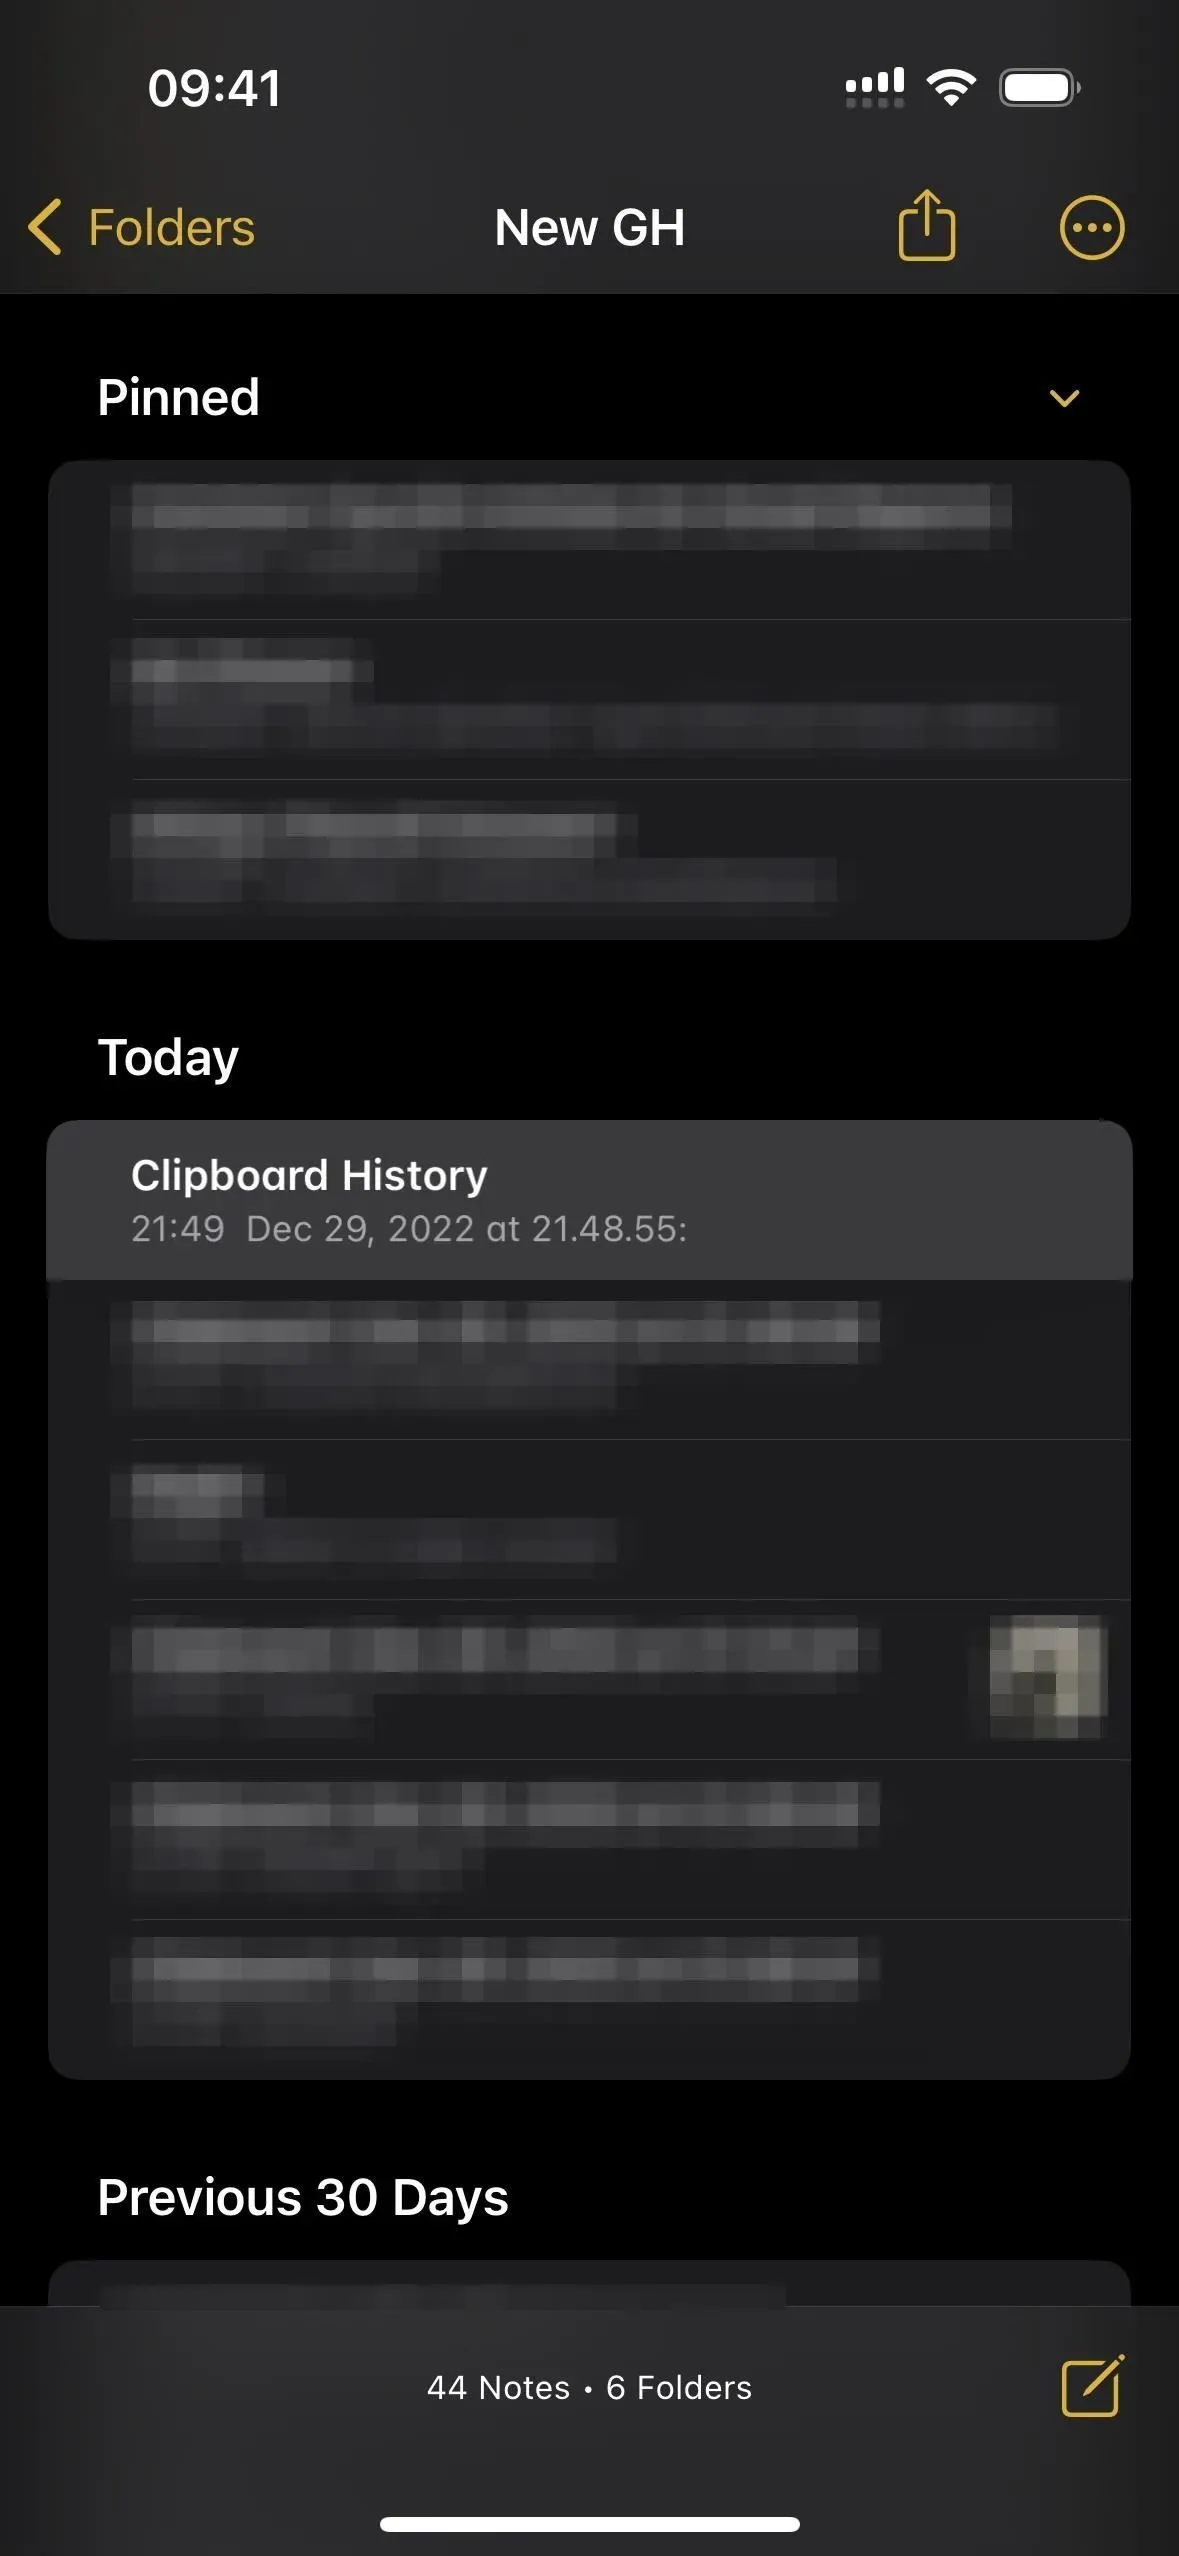
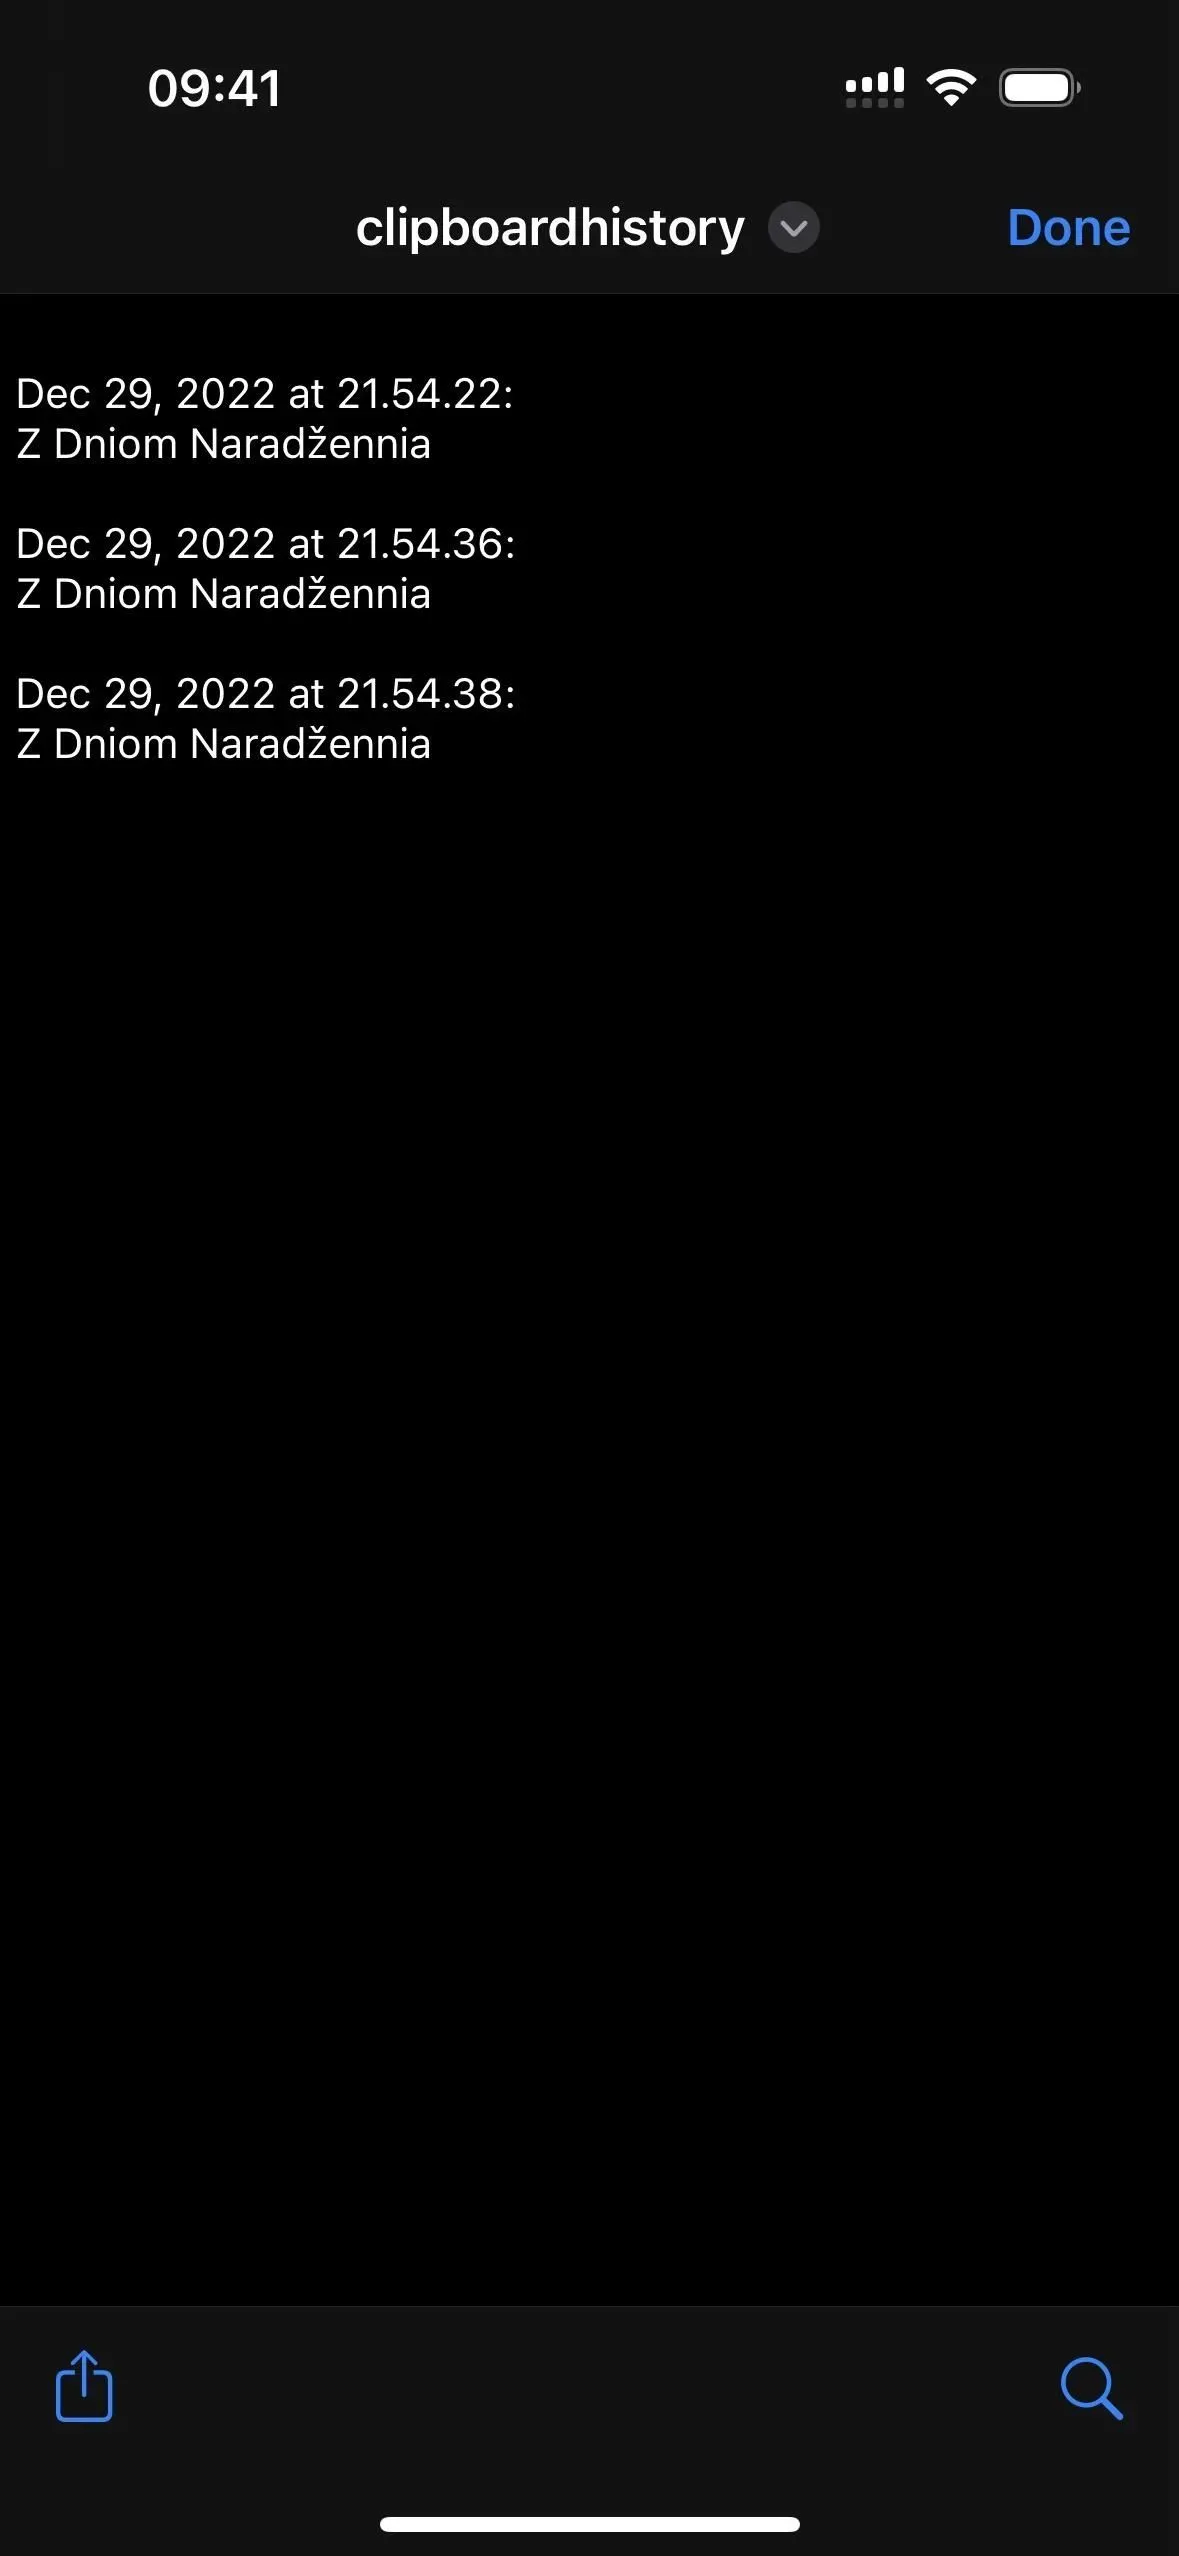
Each time you launch a shortcut, you will receive a notification that it has completed its work. Everything that was on the clipboard will be saved in the note you selected. You can view a note at any time in the Notes app. Each entry contains the month, day, and year first, followed by the time in hours, minutes, and seconds.


Method 3: separate files
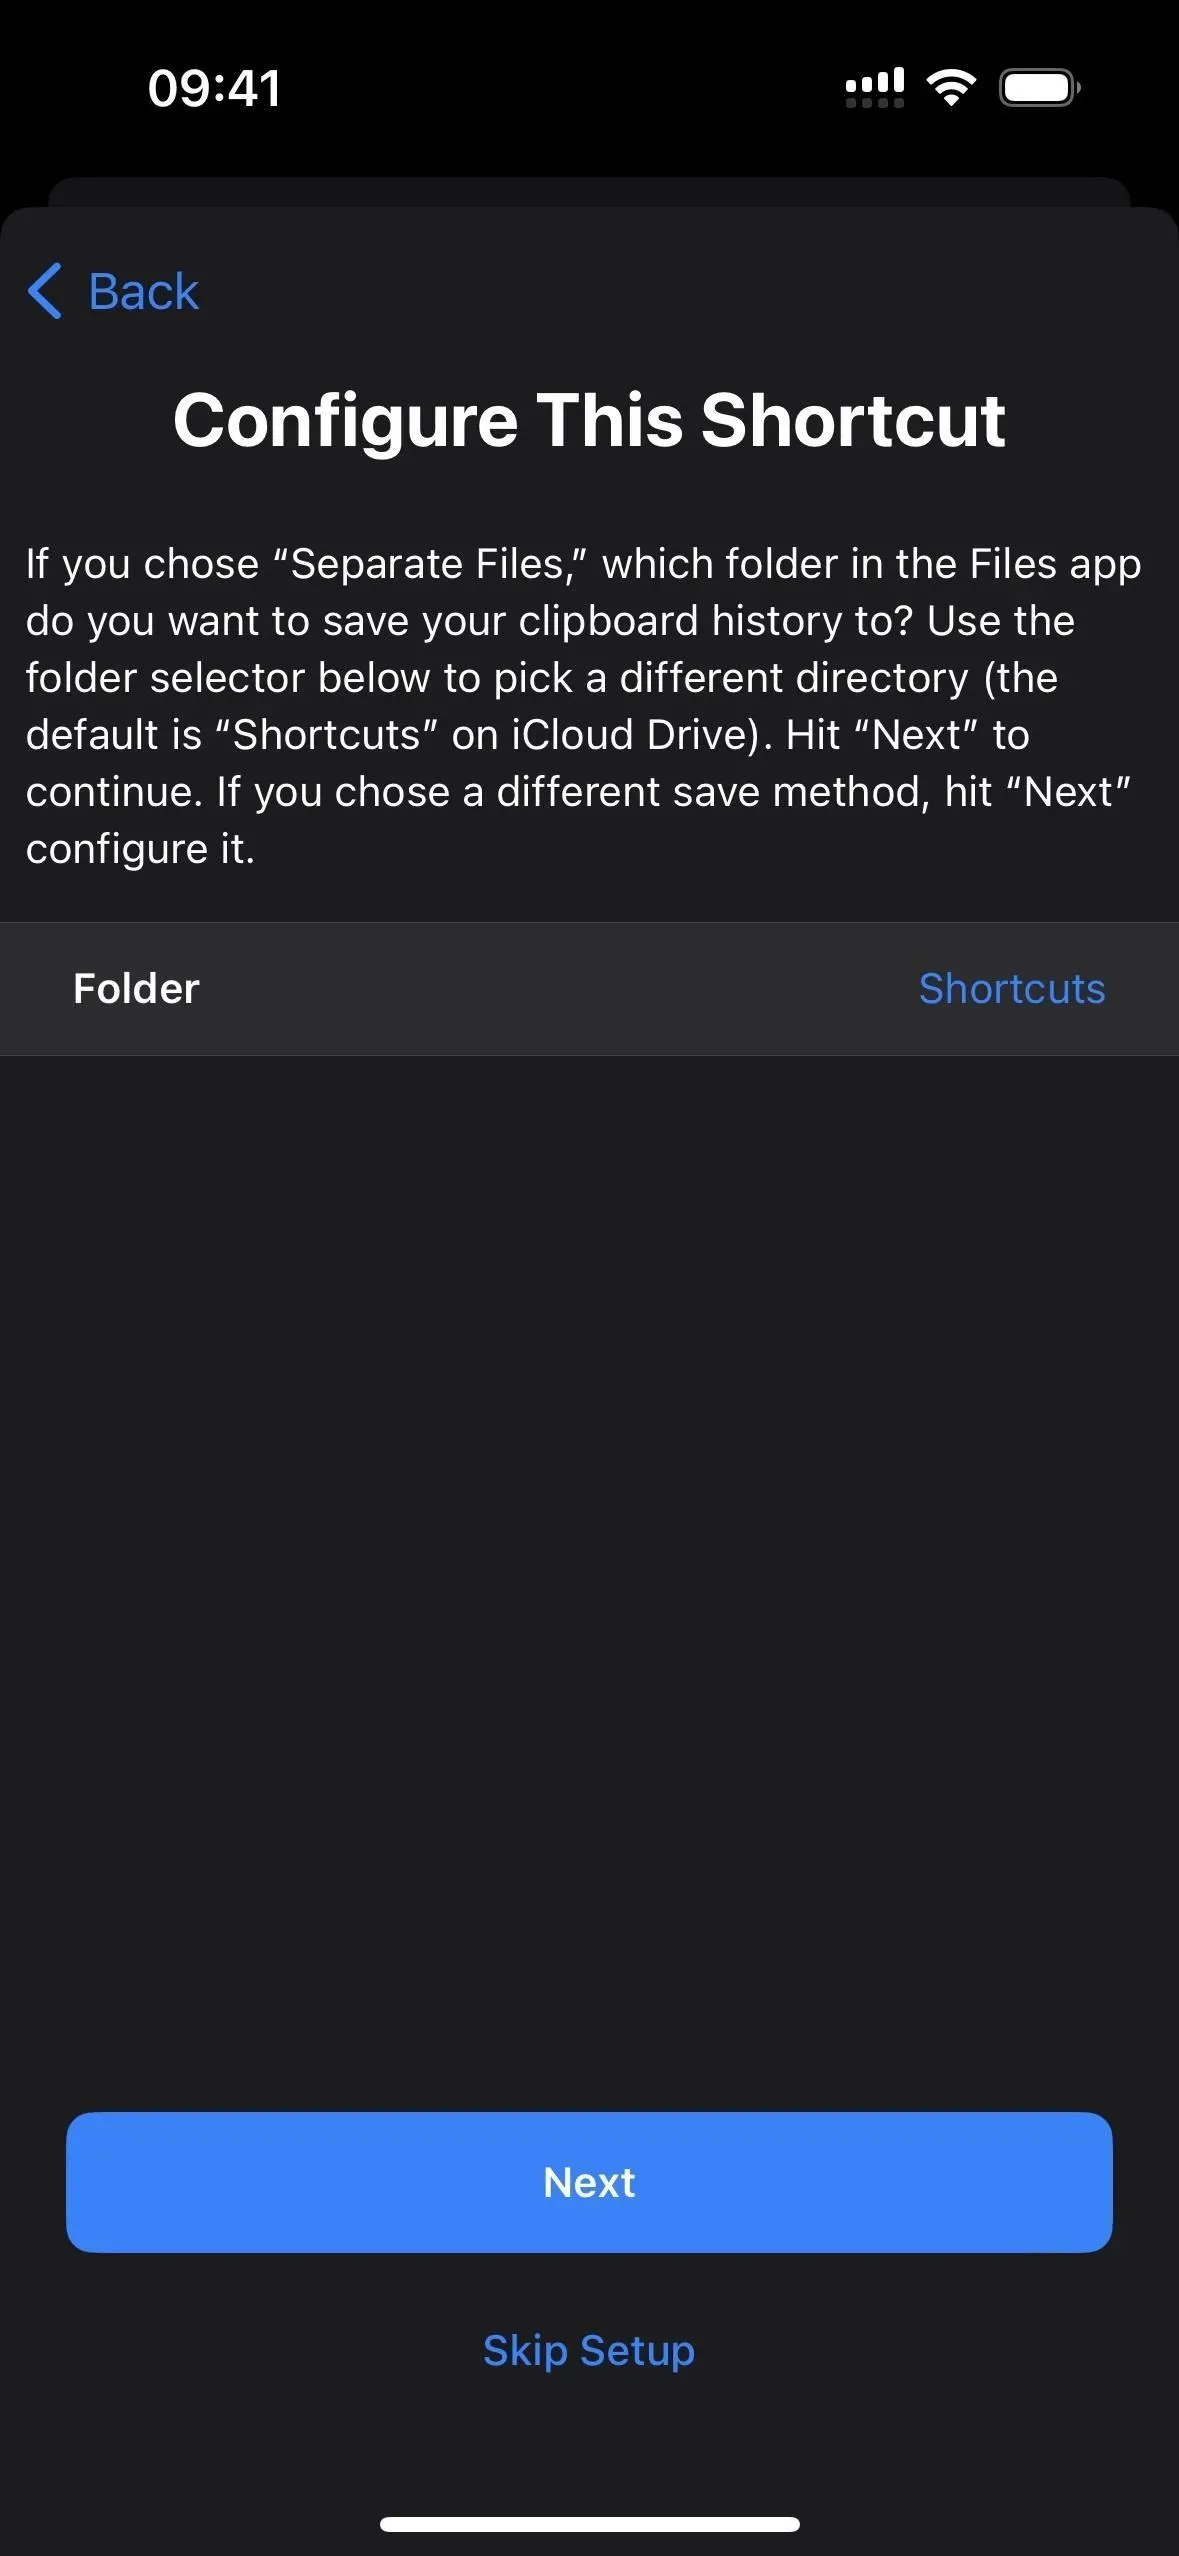
If you choose Individual Files, select the folder in the Files app where you want to save each file. It will be saved to the “Shortcuts”directory by default if you don’t select anything. Click Next until you reach the last configuration page, then click Add Shortcut or Finish to save the shortcut to your library.


To test this, go to the Shortcuts tab, then tap on the new Save Clipboard History shortcut.
The first time you save text, images, or other media, you’ll be prompted to grant save permissions to the shortcut – select Always Allow. You’ll only need to do this once per media type, so allowing text means the tooltip won’t reappear when any text is on the clipboard. However, keep in mind that content such as photos will be displayed as filenames – for example, IMG9403.PNG.
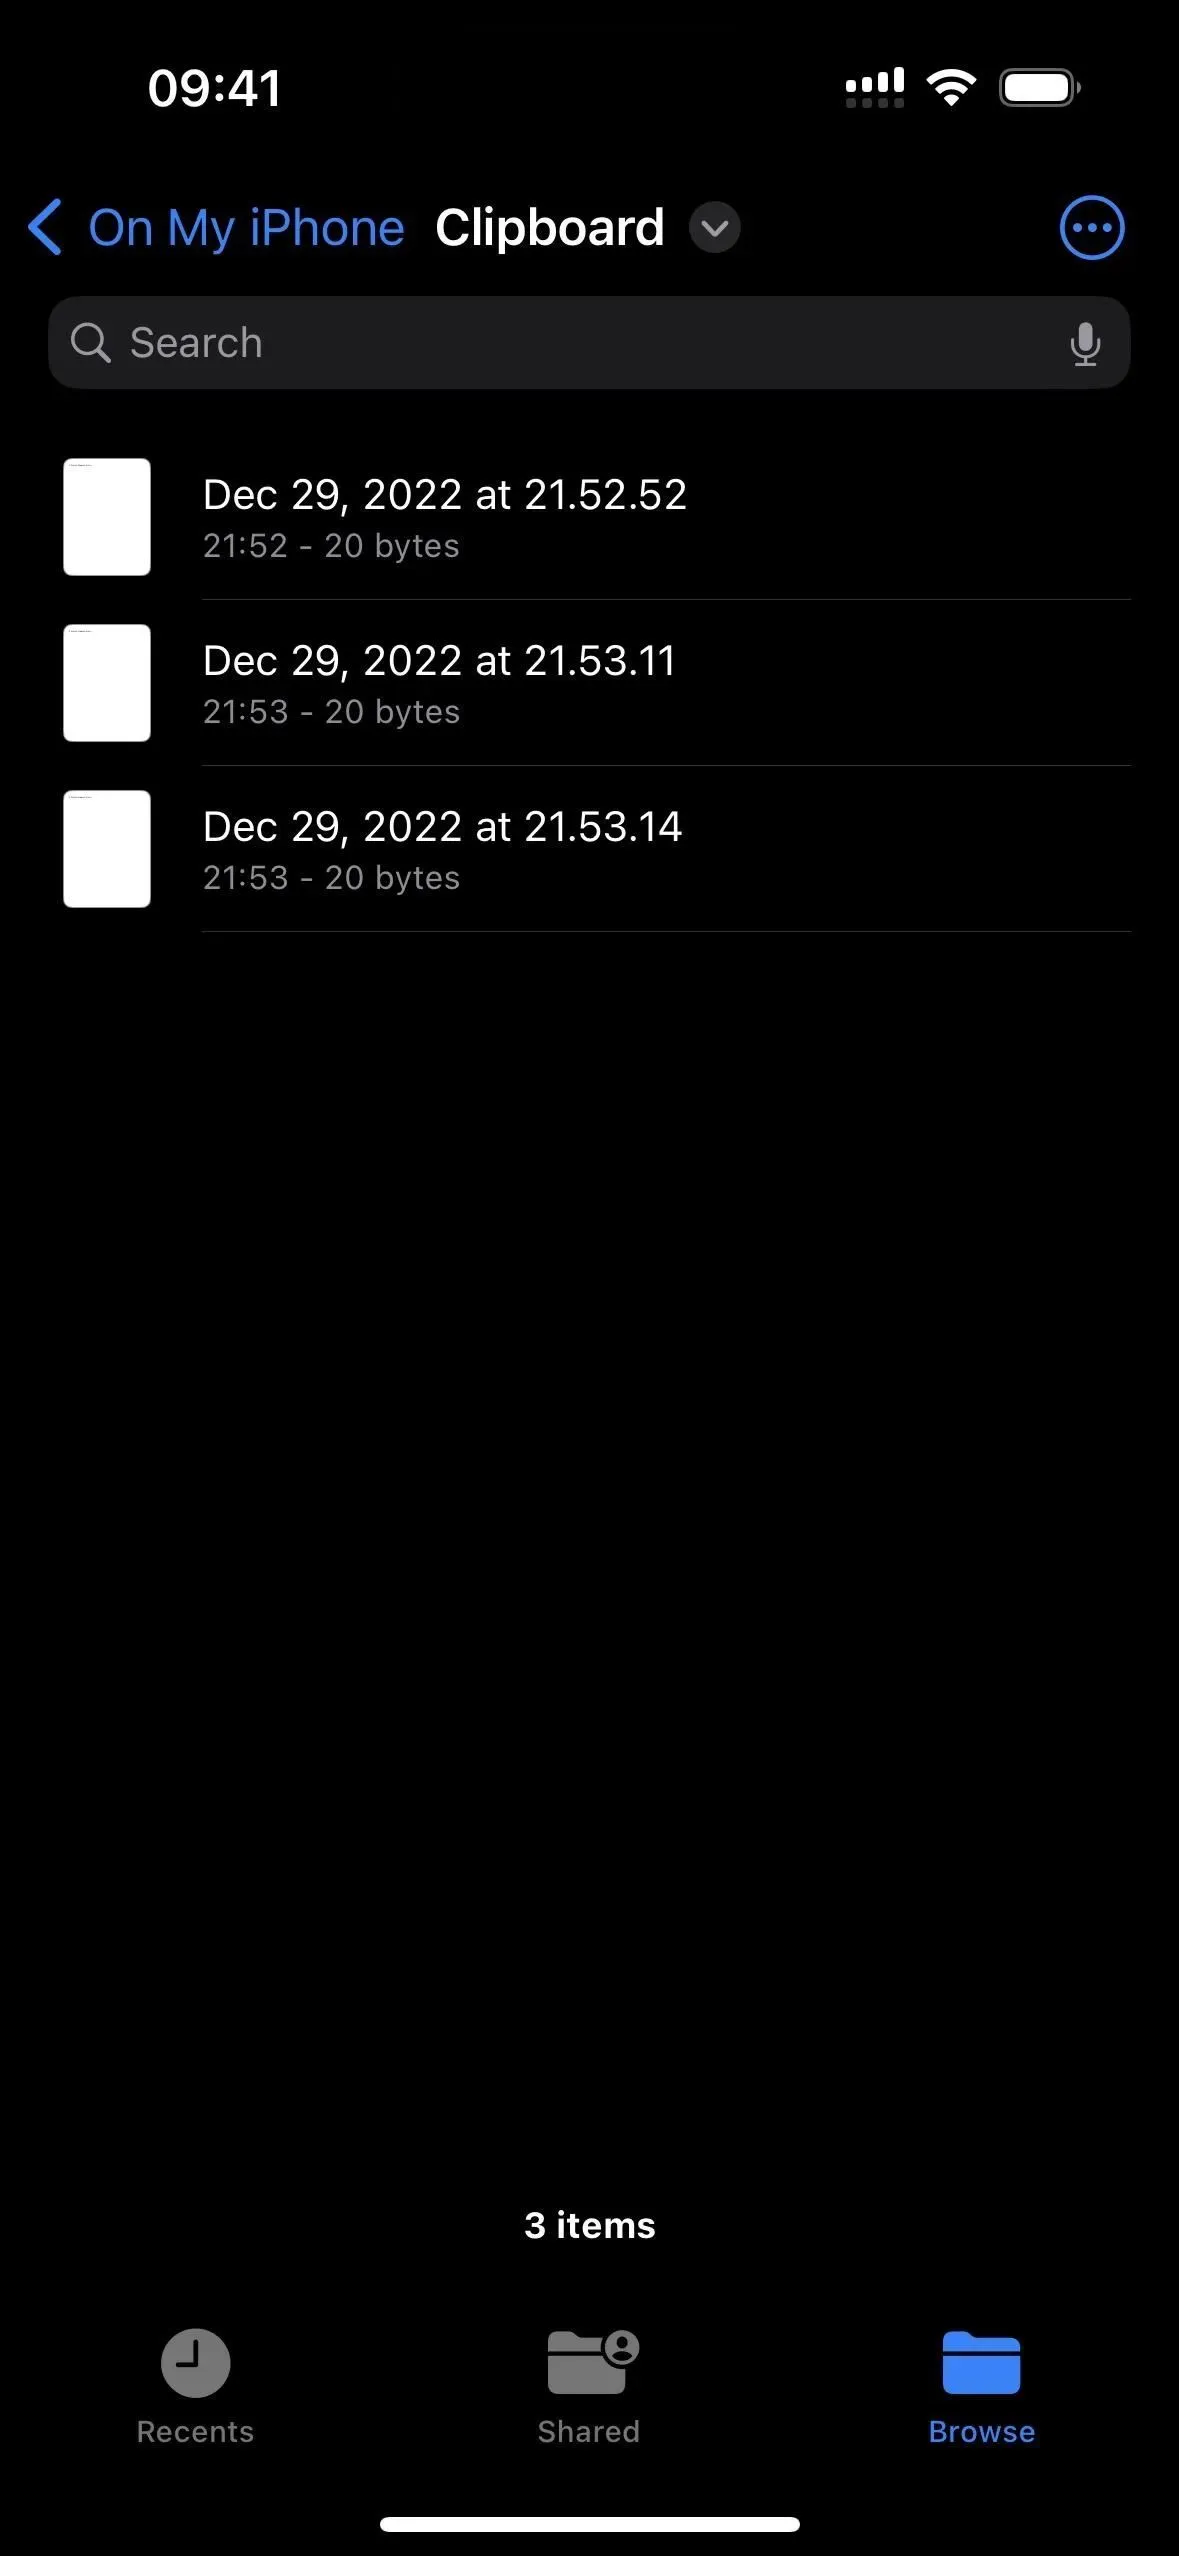
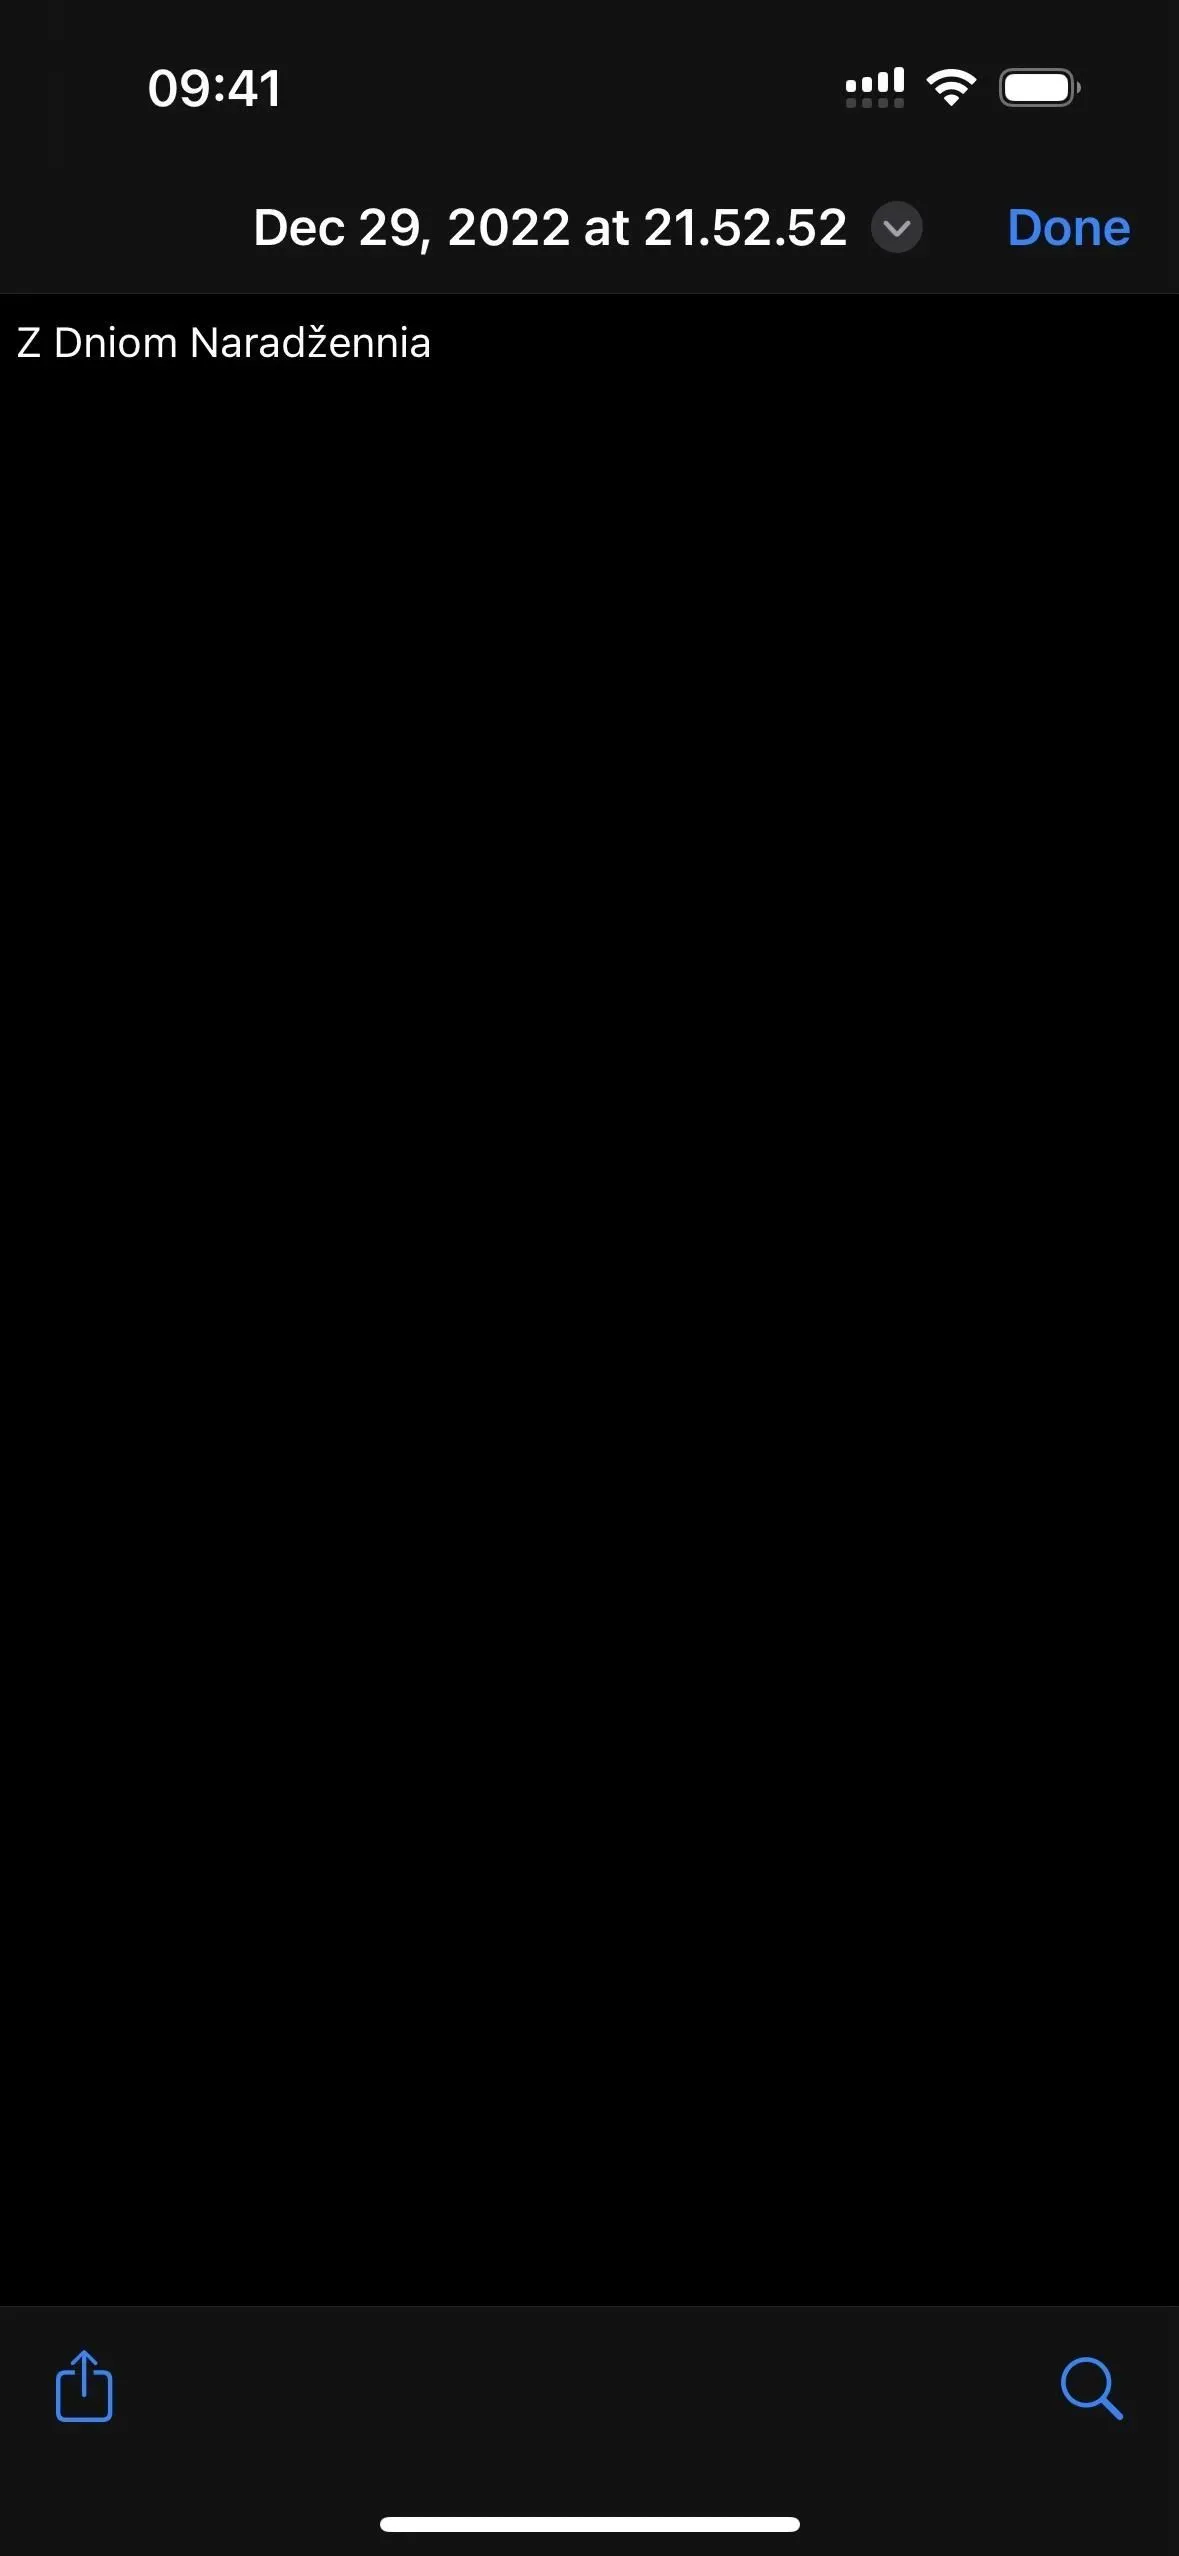
Each time you launch a shortcut, you will receive a notification that it has completed its work. Everything that was on the clipboard will be saved as a new note in the directory you selected. Each file will be given the name of the month, day, and year, followed by the time in hours, minutes, and seconds.

Method 4: 1 file
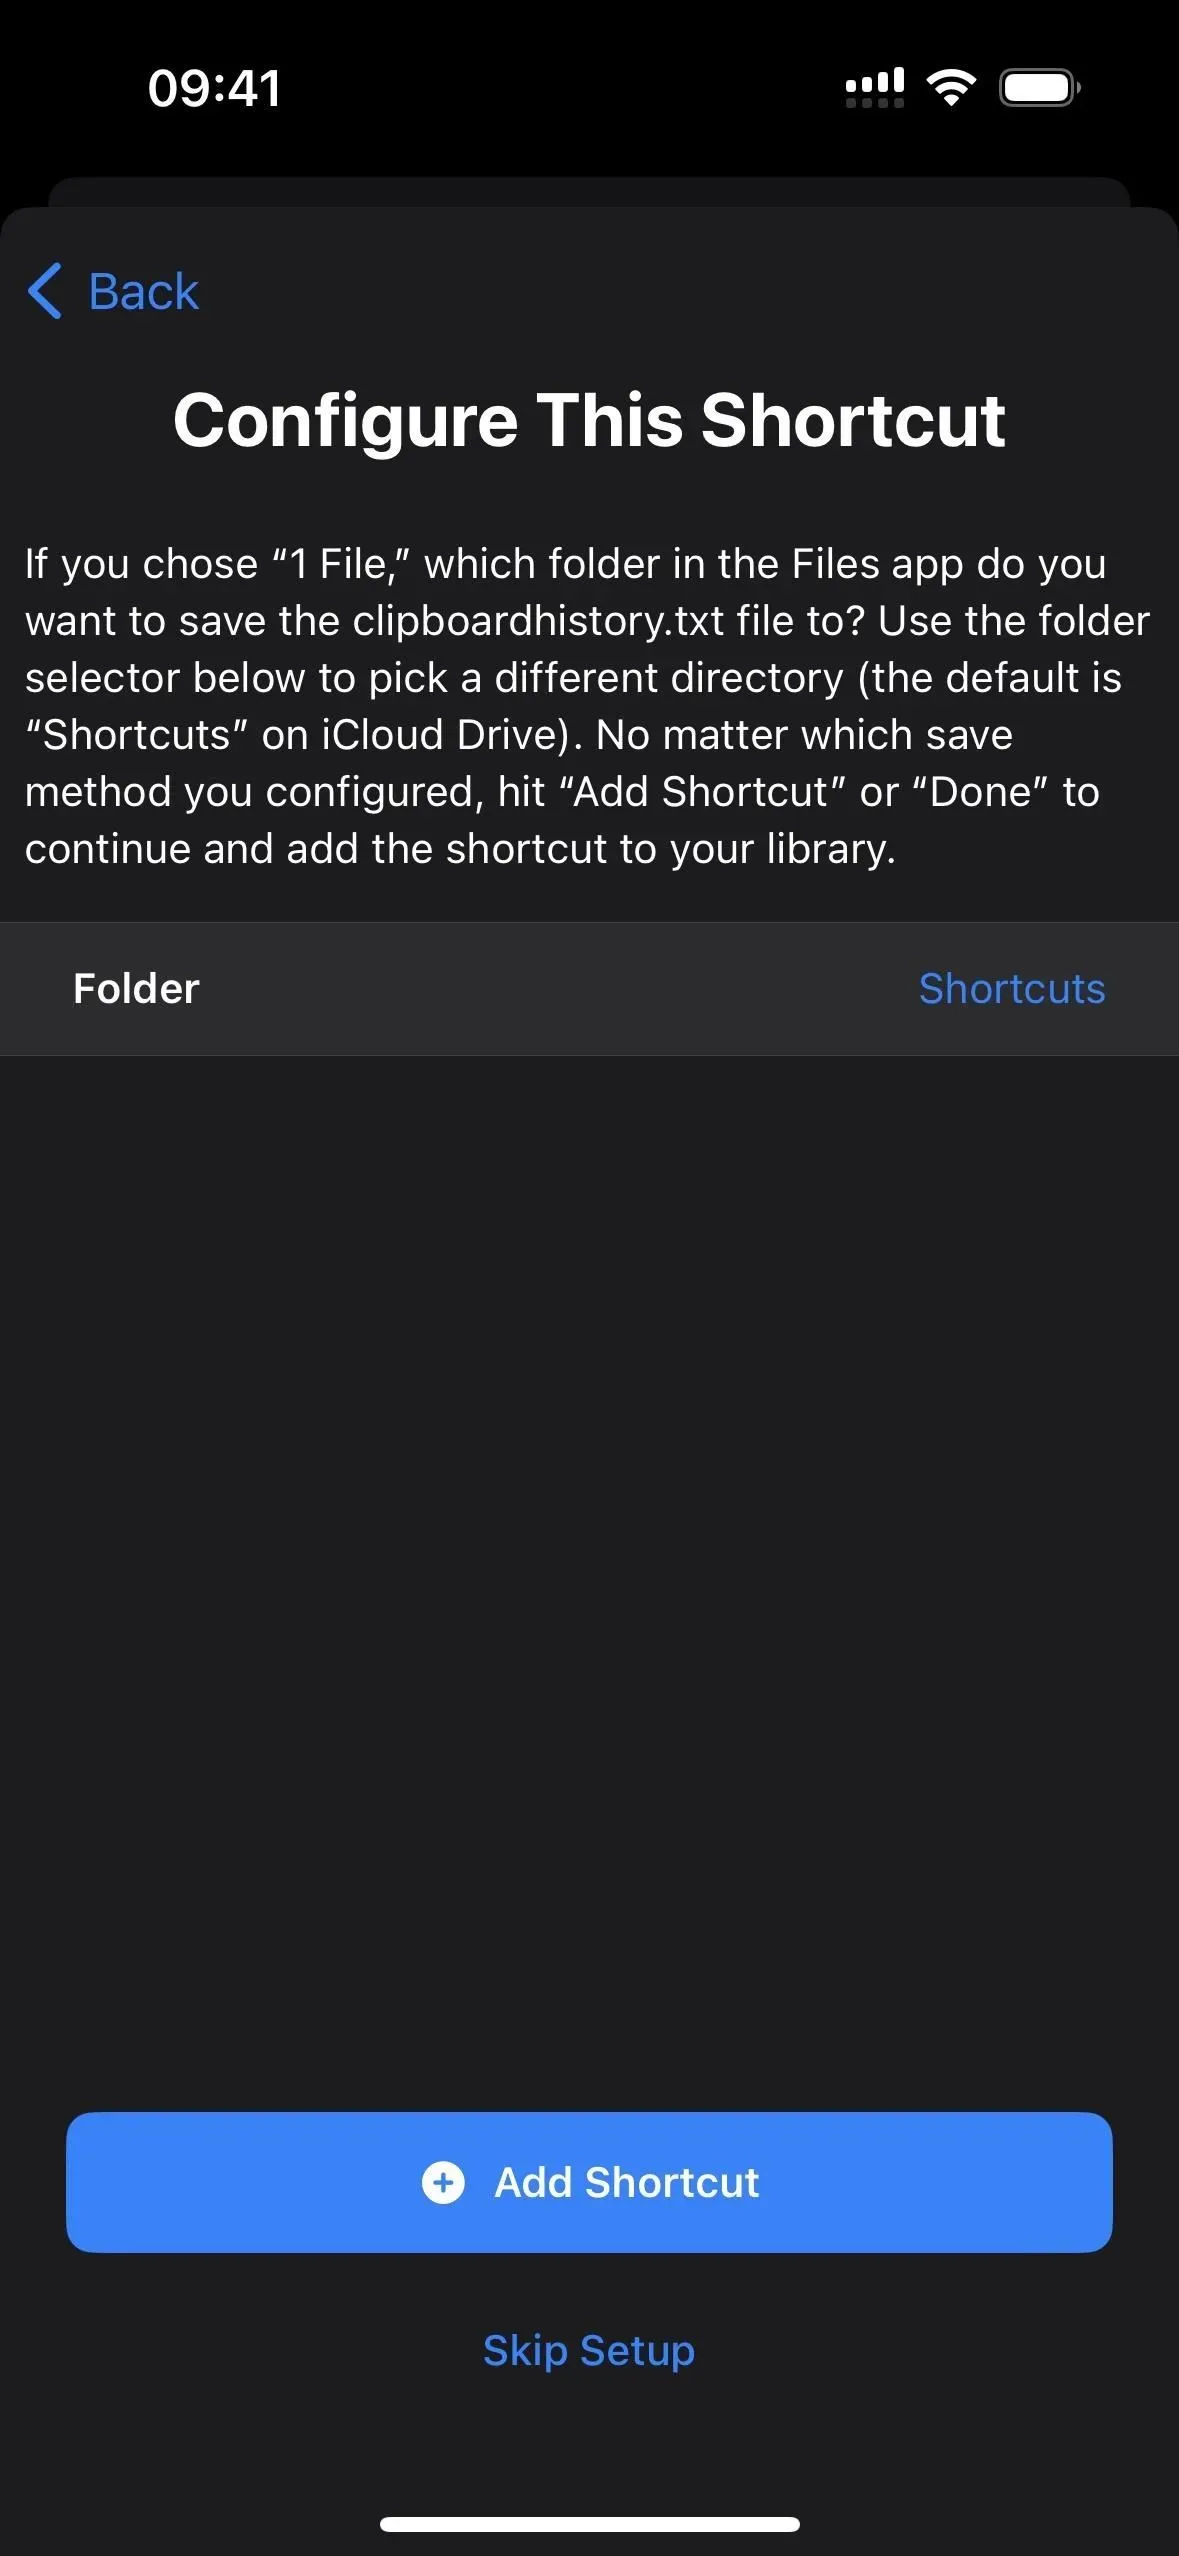
If you select “1 file”, select the folder in the Files application where you want to save the clipboardhistory.txt file. You can change the name of this file if necessary. txt in the label editor. It will be saved to the “Shortcuts”directory by default if you don’t select anything. Click “Add Shortcut”or “Done”to save the shortcut to your library.

To test this, go to the Shortcuts tab, then tap on the new Save Clipboard History shortcut.
The first time you save text, images, or other media, you’ll be prompted to grant save permissions to the shortcut – select Always Allow. You’ll only need to do this once per media type, so allowing text means the tooltip won’t reappear when any text is on the clipboard. However, keep in mind that content such as photos will be displayed as filenames – for example, IMG9403.PNG.
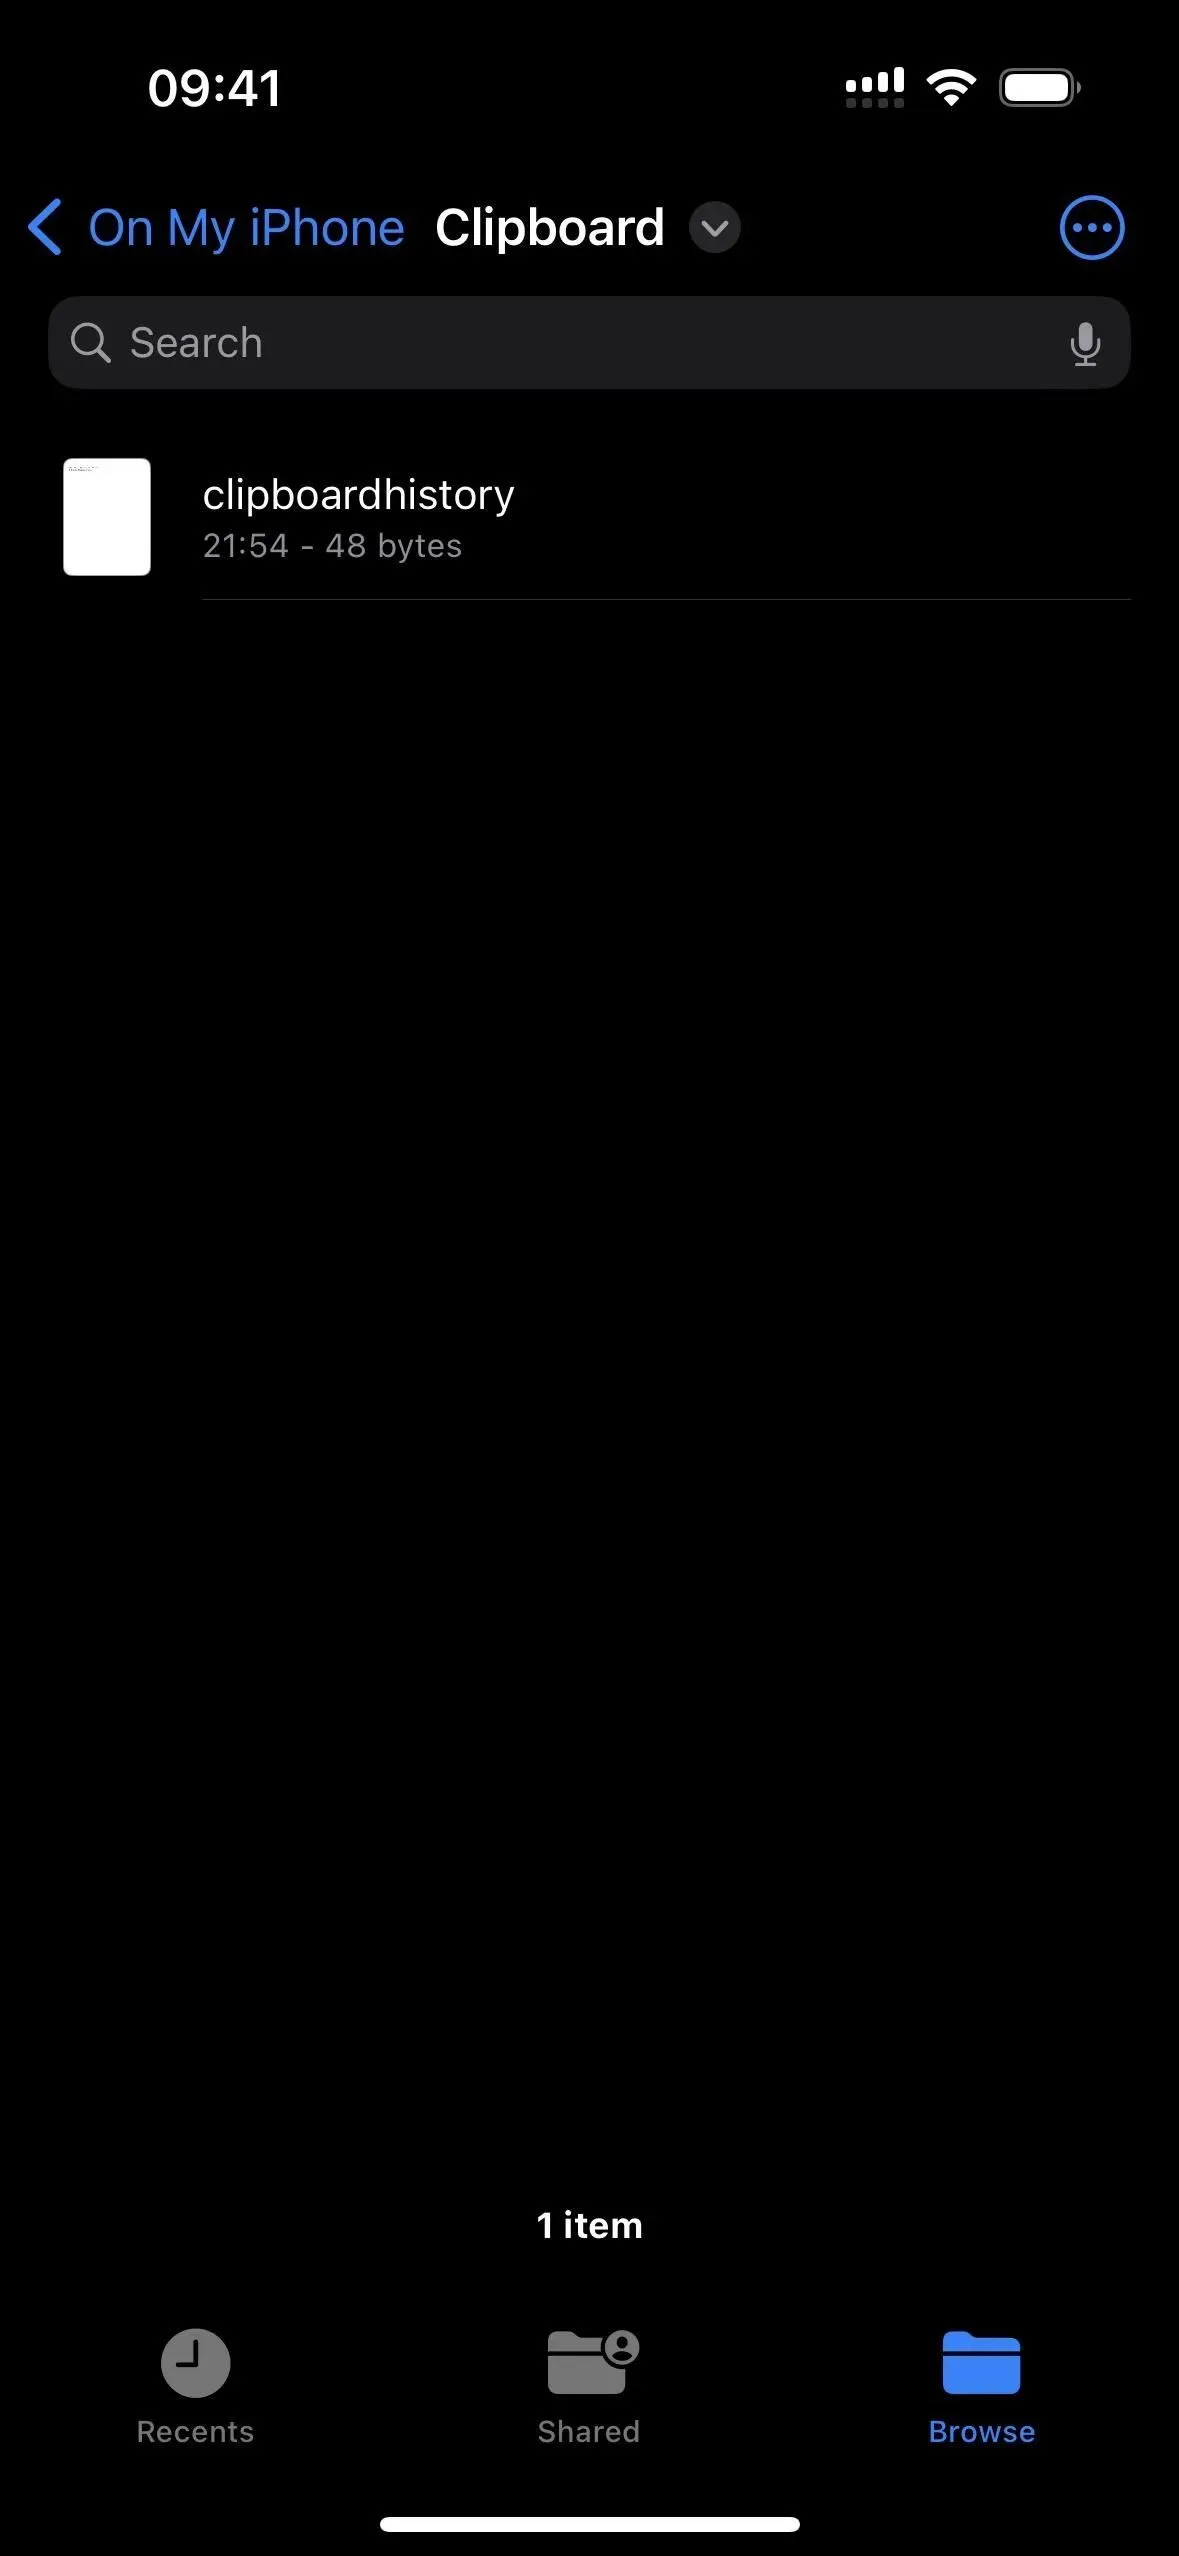
Each time you launch a shortcut, you will receive a notification that it has completed its work. Everything that was on the clipboard will be saved in any note you choose. If you haven’t selected a specific file, this may not work. Each entry contains the month, day, and year first, followed by the time in hours, minutes, and seconds.

Step 3: Assign a shortcut to the back gesture.
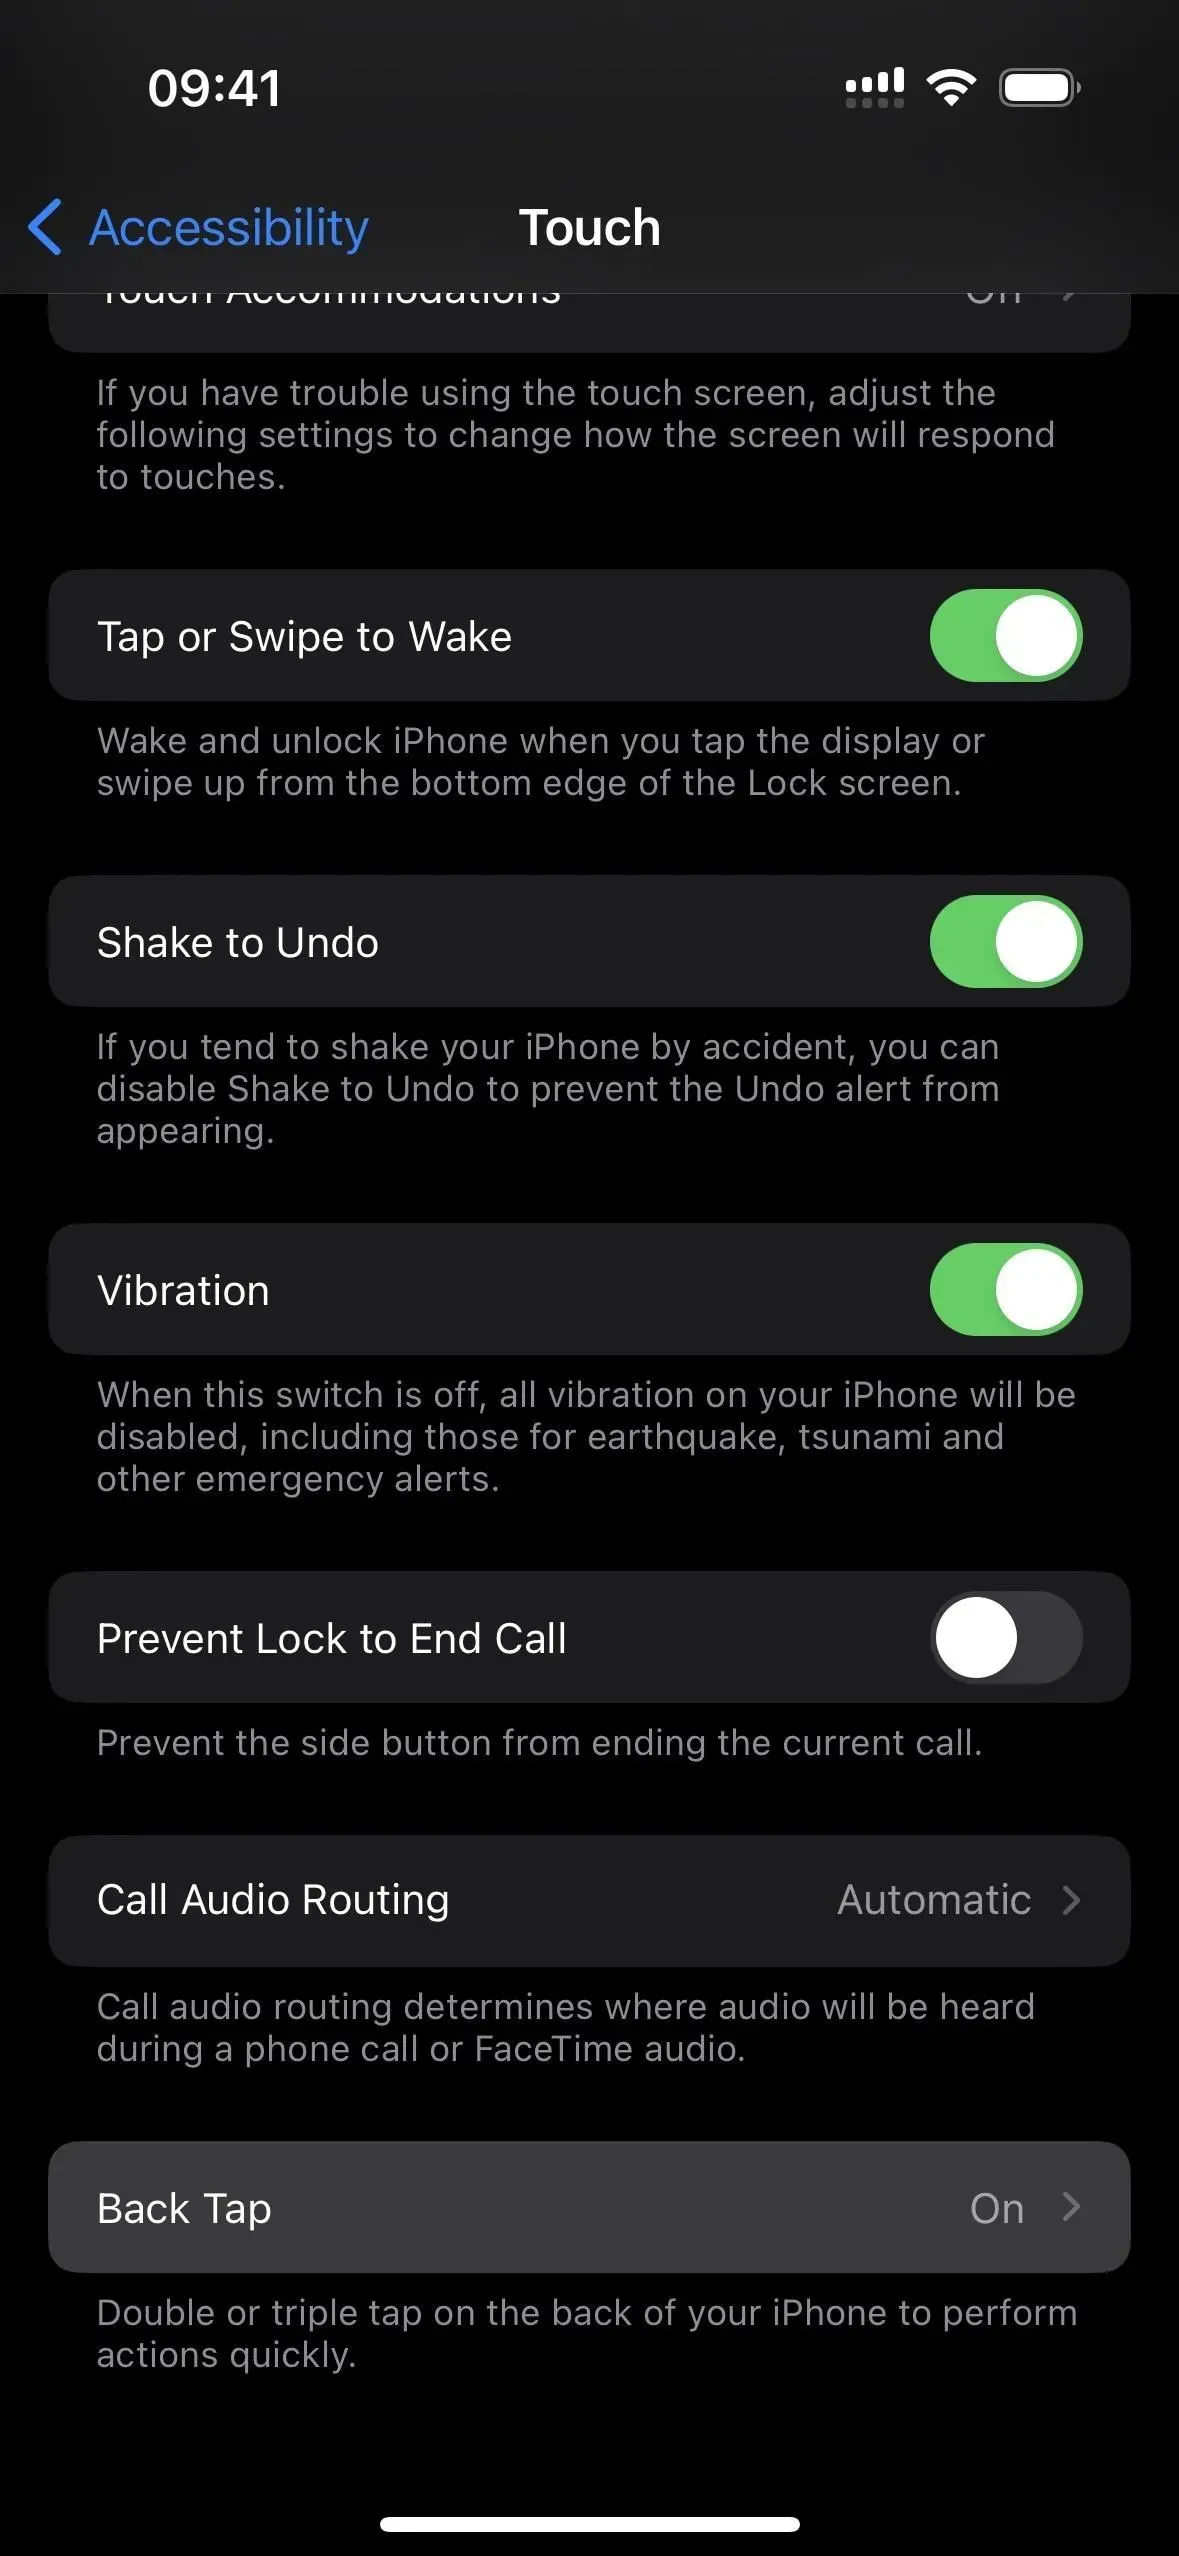
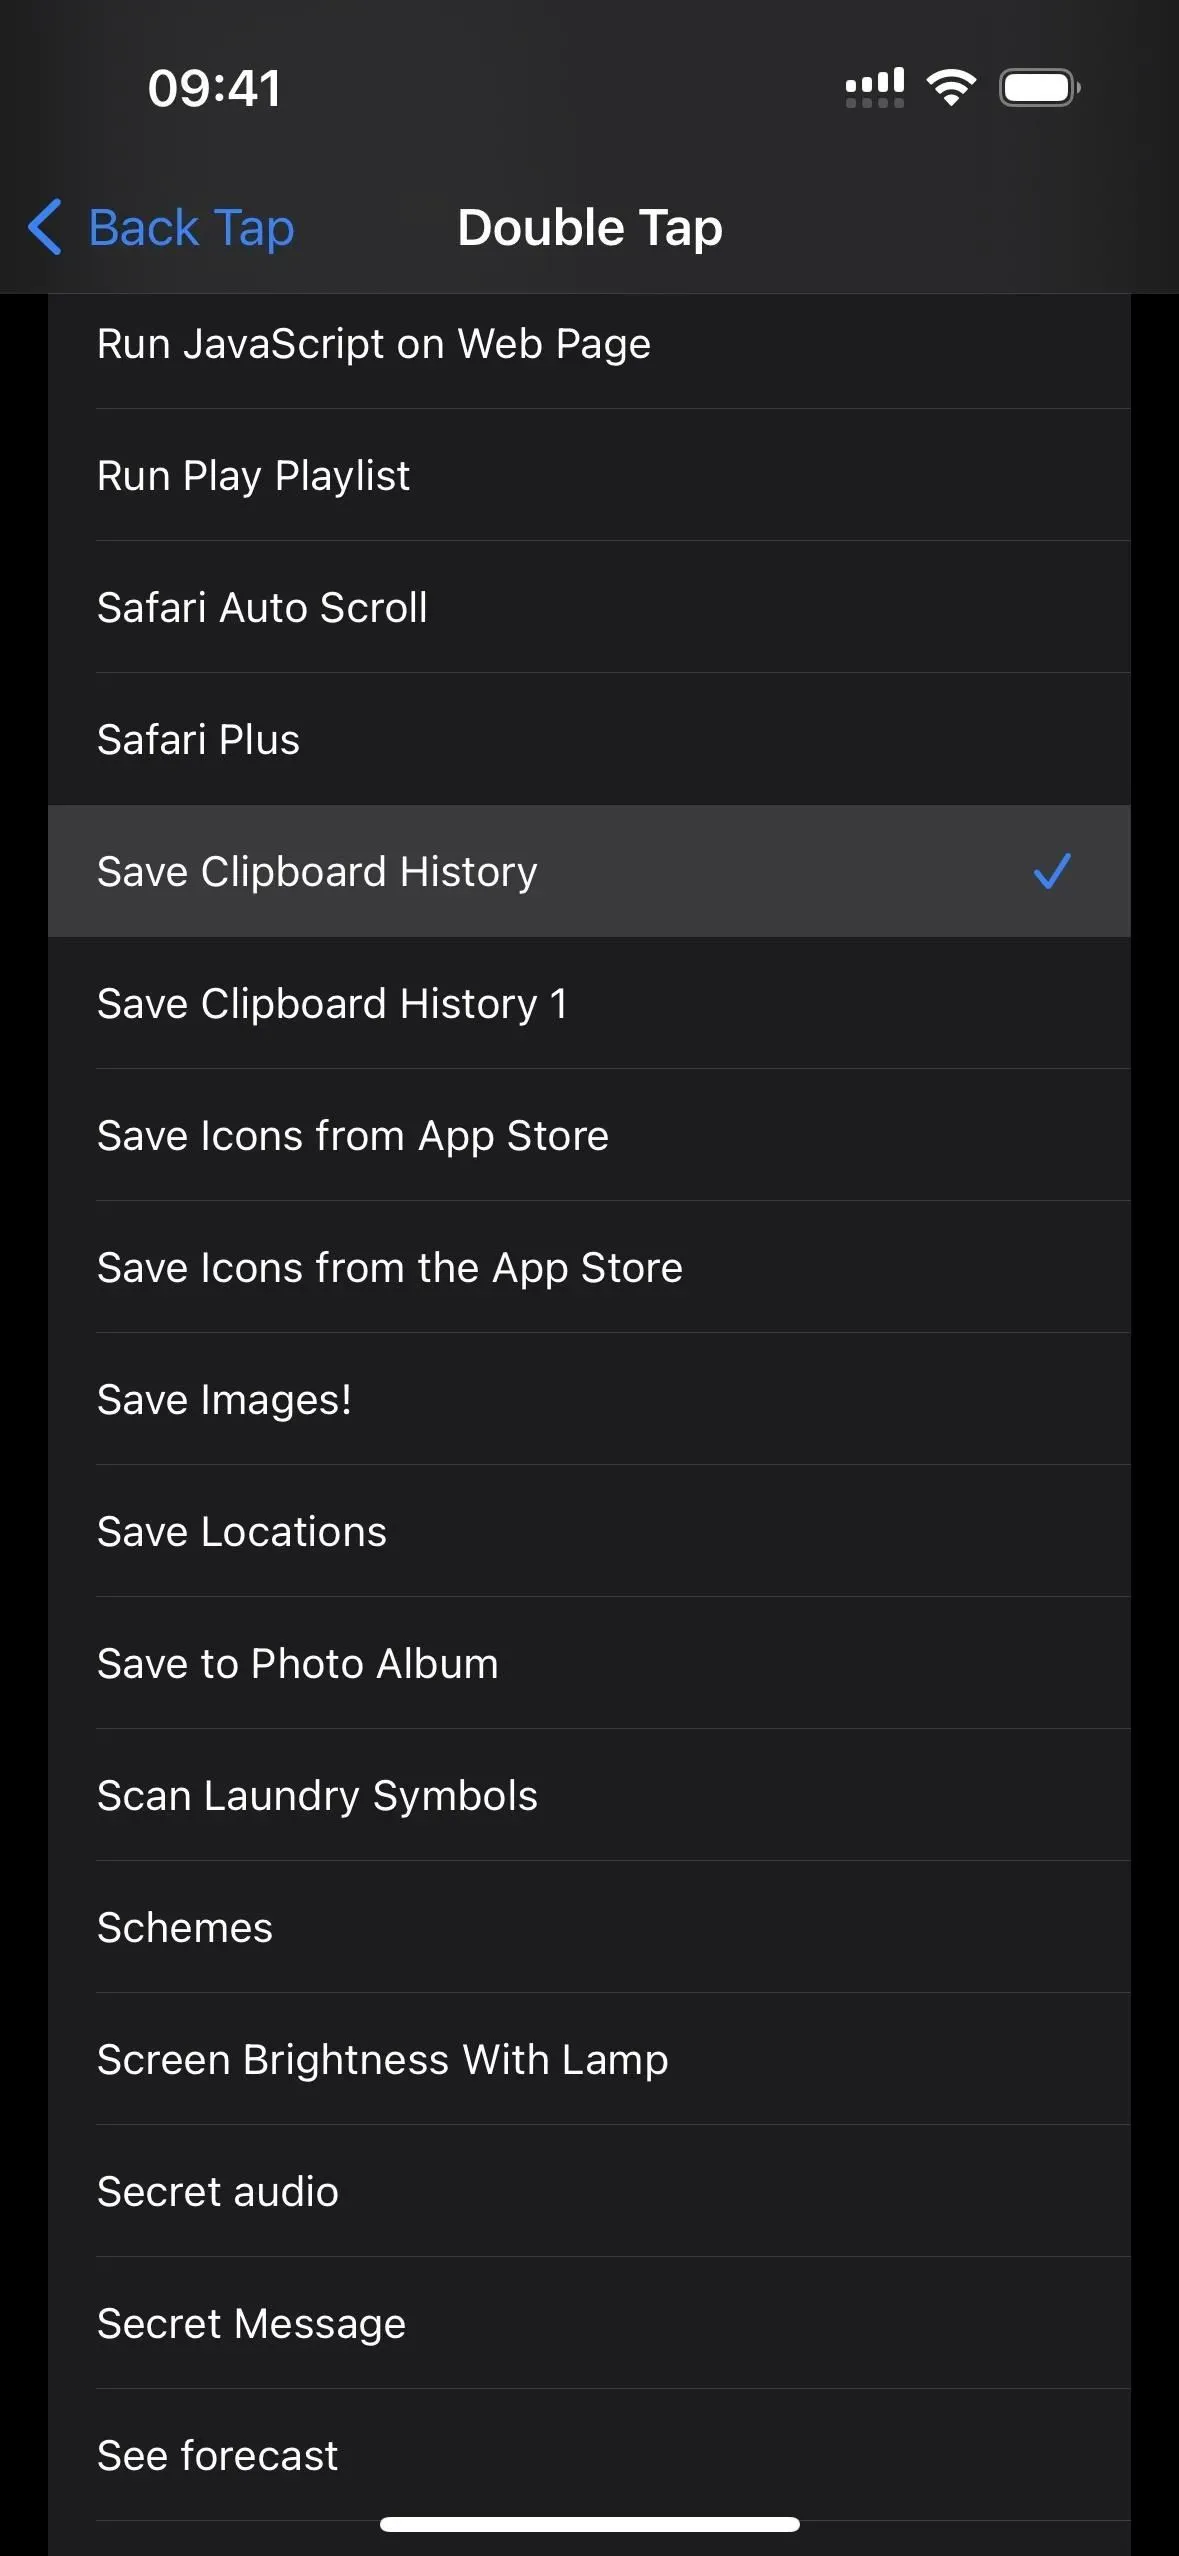
Back Tap is an iOS accessibility feature that lets you quickly tap the Apple logo on the back of your iPhone two or three times to perform a designated action. In our case, it will launch the shortcut. Go to Settings -> Accessibility -> Touch -> Back Press, then select Double Tap or Triple Tap. Scroll to the Shortcuts section and select Save Clipboard History.

From now on, every time you tap the back of your iPhone two or three times, the shortcut should launch. You can do this right after you copy something to the clipboard. If it’s sensitive information that you don’t want to write down anywhere, you can just skip the Back Tap gesture.
If you use the Universal Clipboard to view clipboard content from your Mac or iPad, you can use the Back gesture after you sync your iPhone. It still has to work.