
You don’t need to pay for an app or subscription to have your audio notes transcribed for you on your Android smartphone. There is an easy and free way to do this on almost any Google Pixel, and you can even use it on other Android devices.
Google introduced its Recorder app with the Pixel 4 but has since made it compatible with the Google Pixel 2 and newer models. The app is much better than any other recorder/decoder, but it’s exclusive to Pixel. However, you can download the app on other Android phones.
With Google Recorder, you get real-time transcription of your recordings – no premium services required. But what makes this feature really powerful is the ability to make transcriptions and share them with other apps, making this a hell of a note-taking app.
Step 1Get the Recording App
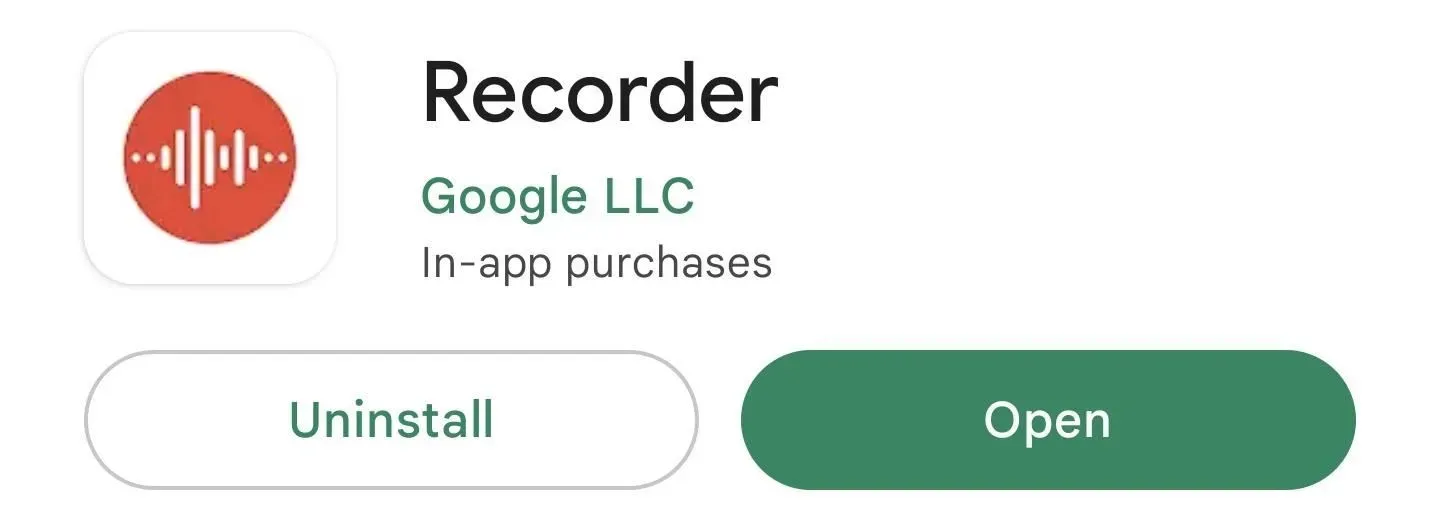
Google Recorder is exclusive to Google Pixel 2 and newer models. If this is you, it might already be installed on your device, but you can easily install it from Google Play if you can’t find it in the app list.
If you don’t have a Pixel smartphone, you can still get Google Recorder, just not from the Play Store. Instead, you can download the Google Recorder APK package and use an app like APKMirror Installer or Split APK Installer to download it.
Step 2: Write down your notes
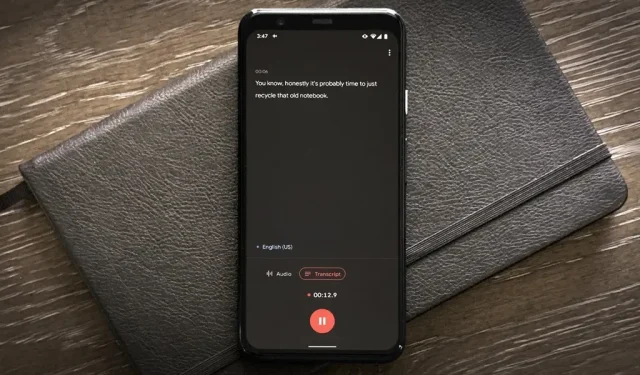
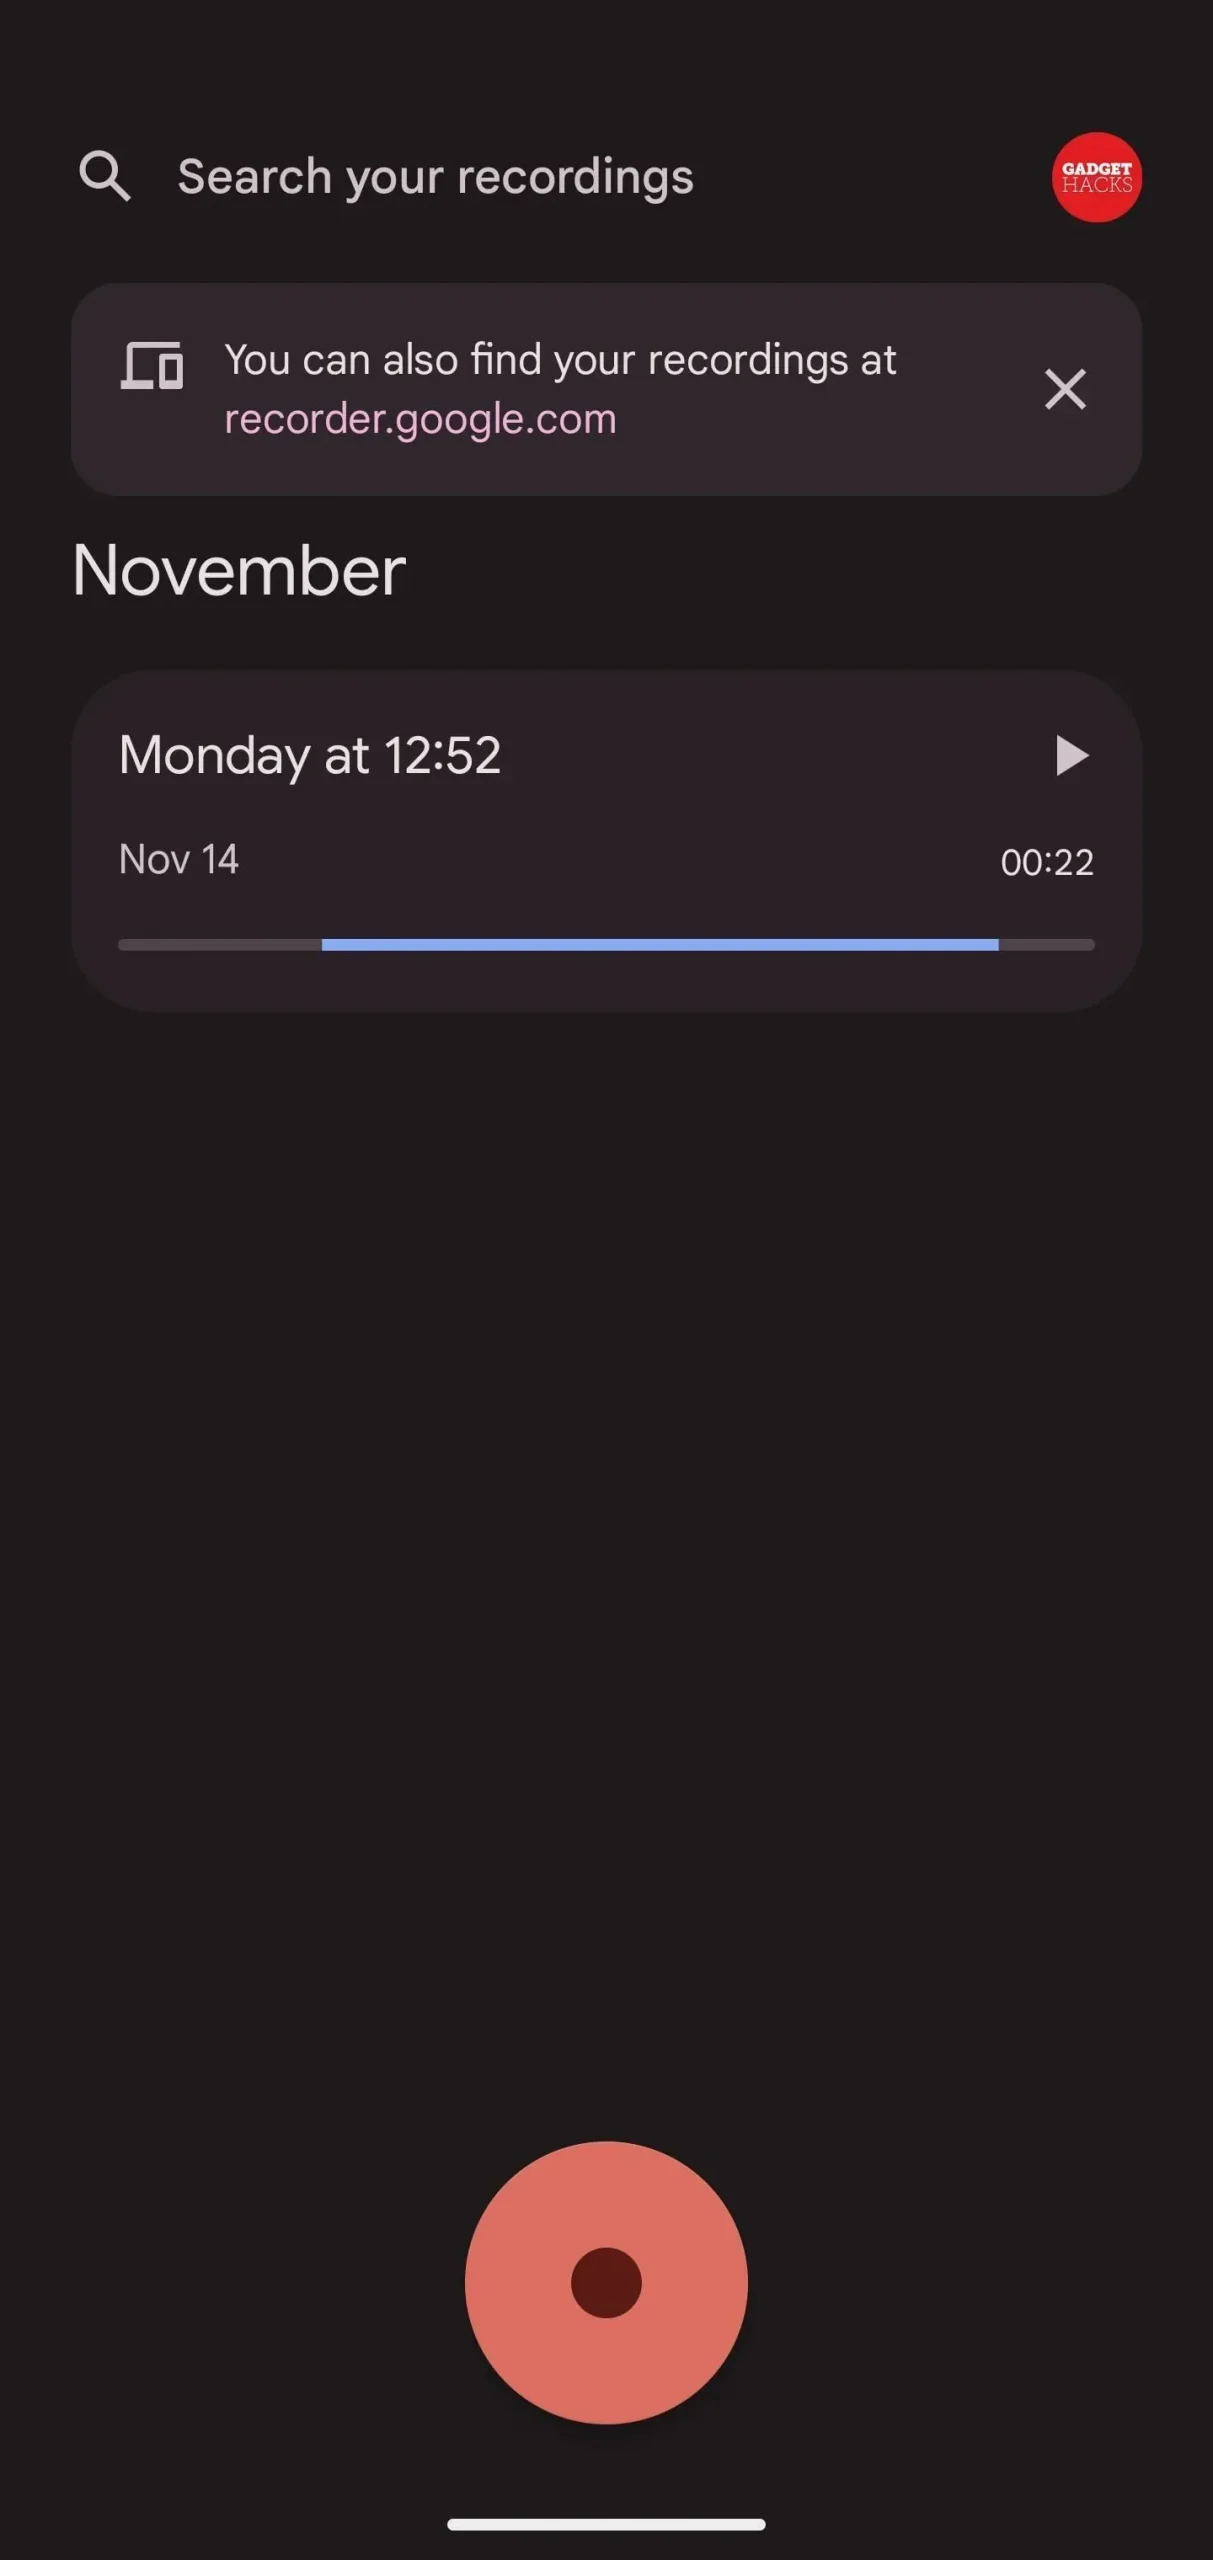
Find and open the Google Recorder app on your Android phone. You will see requests for microphone access and permission to send notifications if you are using it for the first time. And there will be an option to switch Google accounts if you’re signed into more than one on your device, and you can back up records in your Google account at recorder.google.com.
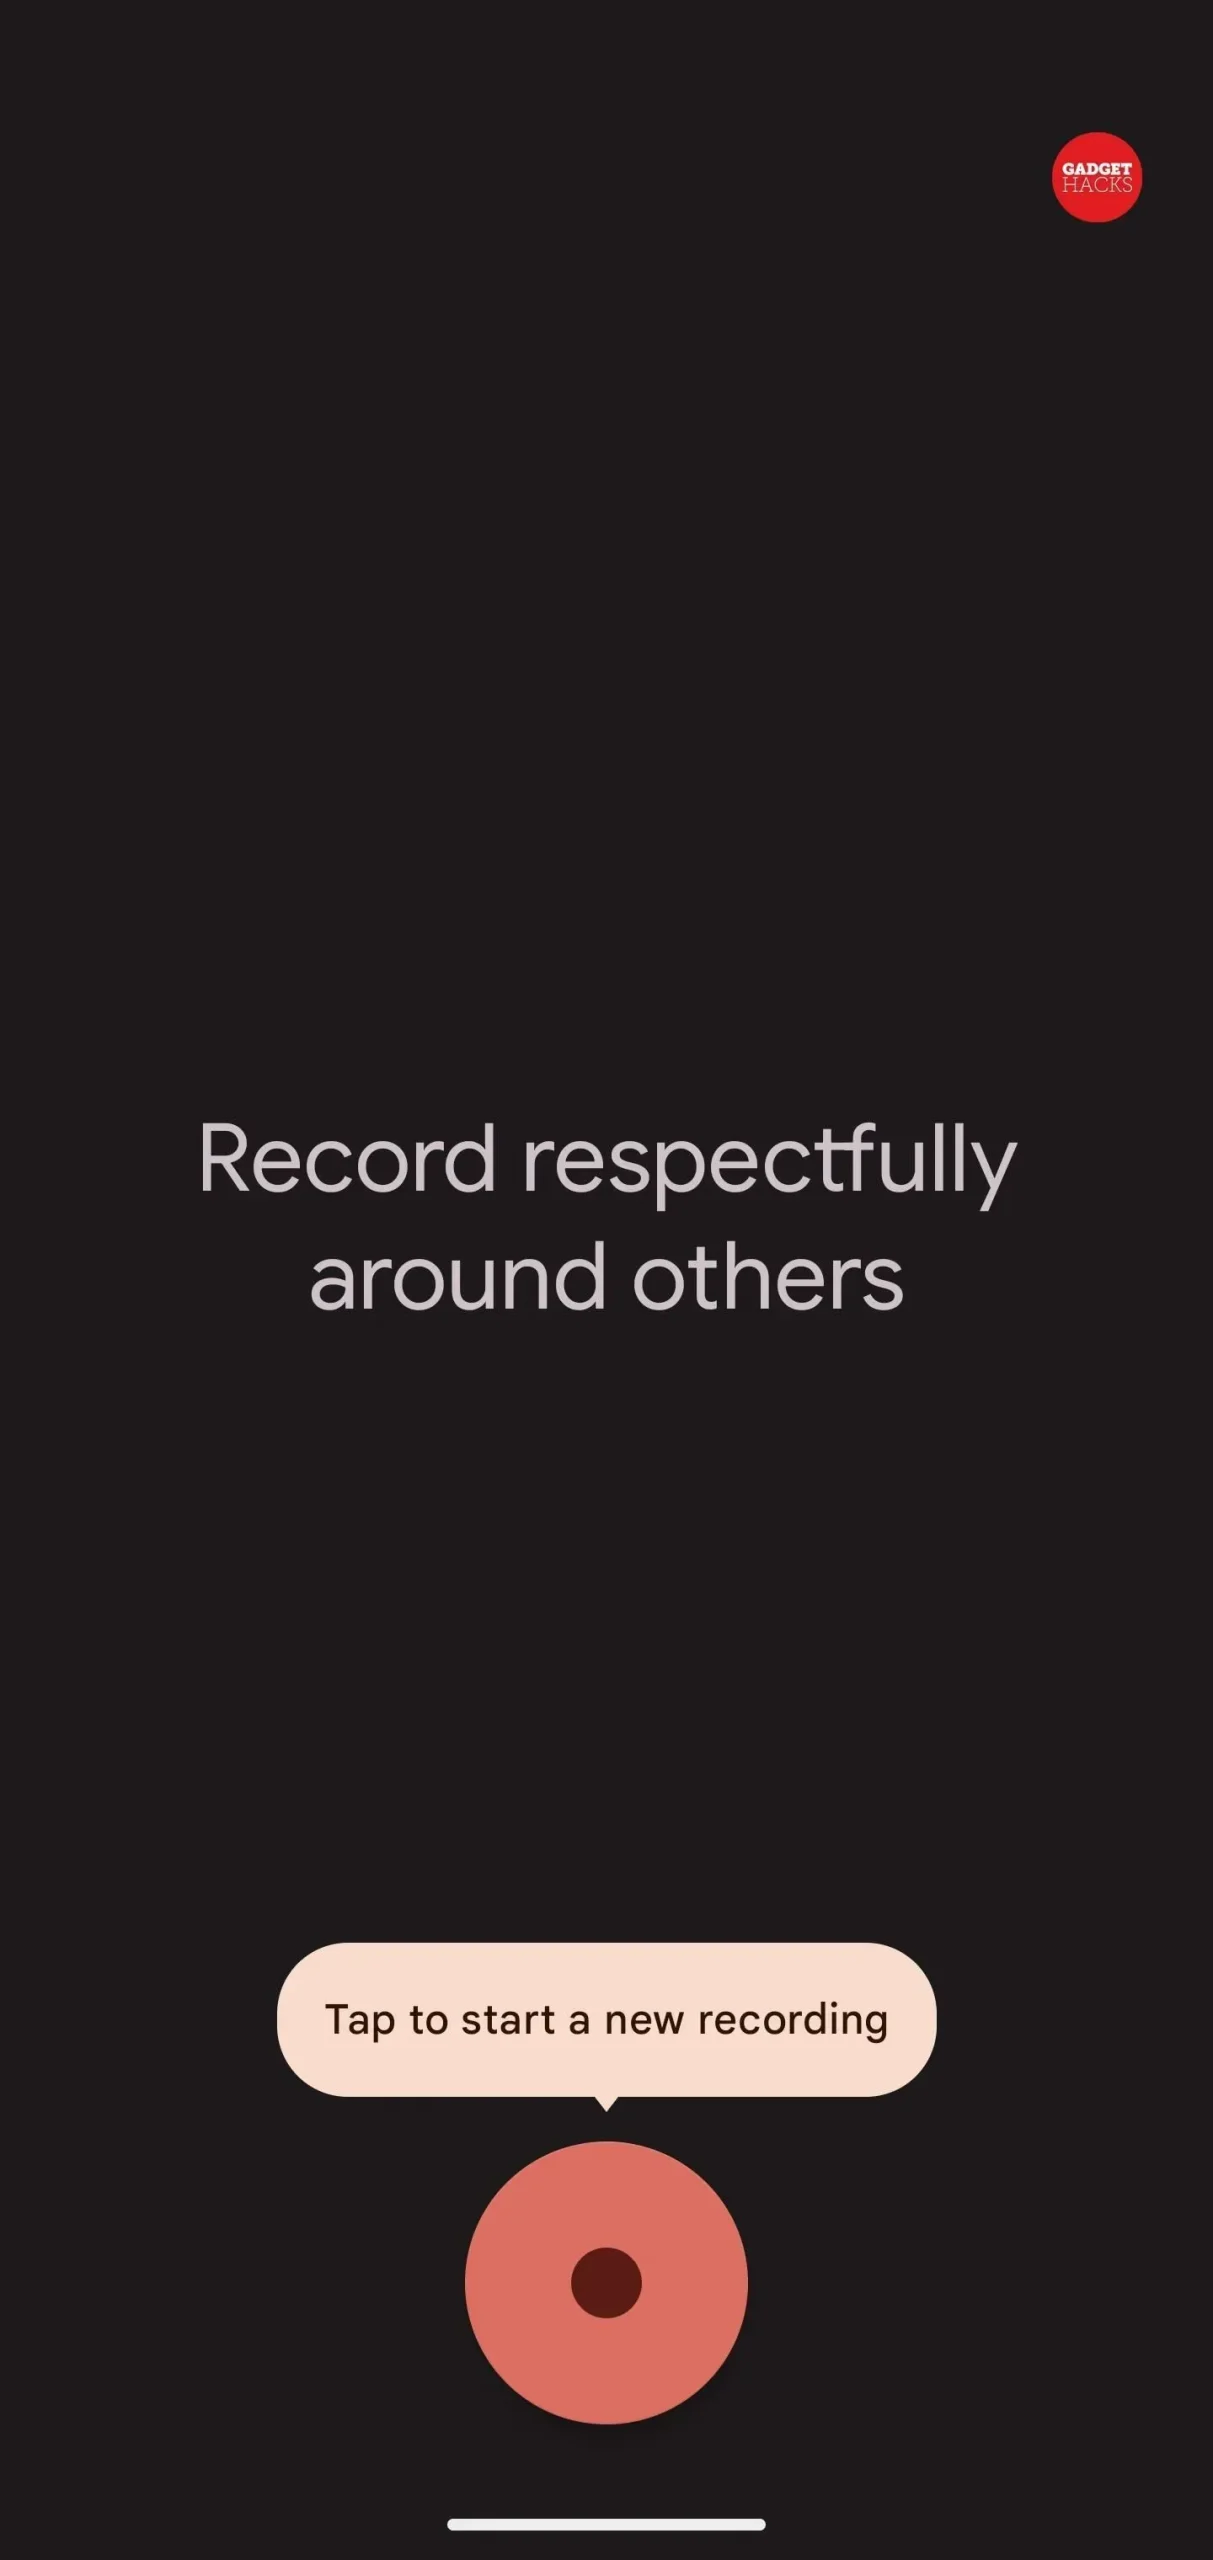
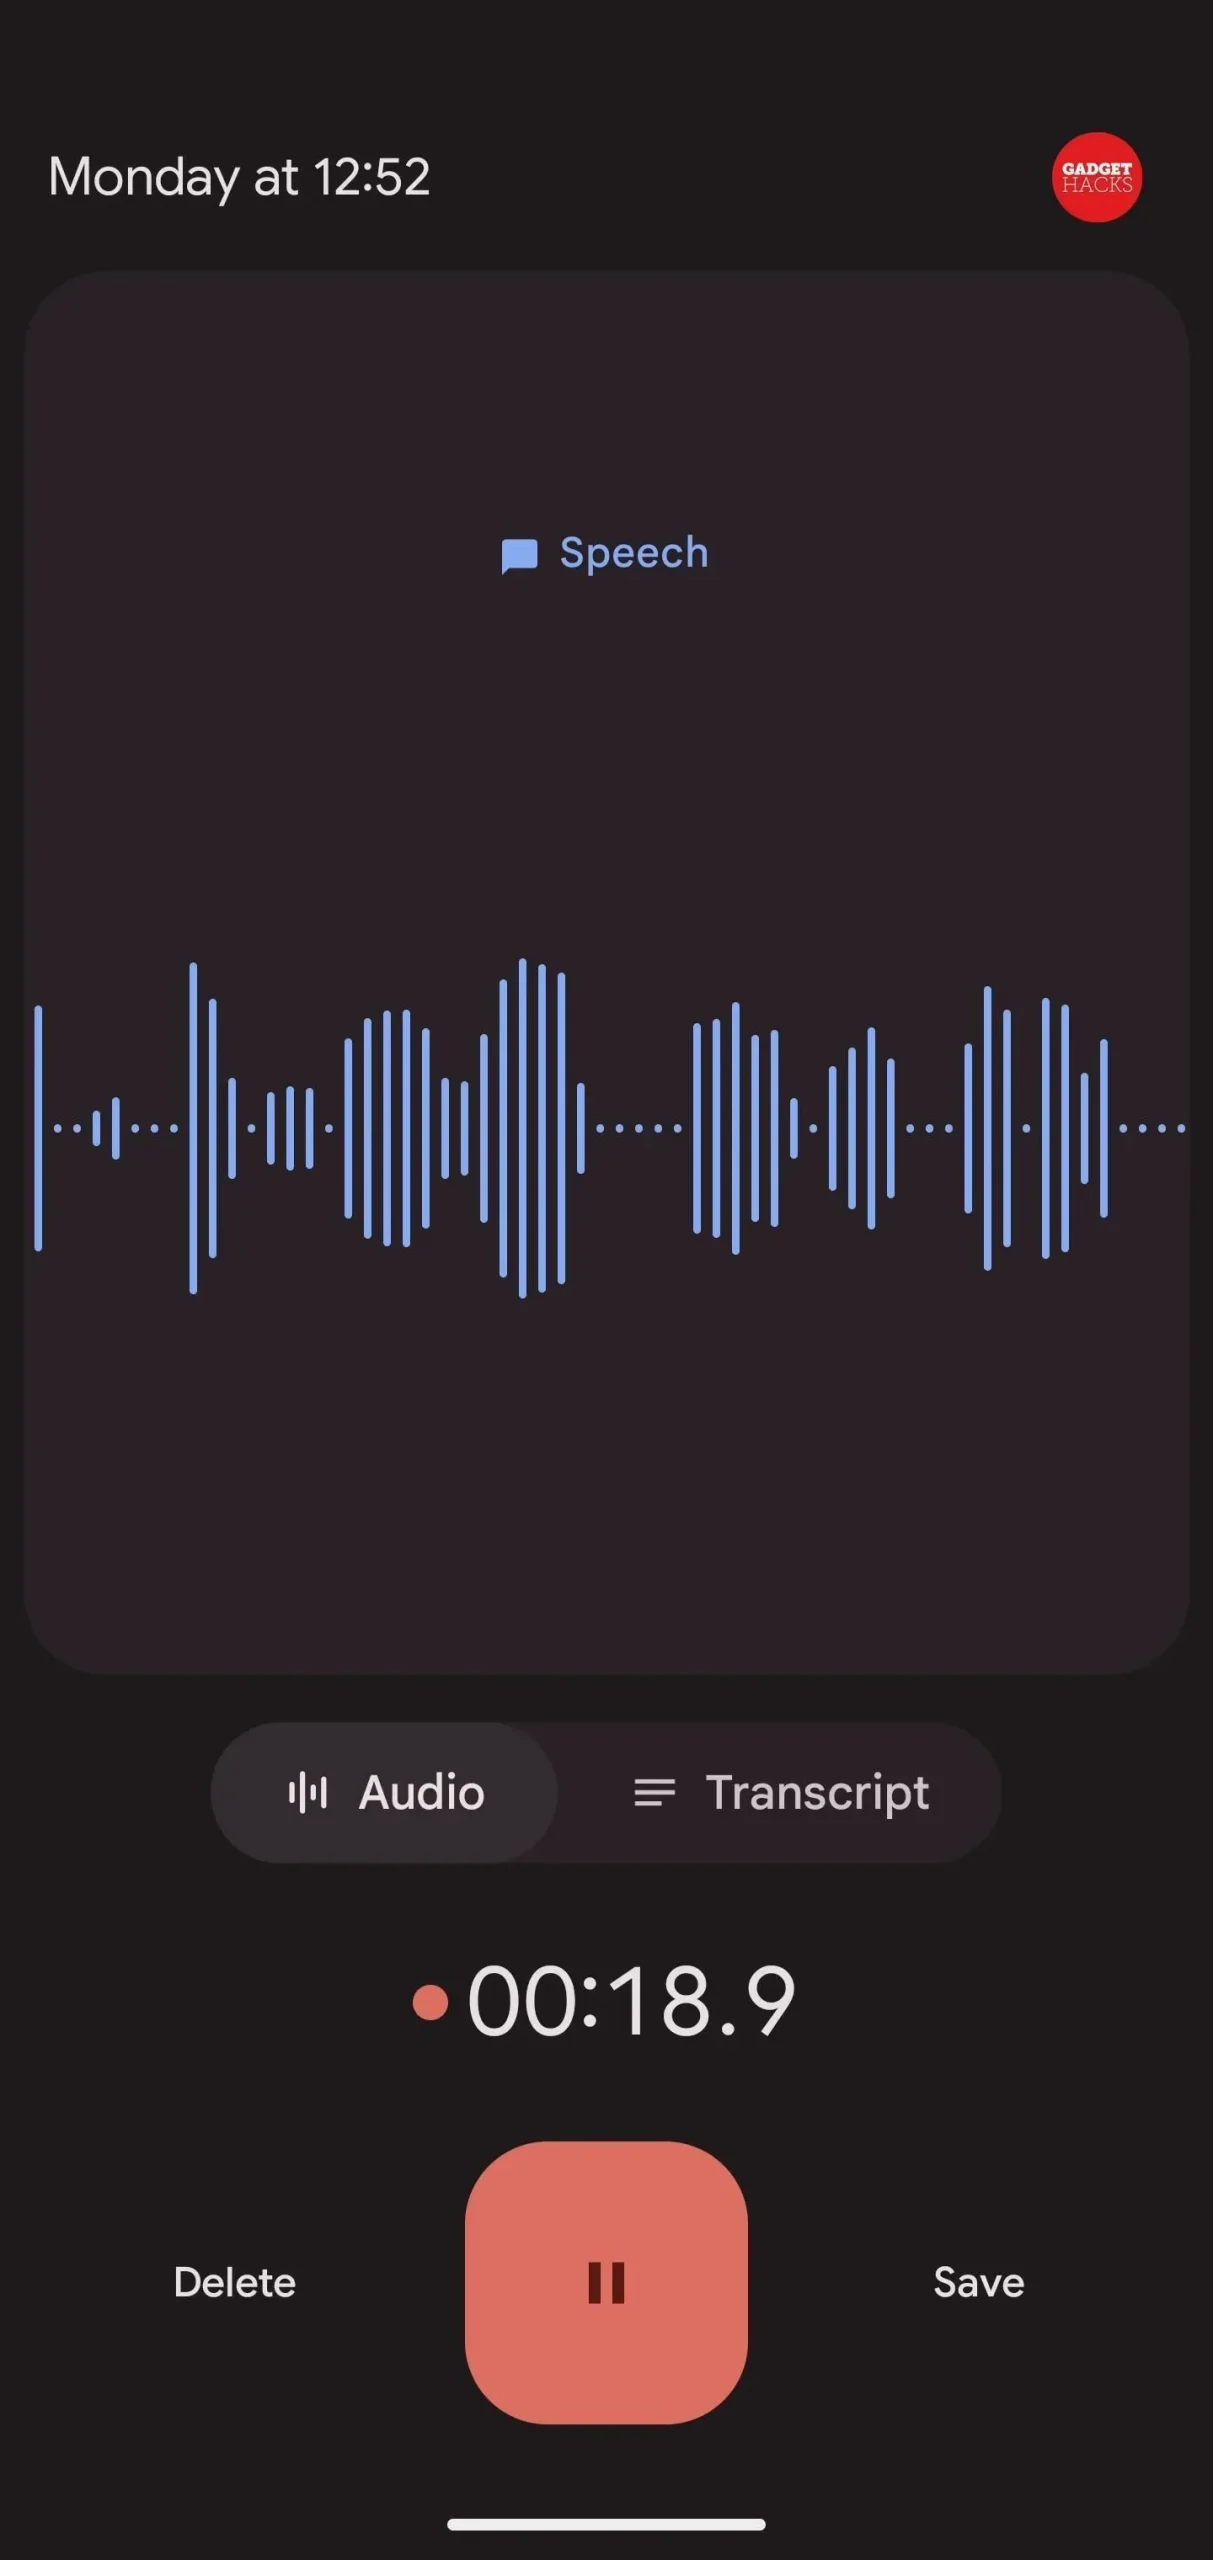
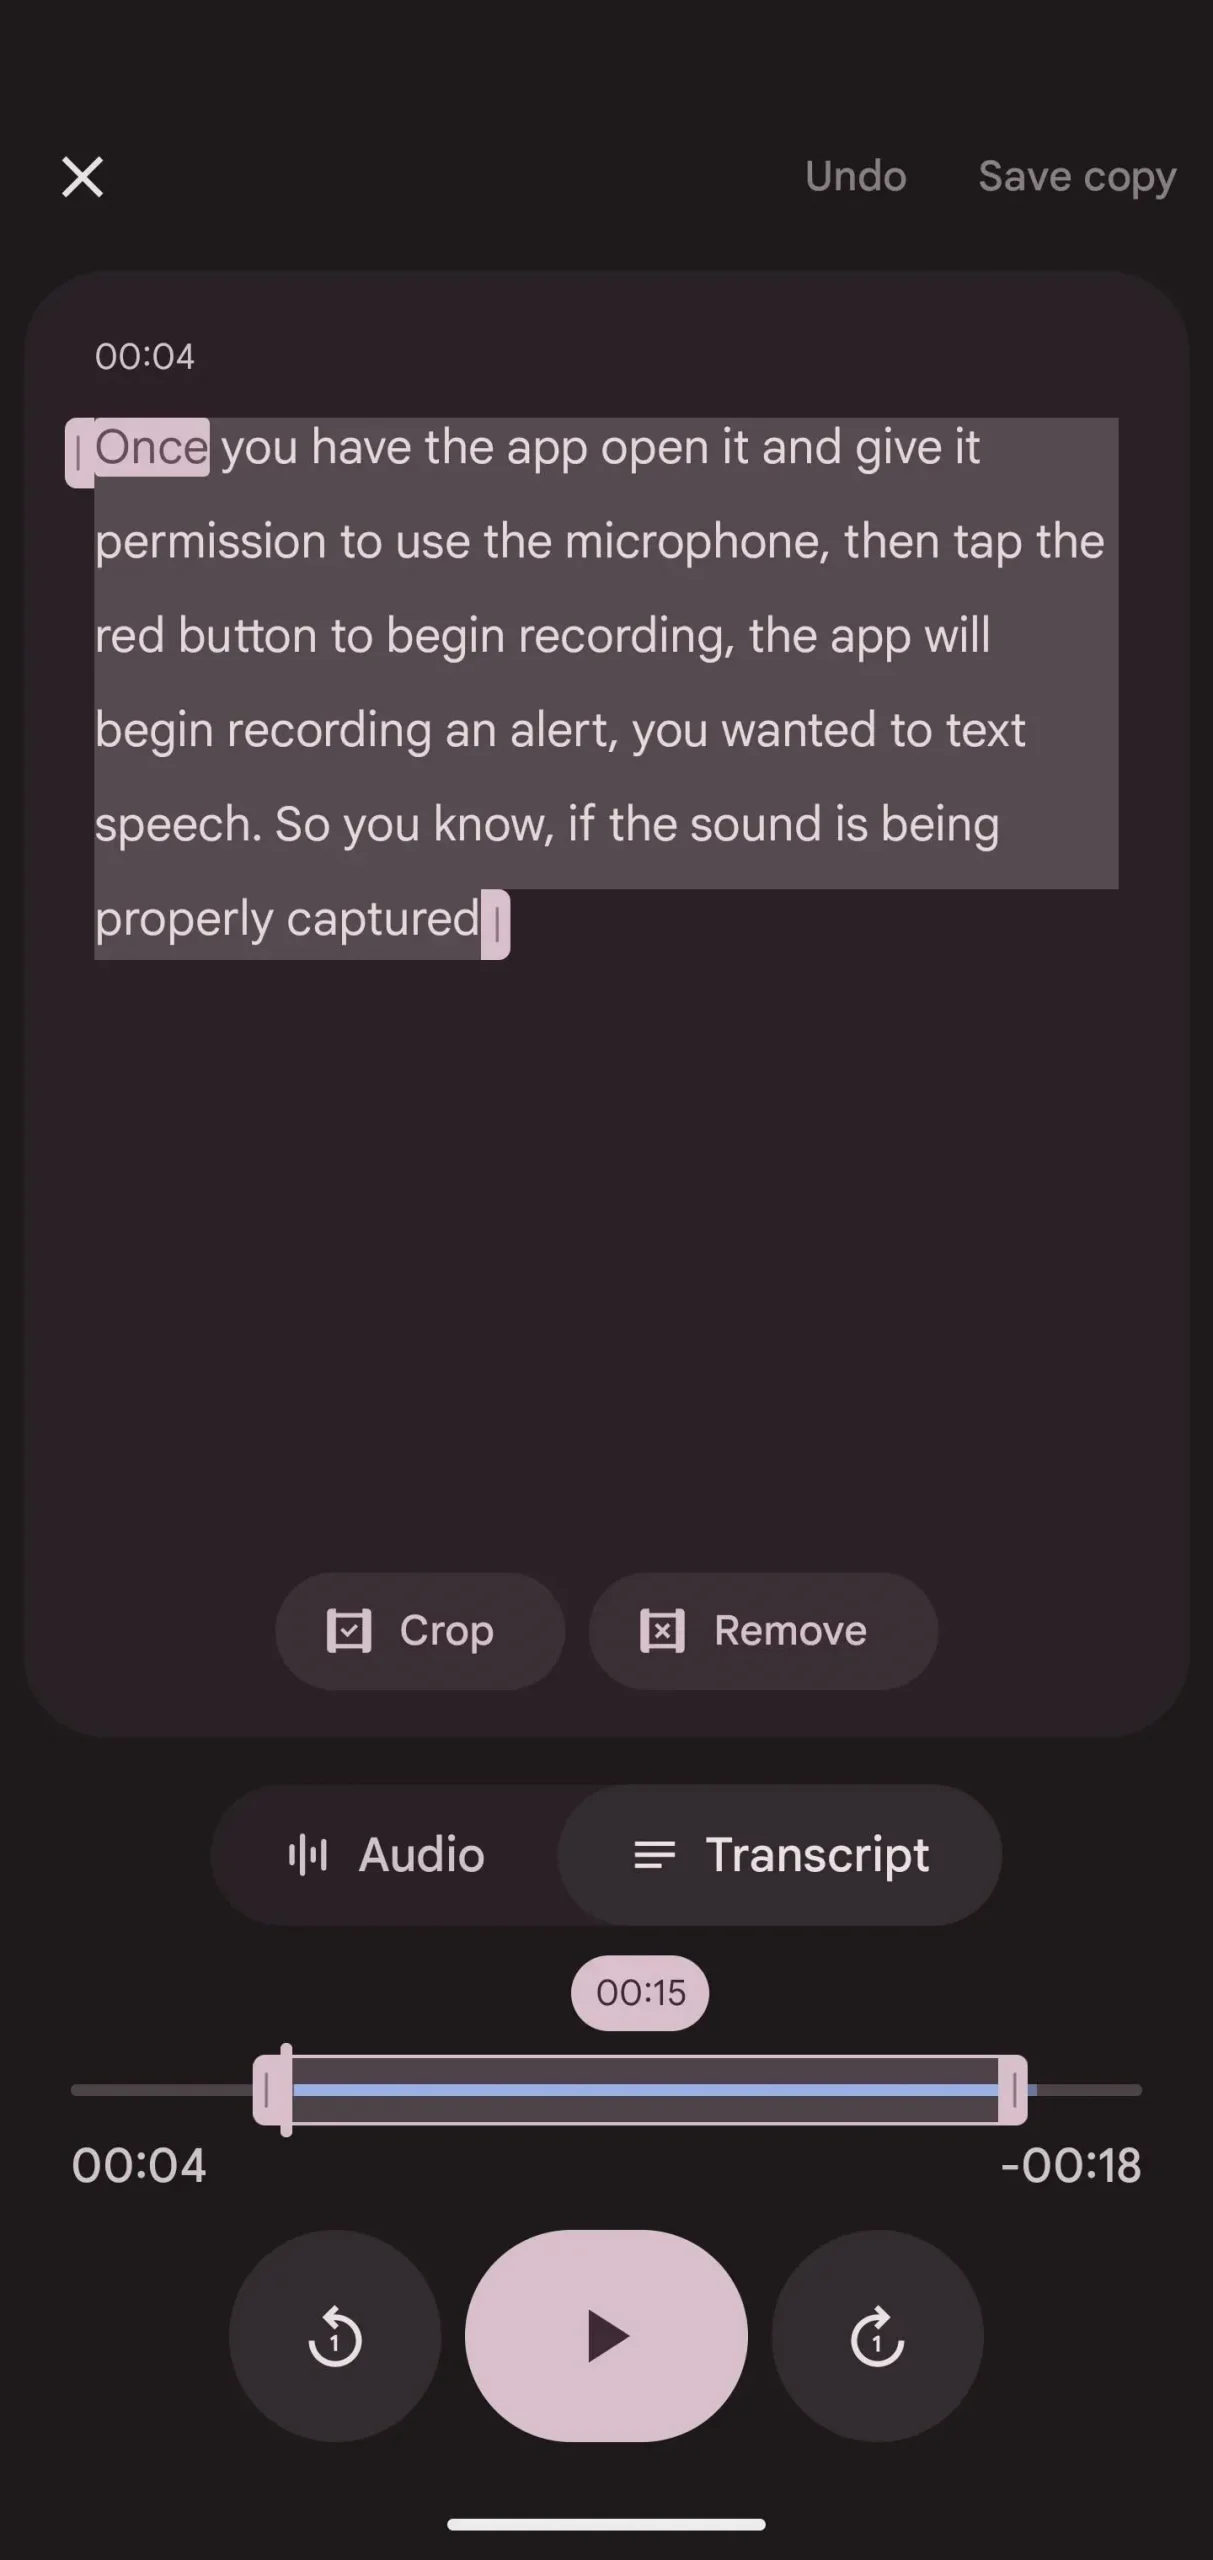
Once you have access to the microphone, press the red button to start recording. The app will start recording and alert you when it detects speech so you know if the audio is being recorded correctly.
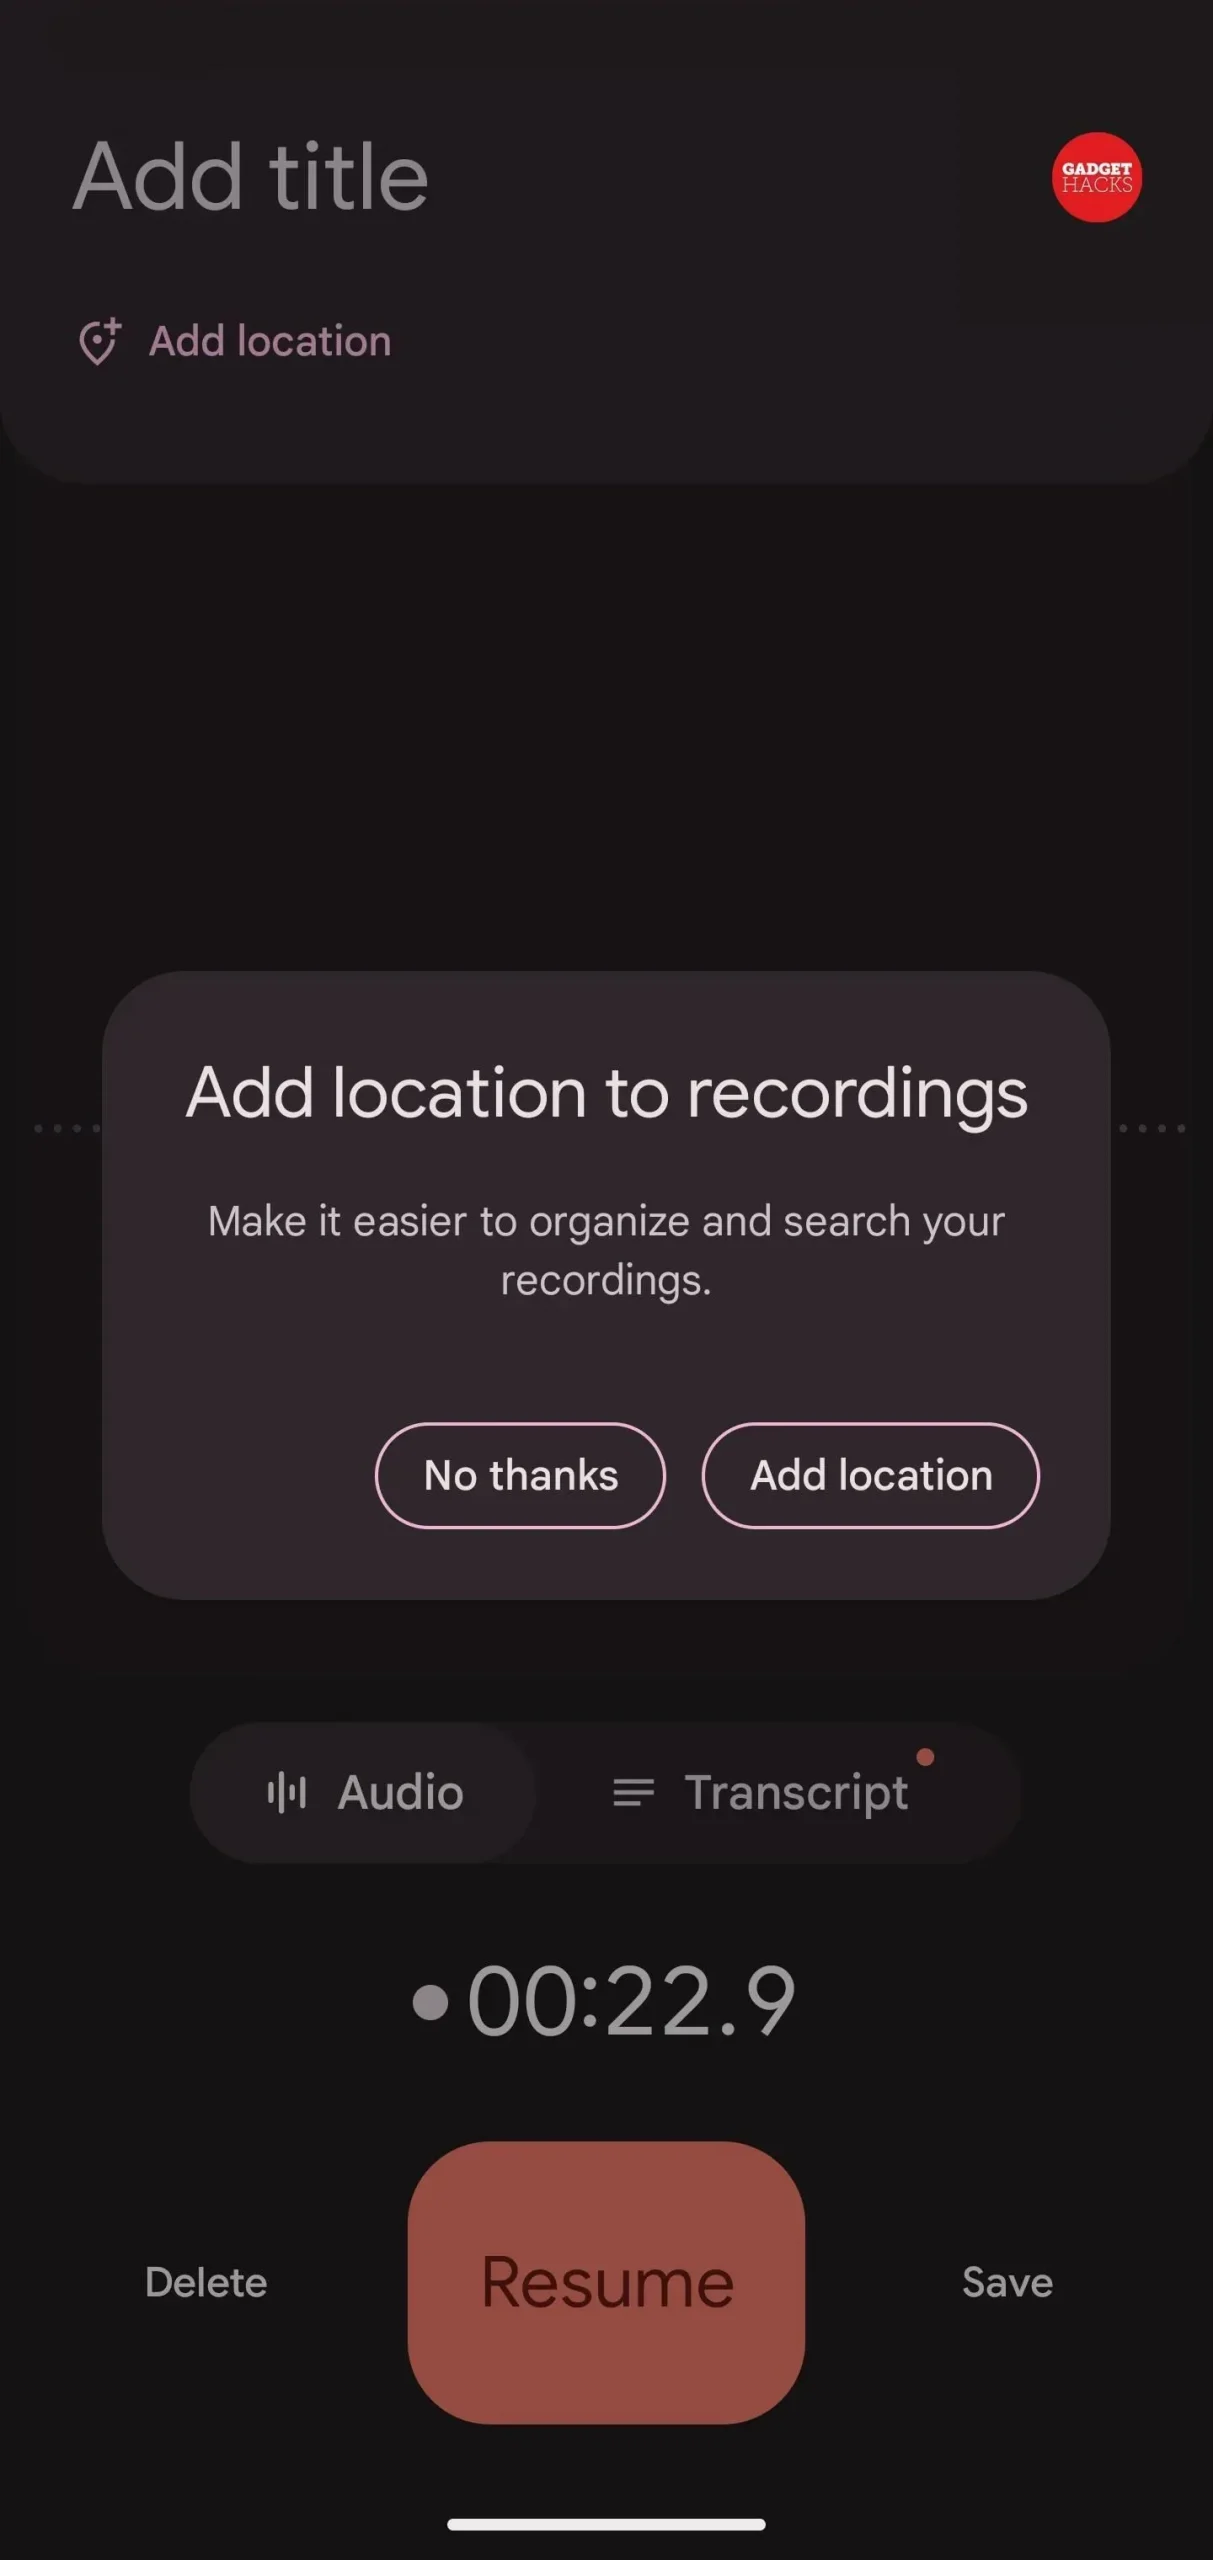
When you’re done, hit the pause button, which turns into a resume button if you want to continue adding to the file. You may be asked to add a location, and you may want to add a title for the entry (which will be the date/time if left blank). Click “Save”to add it to your library.
Step 3: View, Copy, or Edit Your Transcript (Optional)
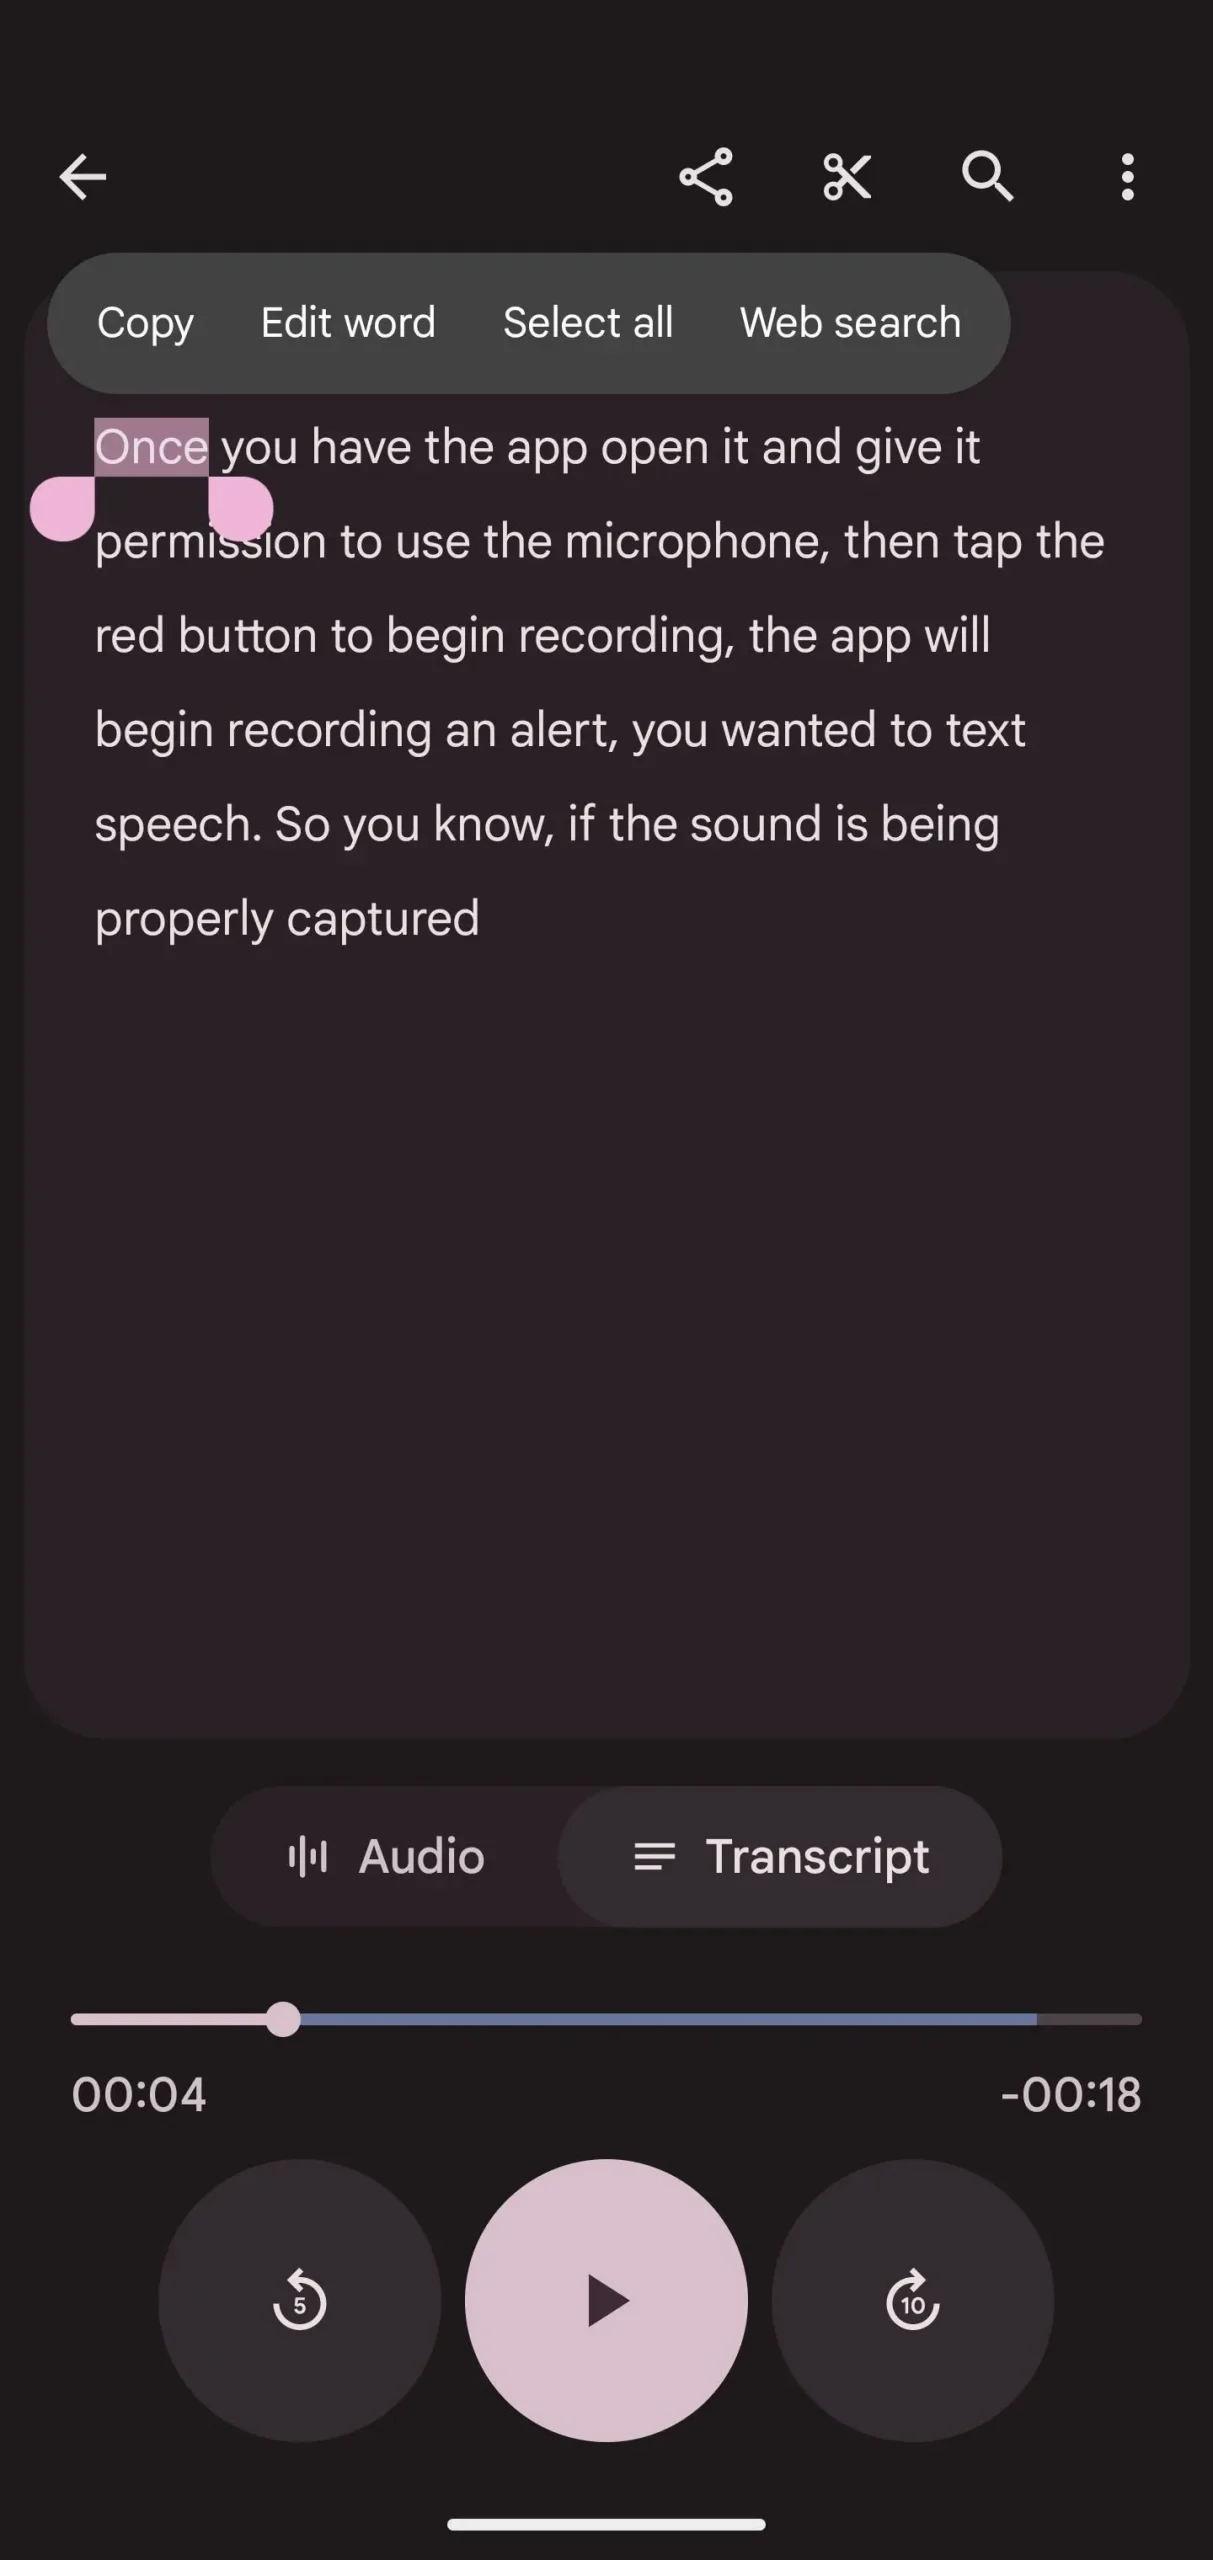
If you need to copy a few words from a recording, you can open it from the list in Google Recorder and then go to the Transcript tab. You will see the entire transcript where you can select and copy the text. You can also press the scissor button to cut the audio using the transcript as a guide.
Step 4: Copy the Transcript to Google Docs (Optional)
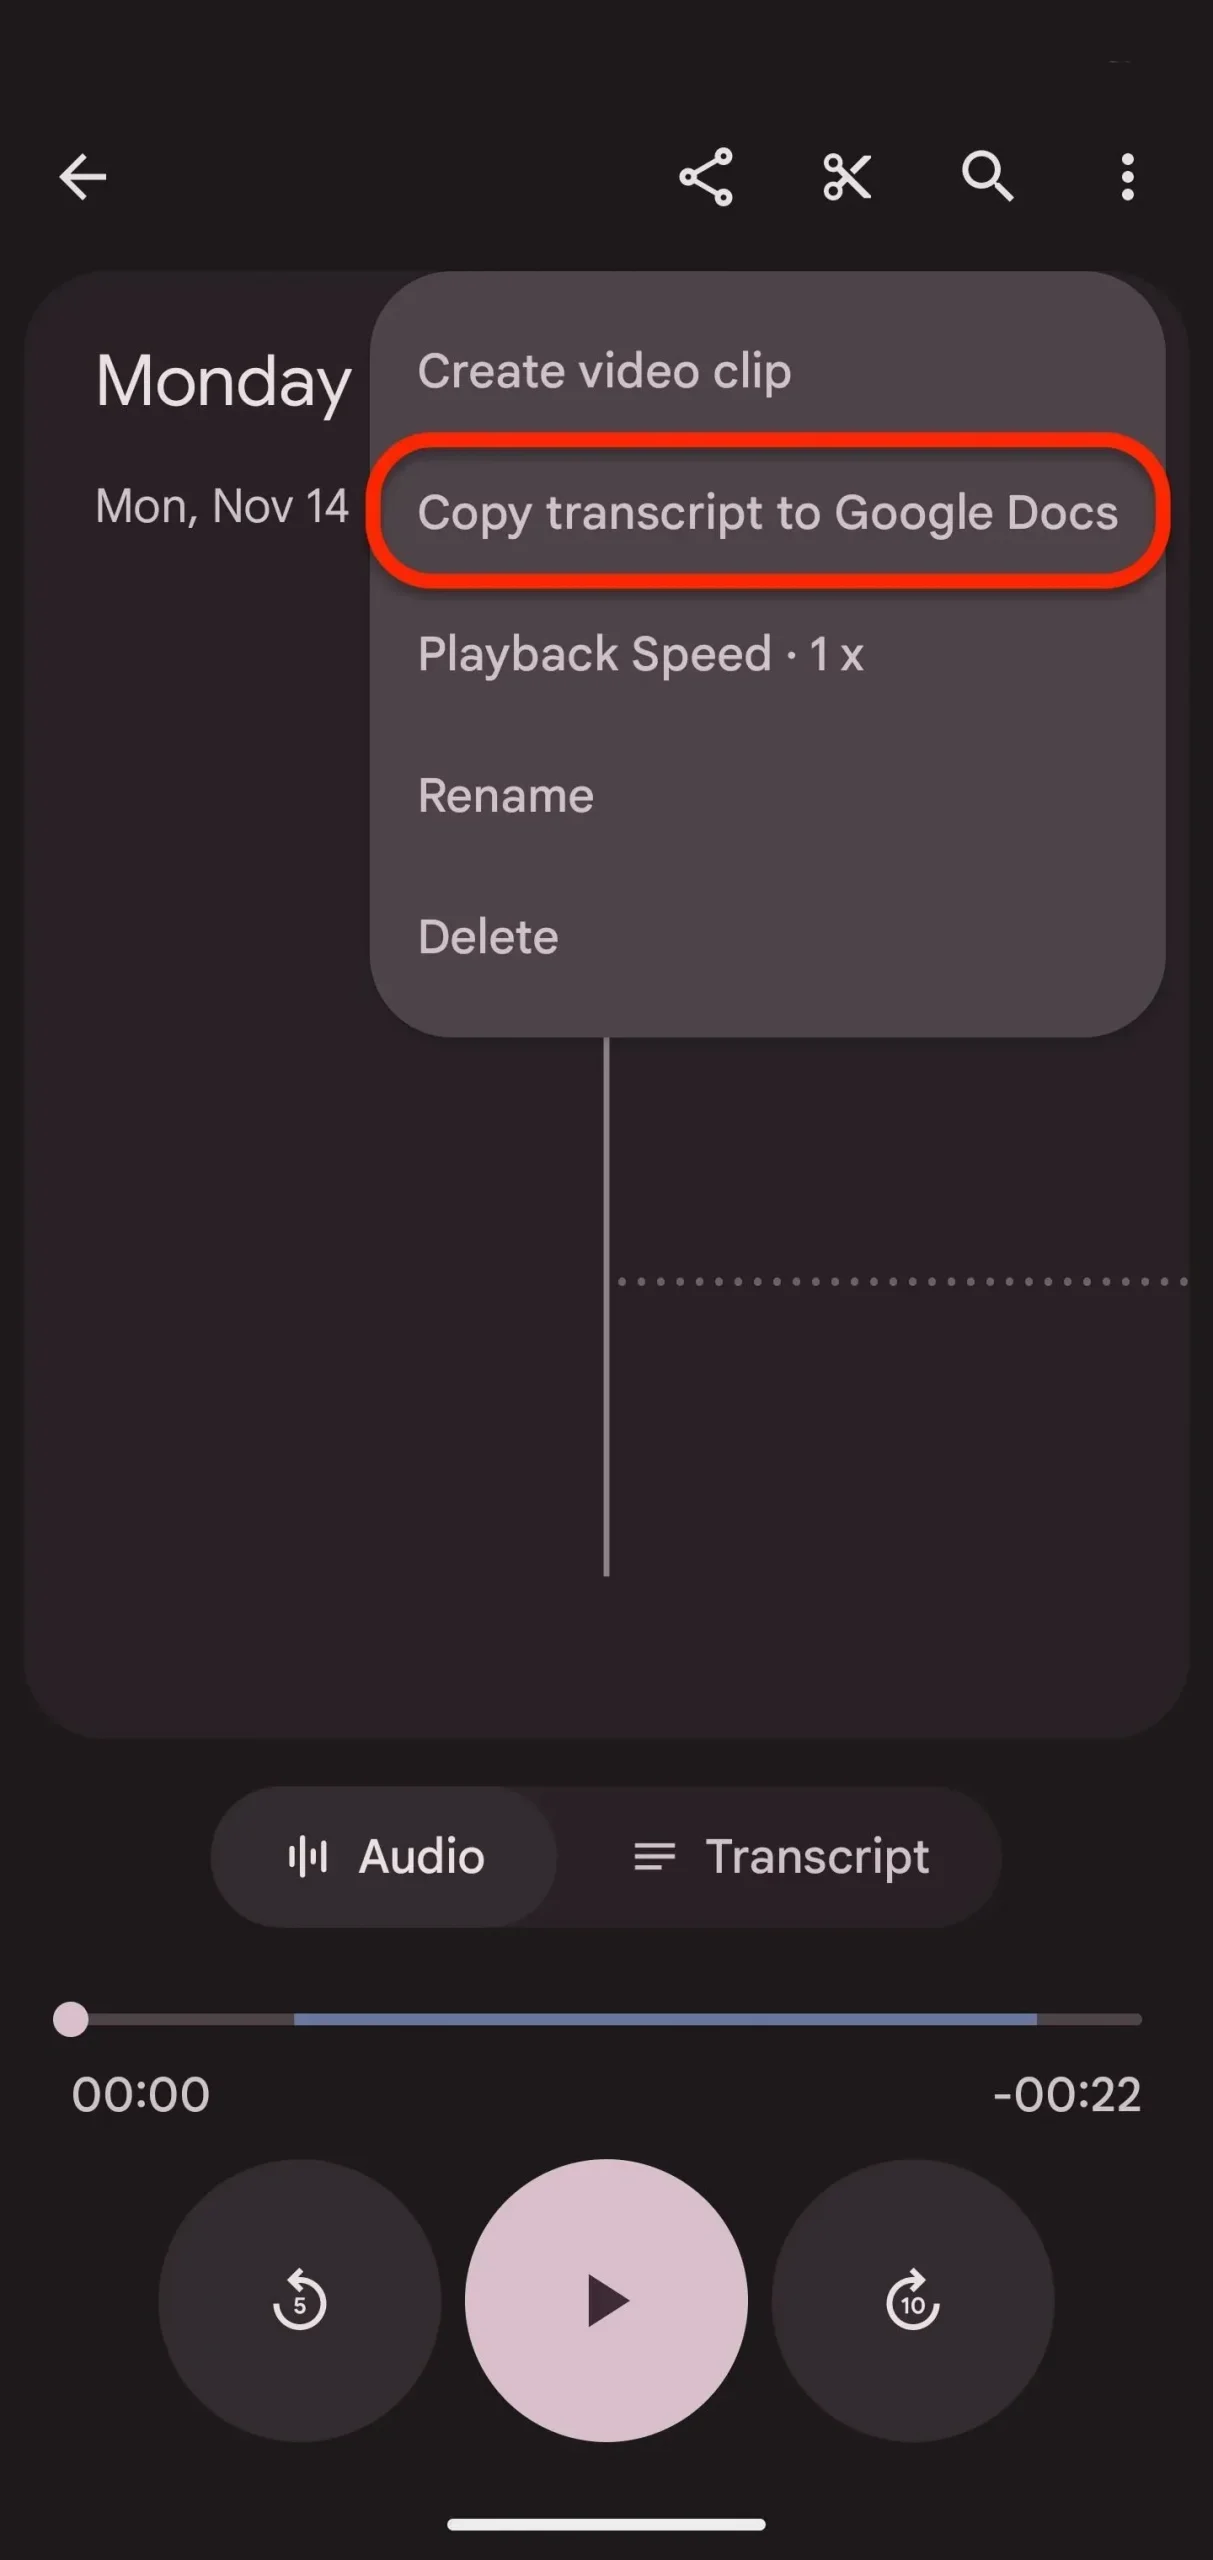
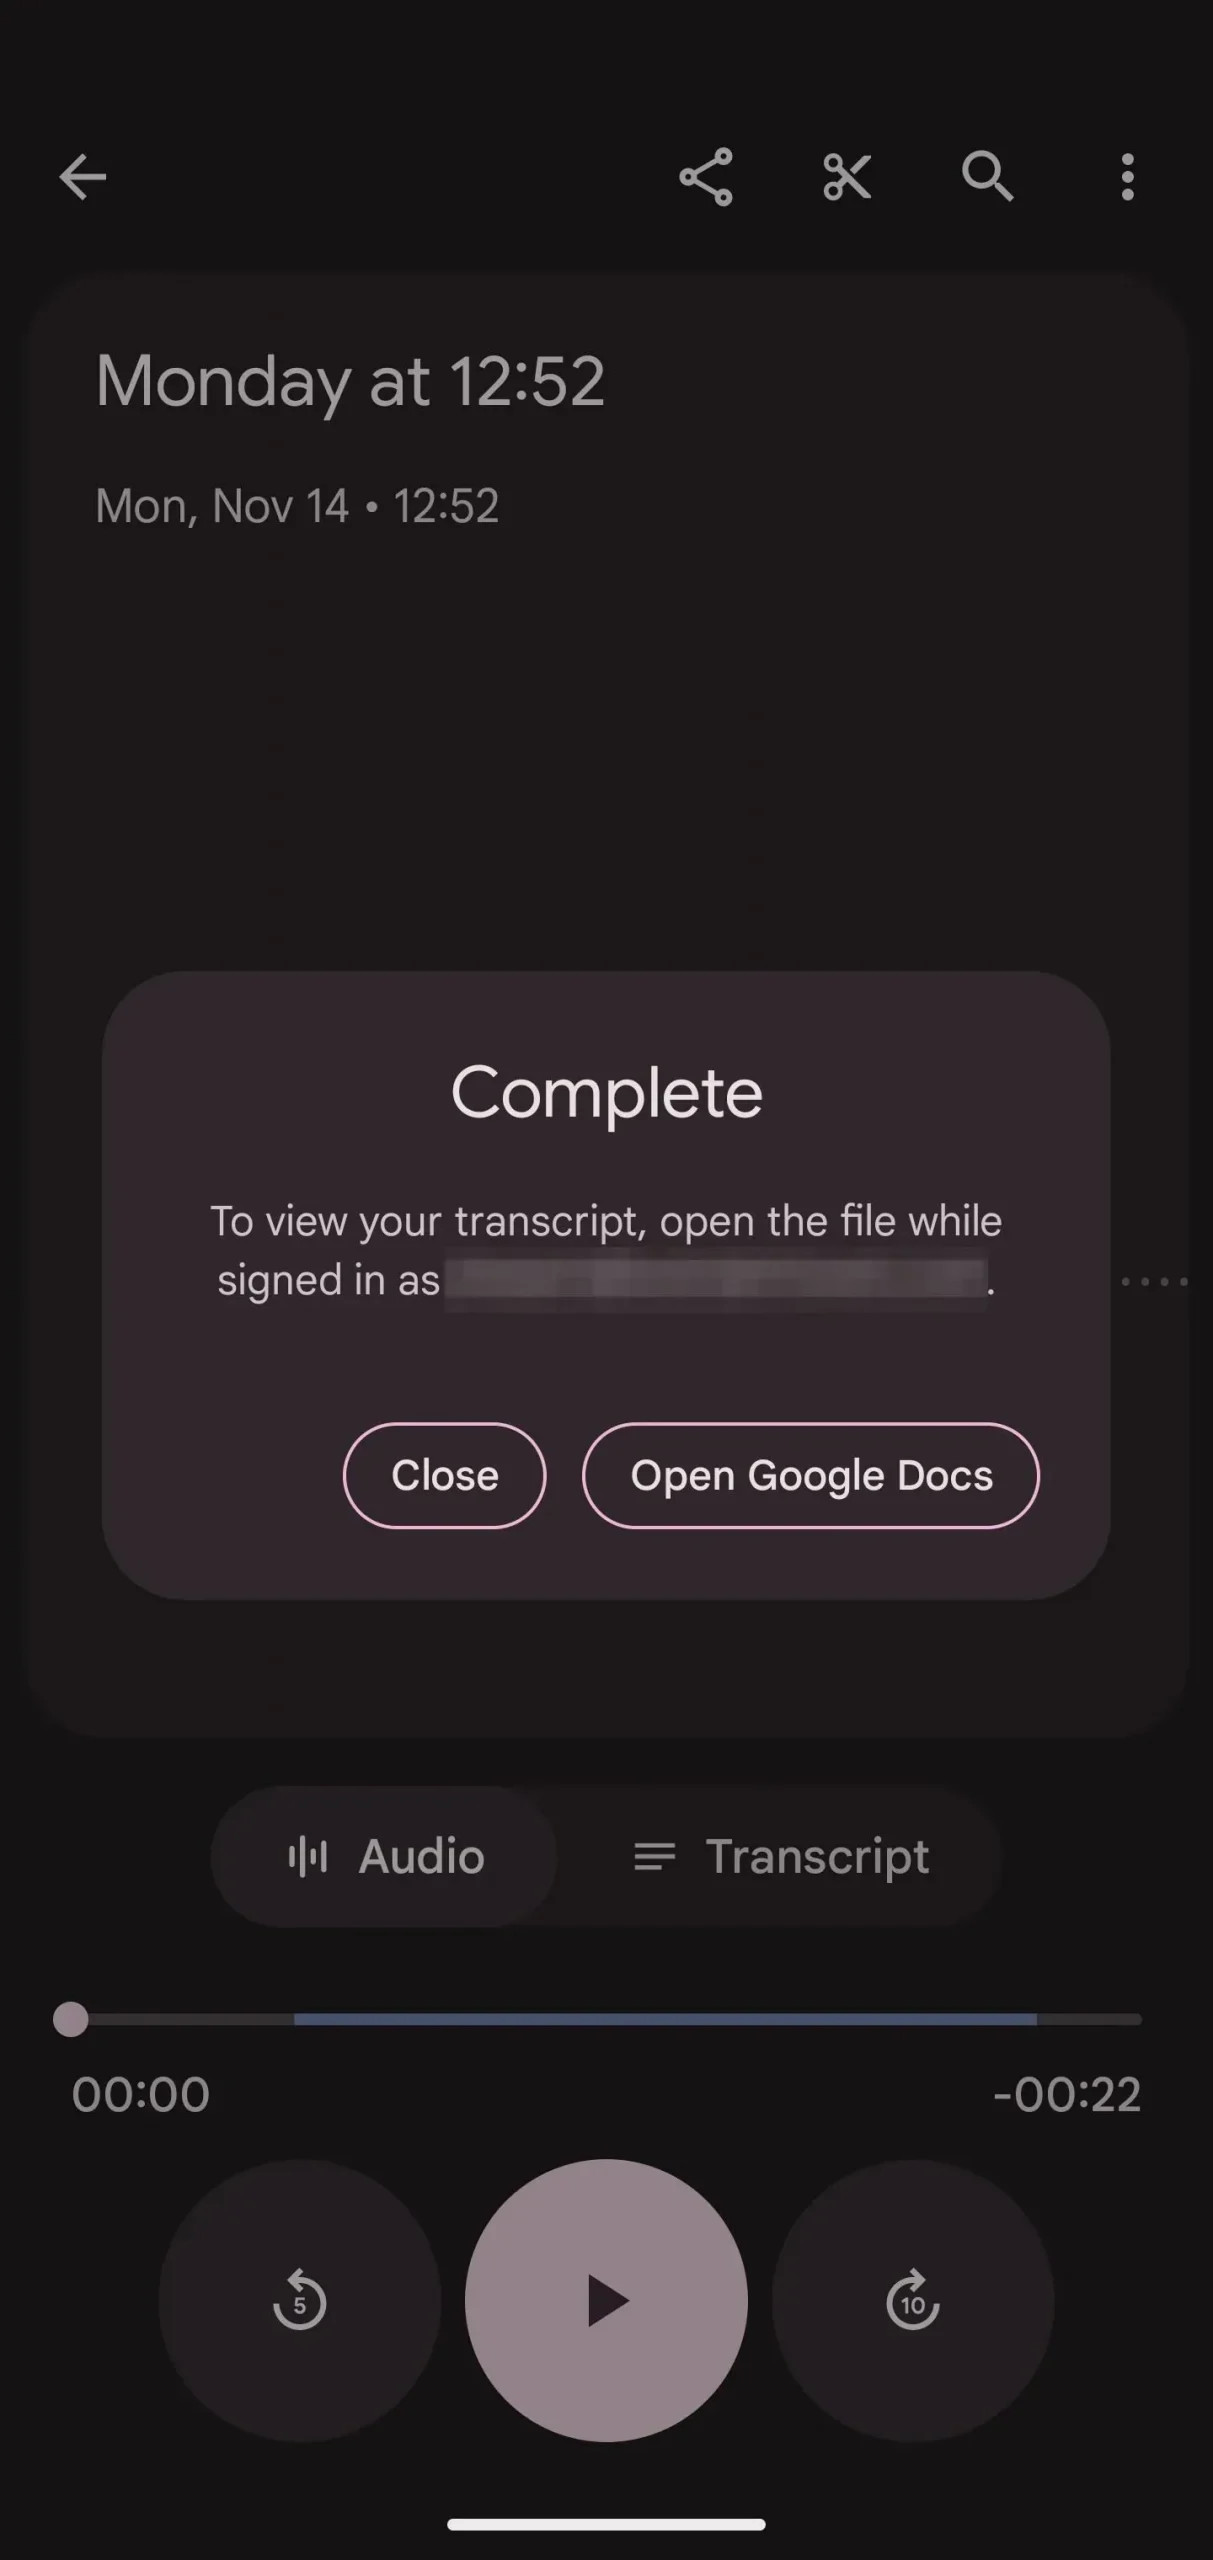
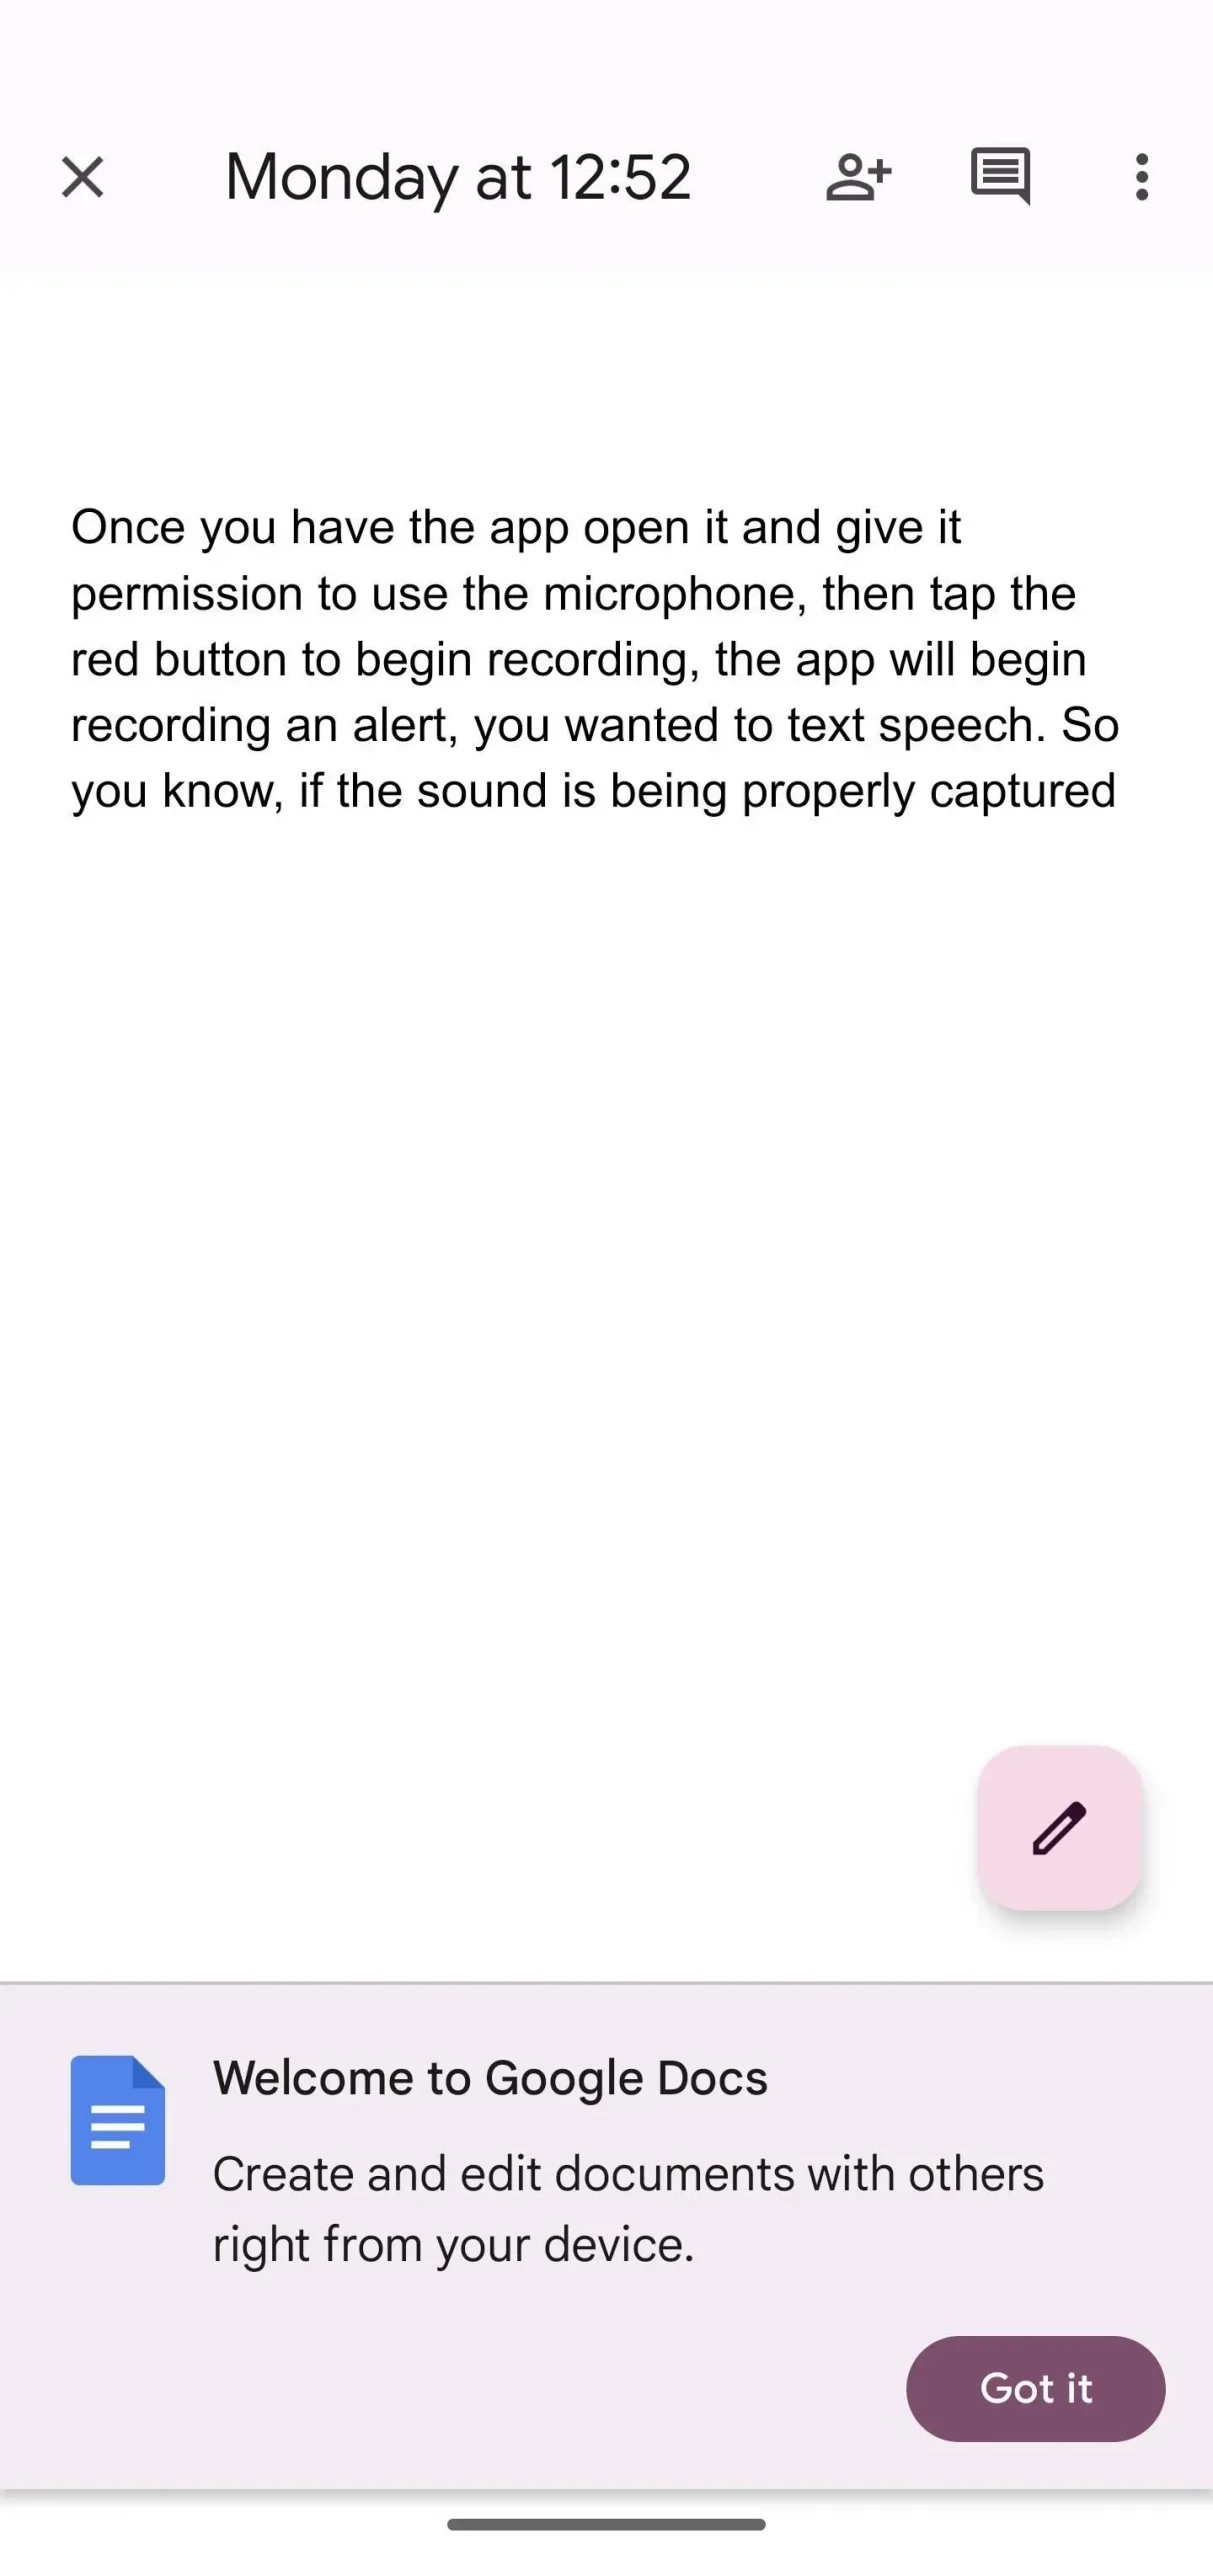
If you don’t want to use Google Docs, continue to the next step to share transcripts with other note taking and text document apps. Otherwise, tap the vertical ellipsis in the entry, select Copy Transcript to Google Docs, and then select a Google account if you’re signed in to multiple accounts. After copying, you can click “Open Google Docs”to jump directly to the new text document.
Step 5: Share with your favorite note-taking app
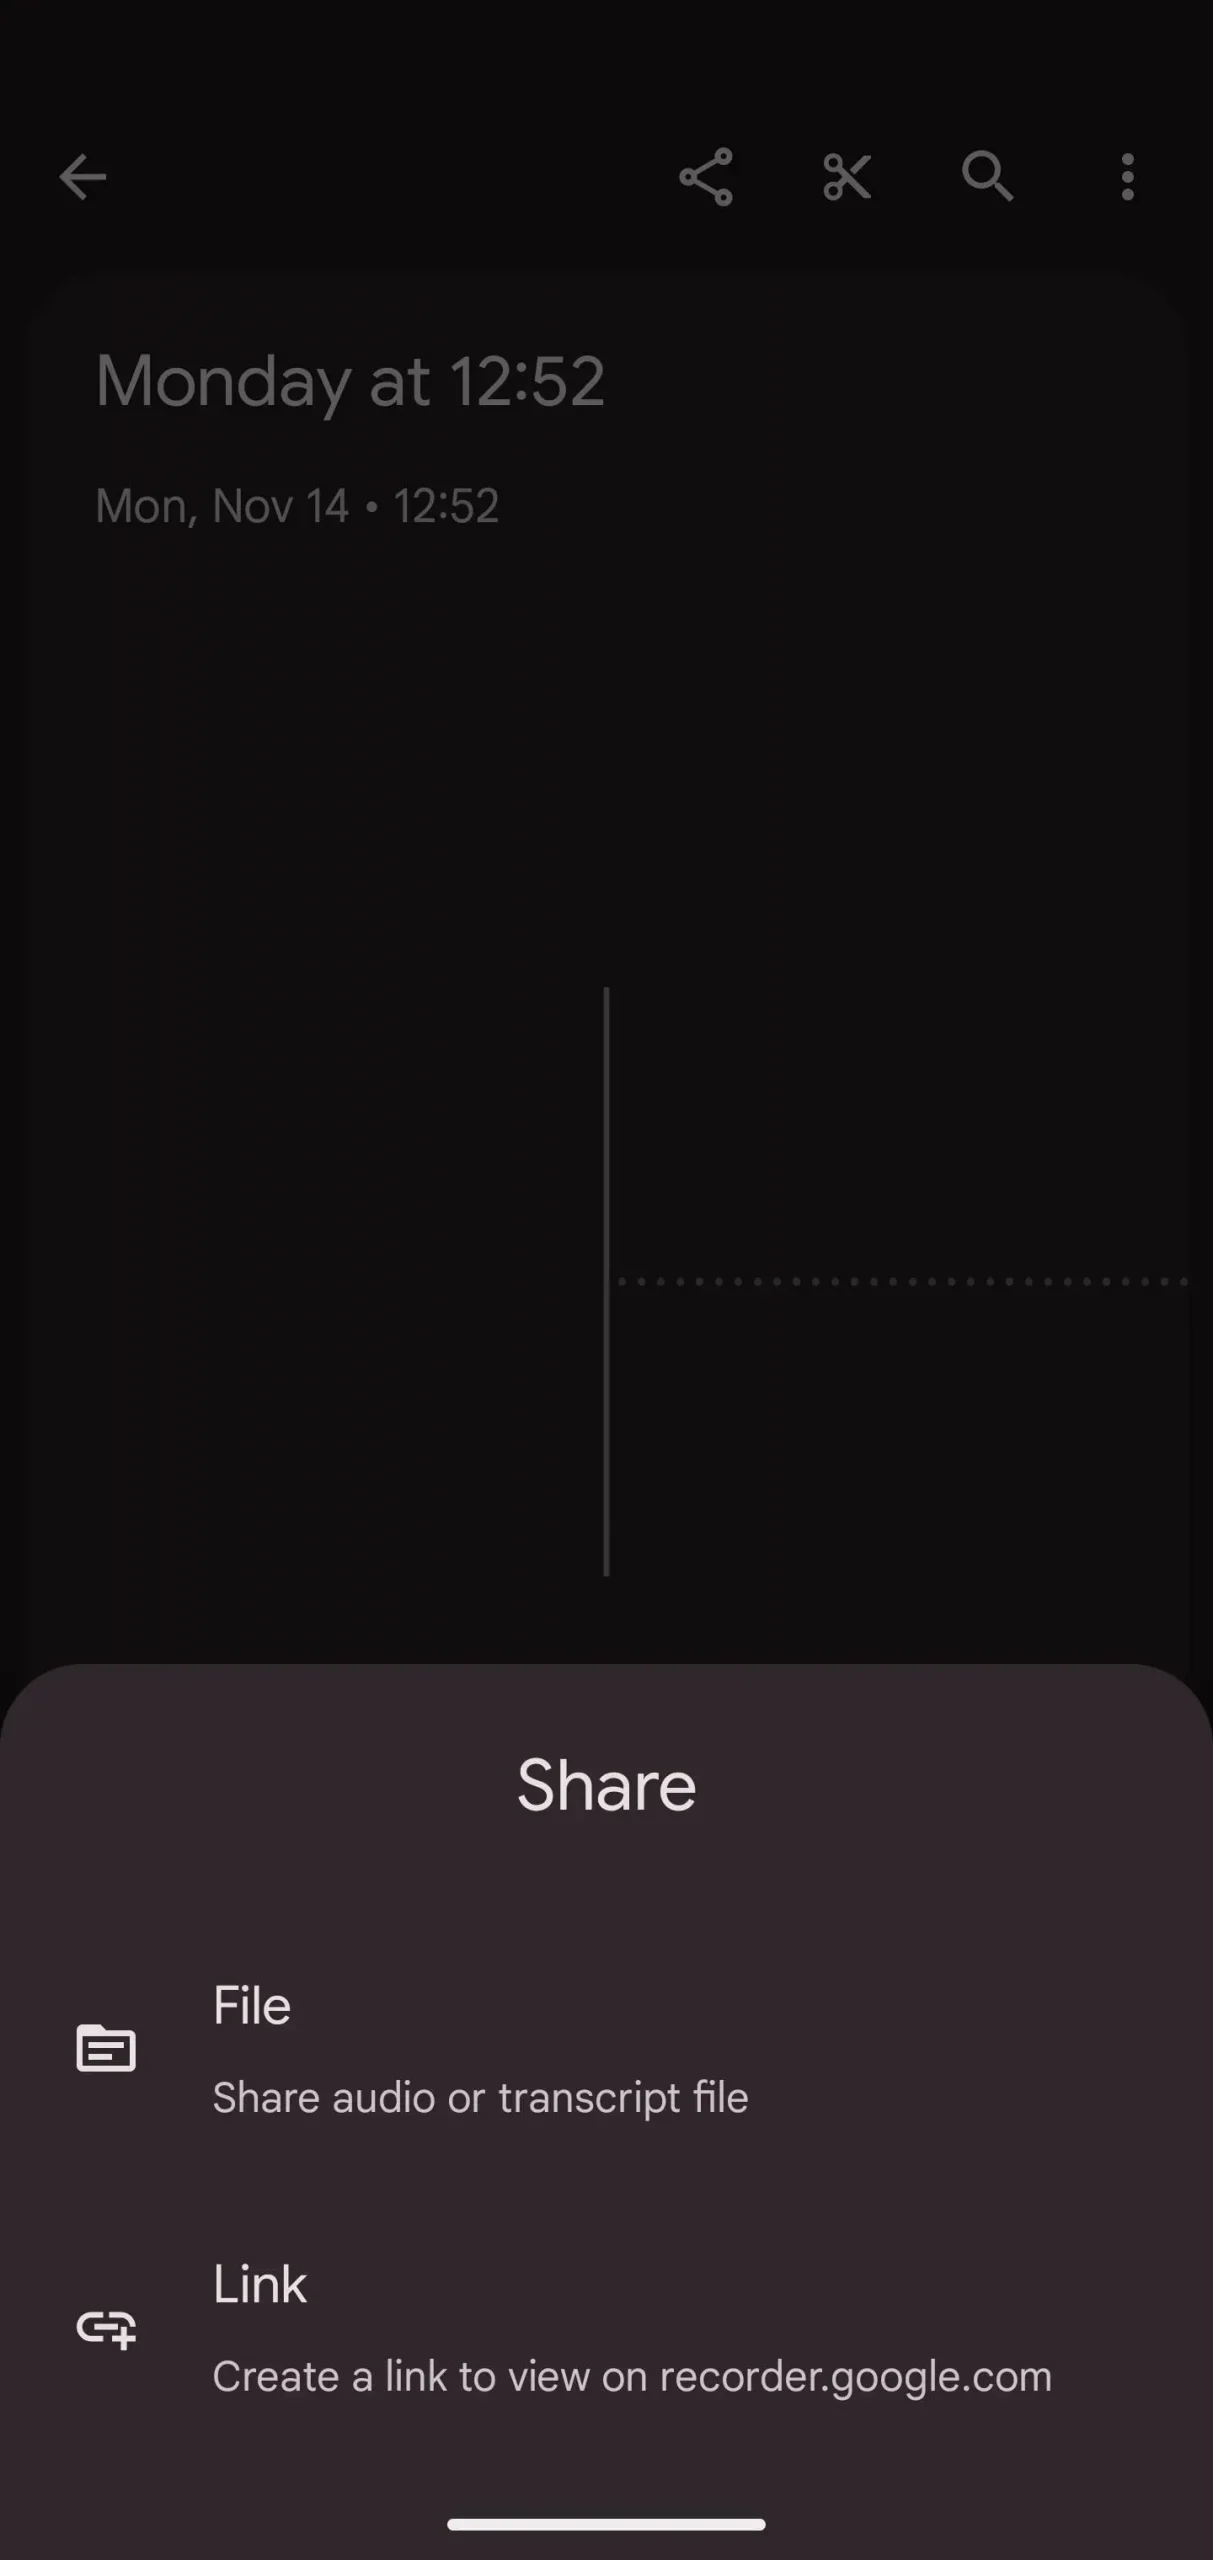
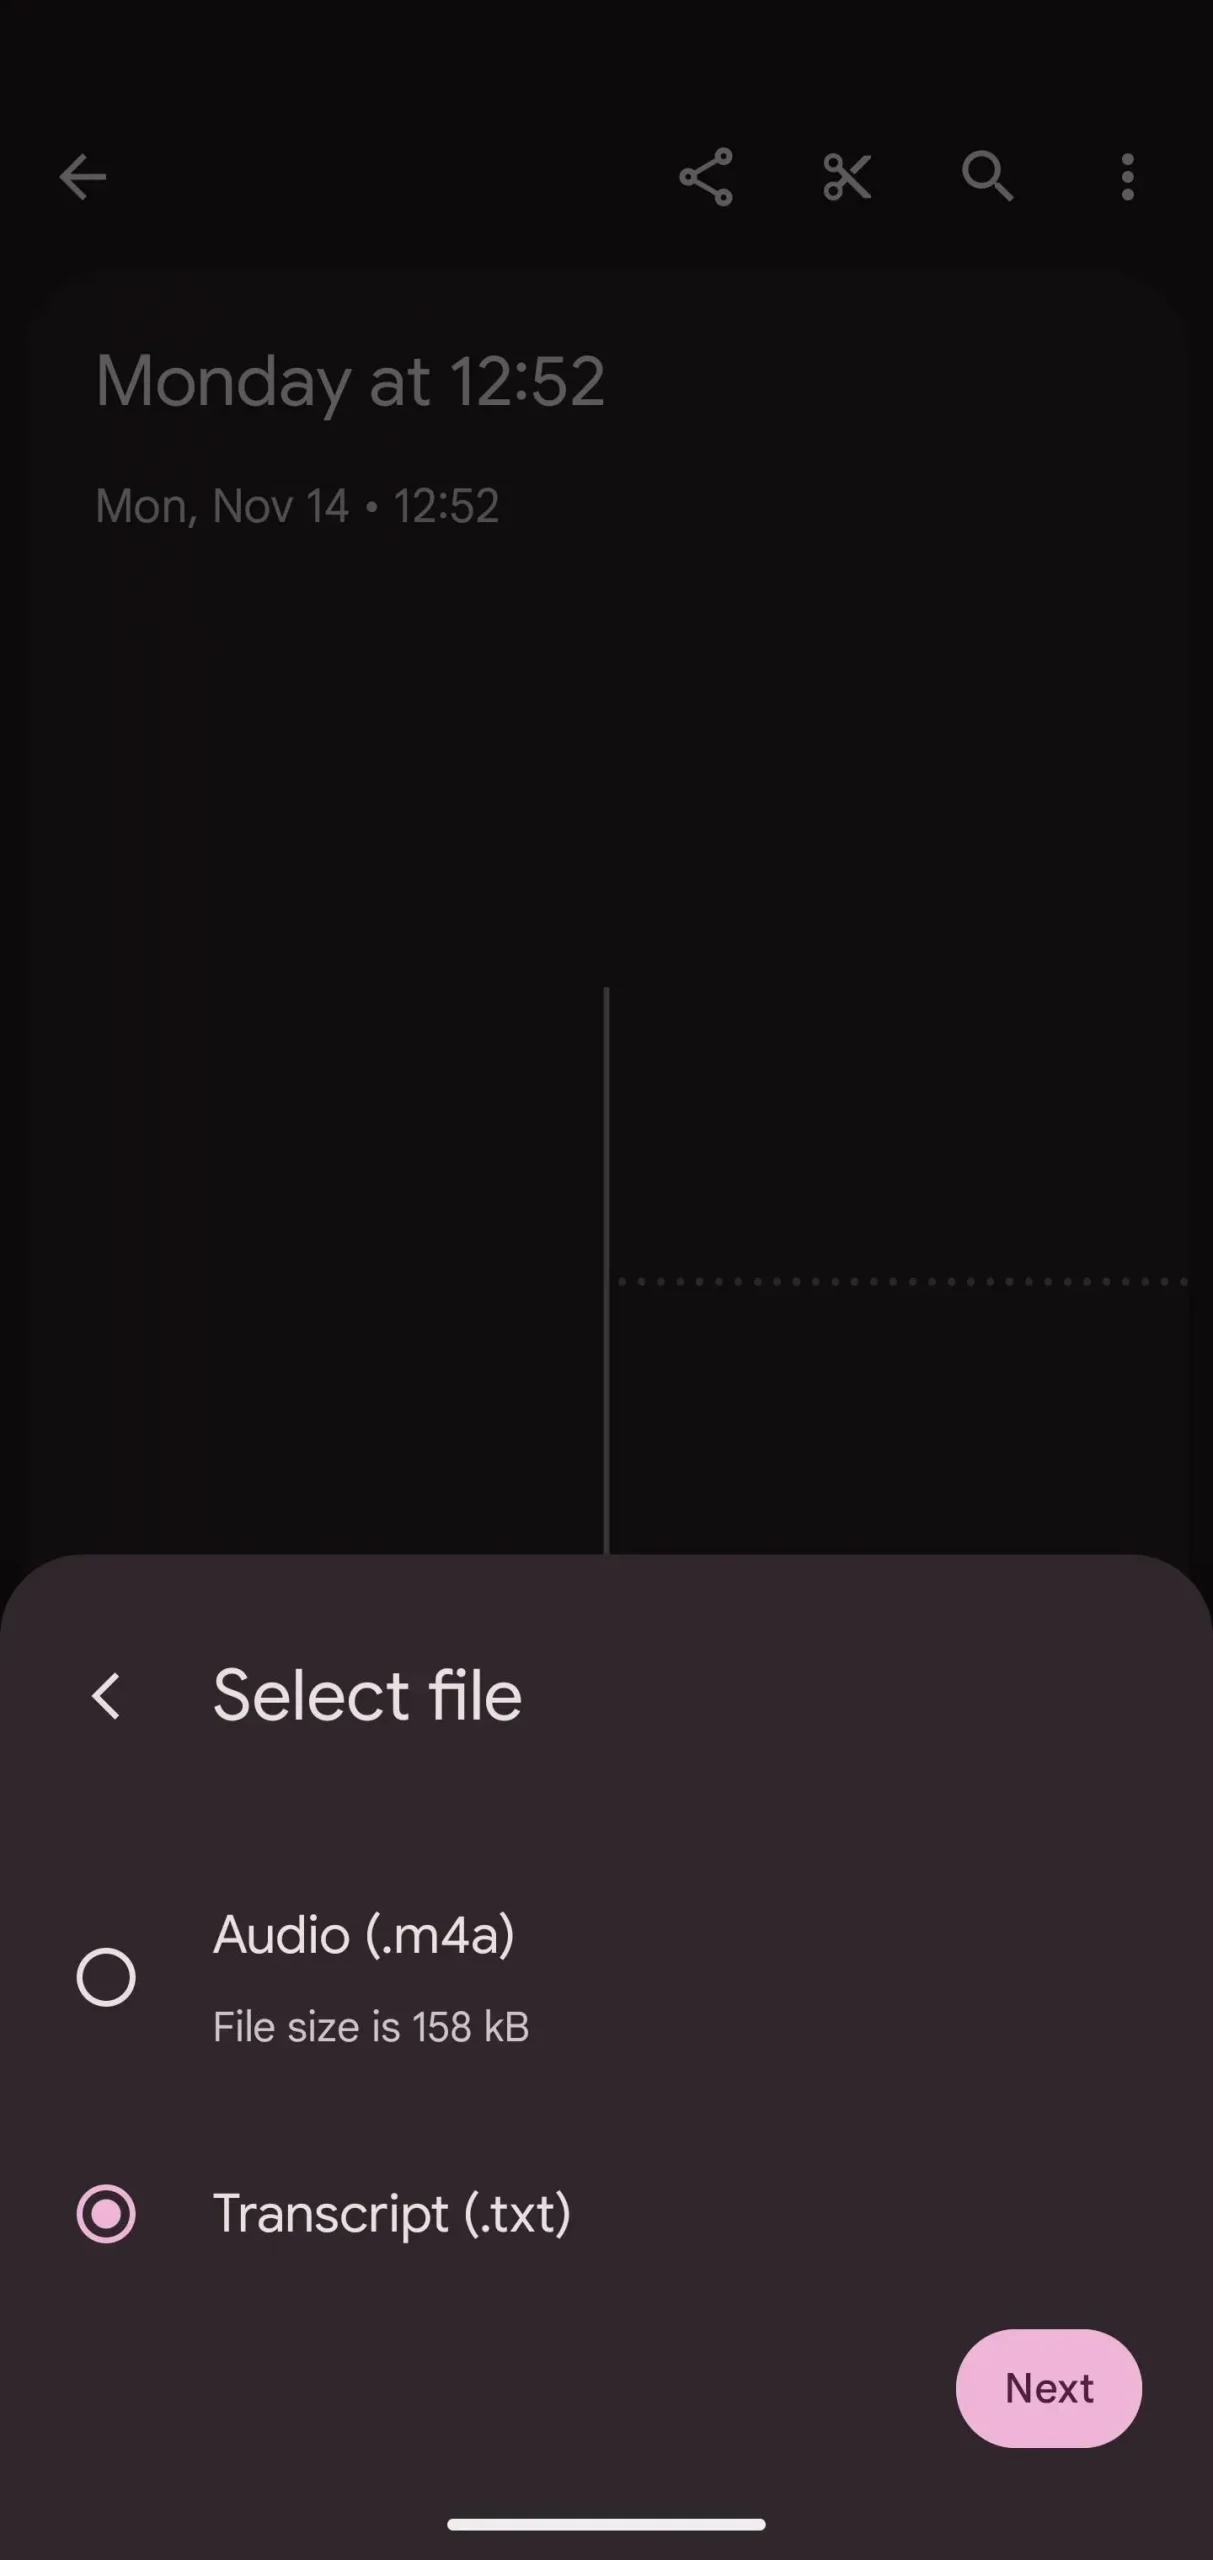
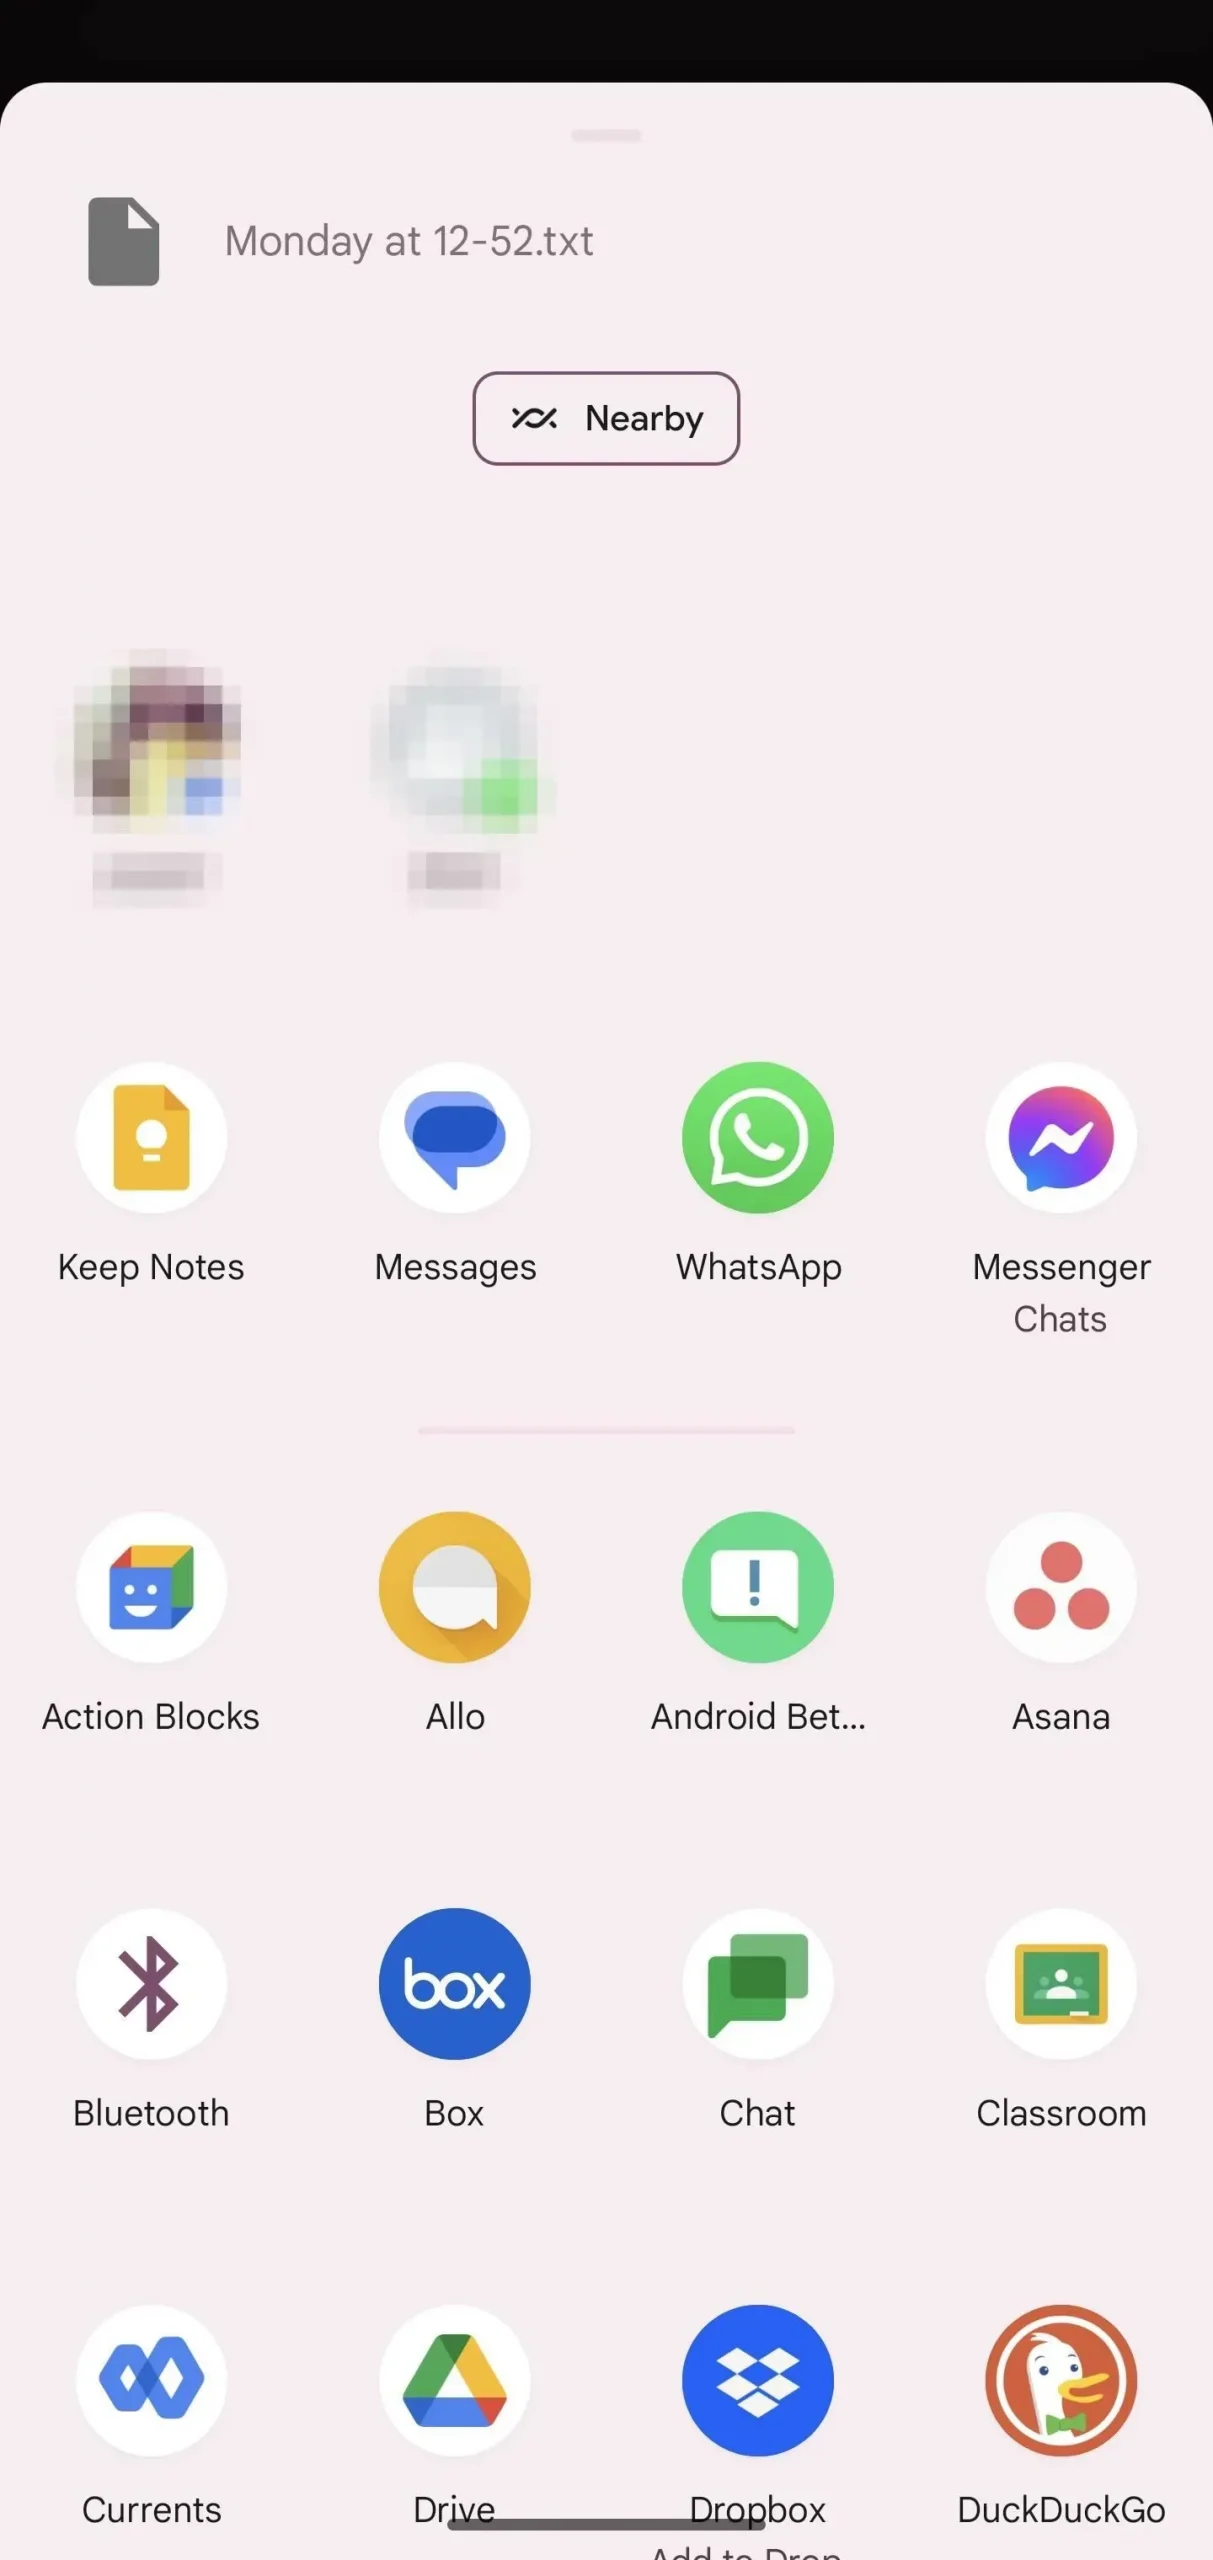
In a recording, click the Share button, then select File from the action sheet. Then choose “Transcript”which is a simple file. txt. Click “Next”to choose which app to share with.
In the sharing options, select the app and your transcript should be shared with it immediately. For example, I shared it with Leaf Note, but it will also work with Evernote, Keep, OneNote, and any other word processing or note-taking app.
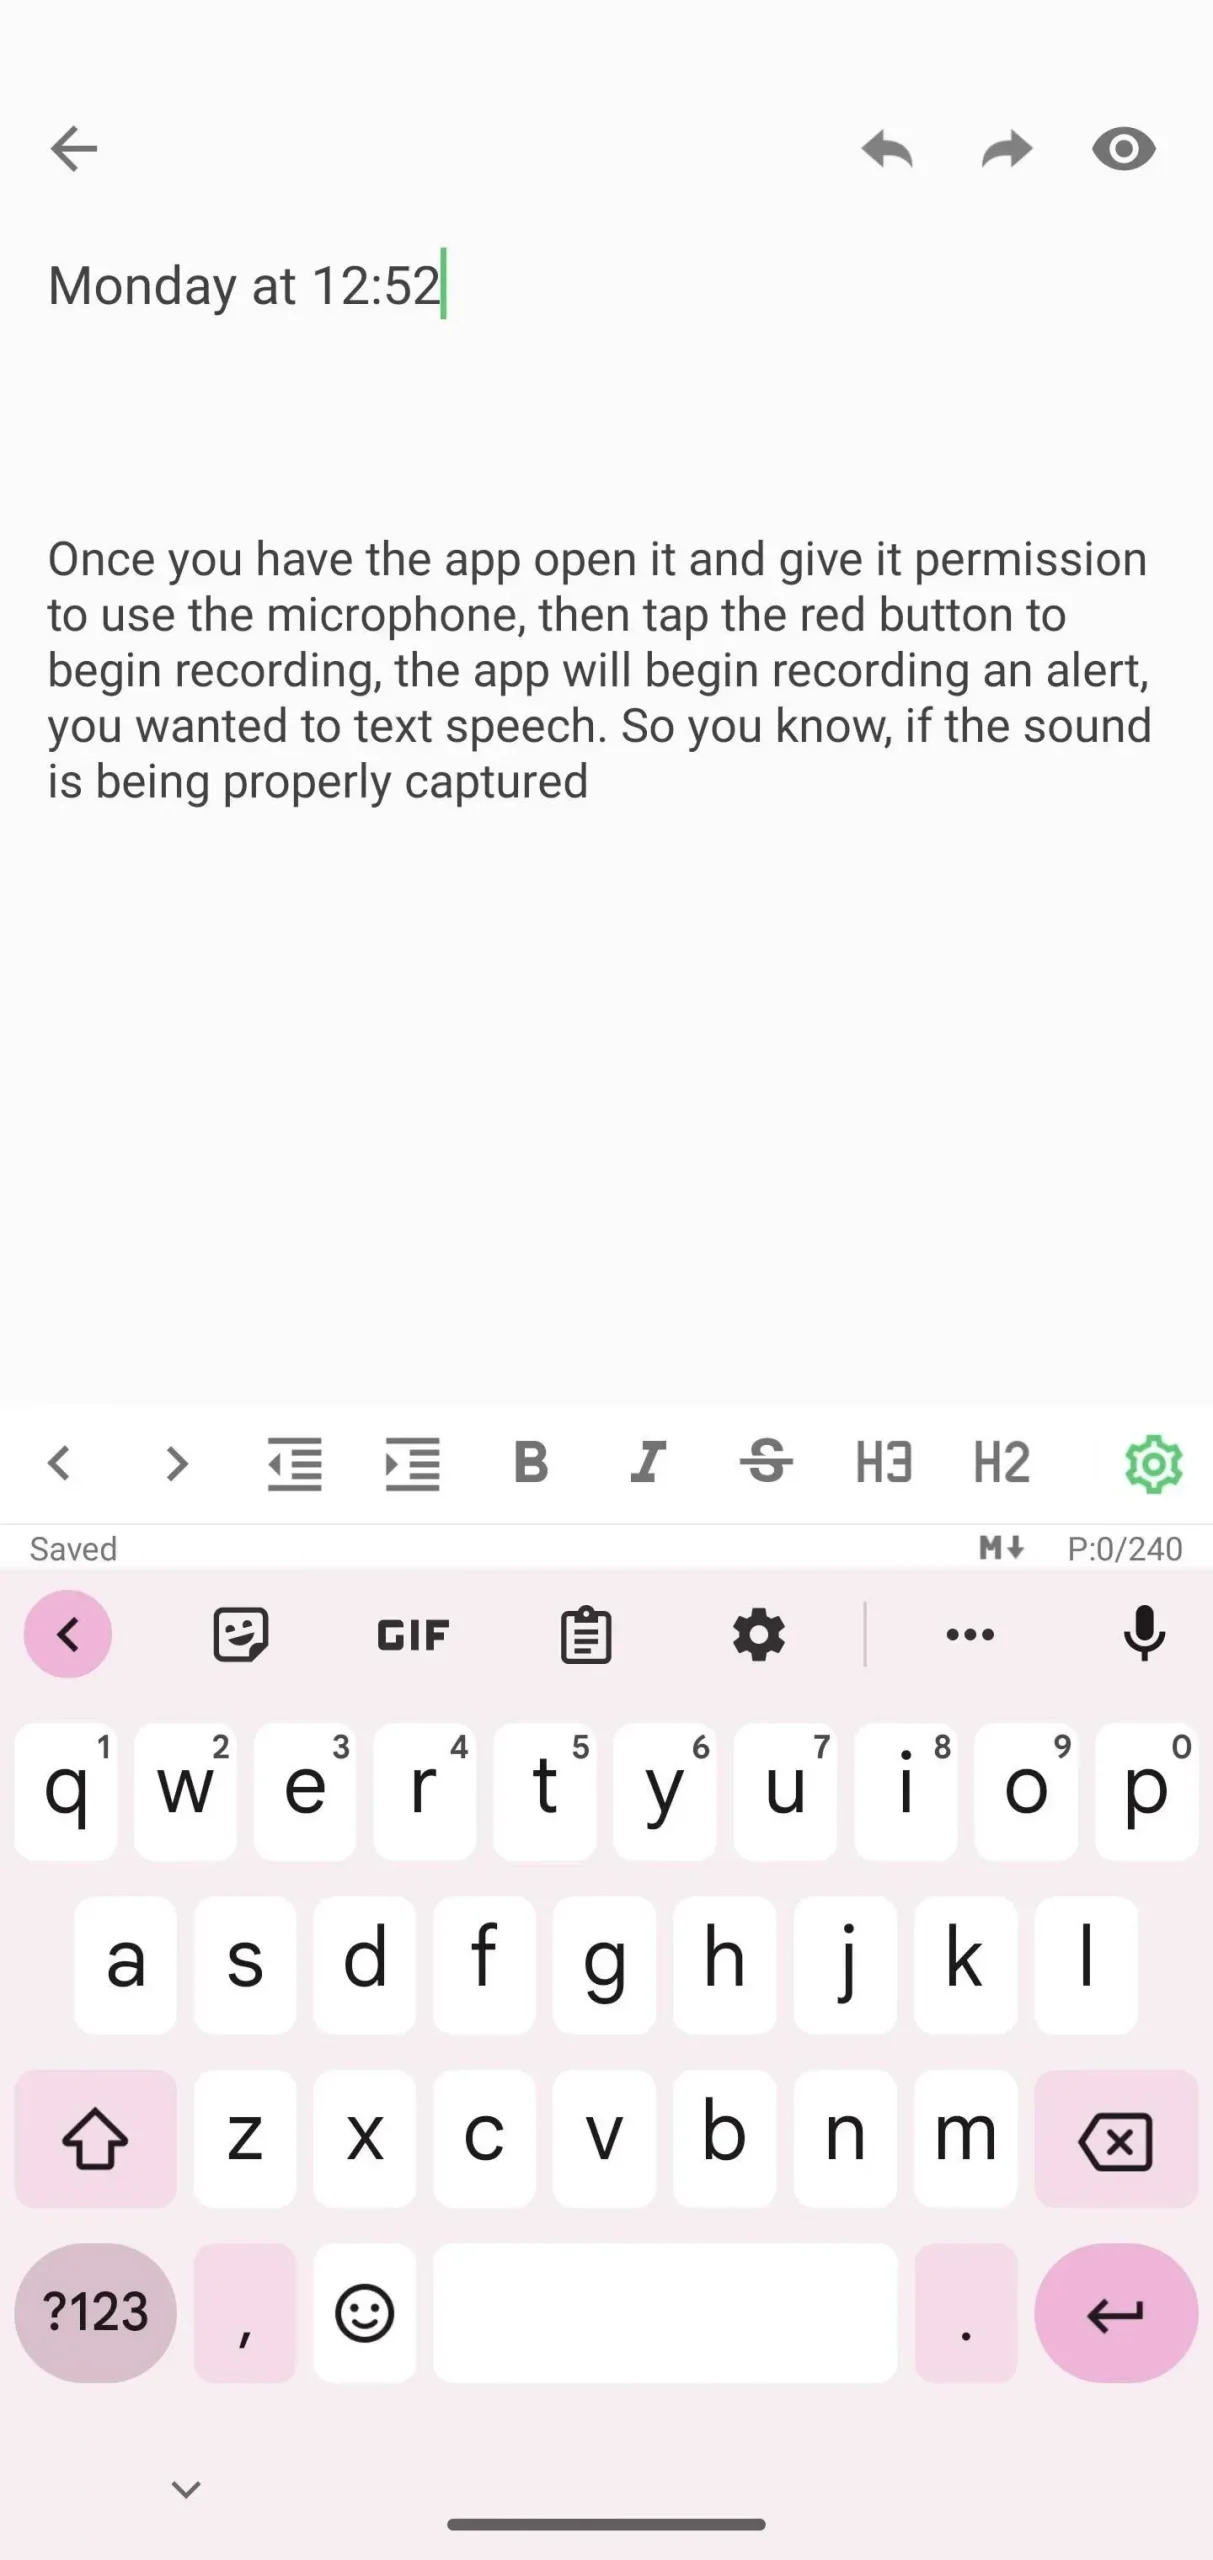
Once you’ve shared, you can change the transcription to best suit your reviewing style. The Recorder app transcribes the audio in paragraph form. Using the note-taking app, you can convert the text to bullets, bold, italics, etc. Here you can take the information you wrote down and rewrite it in the best possible way to preserve the information.