

If you’ve never edited a screenshot on your iPhone or iPad, chances are you’re missing out on one of the coolest features Safari has to offer: full-page screenshots.
Full-page screenshots are saved as PDF instead of PNG like normal screenshots. Therefore, if you want to save images of entire web pages in the Photos app, you will have to use an app or shortcut to convert PDF to PNG. It’s also worth noting that Safari only allows full-page screenshots, so you won’t be able to use Chrome, Firefox, or any other third-party browser.
Apple’s screenshot editor first appeared in iOS 11, but scrolling web page screenshots came later in iOS 13 and iPadOS 13. However, older versions of iOS had ways to create PDFs of full web pages; they were just hidden. For example, iOS 12 had the Create PDF action, which was called Markup as PDF in iOS 11, and the Print tool, which allowed you to create PDF files in iOS 10.
While you can’t save PDFs to Photos, you can save them to Files or share them with another app. The same goes for the old web page to PDF conversion actions, but using the newer screen capture utility feels more natural when the markup tools are immediately visible rather than hiding behind another button.
Take a screenshot
On an iPhone or iPad, take a screenshot anywhere on a web page in Safari. You can use the default method below for your device model, or another option such as AssistiveTouch, Siri, Back Tap, Shortcuts, or Voice Control.
- iPhone with Face ID: Press the side buttons and volume up buttons at the same time.
- iPhone with Touch ID: Press the side or top button and the Home button at the same time.
- iPad: Press the top button and any volume button at the same time.
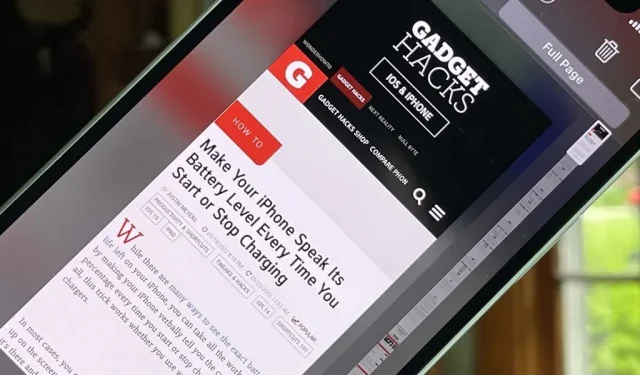
A preview thumbnail will appear in the lower left corner; tap it before it disappears to open the screenshot editor. If you do not open the editor, the screenshot will save only what was visible on the screen at the time of its creation. To capture an entire web page, you need to access the editor right after taking a screenshot.
Choose full page version
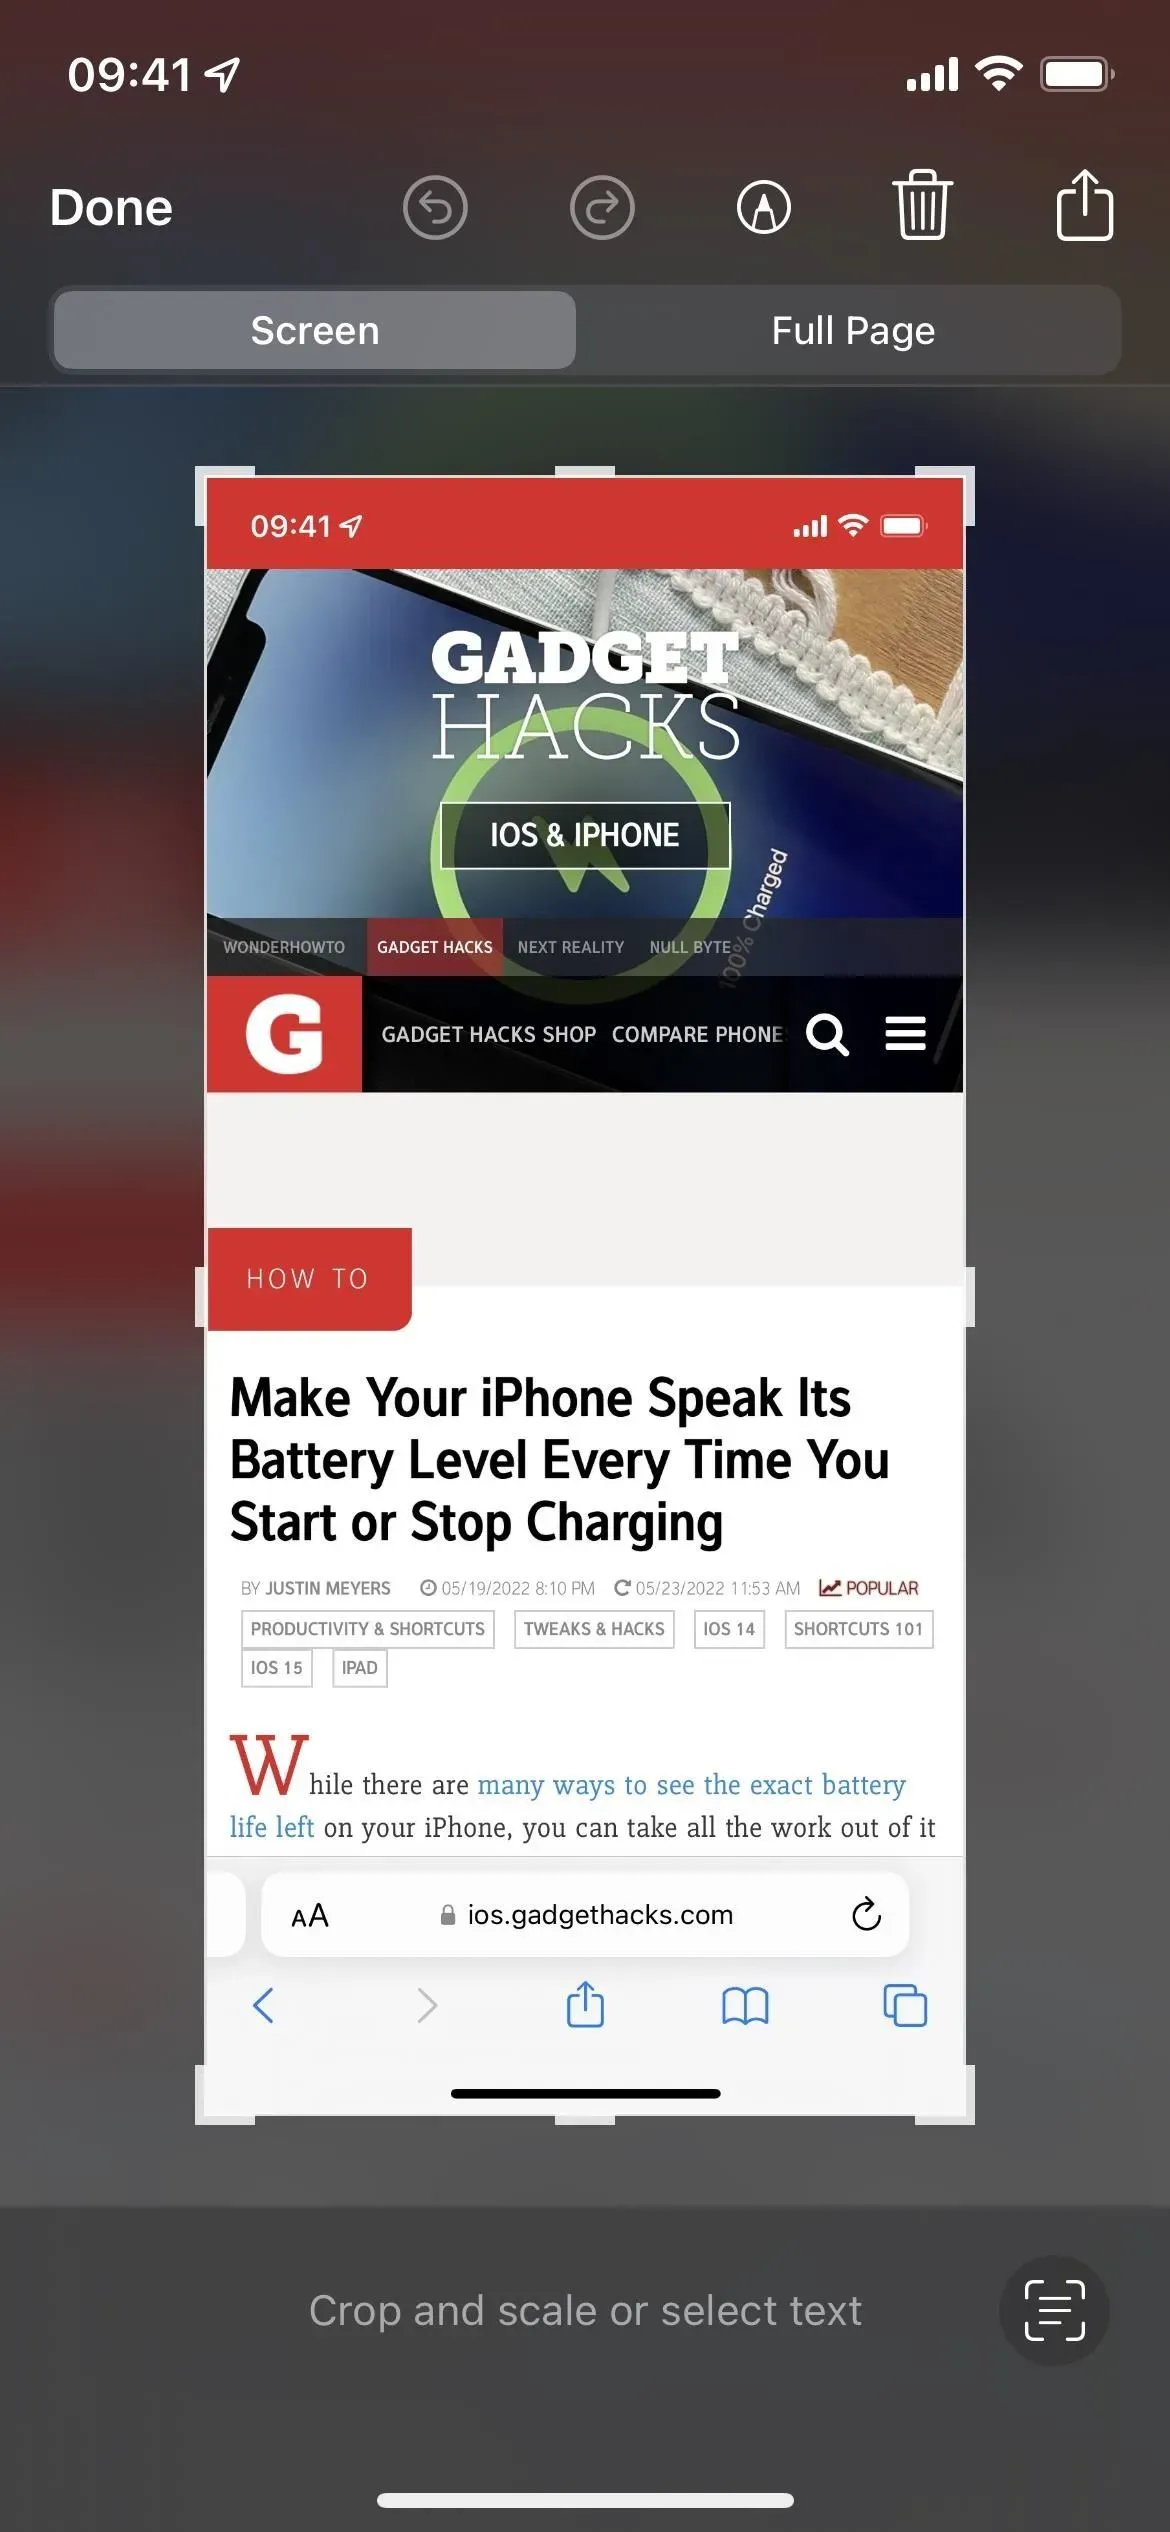
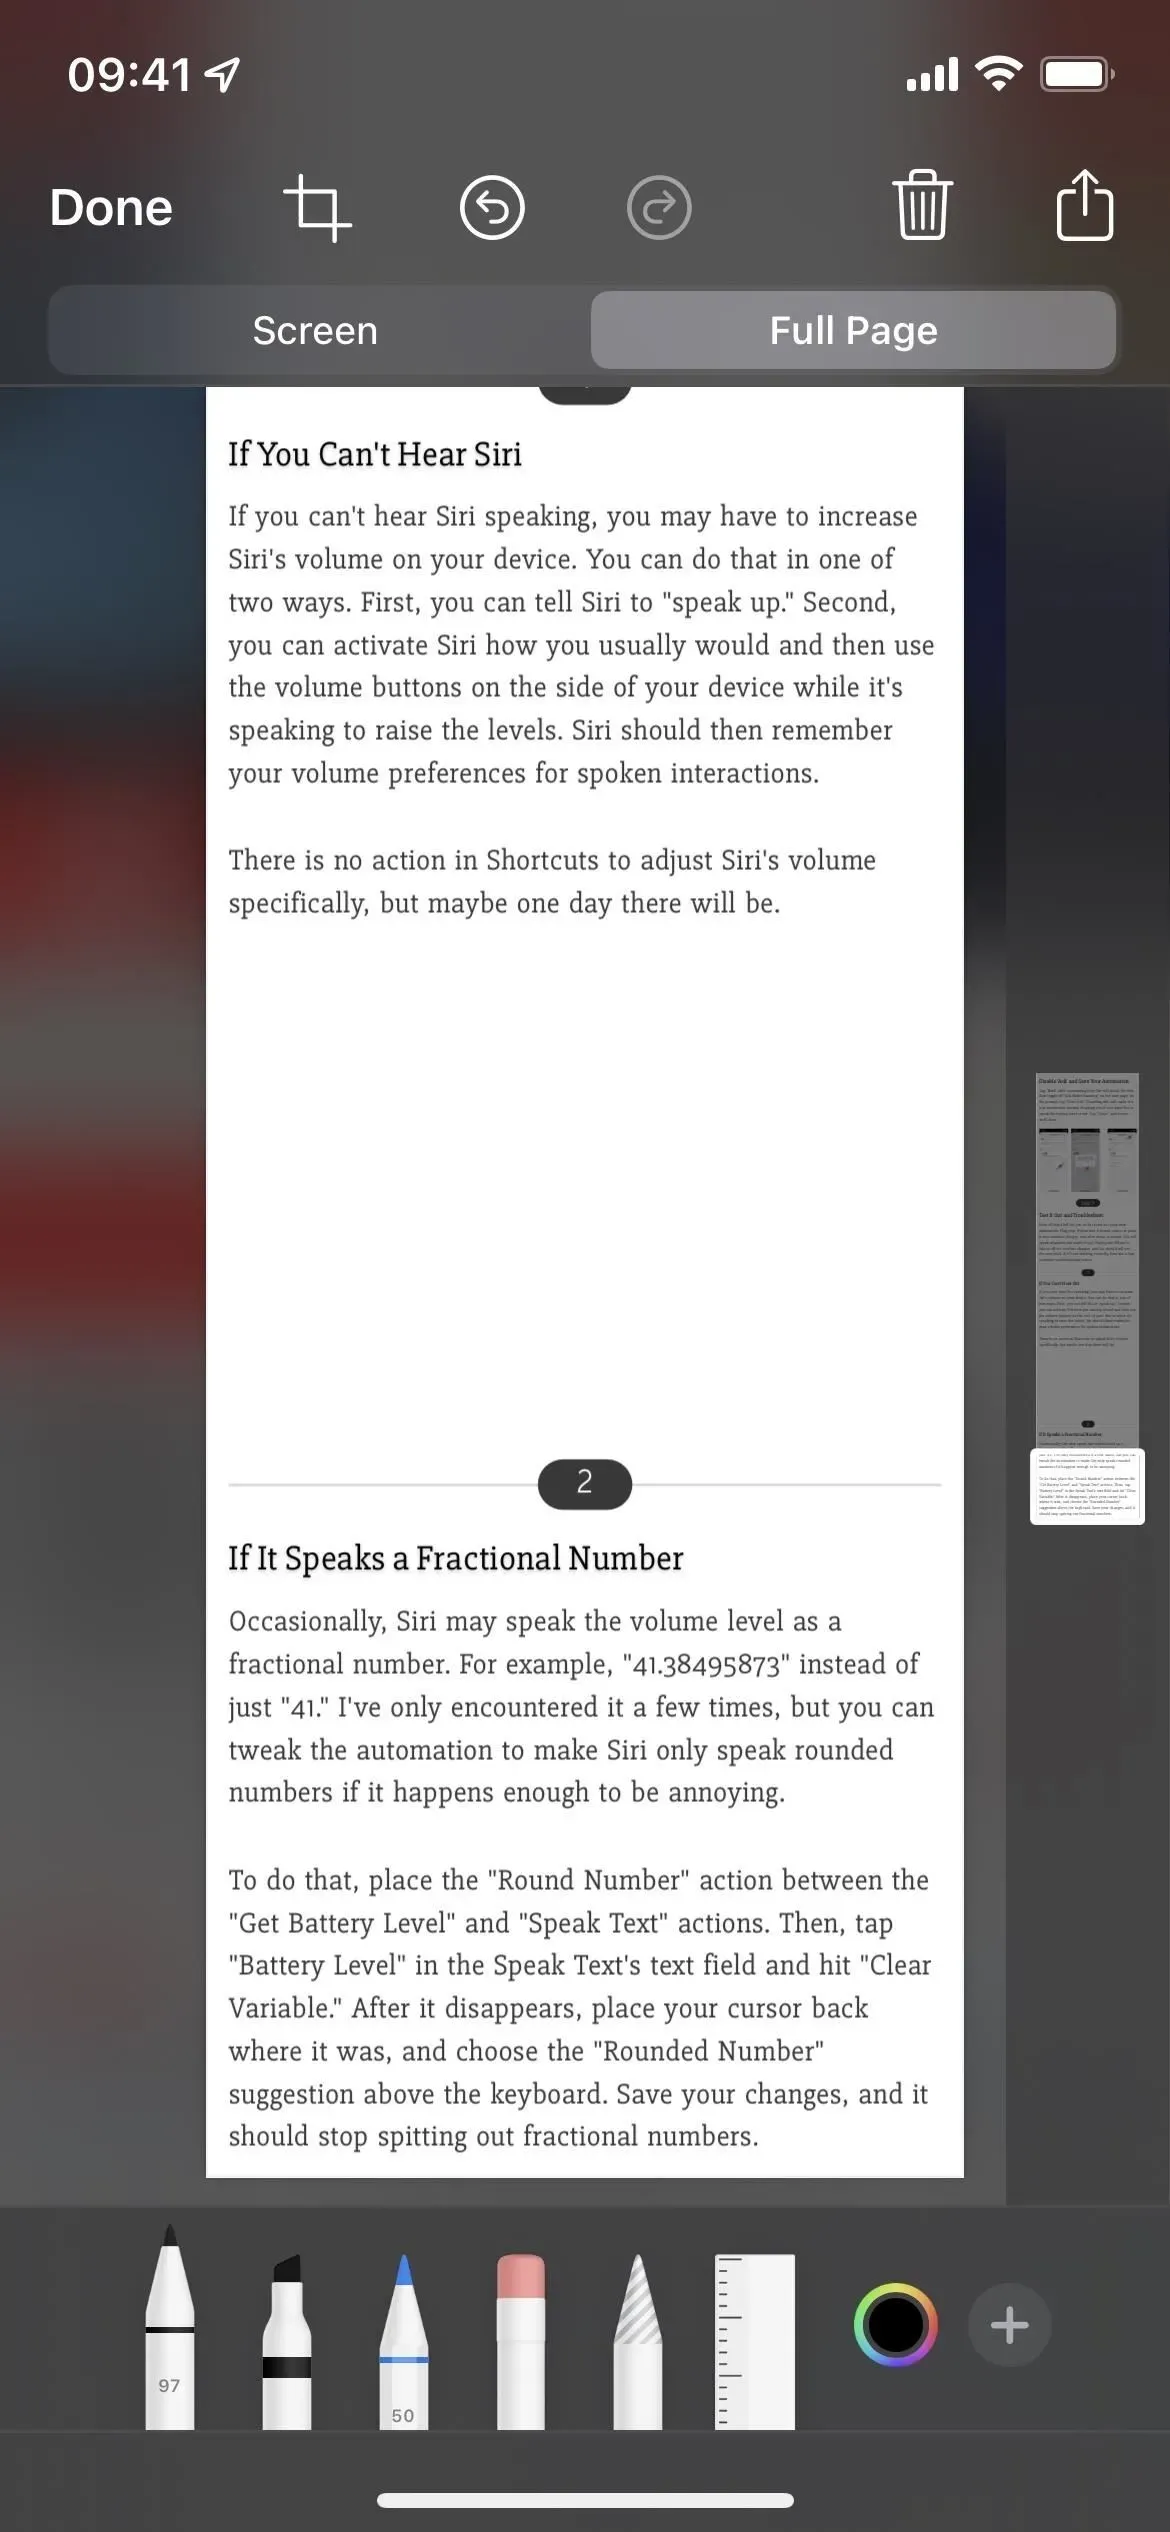
At the top of the screenshot editor, you will see Screen and Entire Page tabs. The first is the default screenshot, which shows what was on the screen when you took the screenshot. To take a snapshot of the entire web page, click the Full Page tab, which automatically stitches the web page from start to finish.
Find where you want to cut
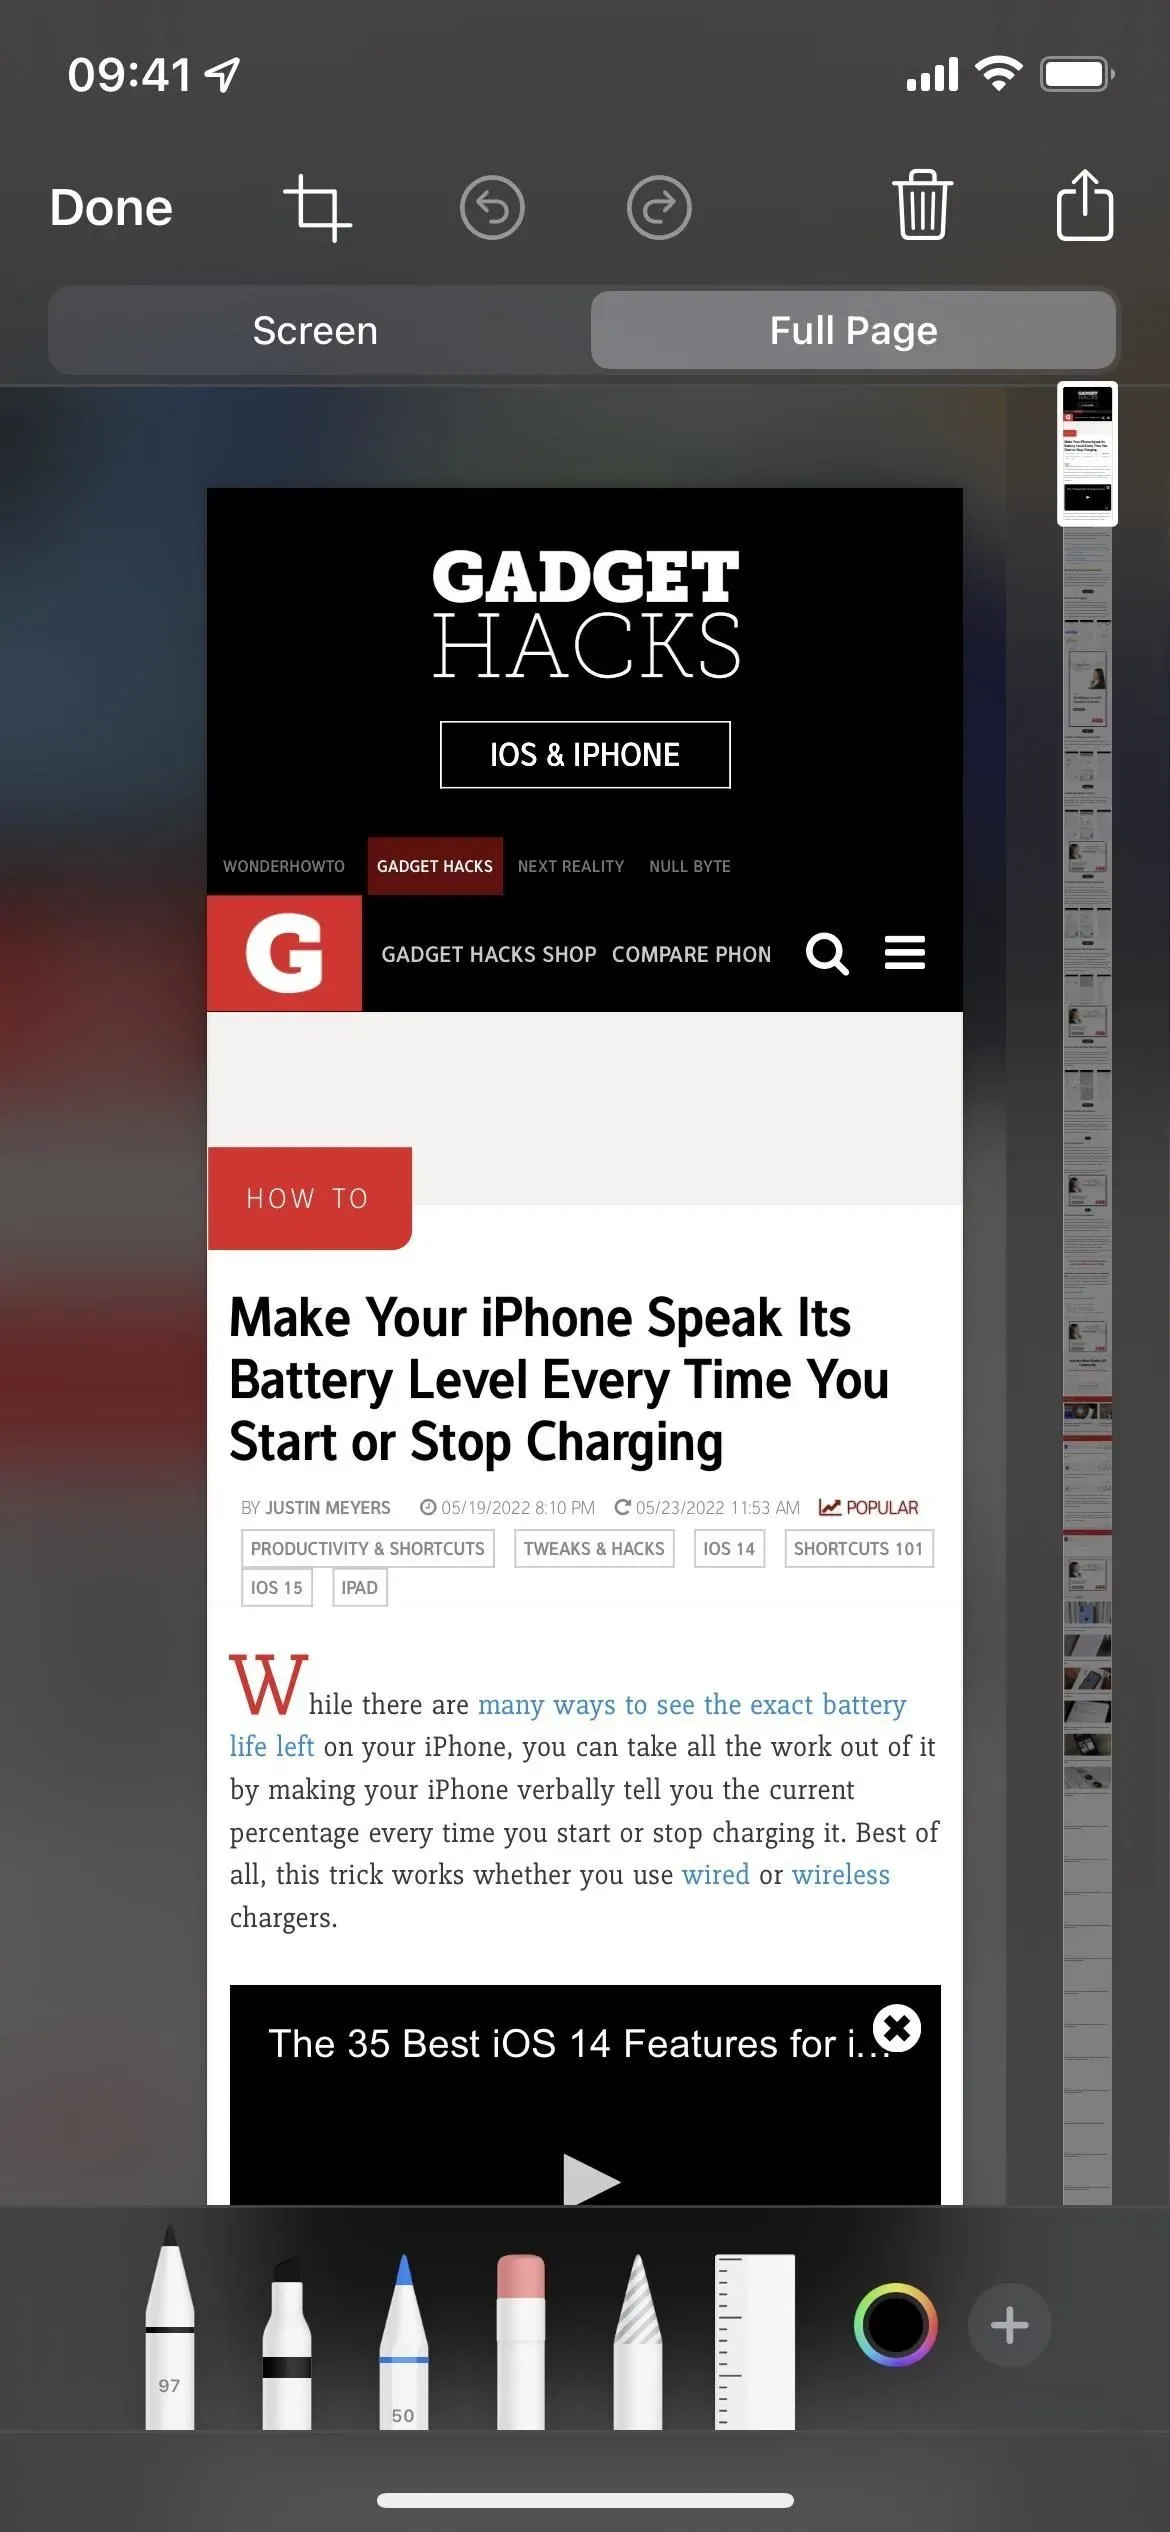
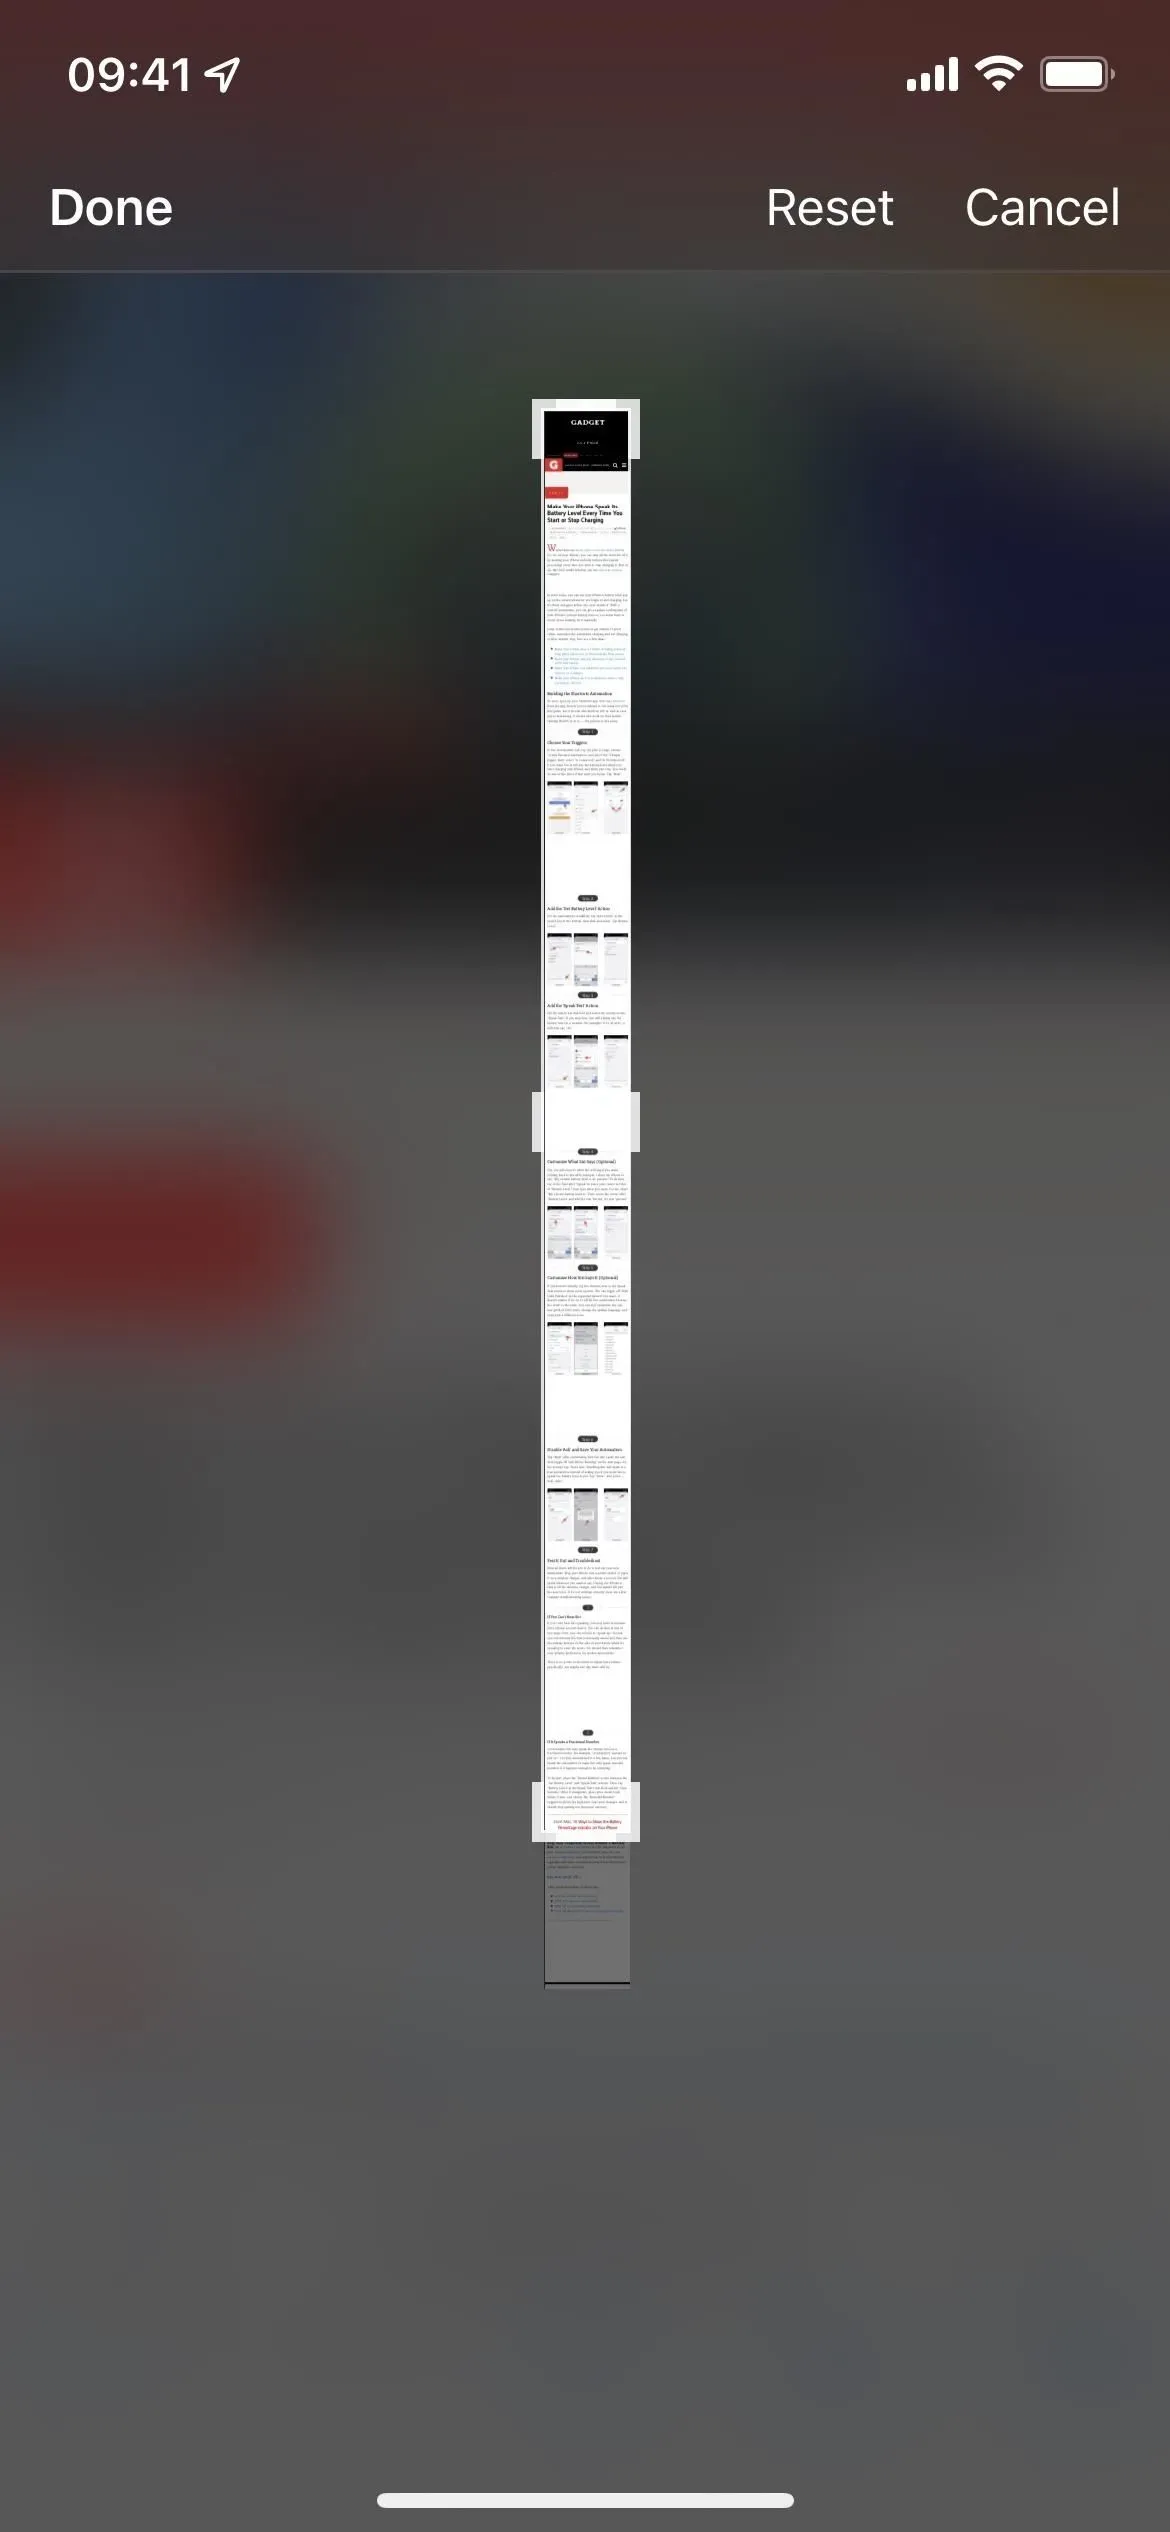
Depending on the webpage, you may want to clip any sections you don’t need, such as comments, links for further reading, site footer, etc. On the right, you’ll see the entire webpage as a long, tiny, probably unreadable preview with a highlighted chapter. This is the place you see in the big preview to the left of it. Tap and hold on the highlight, then move it up or down to scroll the page and see what you want to keep or delete.
Crop screenshot down
To change the length of the screenshot, tap the crop icon on the top toolbar and make the necessary changes. Unfortunately, you can’t zoom in while cropping, so it’s important to find the crop area beforehand, as shown in step 3 above.
If you try to zoom in, the image in the crop area may be enlarged, but not the crop tool itself, leaving important areas of the image invisible. You can pinch your fingers to zoom out, or click Reset to try again.
After dragging the edge of the crop to where it is needed, the crop preview will change to match that particular crop a few seconds after releasing the screen. This allows you to try again with a larger image, and you can repeat this as many times as needed until you’re happy with what’s in the crop zone.
Click “Done”when you’re done.
Preview and make adjustments if needed
If it’s a very long screenshot, you can preview the result after cropping to make sure you’ve cropped it exactly where you wanted it. Use the highlighted area on the right to check the page. If adjustments are needed, repeat step 4 above.
Use markup (optional)
Once you’re happy with the cropped area, you can use the Markup tool to write on the image, enlarge parts, add shapes, draw on it, change the opacity, show the ruler, and more.
Share or save a screenshot as a PDF
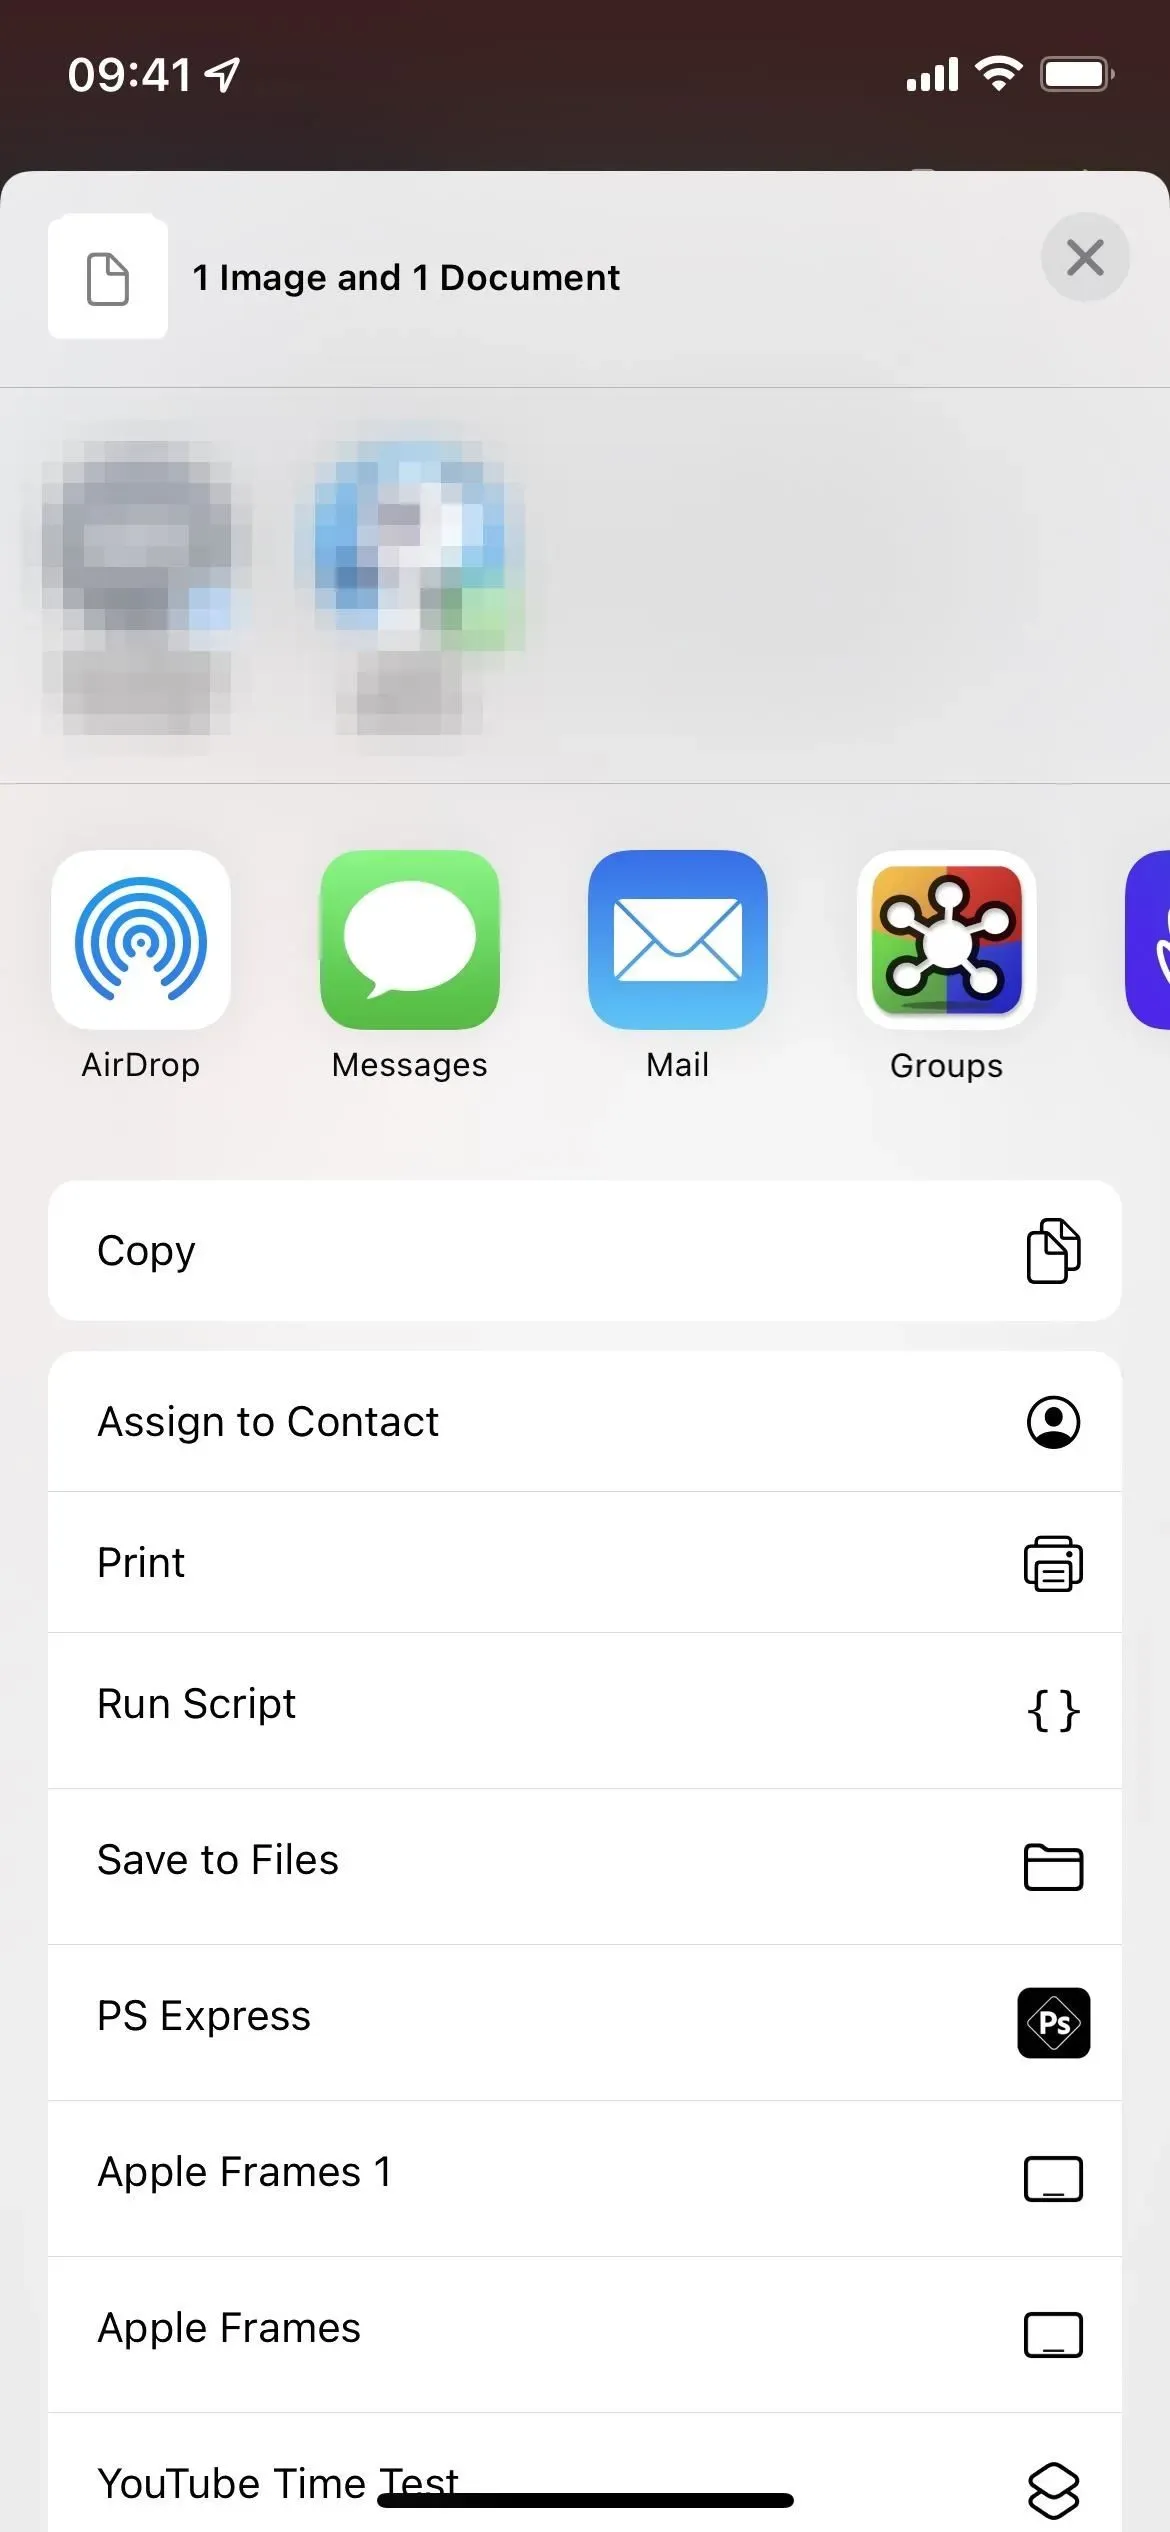
Unfortunately, due to the length of the screenshot and the file type, you can’t save it to Photos as a PNG file, but you can save it as a PDF in the Files app, AirDrop, send it, or share it with another app. .
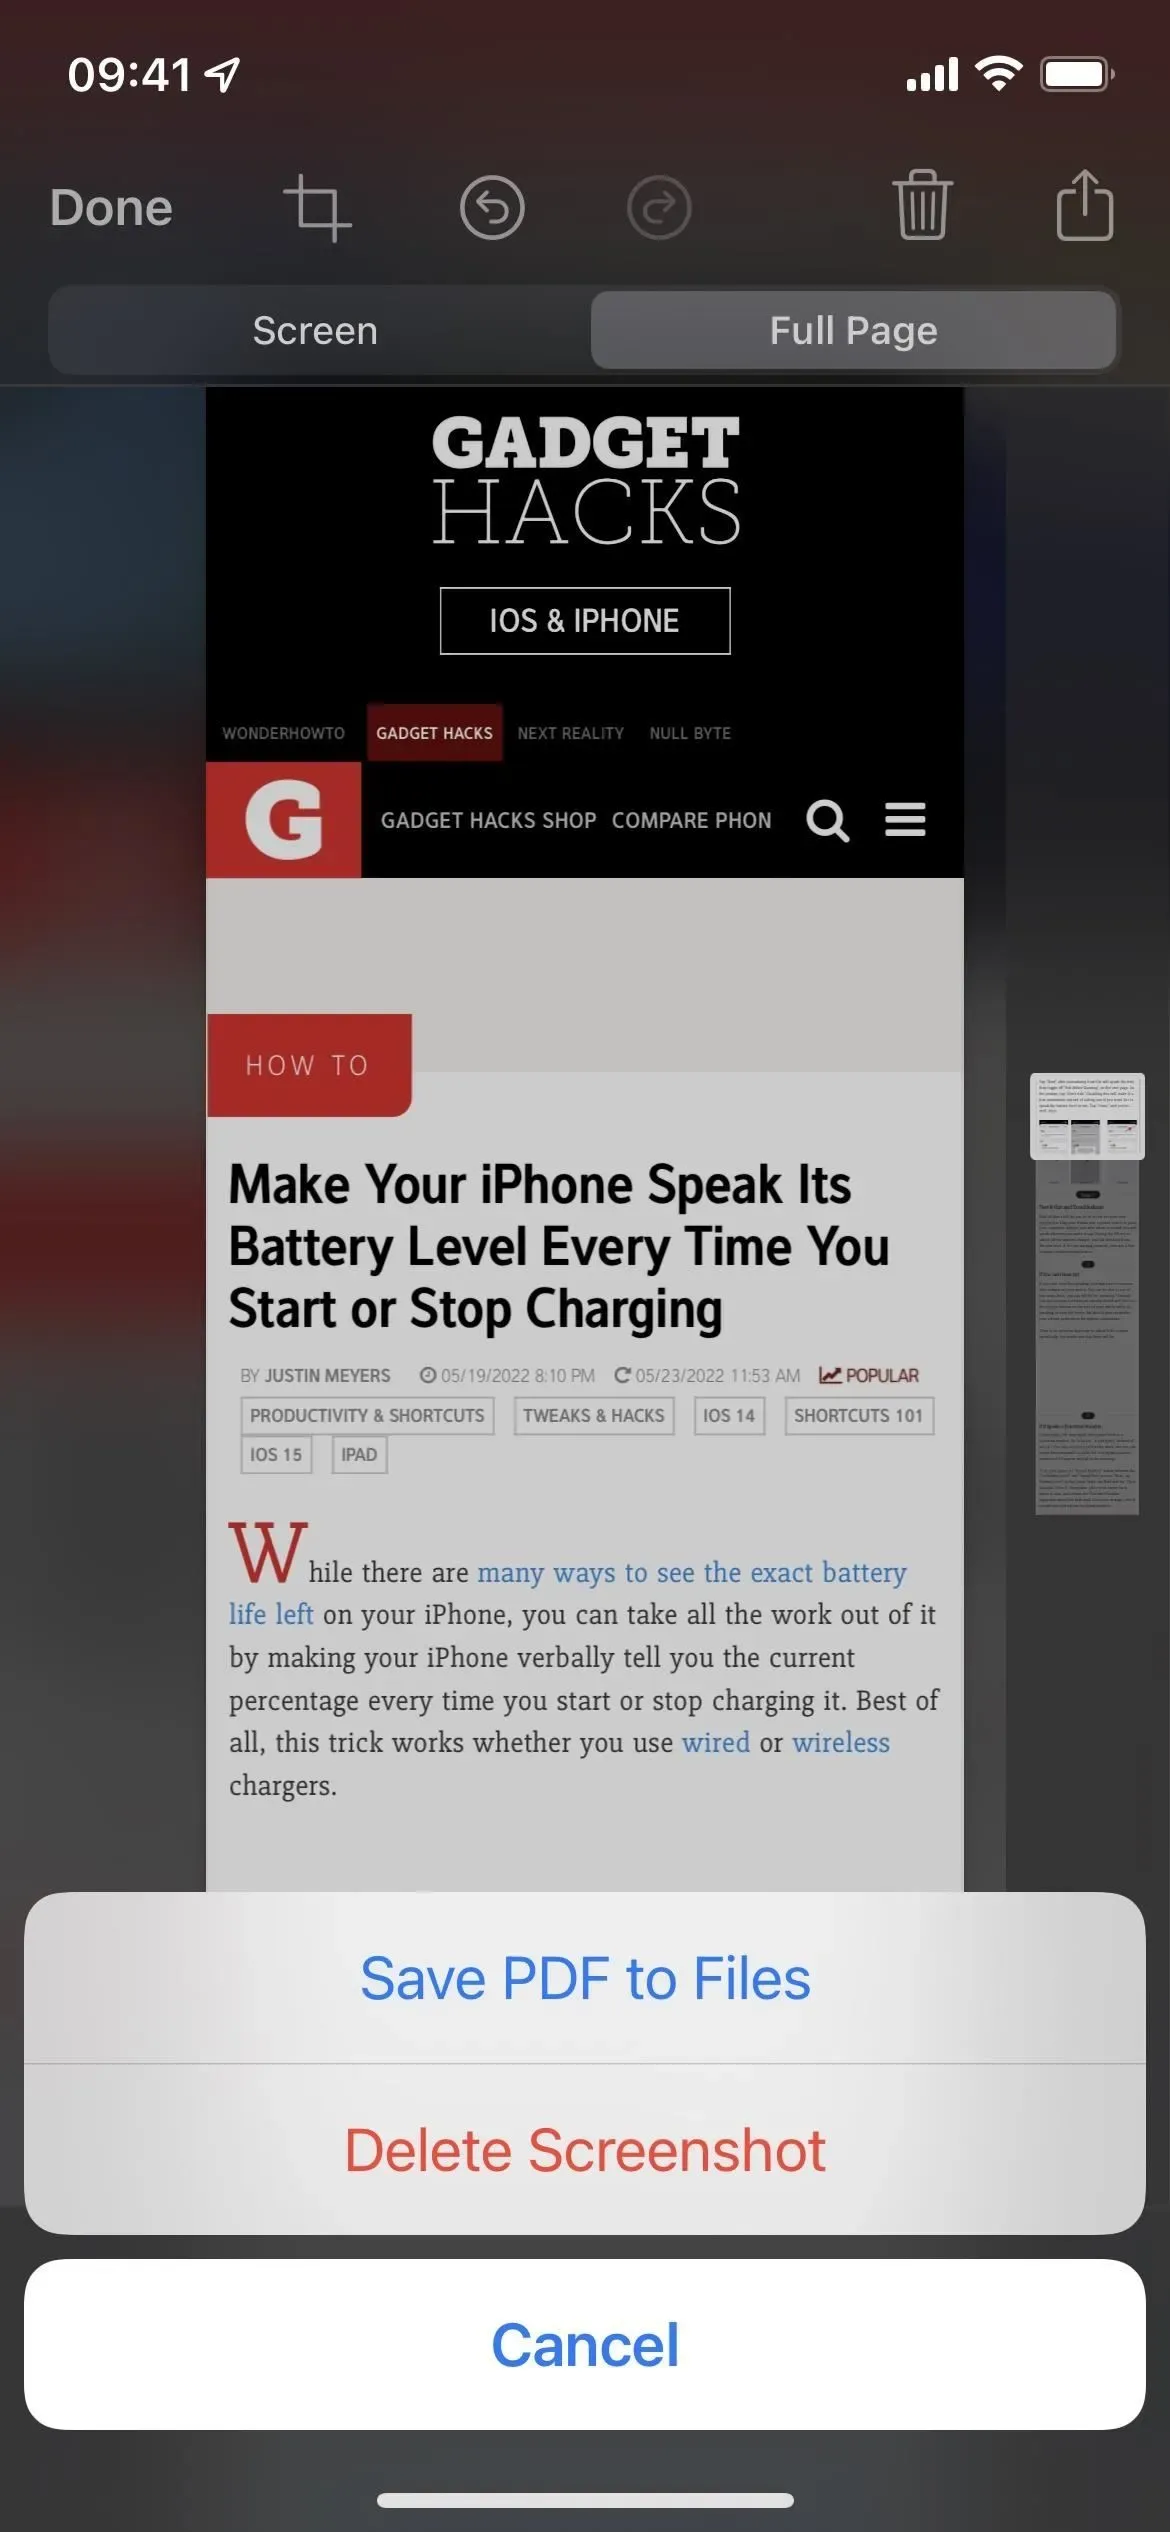
After editing the full-page screenshot, click Done and choose Save PDF to Files from the action menu if you want to save the image to Files. You can also click the “Share”icon to open the “Shared sheet”where you can save it to files or share it in another way.
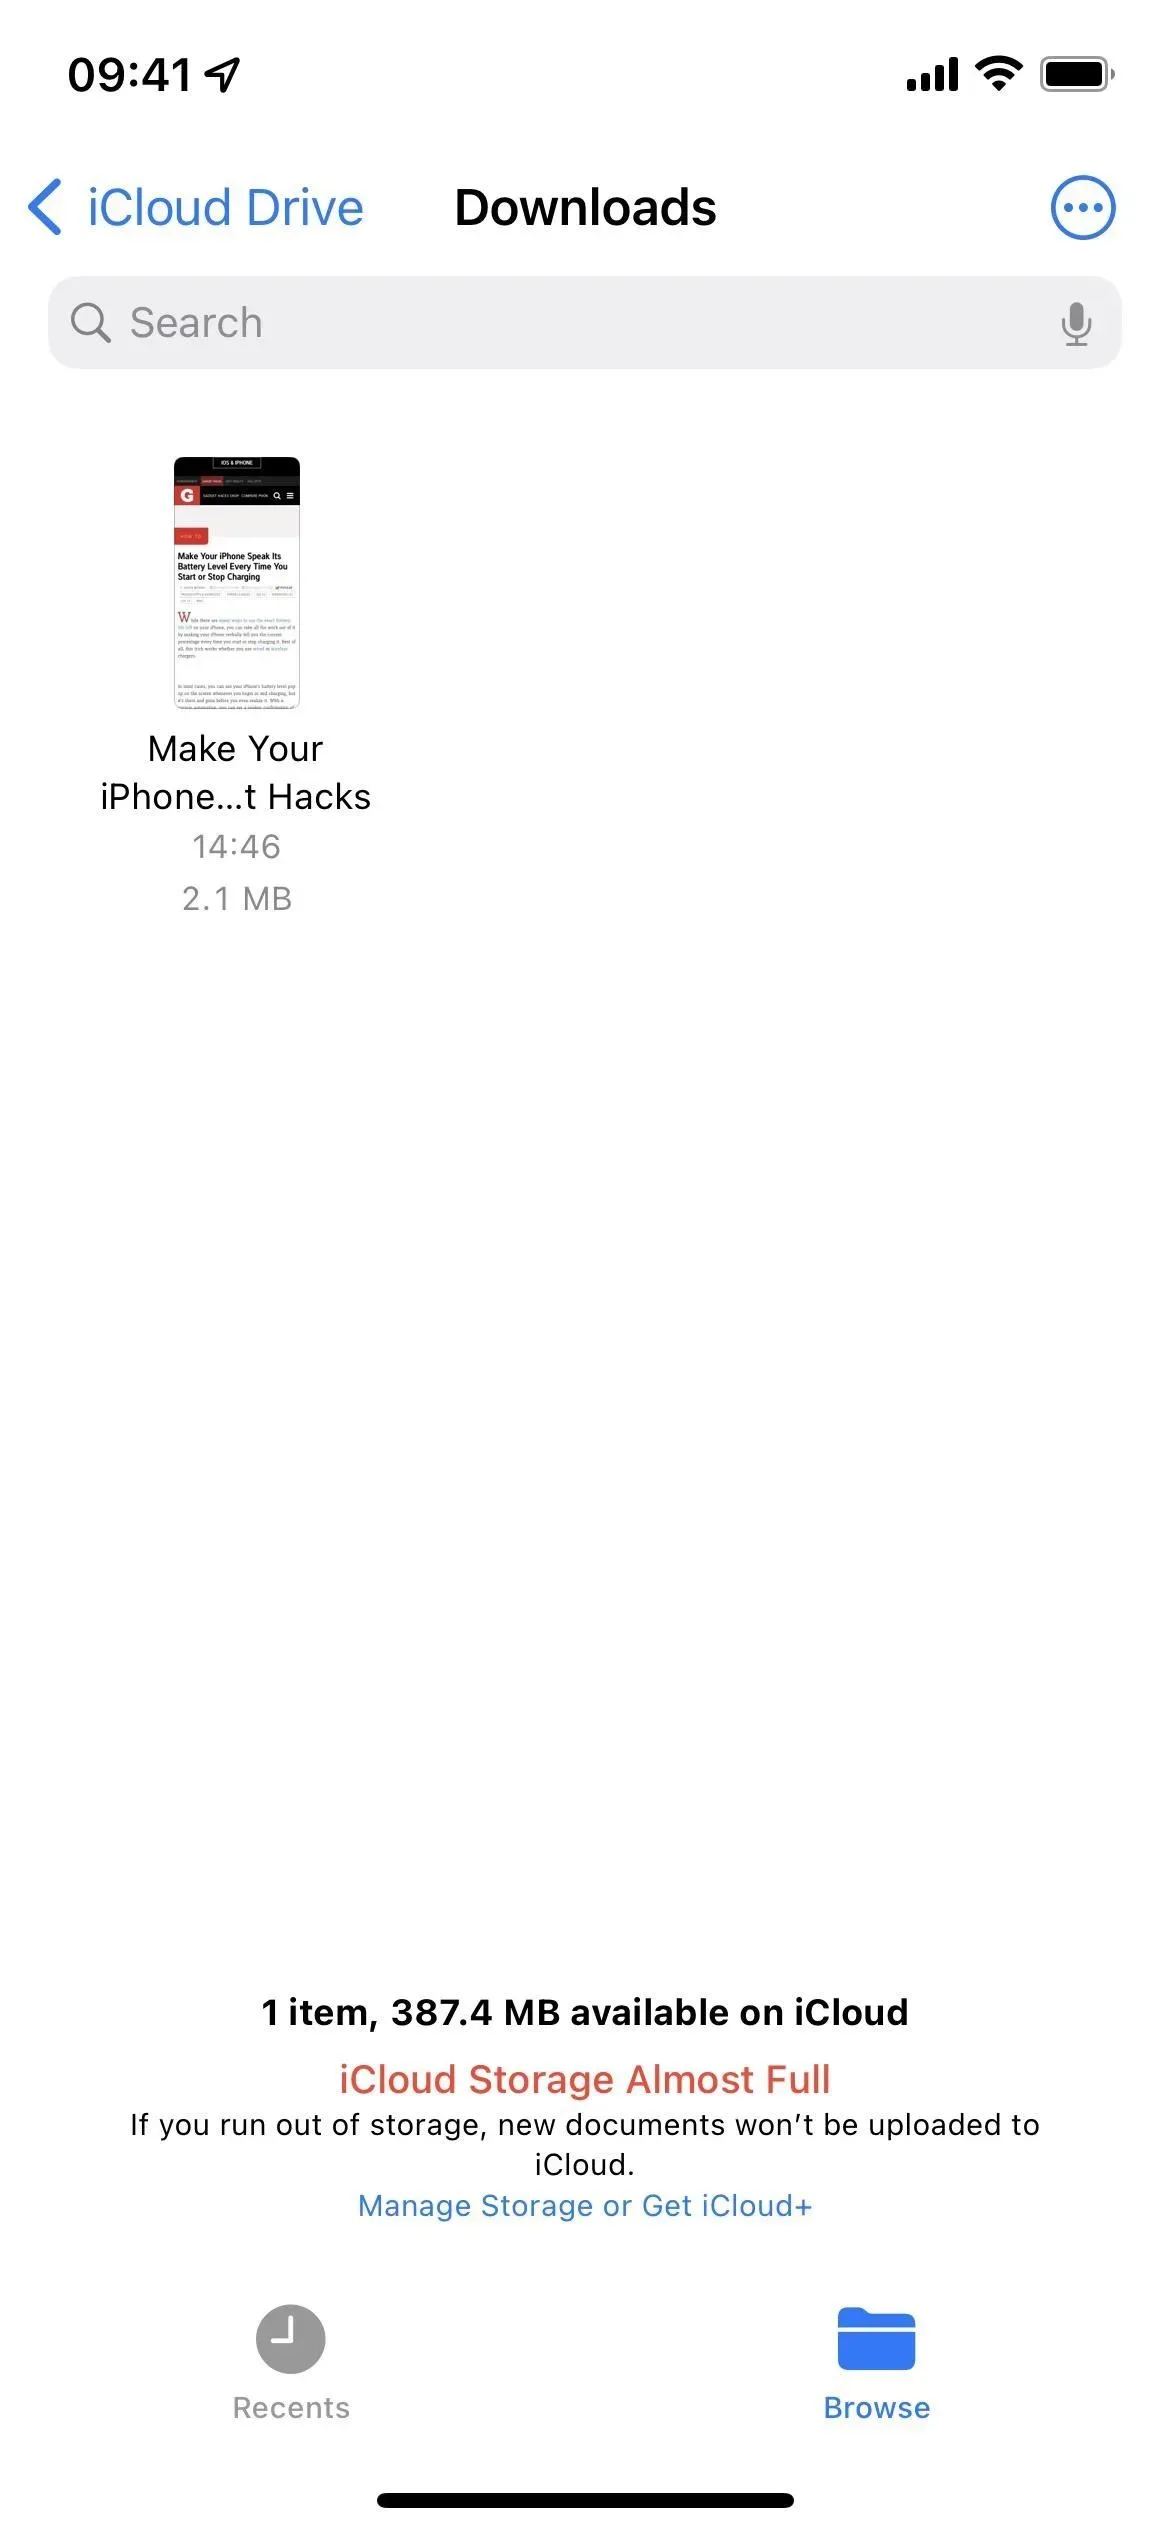
If you choose to save it to Files, tap the PDF file name at the top next to the preview image to rename the document if needed. Then select your primary destination, such as On My iPhone, iCloud Drive, your server, or a third-party cloud service. Then select a directory in one of these options, if you like, and click Save.
View PDF files
To view a full page screenshot, open the Files app and locate the PDF like you would any other PDF. Click on it to see it in its entirety. You can use the markup tools with the top right icon to draw on the PDF and the share icon to share it, copy it, print it, save it to Dropbox, and more.
Again, full-page screenshots only work in Safari, so third-party browsers like Chrome and Firefox won’t work, nor will in-app browsers like the one built into the Reddit app. Let’s hope this changes in the future to work system-wide across apps like Messages, WhatsApp, Firefox, and more.