
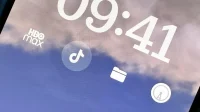

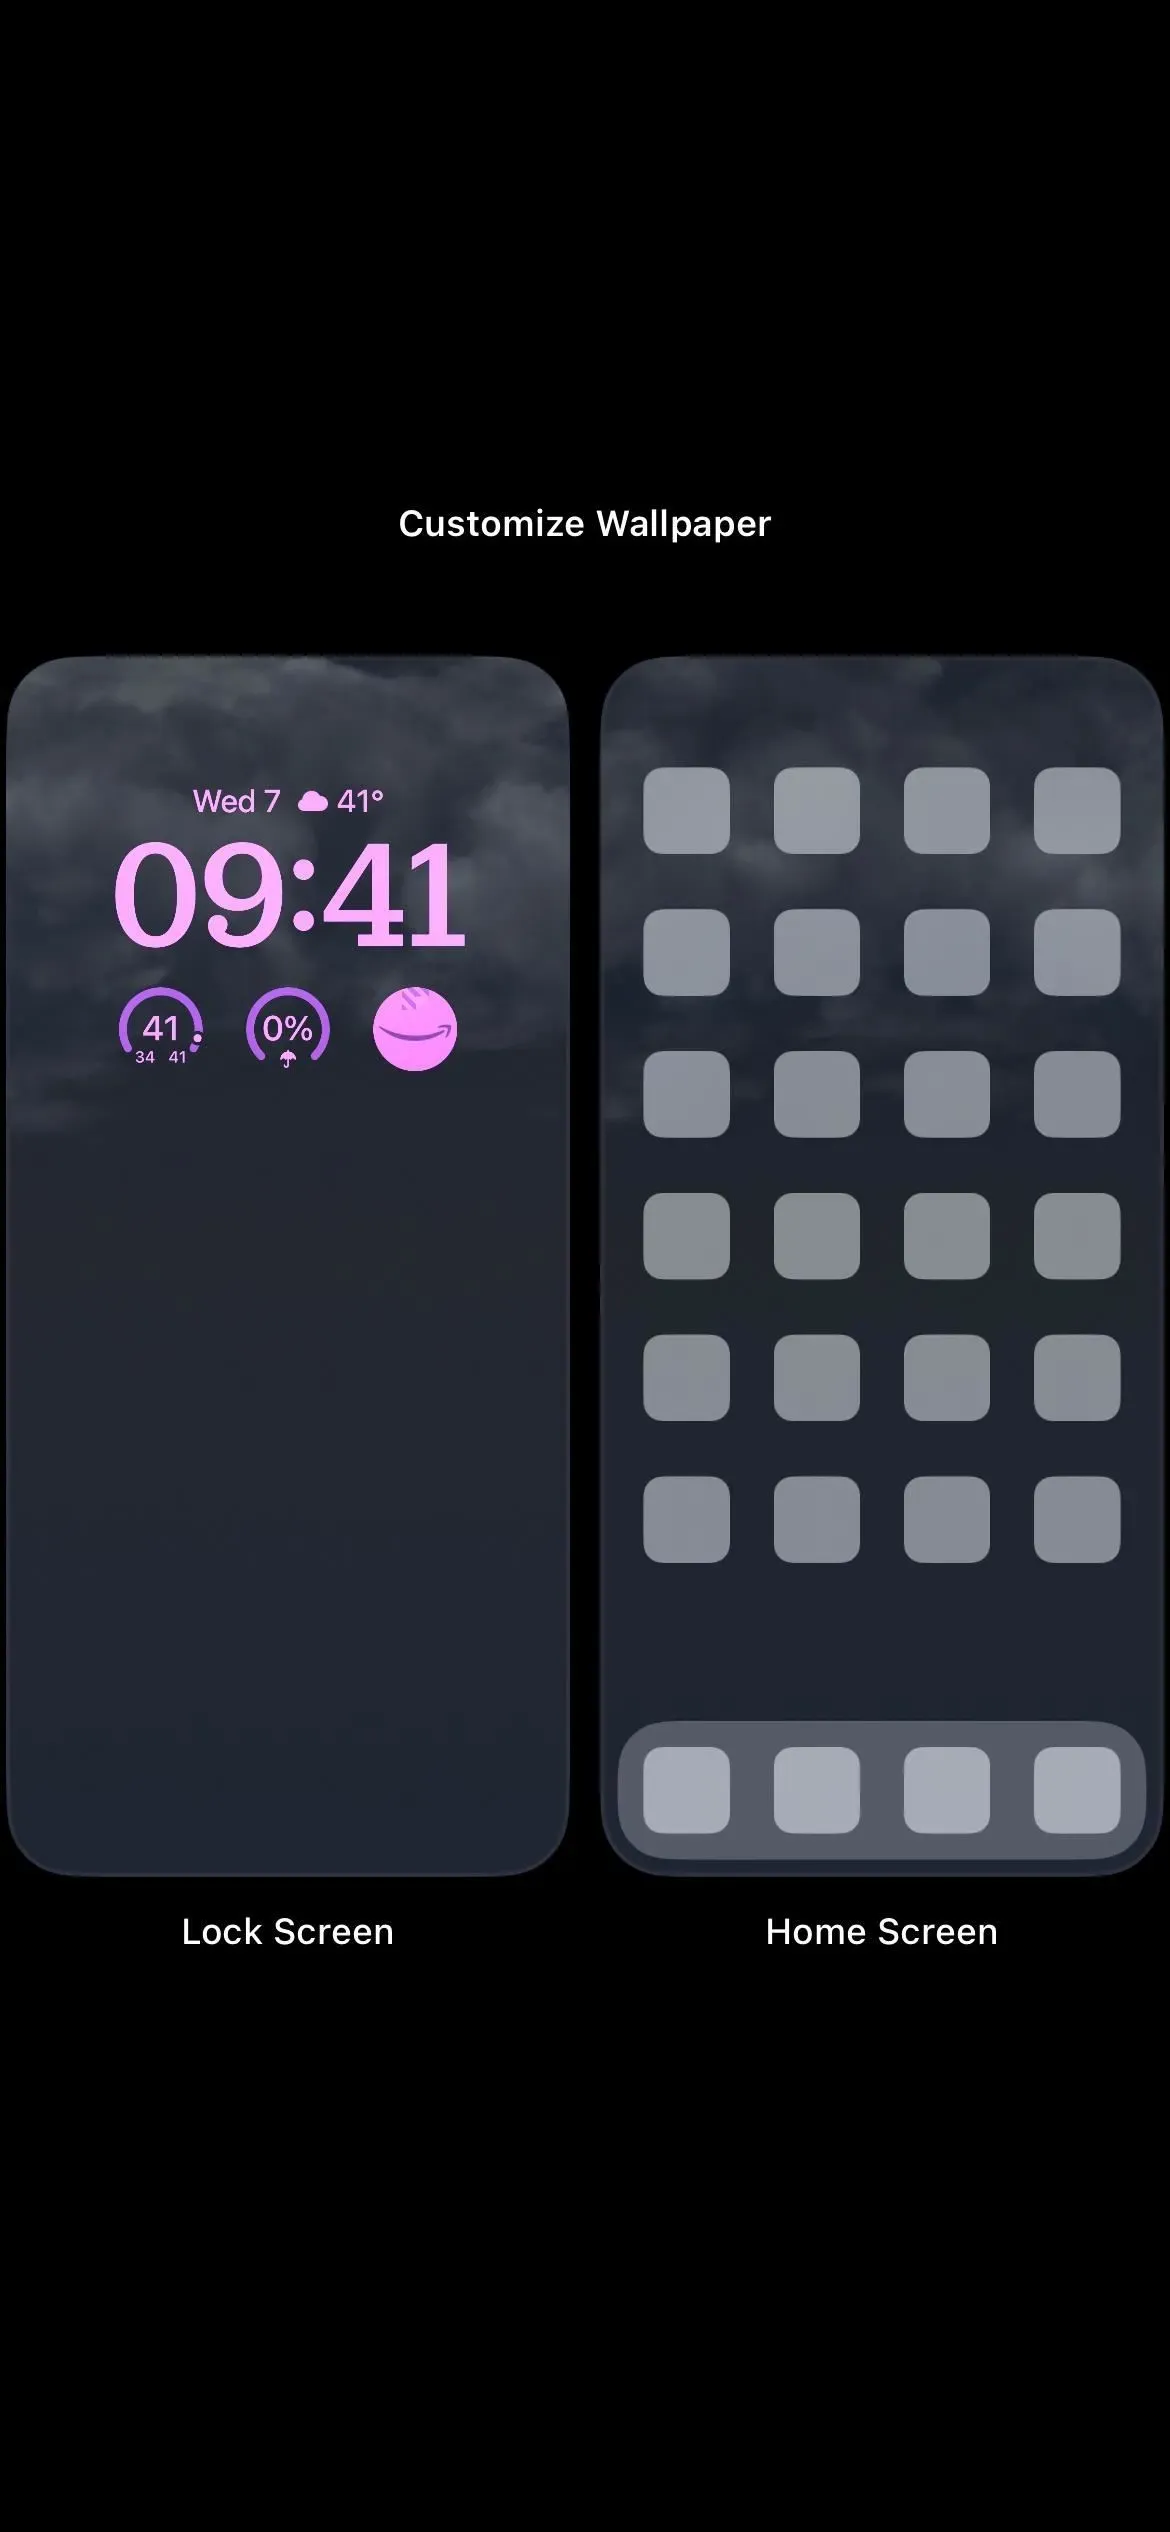
Widgets can display important information from an app right on your iPhone’s lock screen, but there’s another great reason you should use them: quick access to the apps you use most often.
With iOS 16, you can add one widget above the time on the lock screen and up to four smaller ones below the time. And you can do this for each of your lock screen wallpapers. So you can instantly view app details across all lock screens by matching like-minded widgets to your wallpaper themes and focuses.
If you have a lock screen widget installed, tapping it will open an app on your iPhone, most likely straight to whatever the widget displays. For example, when you add a symbol widget for the Promotions app, tapping it will open Promotions directly for whatever promotion you have assigned.
It’s part of the answer to quick access to your favorite apps. But what if you want the app to open in its home page instead of in a specific view? Some apps may give you widgets that do this, but most don’t, and there’s a good chance the app you want the shortcut for doesn’t even support lock screen widgets.
Add lock screen shortcuts for any app
Unfortunately, Apple hasn’t created any lock screen widgets for its Shortcuts app, which would probably be the best solution for opening apps from the lock screen. Until that happens, there are third-party apps that can fill this gap. One of them is Launchify.
- App Store Link: Launchify: Lock Screen Widgets
While Launchify is free to install, subscribing to a paid monthly or yearly plan gets in the way. However, the app allows you to create two lock screen app shortcuts for free. Similar apps may cost more while others may provide you with more free app shortcut widgets. Here are some alternatives you can check out:
- LockFlow·Lock Screen Launcher: There is no limit to the number of free app shortcut widgets you can create, and you can even create a folder widget containing any number of app shortcuts. However, it costs $2.99 per month, $9.99 per year, or $32.99 once to unlock other features like opening and selecting apps from a folder directly on the lock screen. The icons it automatically assigns to apps are always disabled and you can only replace them with other symbols or image downloads.
- Best Widgets. There seems to be no limit to free app shortcut widgets and there are several different styles to choose from. However, you are stuck using the Top Widgets icon design. The interface is quite cluttered, so it is visually difficult to find and select something, there are ads. But you can remove ads and unlock other features for $1.49/month, $3.49/quarter, or $8.49/year.
- Lock Launcher – Screen Widget: Like Launchify, you’re limited to two app shortcut widgets before you have to pay. There are more options to customize the widget design, and you can use URL schemes to open unsupported apps for two free app shortcuts. The pro version of the app, which opens everything, costs $4.99 once, so there is no subscription. It is currently on sale for $0.99.
- Widgetable: Lock Screen Widget: As with Top Widgets, there doesn’t seem to be any limit on free app shortcut widgets. It chooses a user-provided icon for you, but you can change it to a symbol. The interface is also quite cluttered and very similar in design to Top Widgets, making it visually difficult to find and select anything, and there are ads. You can remove ads and unlock other features for $1.99/month or $19.99/year, and there’s also a free 3-day trial.
- Widgetsmith: If you can get around the clunky and confusing user interface, you can probably add as many free app shortcut widgets as you want, but you need to be aware of the URL scheme as it doesn’t offer any pre-filled options. You can choose from your own photos, symbols, or a pre-designed theme. Some themes require the pro version for $1.99/month or $19.99/year. There are ads that the professional version also removes.
- ScreenKit – Widget, Themes, Icon: As usual, the user interface is quite difficult to use. Free app shortcut widgets seem endless, but you are limited in their design. However, one interesting feature allows you to use GIFs. ScreenKit charges for unlocking various themes, ranging from $2.99 per time to $49.99 per year.
While steps 1 to 3 below on designing your widgets will differ from app to app, steps 4 to 7 will be very similar when it comes to actually adding them to your lock screen. However, most of them use URL schemes to open apps, and you can submit your own if you can’t find one for your app; Visit my lists of URL schemes for Apple apps and third party apps to explore them.
Step 1. Choose an application
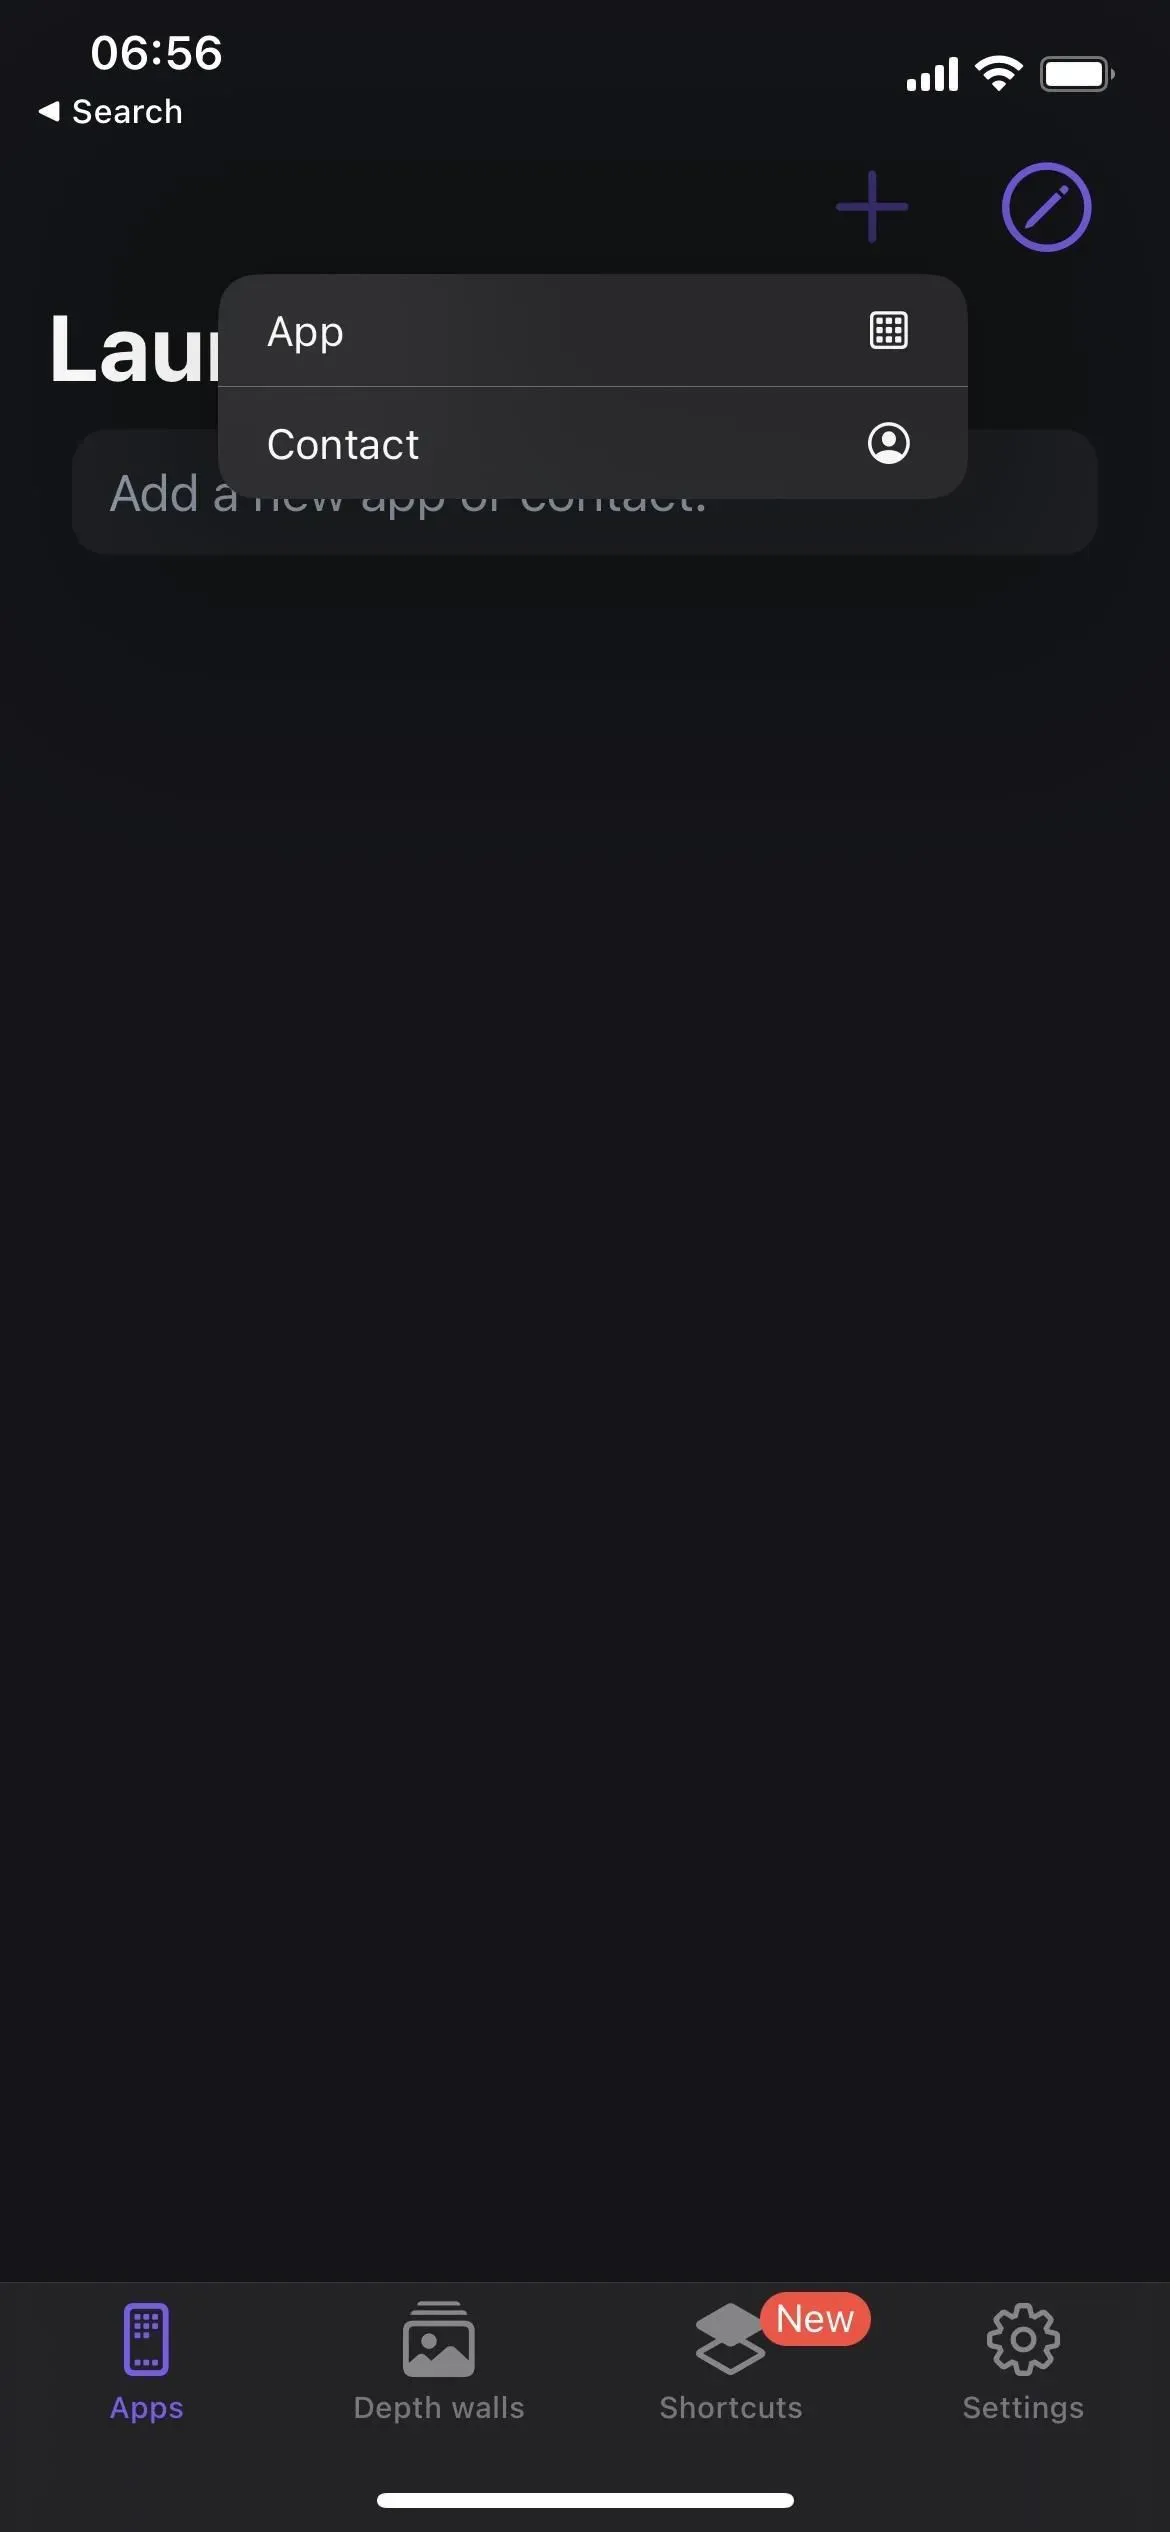
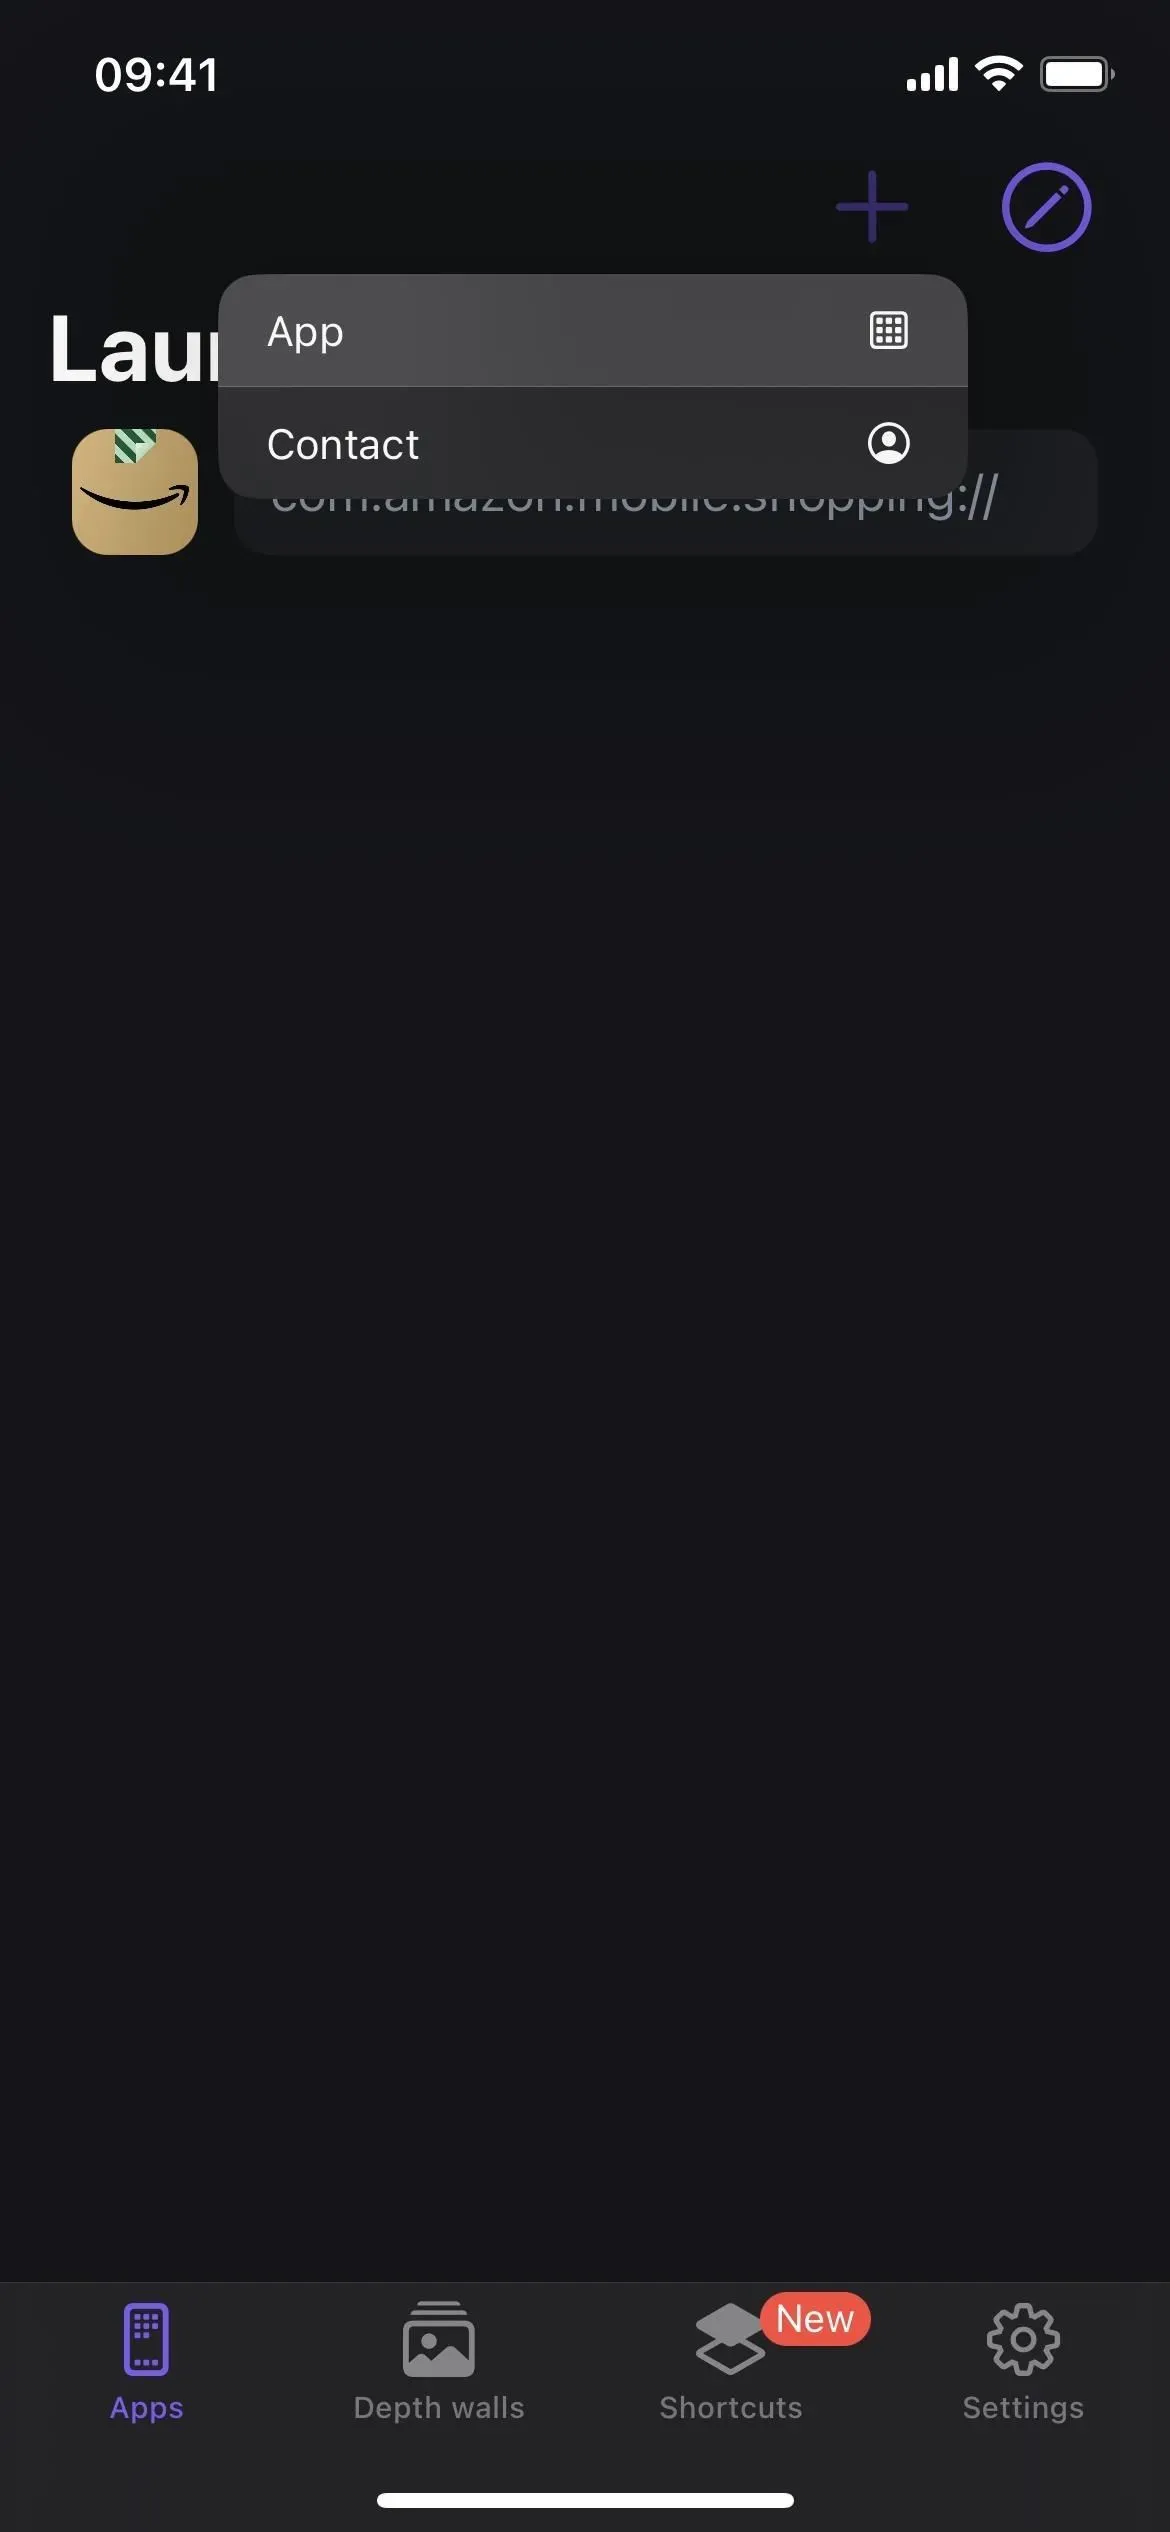
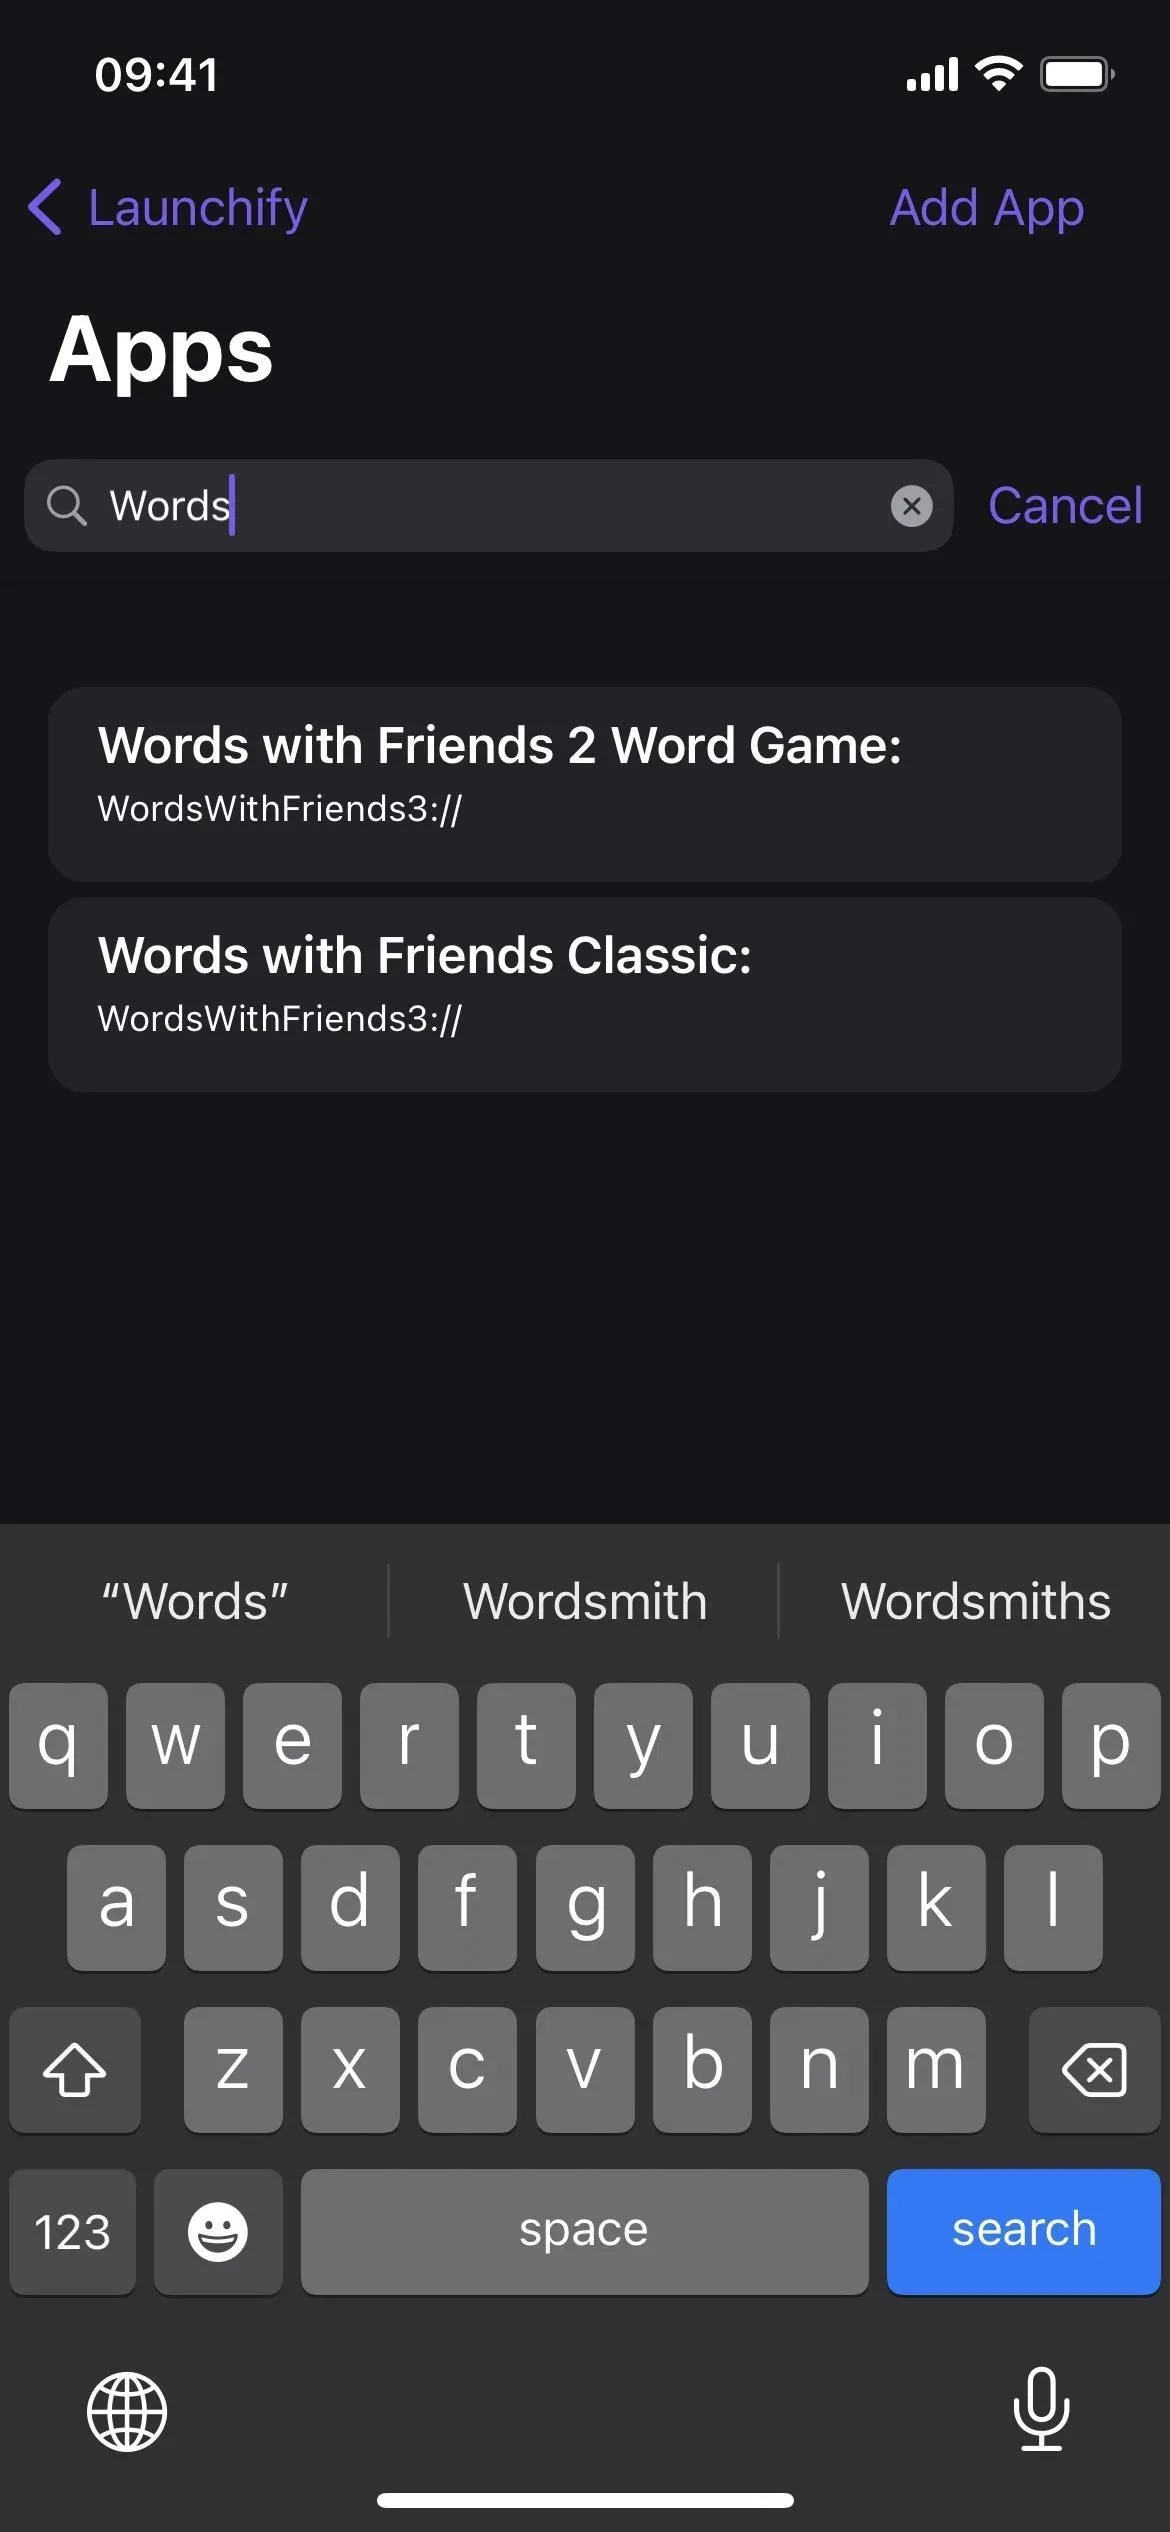
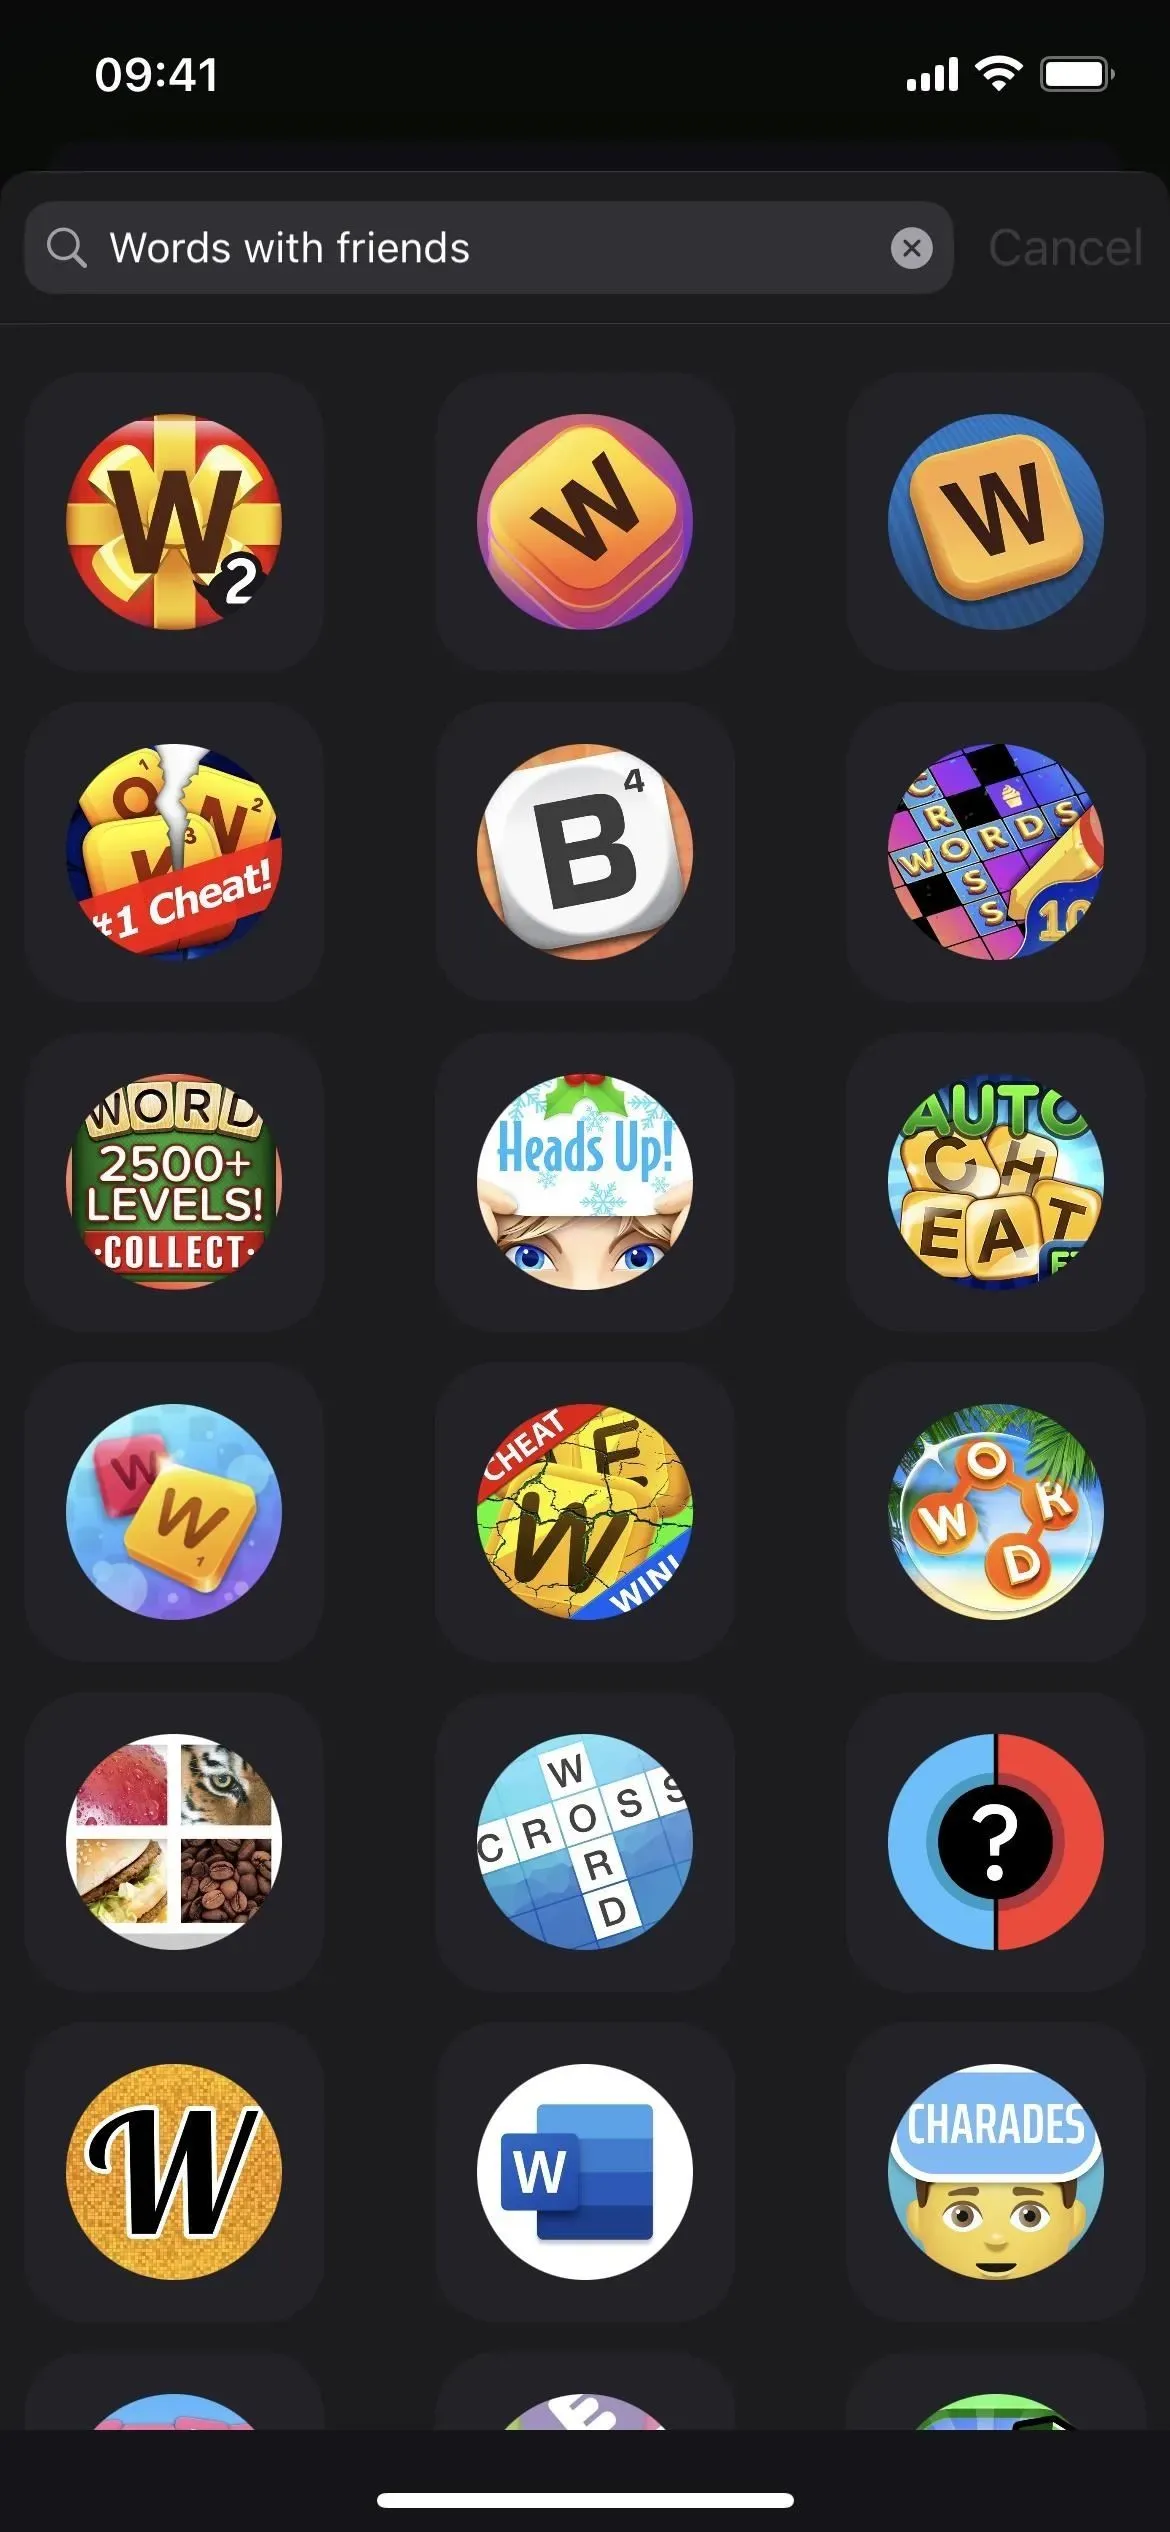
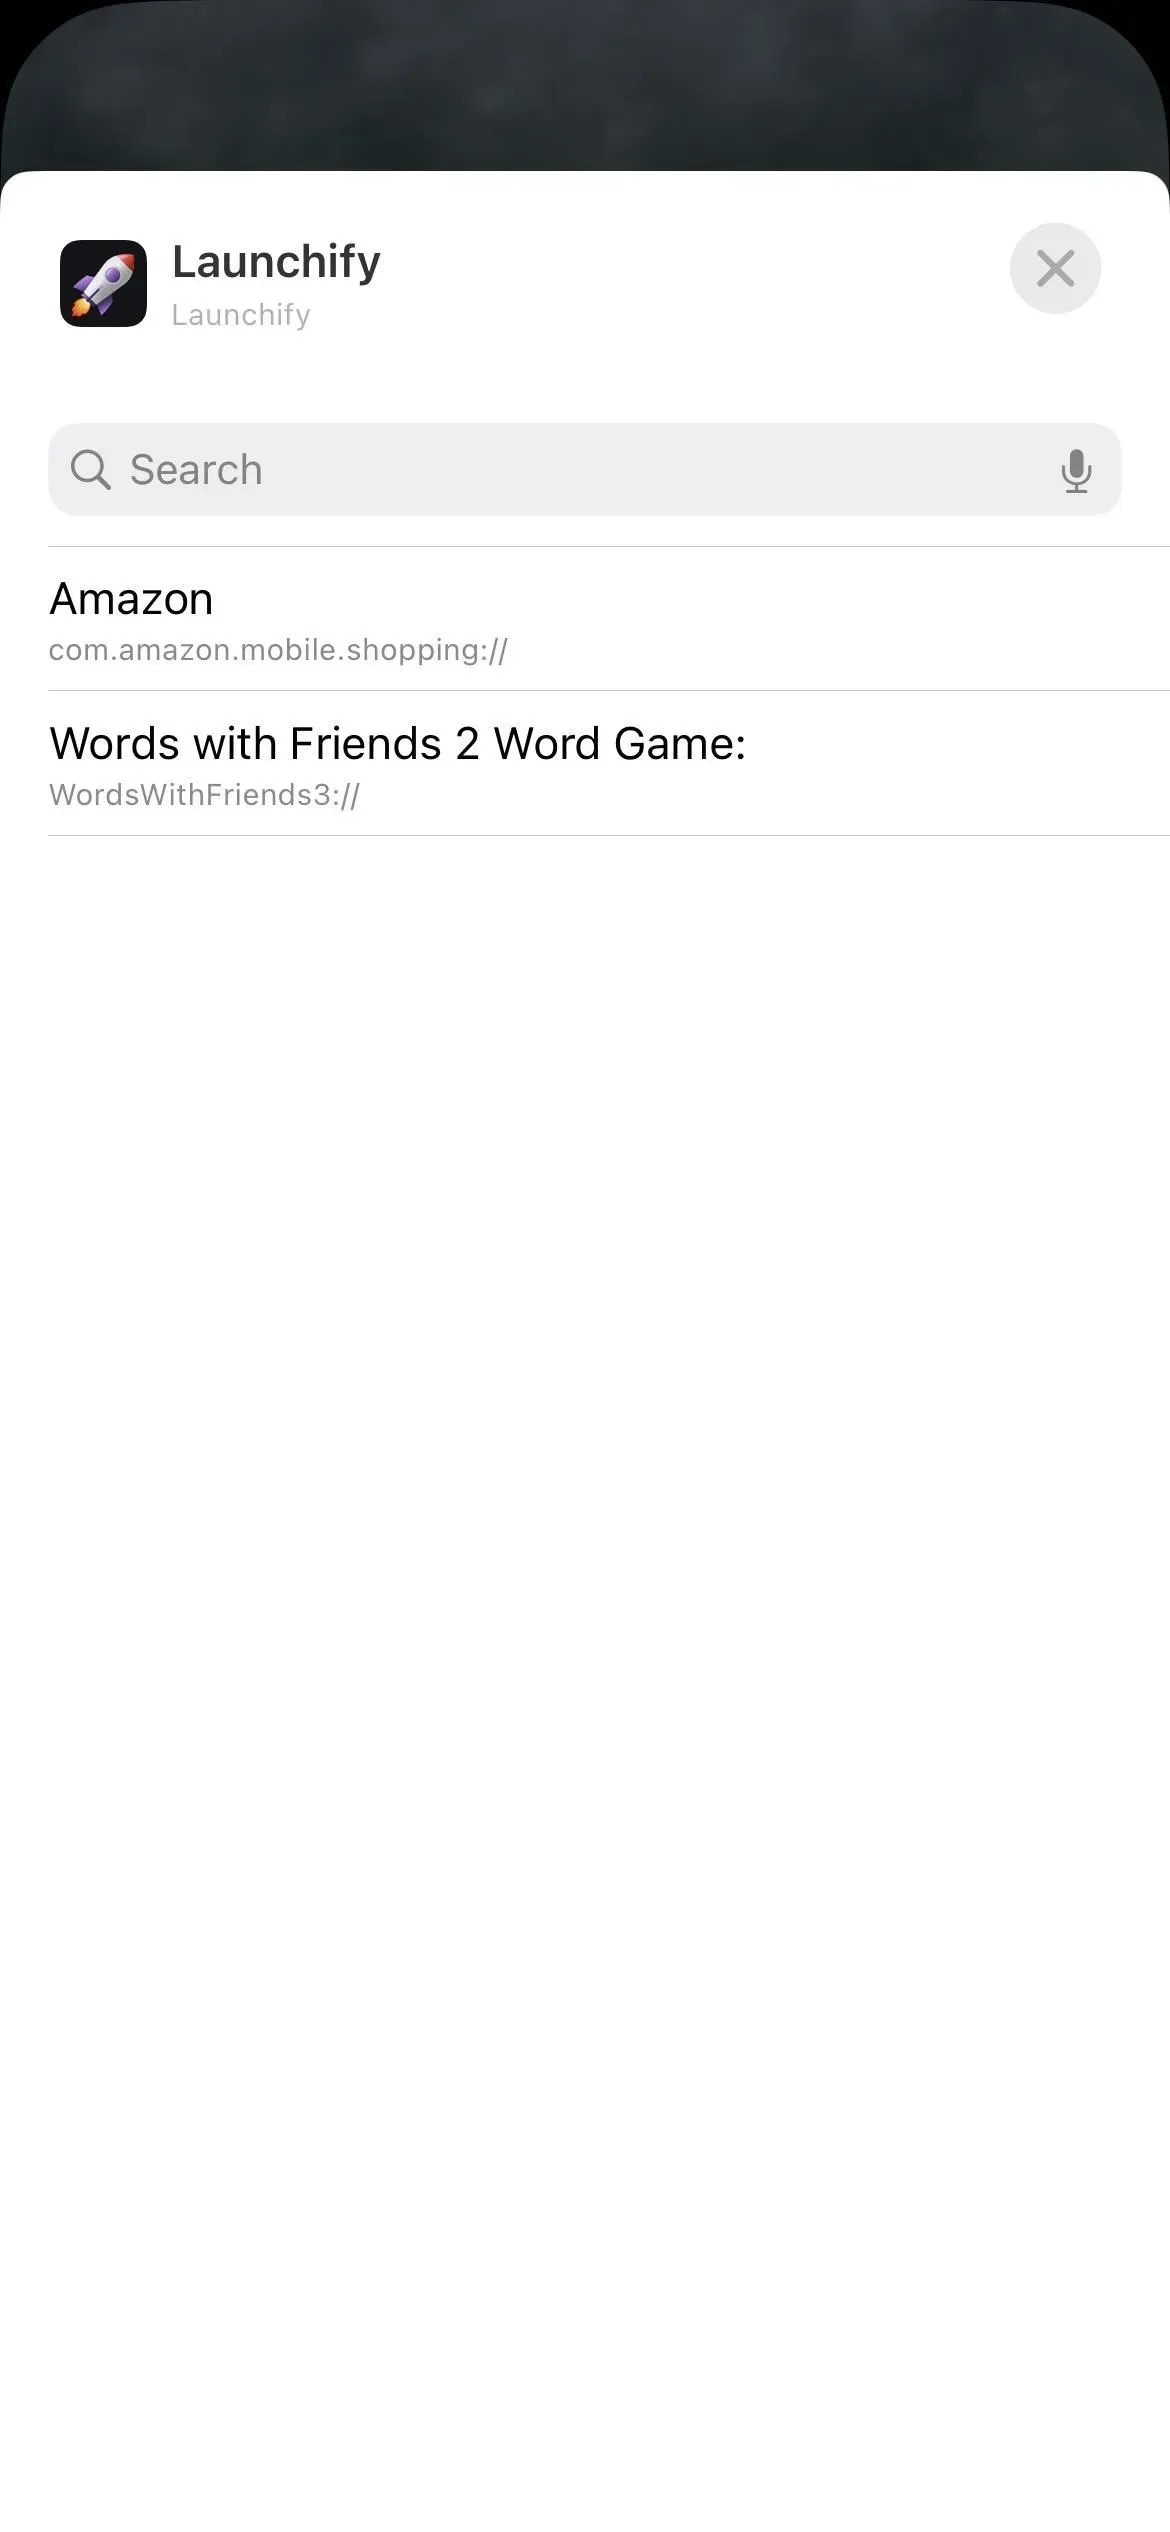
In Launchify, tap the plus sign (+) on the Apps tabs, then select App. You will then see the full list of apps supported by Launchify and you can use the search tool to find your app faster. Launchify uses URL schemes to launch apps, so any app that gives itself a scheme name will work.
Don’t see your app in the list? You can click “Add App”to add it yourself, but this is a paid feature. If that doesn’t bother you, visit my lists of URL schemes for Apple apps and third-party apps to find the right app.
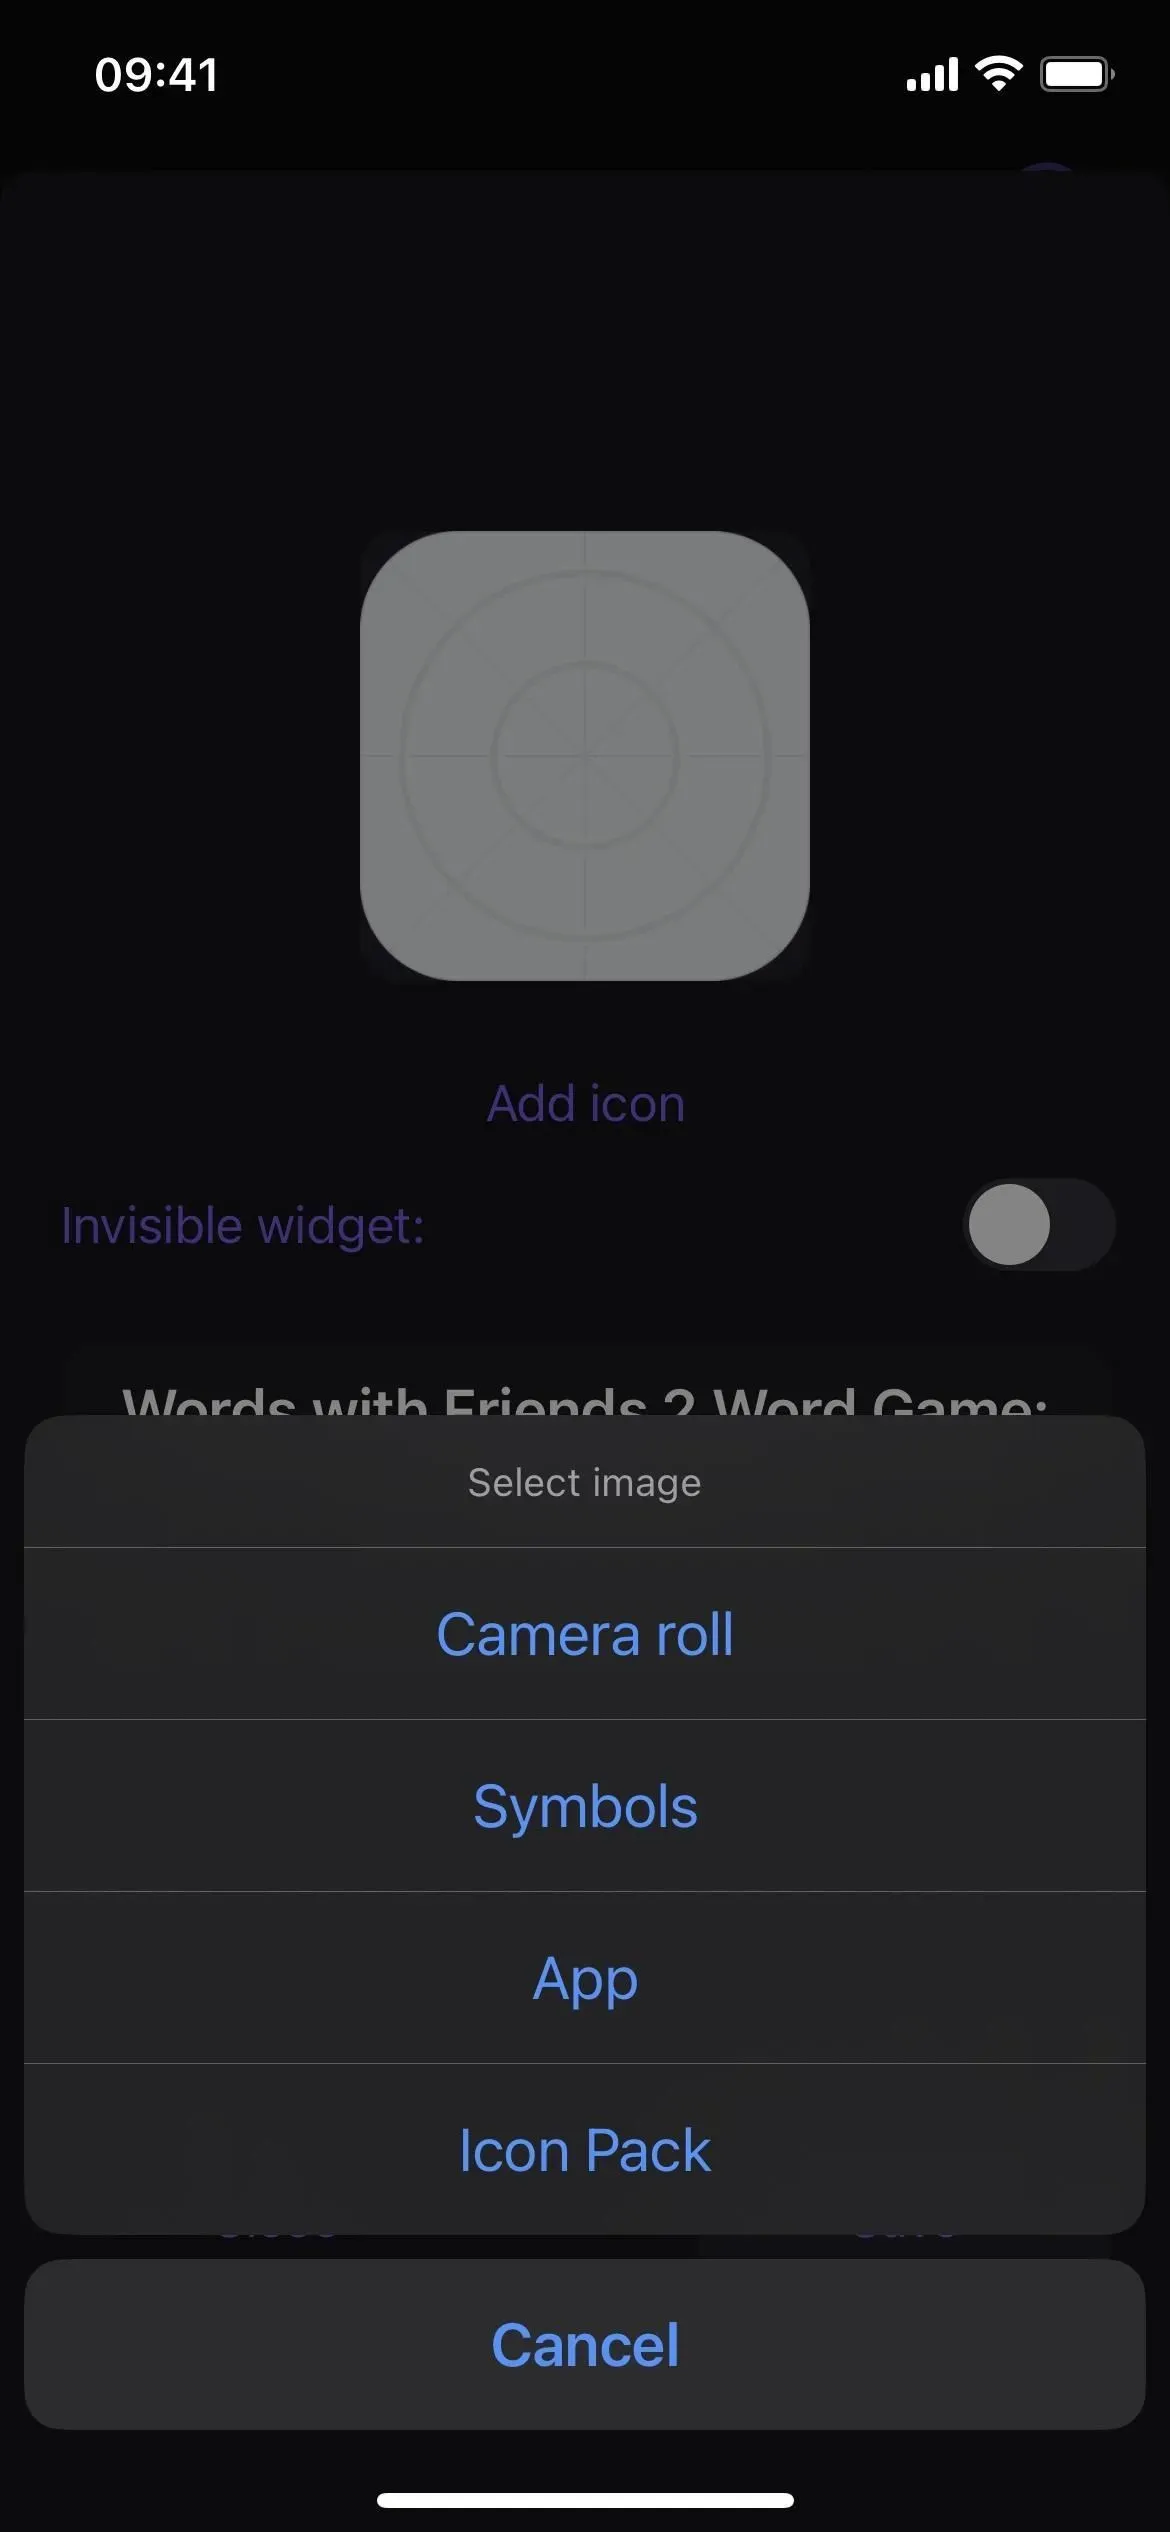
Step 2: Assign an Icon
After selecting the URL bar for the app you want, click Add Icon and choose how you want to add the image. To keep the same app icon, choose App from the menu, search for the app, and select the icon you got directly from the App Store. You can also upload your own image, choose an icon from the Apple SF Symbols library, or choose an image from the Launchify icon pack.
When you’re done, click Save and you’re ready to add the Launchify widget.

Step 3: Repeat for other apps (optional)
Before you add the Launchify widget, remember that Launchify only allows two free app shortcuts before you have to pay for a subscription. So if you want a second app icon to appear on your lock screen, repeat steps 1 and 2 above. If you need more than two, Launchify charges $0.99 per month or $7.99 per year.
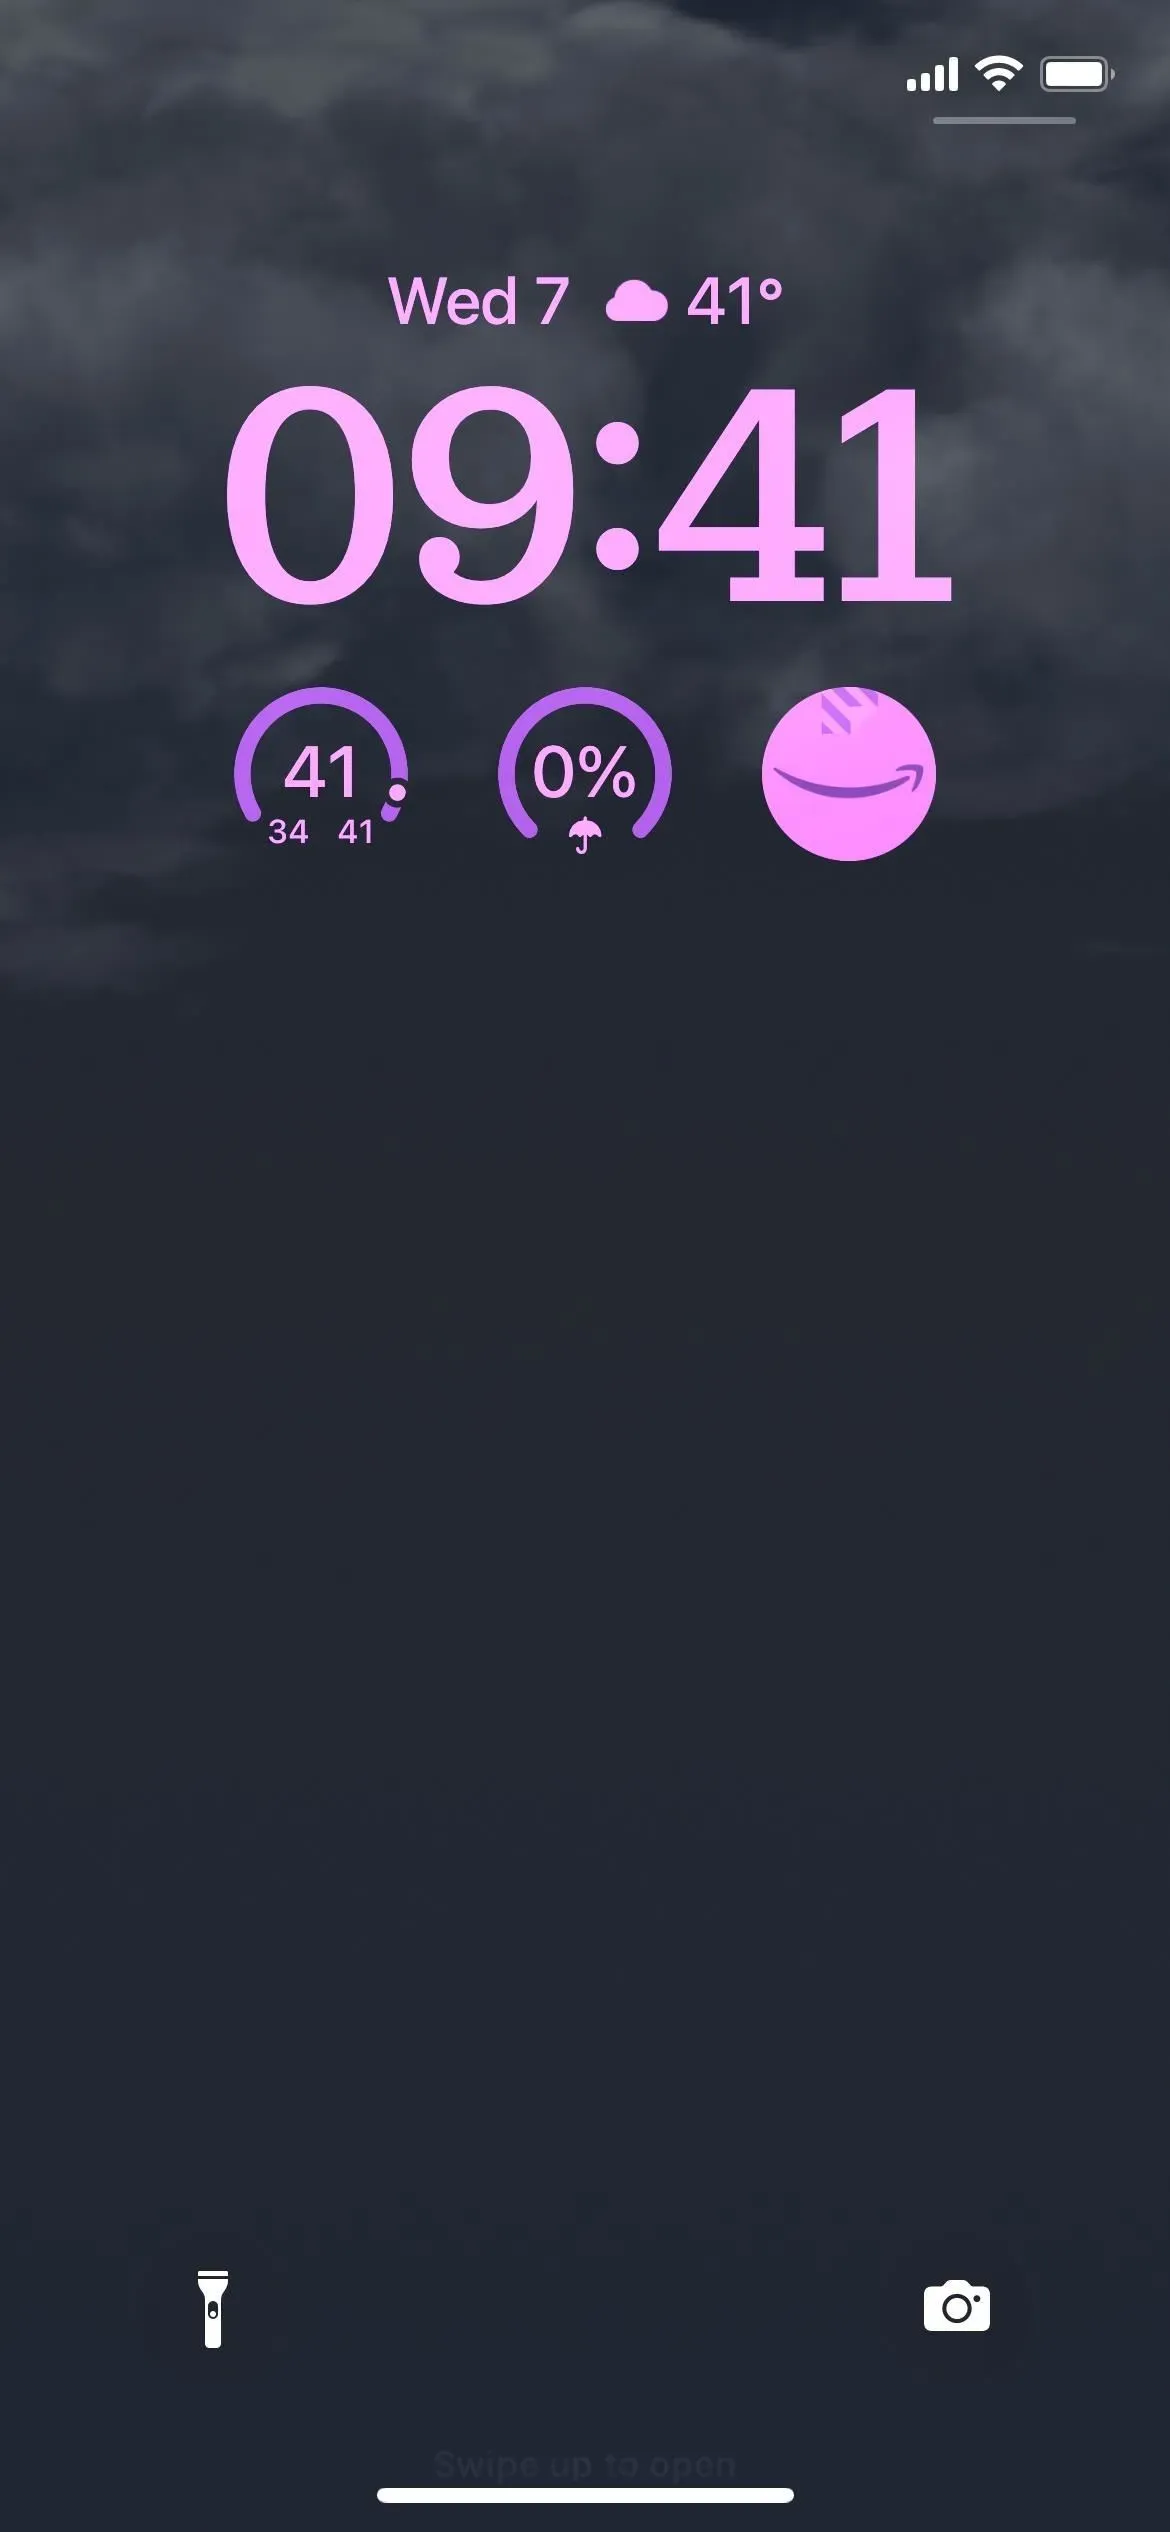
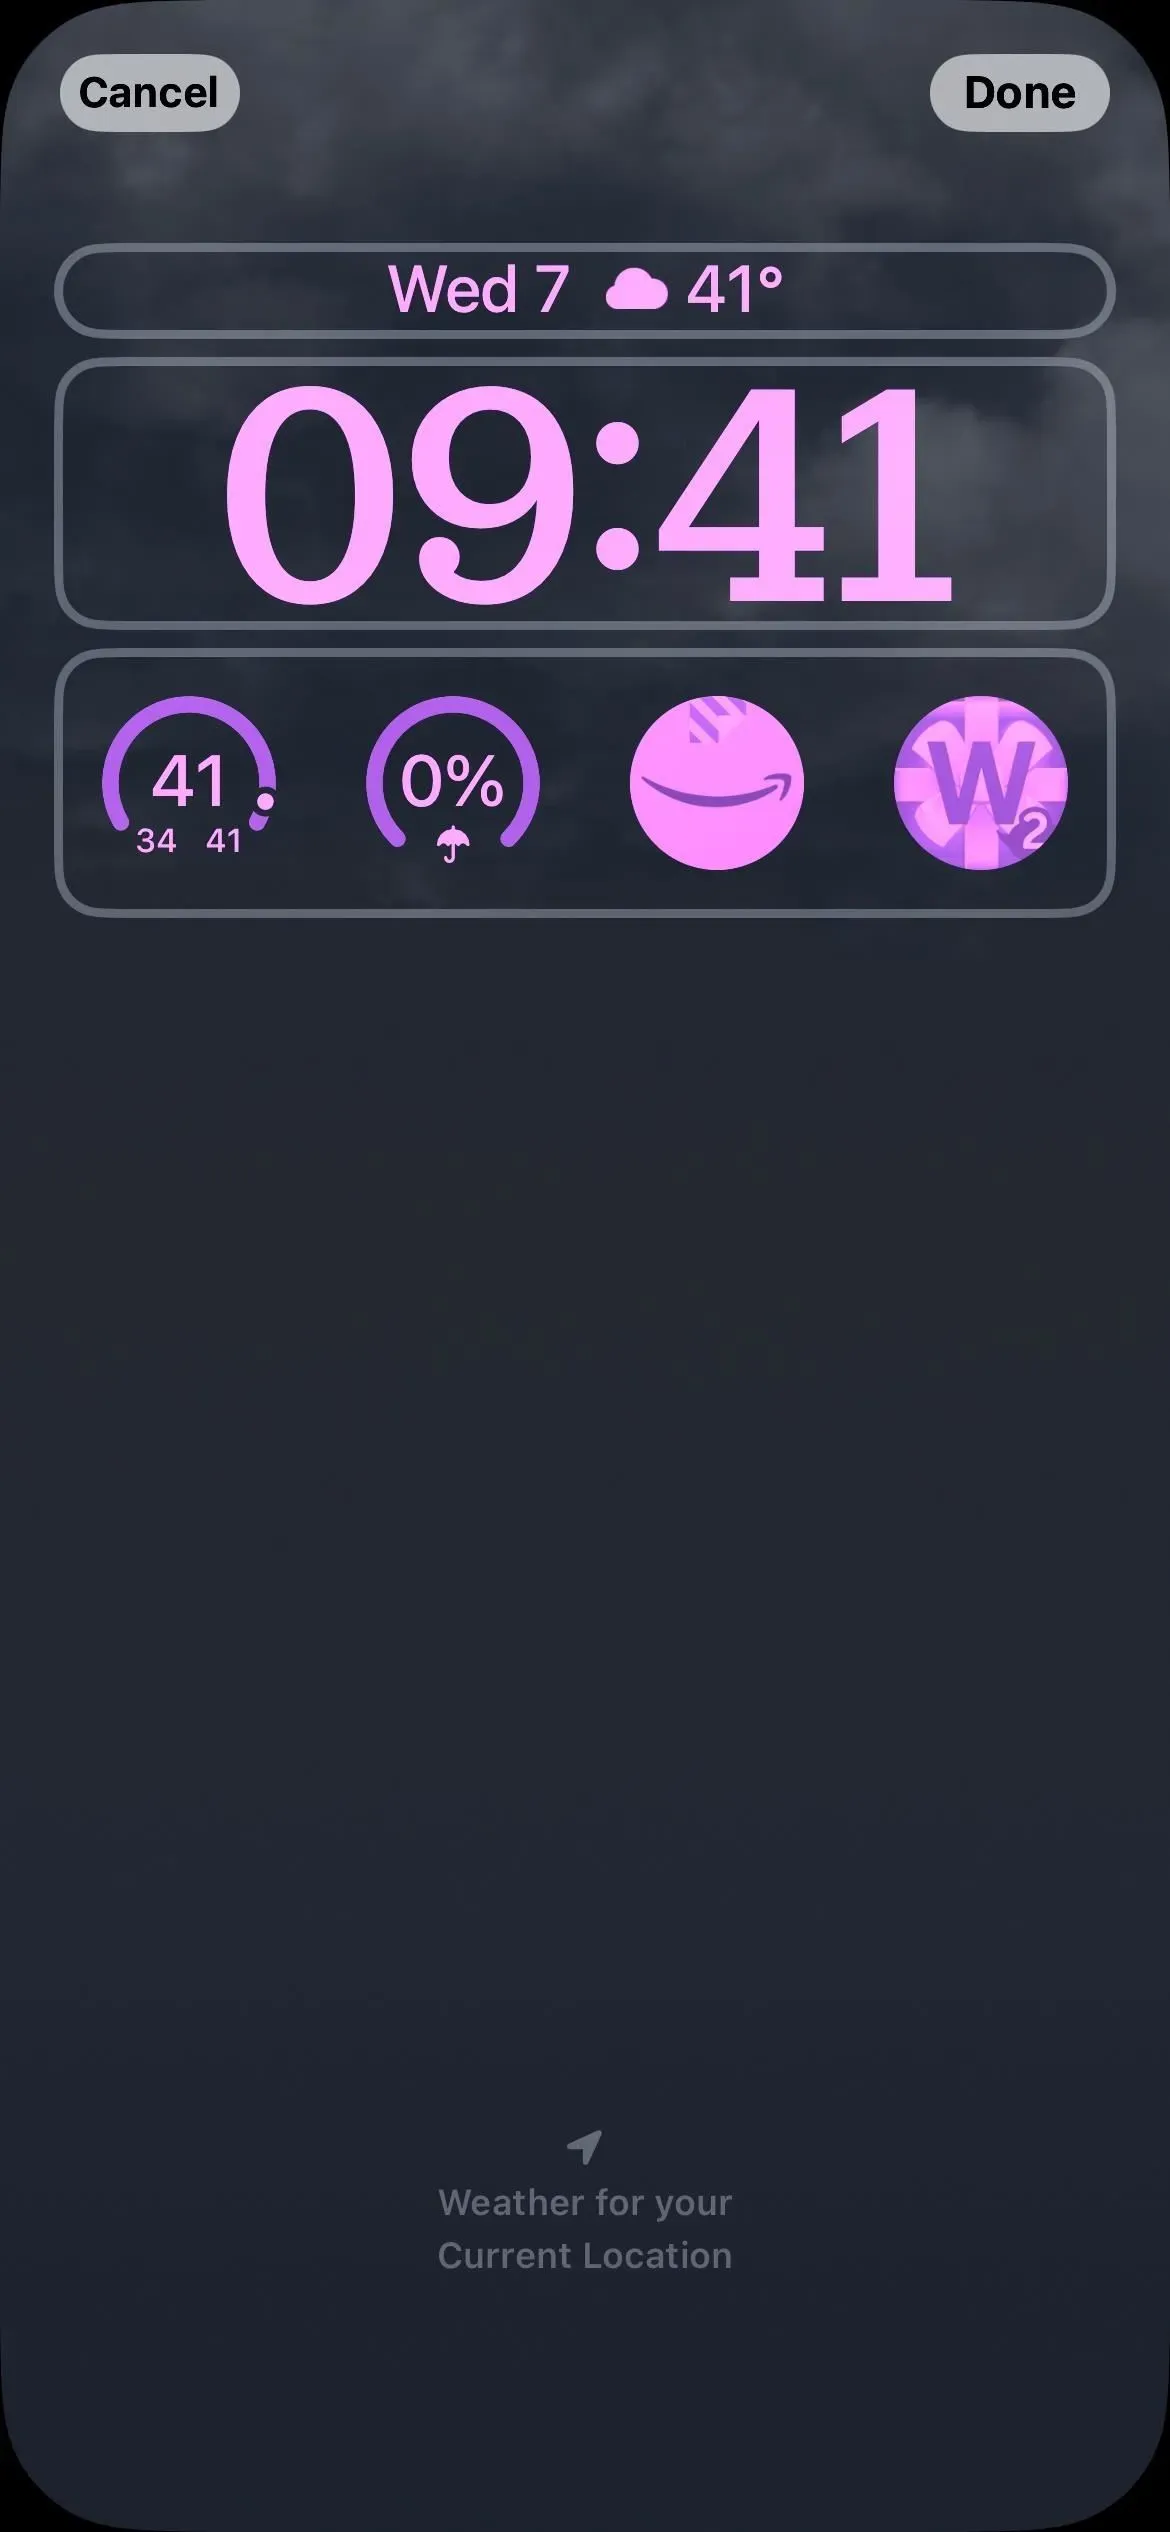
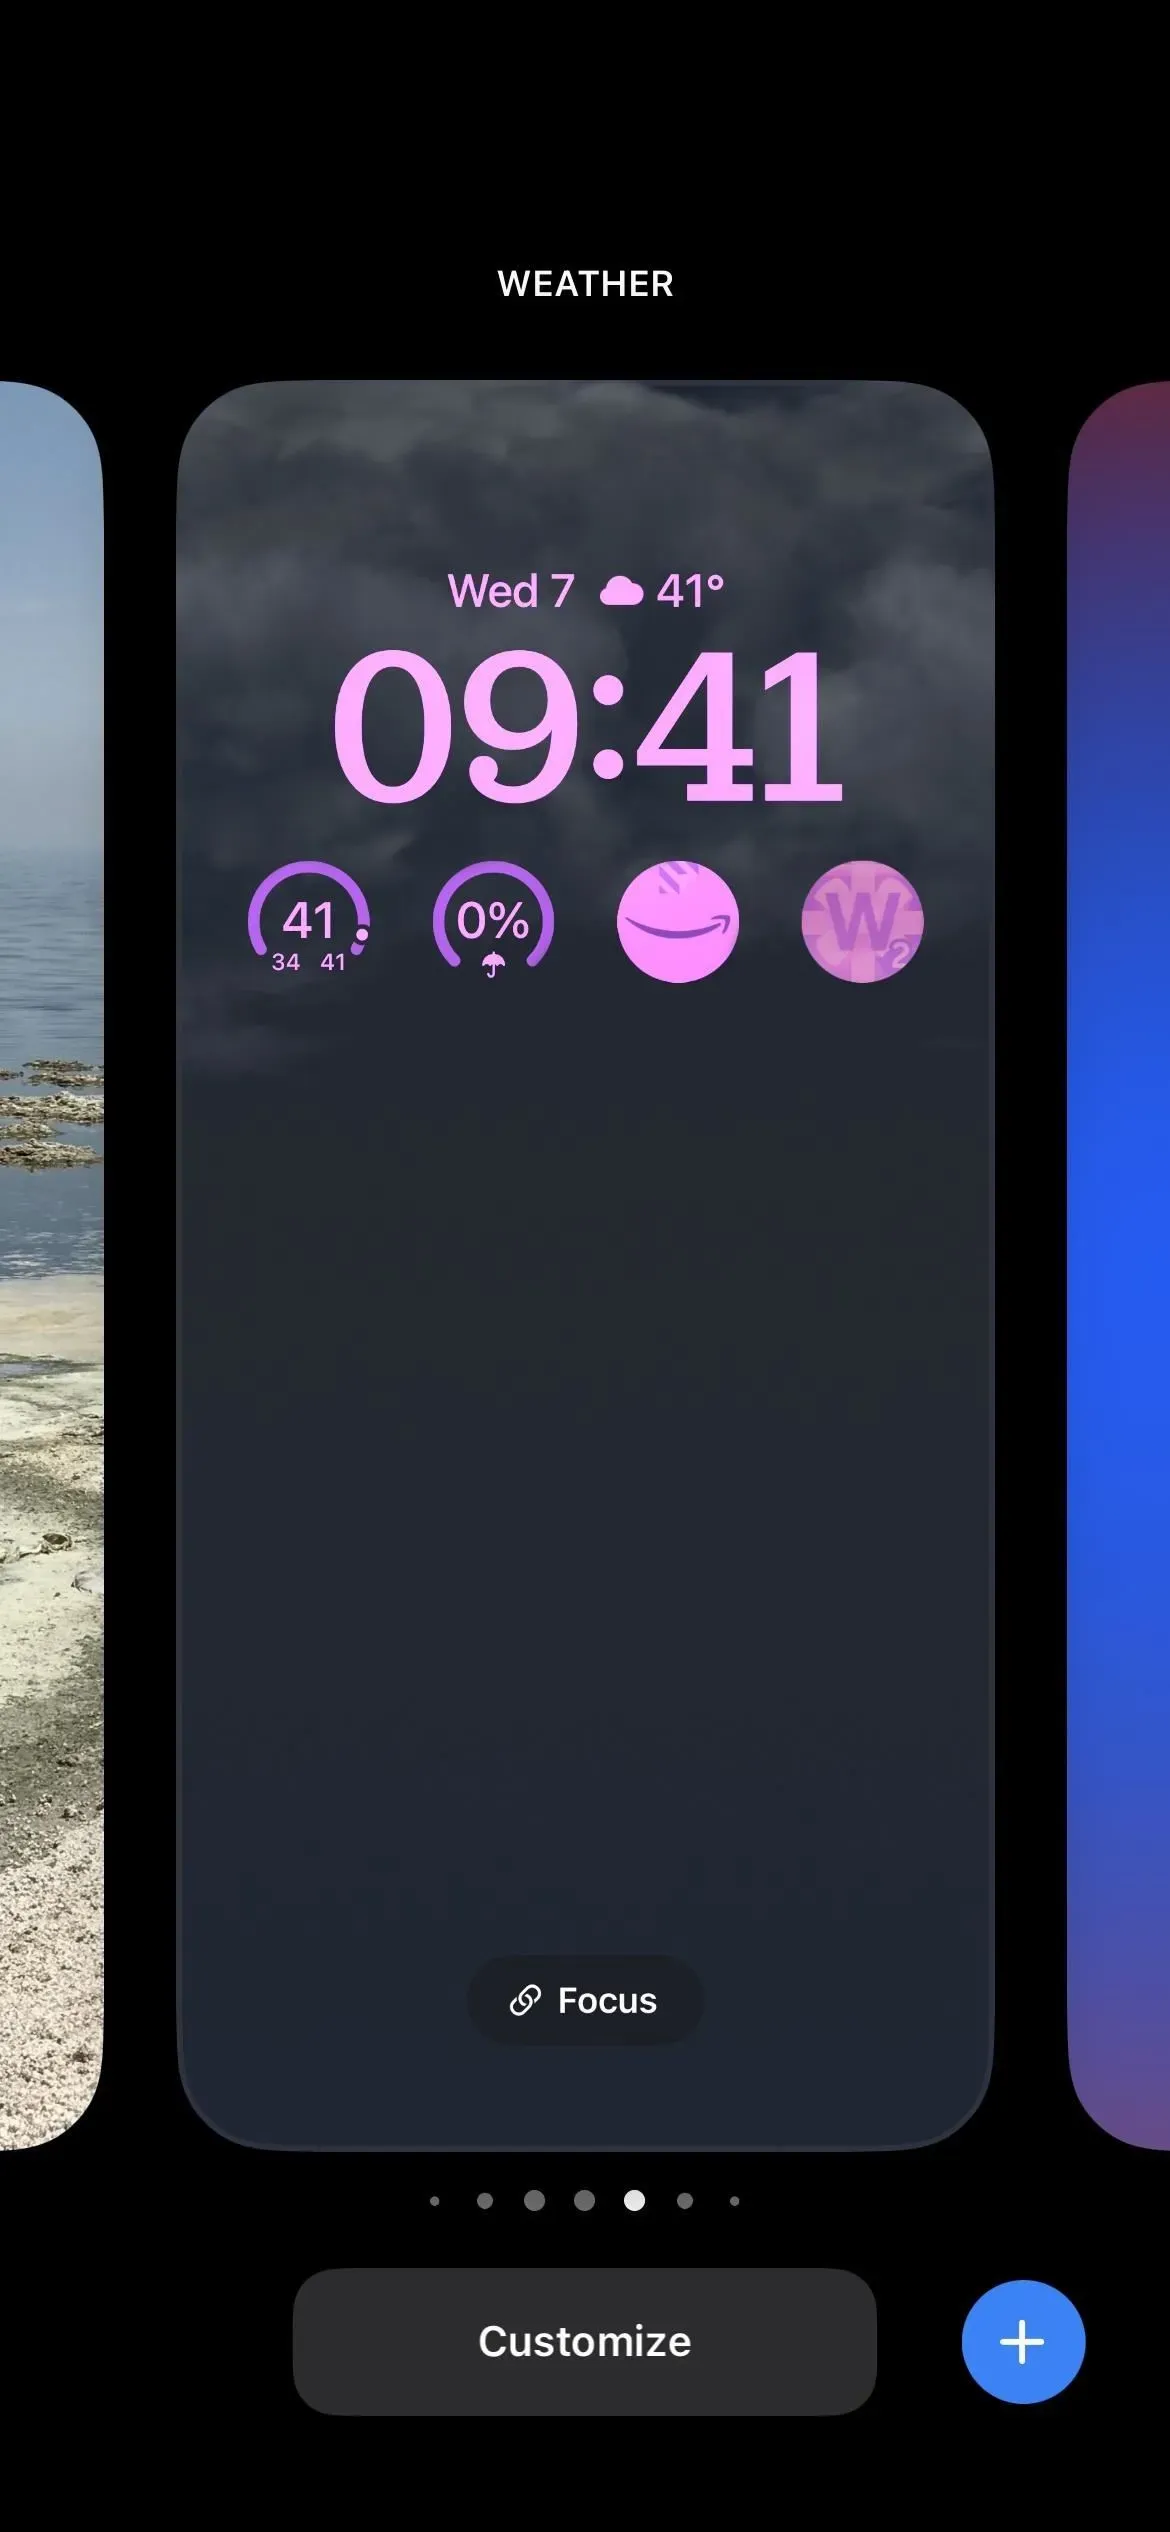
Step 4: Open the lock screen editor
To add a lock screen widget, long press on the lock screen to open the lock screen selector. Note that you need to be authenticated before the lock screen selector opens. Then select the appropriate lock screen if you have more than one. Then select “Customize”under it and open the lock screen editor.
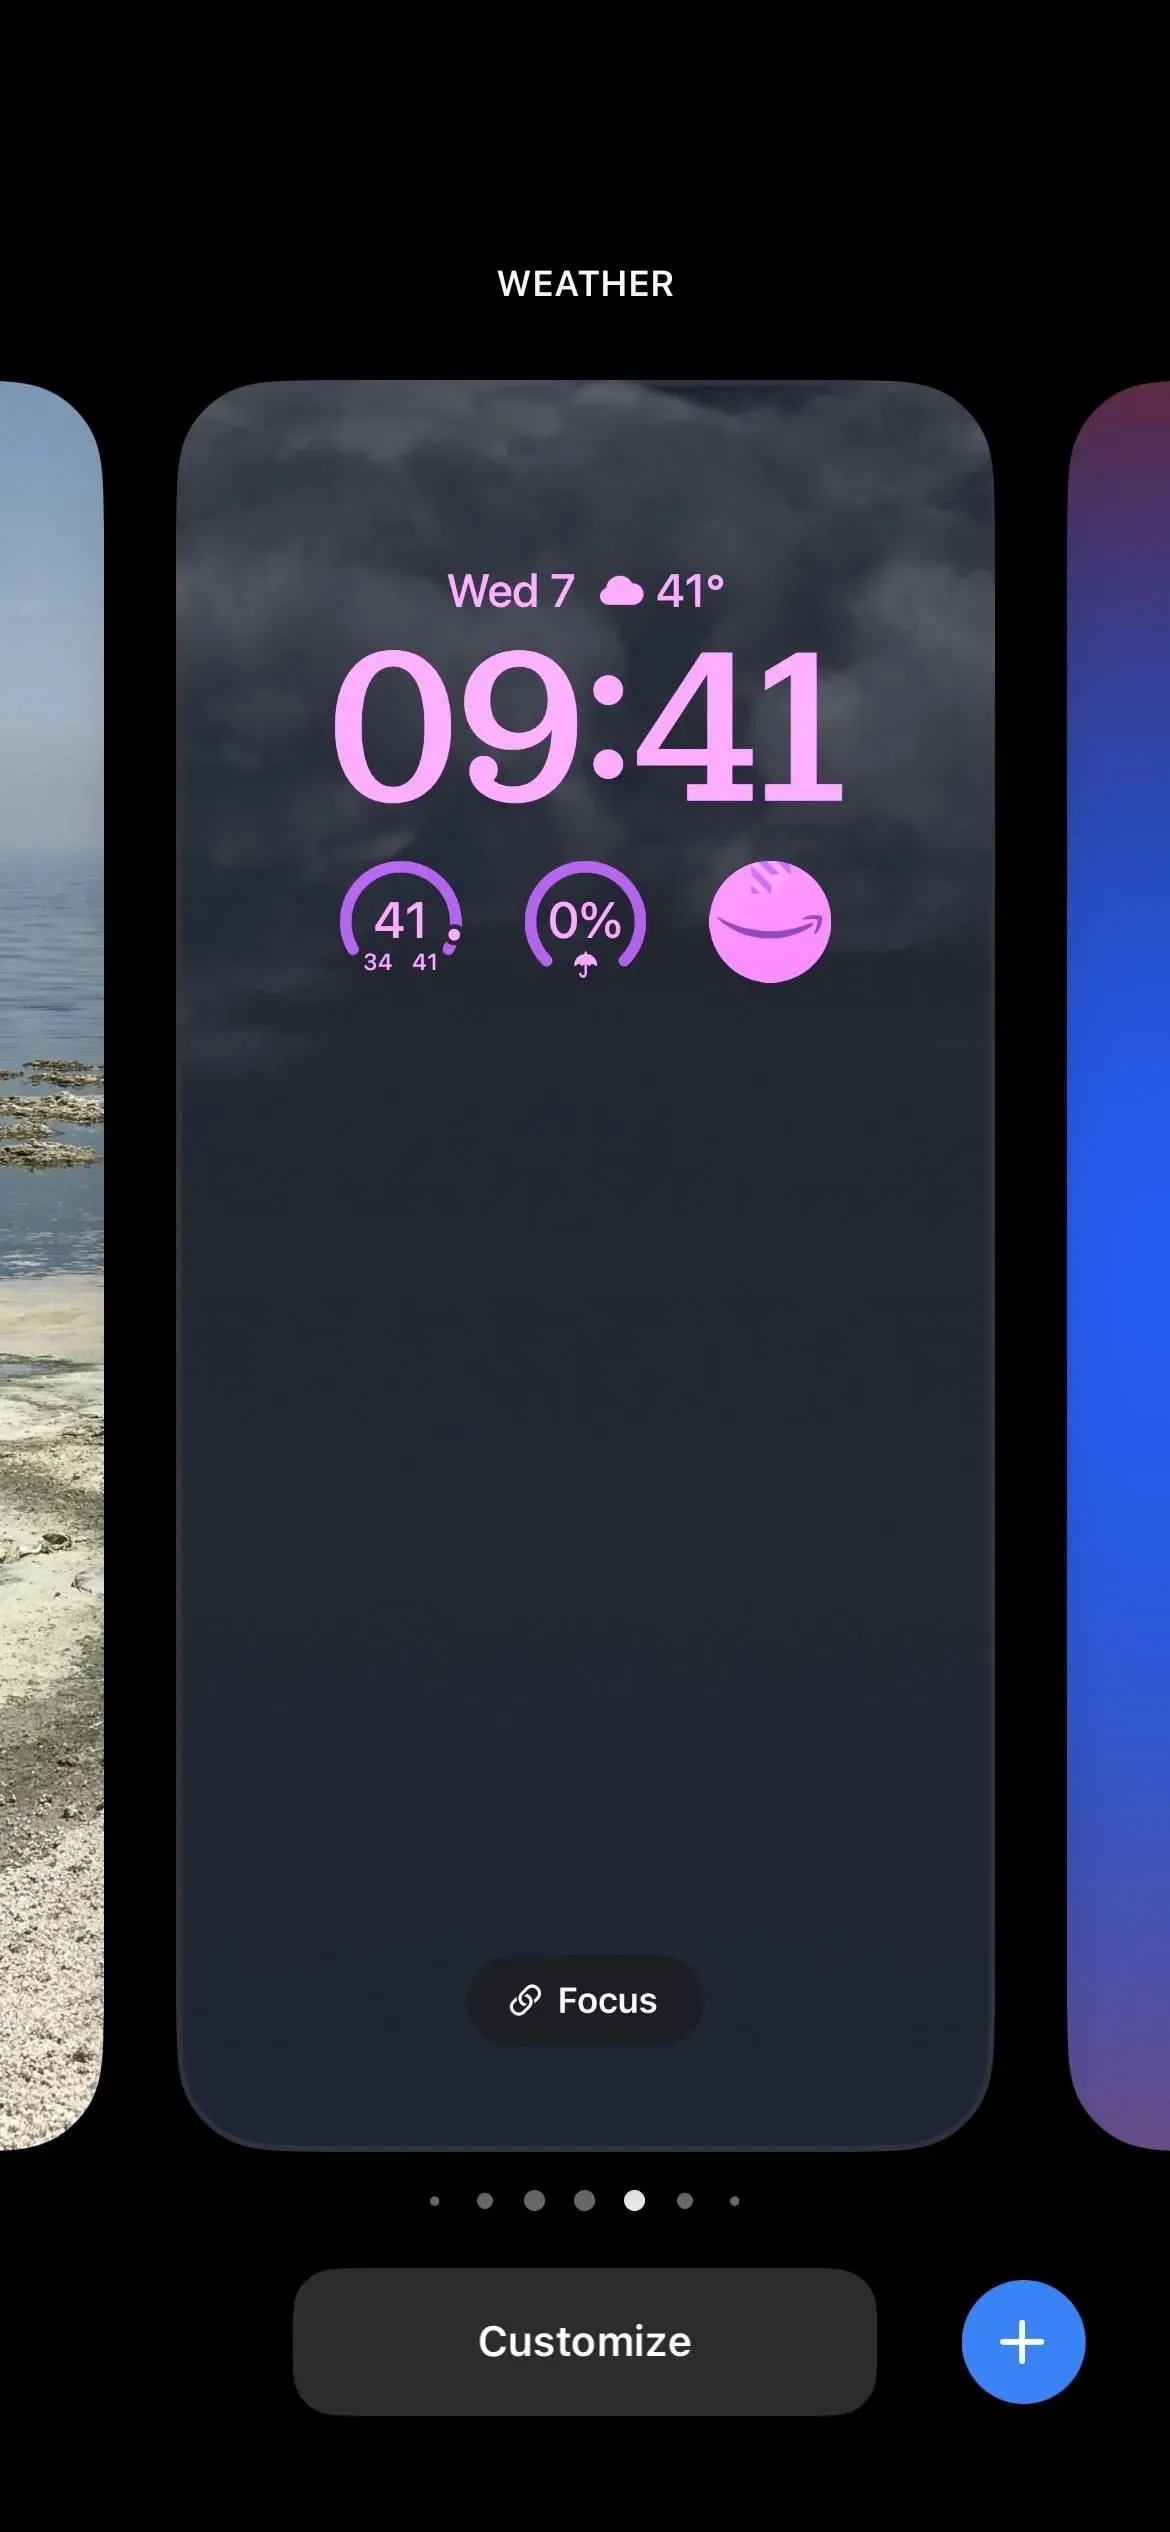
Step 5: Add the Launchify Widget
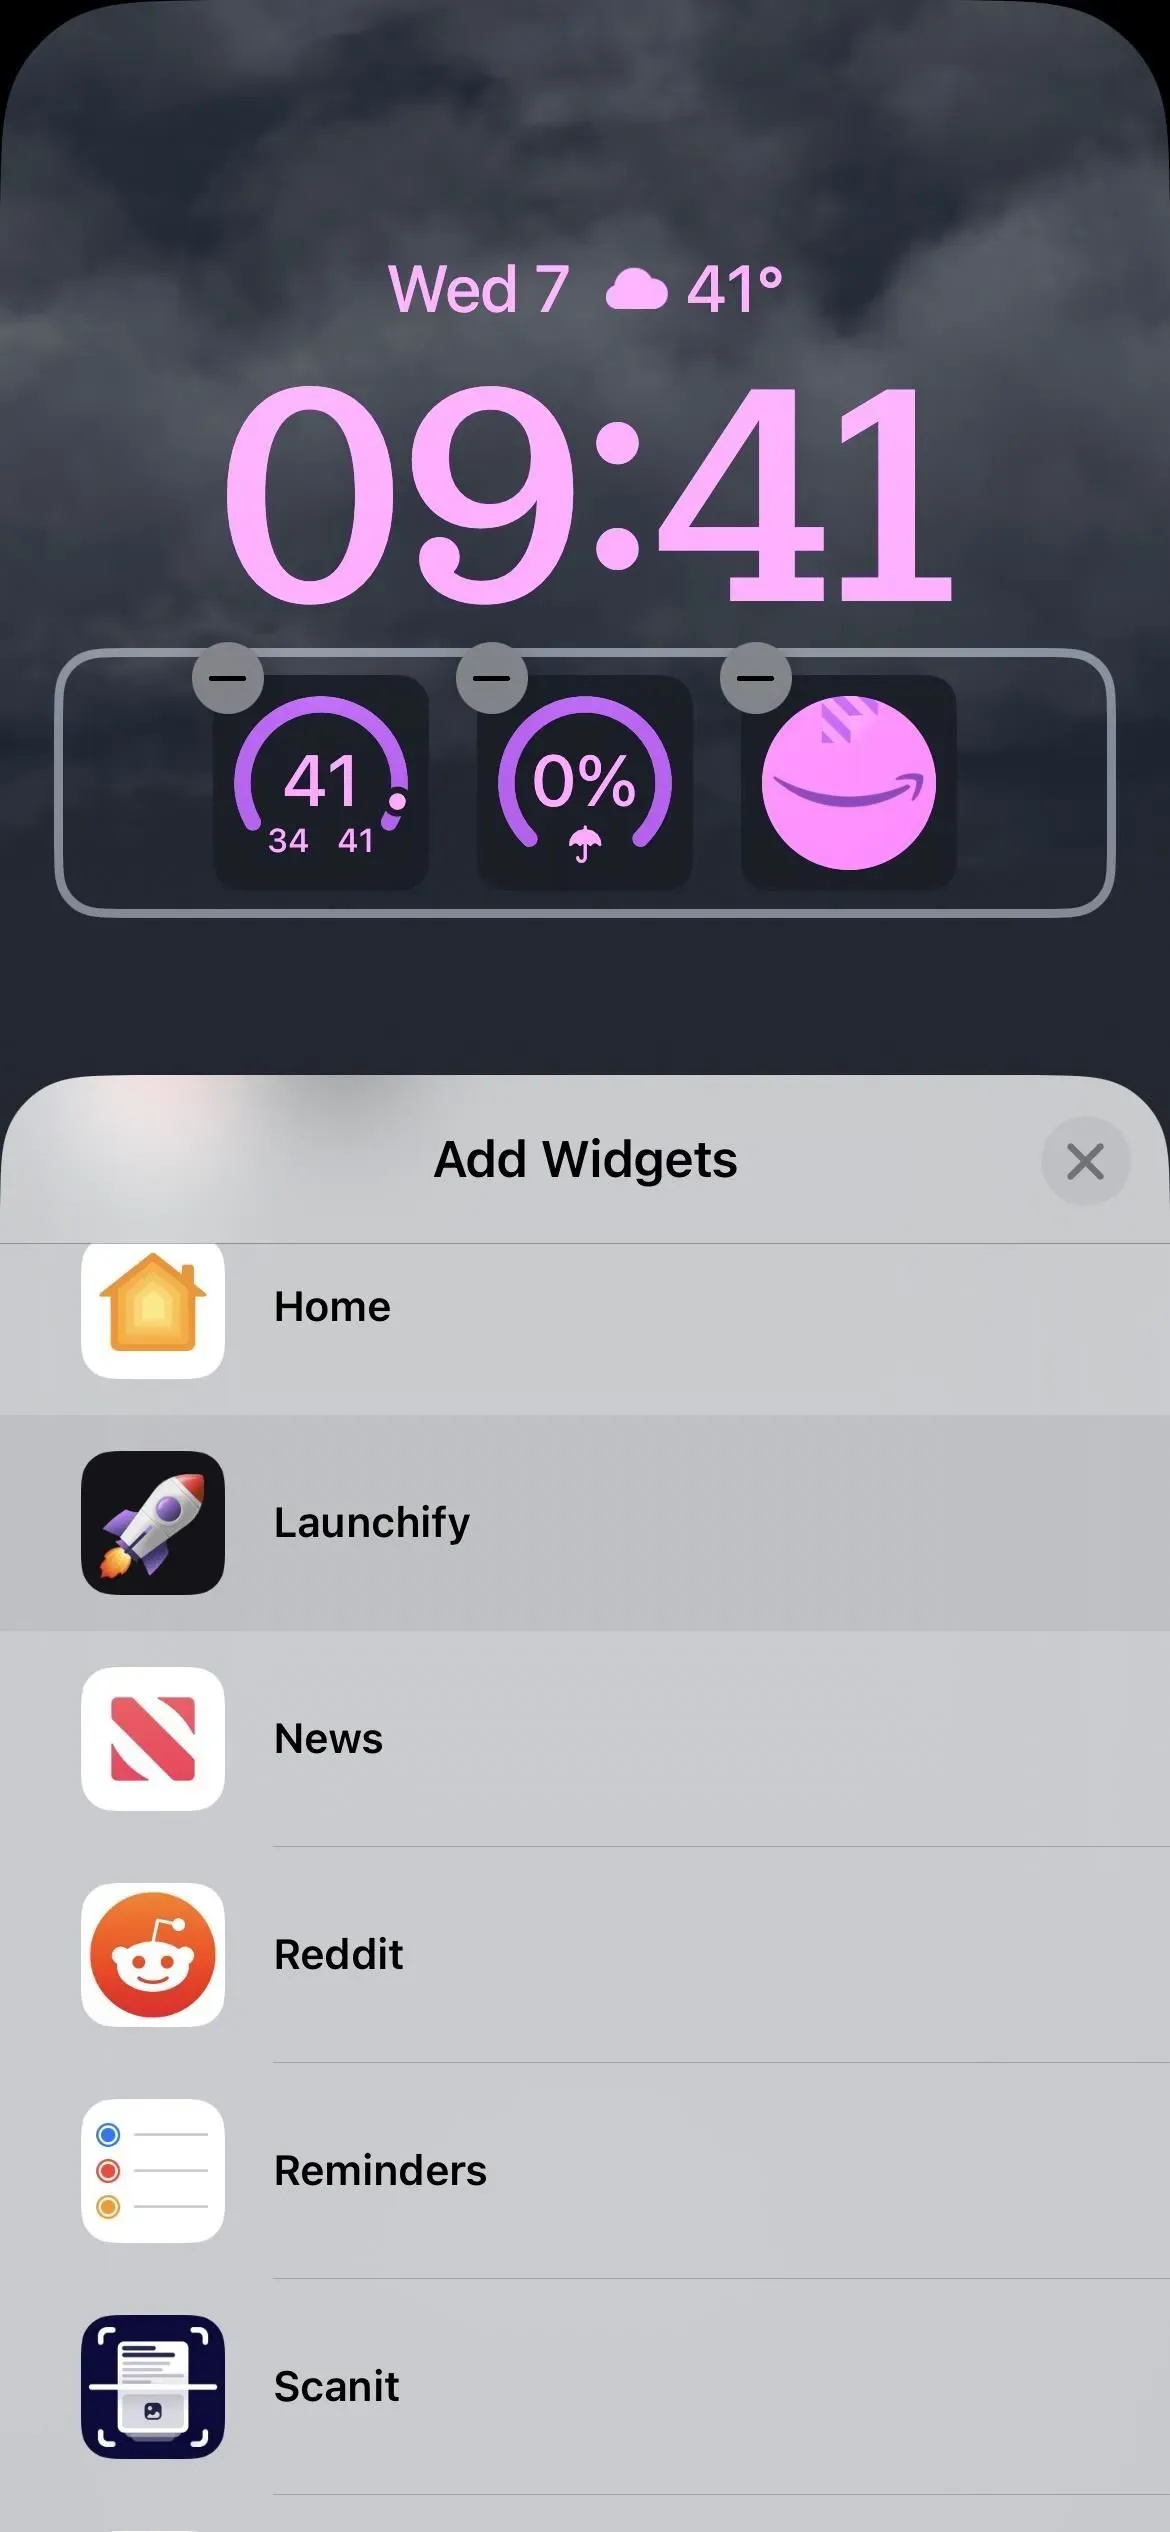
Clicking on a place above the time allows you to add a small widget, but Launchify does not support this place. Instead, tap the widget bar below the time, then select Launchify from the list. In the preview, tap or drag a widget into place to add it to the bottom row of widgets. The Launchify widget should be empty since you haven’t assigned an app yet.
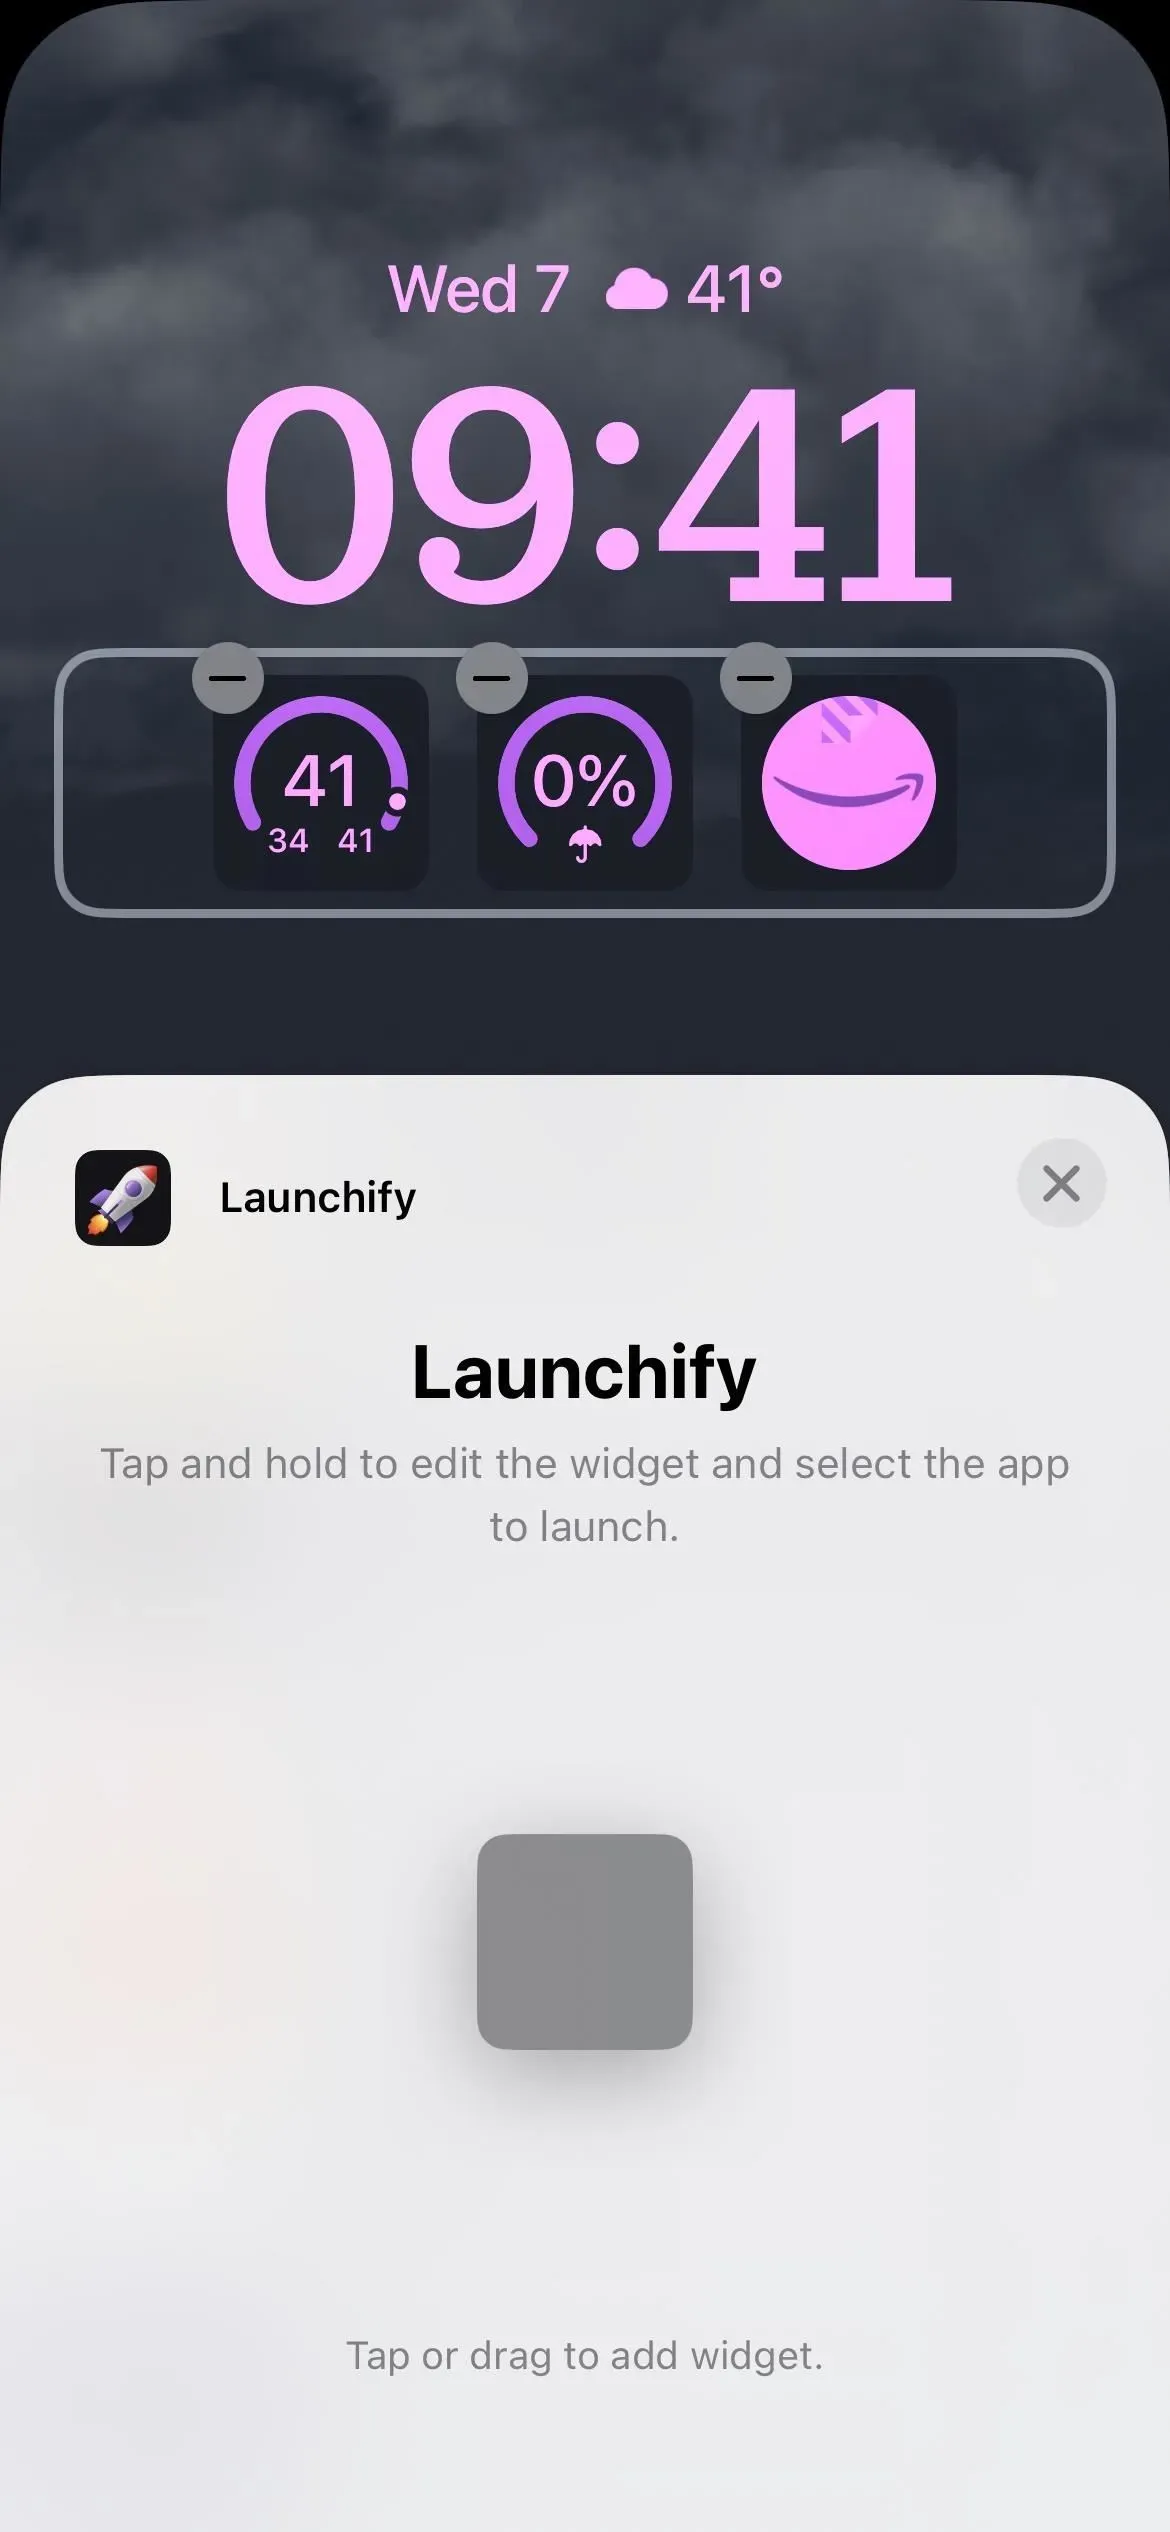
Step 6: Assign Your Application to the Widget
Tap the empty Launchify widget to open the app picker. App shortcuts created in steps 1-3 will be displayed here. Select the one you want and its icon will replace the empty one. Click “Done”to finish, then select “Lock Screen”to download it.
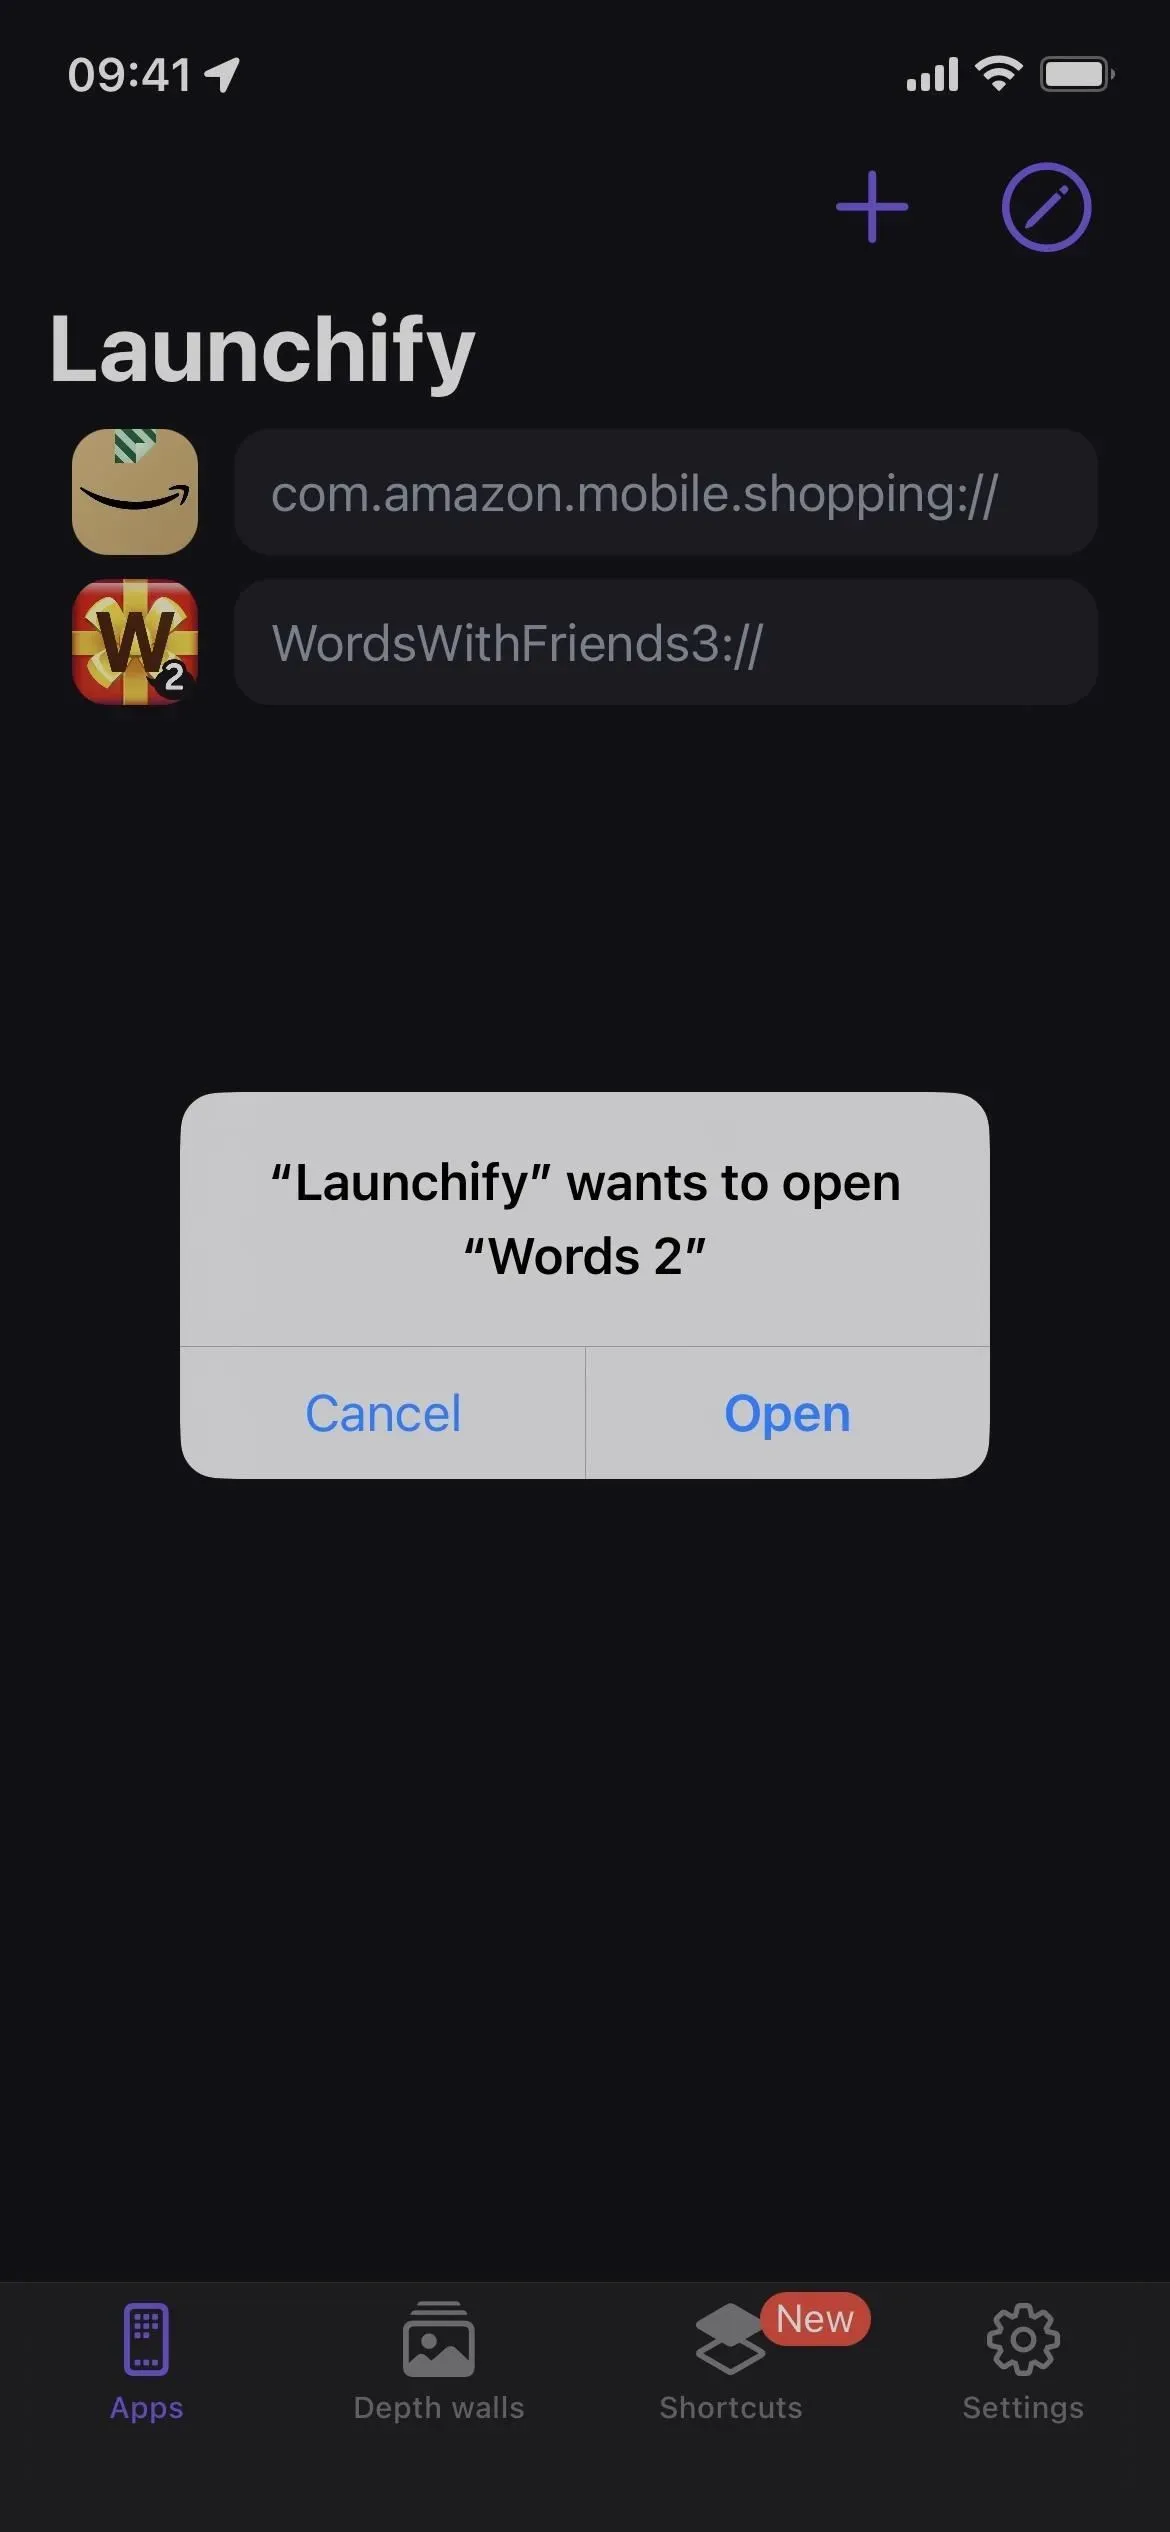
Step 7Launch the app from the lock screen
Back on the lock screen, tap one of the app shortcut widgets added with Launchify to open the app. Due to iOS 16 security features, the Launchify app will open first with a prompt telling you that Launchify wants to open the app you have selected via a URL scheme. Click “Open”to continue.
In the future, you won’t need to re-authorize Launchify to open that particular app. However, the security prompt will appear whenever you open a new app with Launchify.
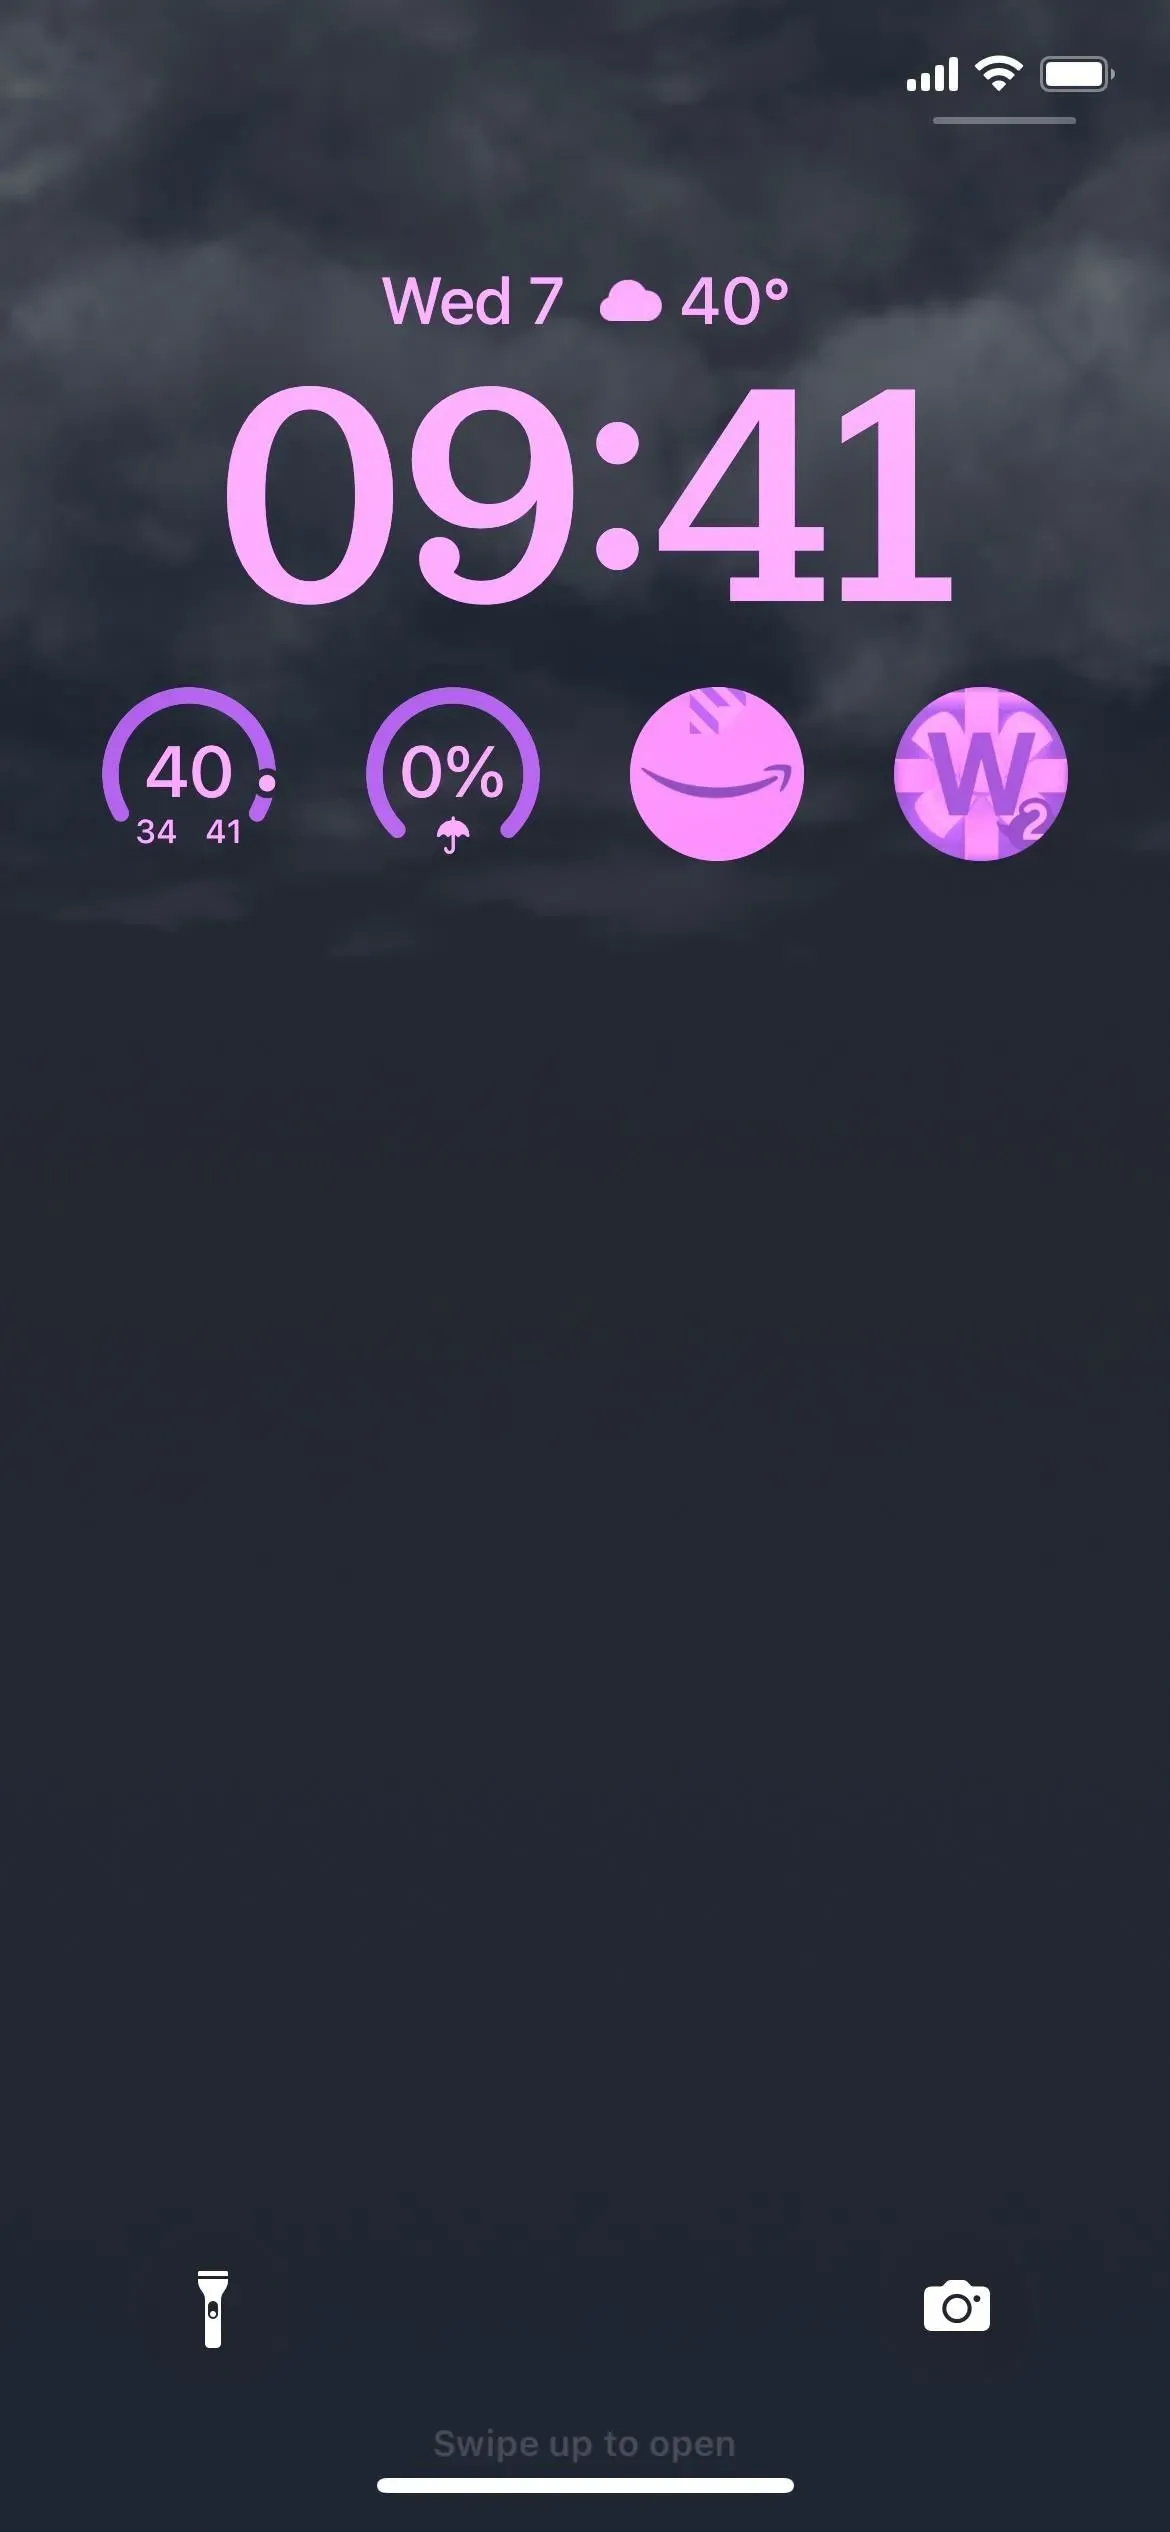
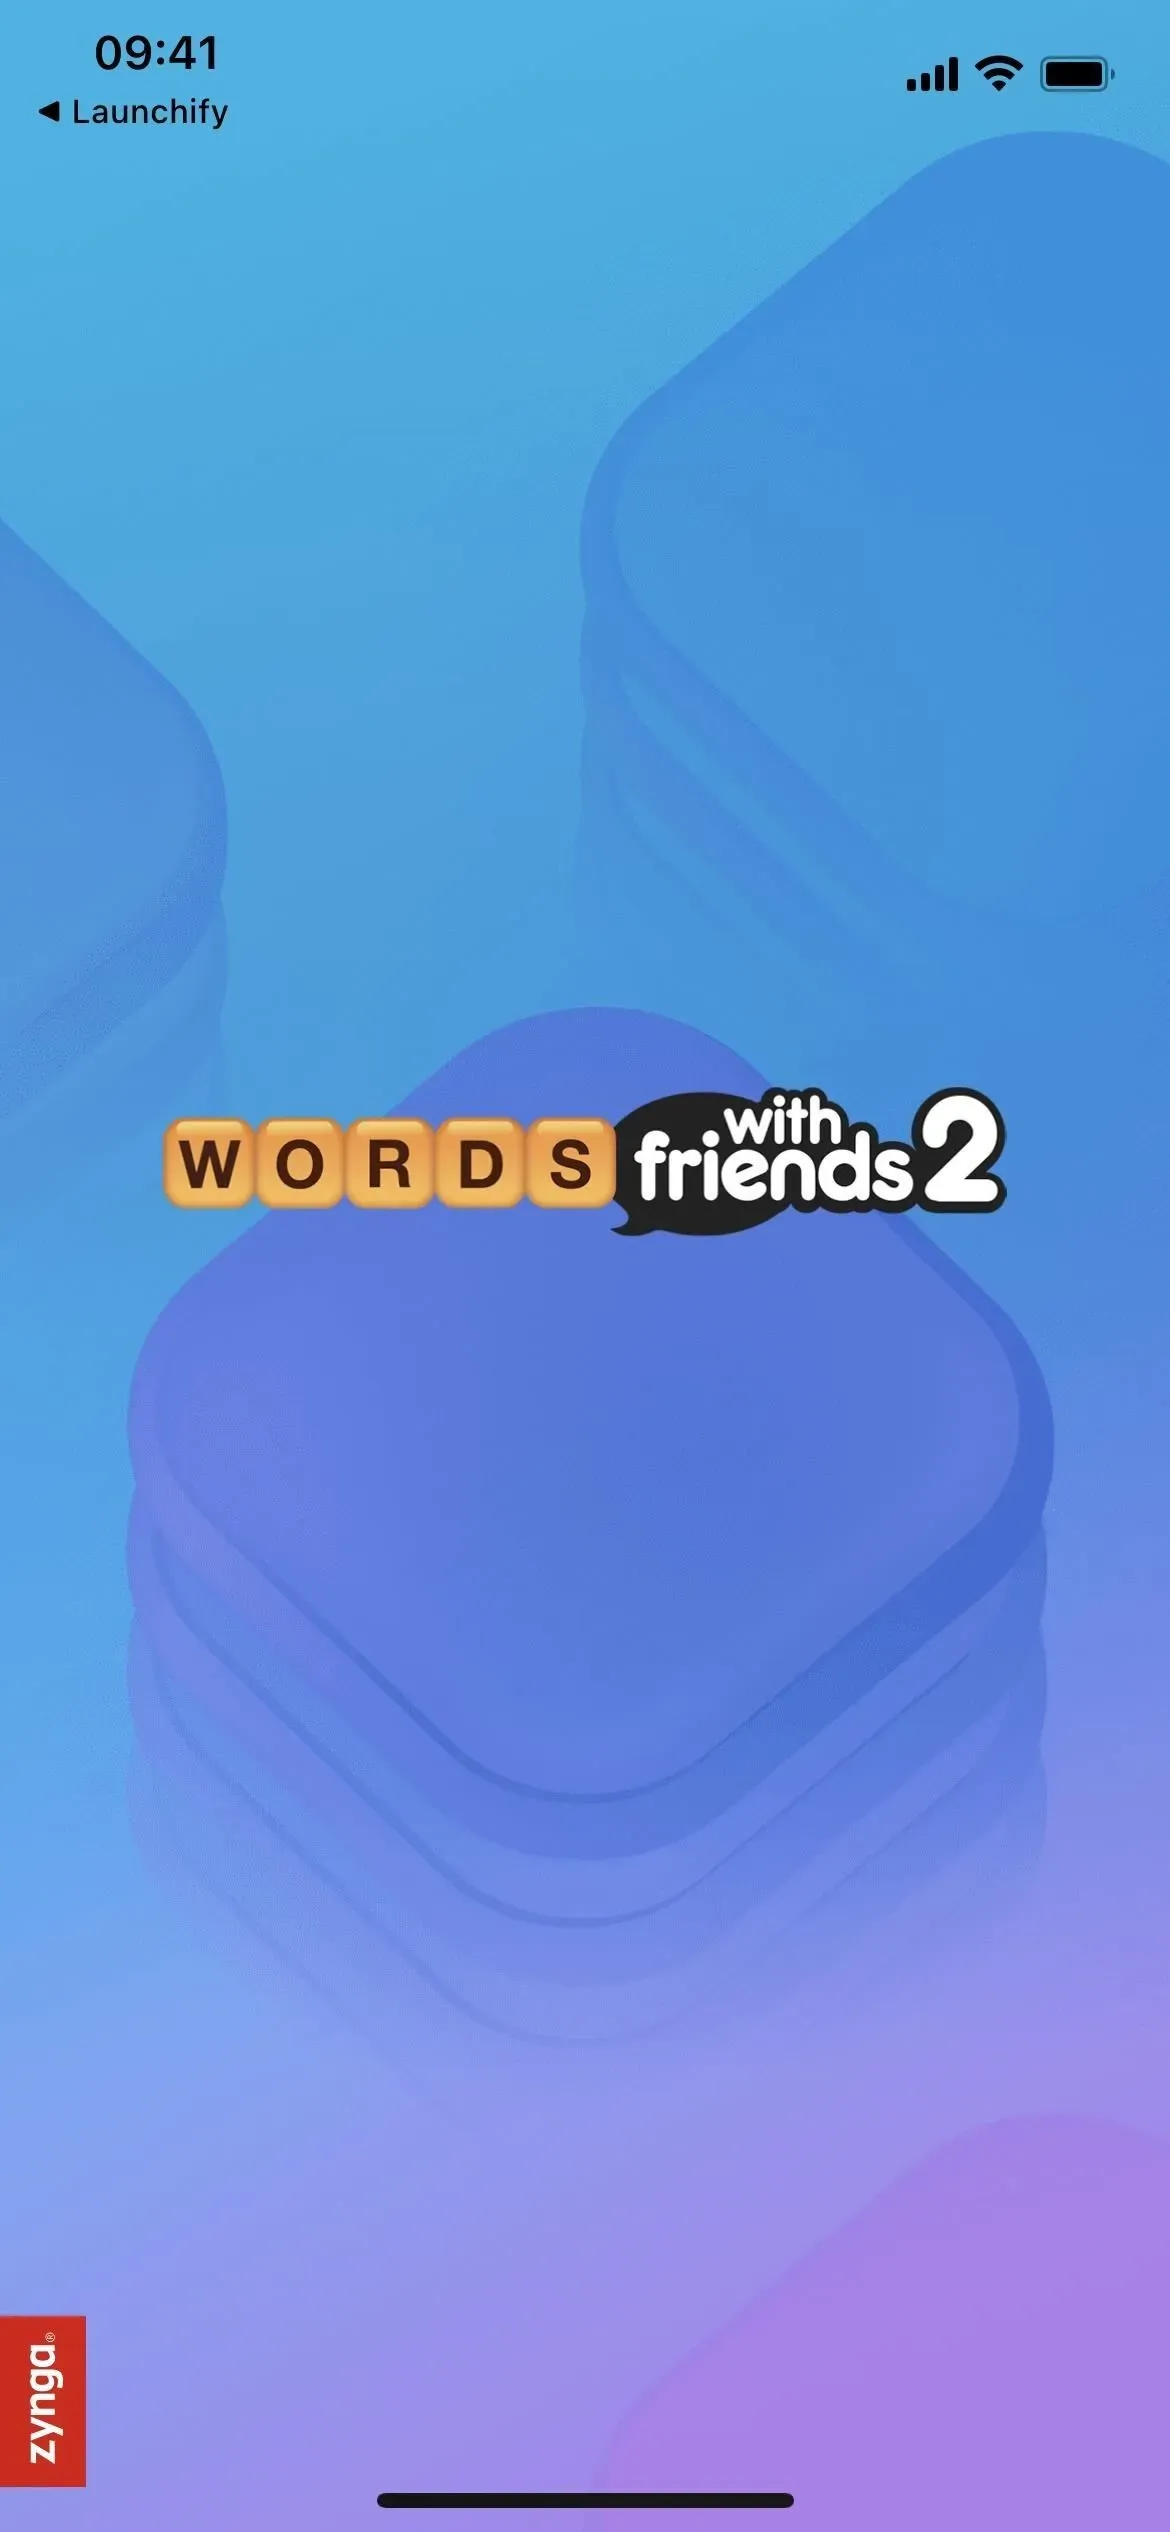
When the assigned app opens, you’ll notice that Launchify appears in the top left corner as a return to the previous app button. Your iPhone will show this back button every time you open an app from the Launchify Lock Screen widget because it technically uses the Launchify app to call the URL scheme to switch to the assigned app. This is an iOS feature that cannot be disabled.