

Who doesn’t appreciate shortcuts, whether in real life, in games, or when performing complex actions on various devices? The Control Center in macOS is one such tool that lets you access some of the most commonly used features with a single click and even lets you change them. In this post, you will learn how to set up and use the Control Center on your Mac.
- Where is the Control Center on a Mac?
- What can you do with Control Center on Mac?
- How to set up Control Center on Mac
Where is the Control Center on a Mac?
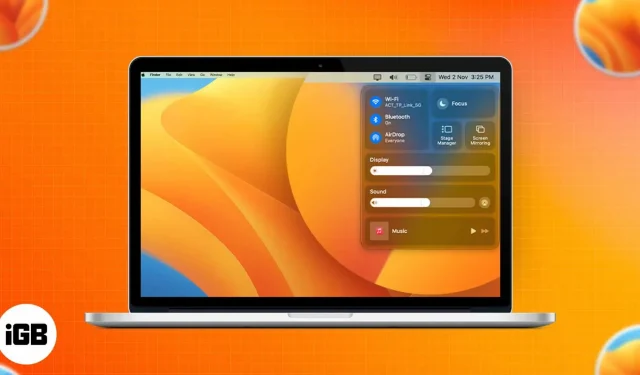
The Control Center can be accessed from the menu bar in the upper right corner of the Mac screen. It has many features, including shortcuts to control Bluetooth, Wi-Fi, AirDrop, etc.
The Control Center may look the same on macOS Ventura and Monterey, but there are significant differences between the two. With macOS Ventura, you get a brand new scene manager. By contrast, keyboard brightness is present in macOS Monterey. In this part, I will tell you how we can customize the settings in macOS Ventura and mac OS Monterey.
Note. We can also drag and drop various settings from the Control Center to the menu bar.
What can you do with Control Center on Mac?
Here’s a look at the various features available in the default Control Center:
- Wi-Fi: Here you can enable/disable Wi-Fi, change your preferred network, or access Wi-Fi settings.
- Bluetooth:
- Enable/Disable Bluetooth
- Check connected devices
- Accessing Bluetooth settings
- AirDrop: Turn on/off and select “Contacts Only”or “Everyone”.
- Focus: Turn on/off features such as Do Not Disturb, Meeting, etc., or launch focus settings.
- Keyboard Brightness: Adjust keyboard brightness or keyboard settings. (on macOS Monterey only)
- Scene Manager: Enable/Disable. (on macOS Ventura only)
- Screen Mirroring: Select a connected device or open Display Settings.
- Display:
- Adjust brightness
- Turn on/off Dark Mode, Night Shift or True Tone.
- Go to display settings.
- Sound: adjust the sound, select the output device, or start the sound settings.
- Music: play, pause, next.
How to set up Control Center on Mac
You can’t do much with the default controls in the Control Center, but you can certainly add or remove a few options that aren’t enabled by default. The steps to complete them on macOS Monterey and macOS Ventura are listed below. Let’s start.
On macOS Ventura
- Click on the Apple logo → System Preferences.
- Select “Control Center”→ scroll down to “Other modules”.
- Under each feature, you can turn on or turn off the “Show in Control Center”option.
Below are the options you can add or remove from the Control Center:
- Accessibility shortcuts
- Battery
- Hearing
- Fast User Switching
- Keyboard brightness
On macOS Monterey
- Open System Preferences.
- Click Dock and Menu Bar.
- Scroll down to “Other Modules”→ click “Accessibility Shortcuts”.
- Check/uncheck Show in Control Center options.
In addition, with the steps above, you can show/hide the following options in the Control Center:
- Accessibility shortcuts
- Battery
- Fast User Switching
FAQ
If you’re like me and hate using a mouse or trackpad when using your Mac, you can launch Control Center by pressing fn + C.
No, the universal management feature is not part of the Control Center. To learn more about Universal Management, follow our guide on how to use Universal Management.
Completion…
The Mac Control Center could be more efficient and user friendly if we could customize it to suit our needs. Different users may want to have different controls. What do you think about it? Please share them in the comments below.