
The motherboard is the most important component of a computer. Not to mention a computer, even every electronic device we see has a motherboard. In the case of smart devices, there is even a daughter board along with the motherboard for additional purposes. However, if you see the red CPU light blinking on your motherboard, you may be worried. As a result, here is a guide to help you understand and fix that red CPU light on your motherboard.
Content:
- 1 What does the red CPU light on the motherboard mean?
- 2 What should I do if my processor is red?
- 3 How to fix the red CPU light on the motherboard
What does the red CPU light on the motherboard mean?
A lot of people get worried when they see a red light on their motherboard and most of them assume it has something to do with their processor, that they misplaced their processor or something. However, in our experience, this rarely happens, and more often than not, the problem lies with other components that are either faulty or incorrectly placed/connected.
When the motherboard is solid red, it usually means that the board is not booting properly and needs to be replaced, or that a component is not properly connected. There may be boot issues or other system issues.
So keep reading this guide and try our suggested fixes as they usually fix any issue. Contact Technical Support to determine if there is a problem with the hardware and resolve possible warranty conflicts if the solutions we offer do not work or if you are not sure you are trying them yourself.
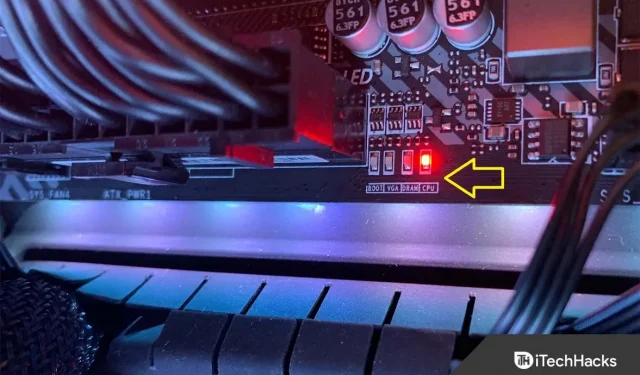
If your motherboard has a label that says “CPU”with a red light above or below it, the issue might be with the processor; otherwise, the problem may lie in another component; in this case, try the other fixes we will mention after you try the ones we mention below that are related to the processor.
What should I do if my processor is red?
If your motherboard has a red light with a processor label, here are a few things you should try to fix:
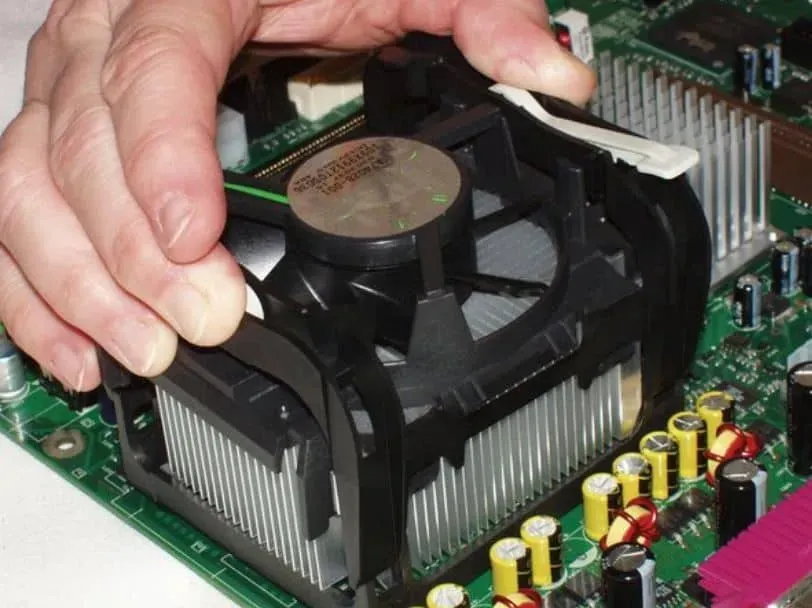
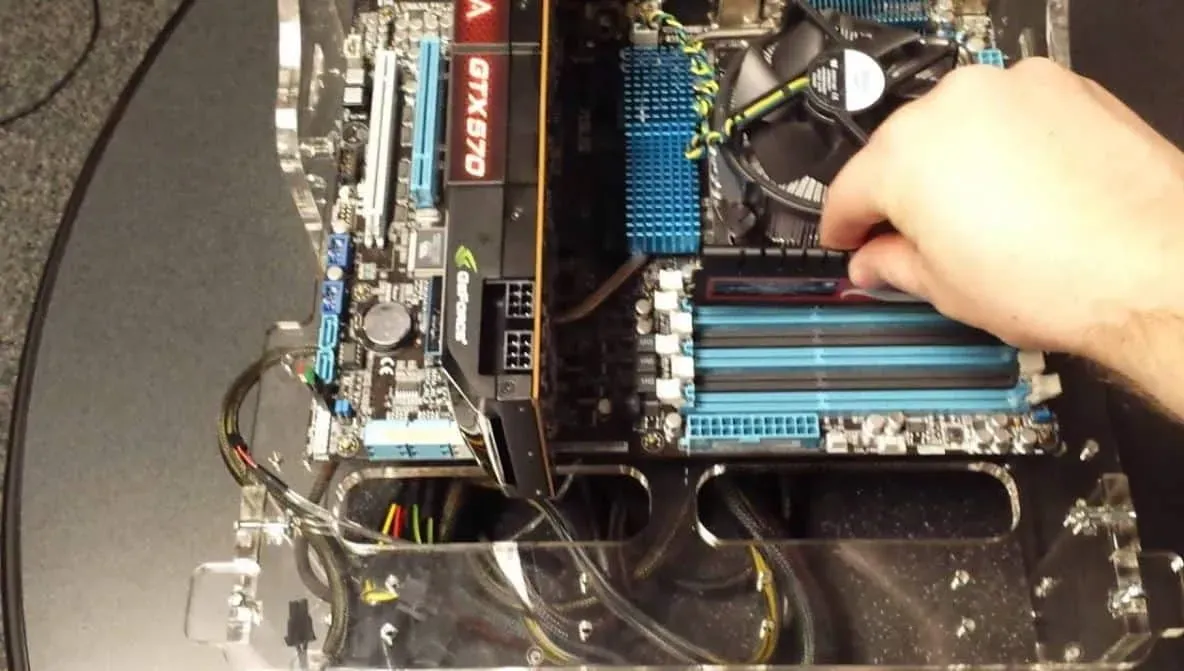
- Check your CPU cooler. It may not be installed correctly. Take out the cooler, move it, remove the plug and install it correctly. You may also notice that it doesn’t move at all. In this case, it is likely that your cooler is to blame.
- The processor is connected to the power connector under the processor cooler. If you’ve already tried removing the CPU cooler, remove the CPU as well, try adding some thermal paste and plug it back in. Your computer should be running and the red light should be off.
- If you suspect a RAM module is bad, you can test it by removing one module at a time and booting with only one flash drive connected, then reconnecting the module you removed. Problems with RAM that are not directly related to the CPU, however, manifest themselves as such. If you are using 2 RAM modules and you can still boot from 1, that means:
- Another stick of RAM is defective.
- The 2nd RAM was connected incorrectly.
- You are using incompatible RAM. For example, using DDR4 instead of DDR3.
- The power supply cannot supply power to every component. If you have a heavy graphics card, several RAM modules, and a powerful processor, you need to check if your power supply is capable of providing enough power to the system. If you’re unsure, unplug your graphics card and see if the RED light is off.
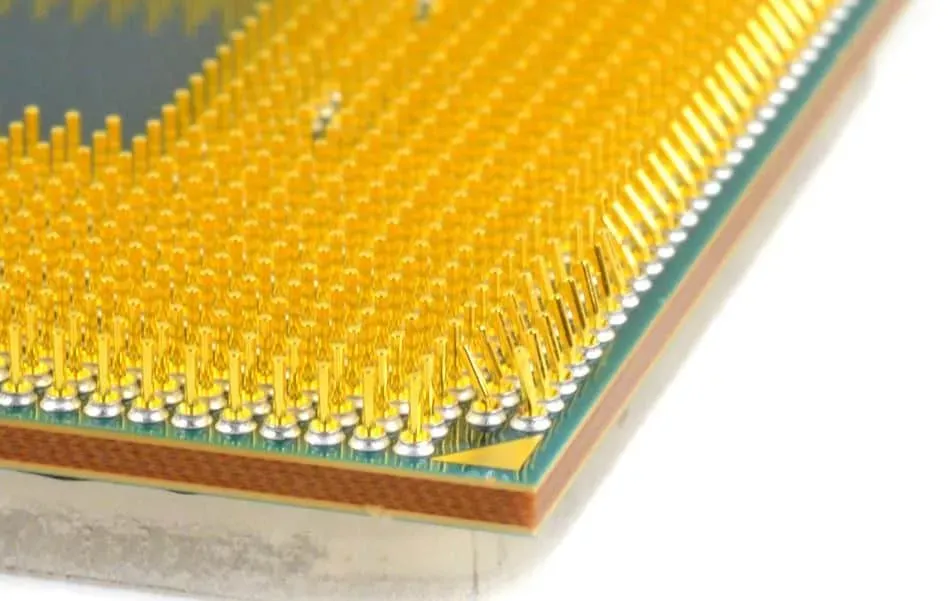
- If the above does not help, remove the processor and check for a bent pin. If there is a bent pin, contact your processor support center and visit their customer service center.
How to fix red cpu light on motherboard
There are a few things you can do to diagnose and fix the problem if your motherboard is just flashing red and has marks to pinpoint exactly which component is faulty.
The first thing to do when troubleshooting a computer is to find out what problem was found at startup, such as a bad power supply, a memory error, a fan problem, etc.
Fix 1: Start with the Basics
To get started, try restarting your computer directly using the power button on the motherboard. Since you see a red light on the motherboard, it means that you have already opened the PC.
If you are using an AMD processor, take out the cooler, clean the fans and check if the issue is resolved. Also check for overheating. If you’ve overclocked your processor before, make sure it’s cool now so you can turn on your computer and check.
If you’re using an Intel processor, chances are your thermal paste has dried out or the fans aren’t installed correctly. After checking the CPU cooler, make sure the CPU is properly aligned and the locks are secure. If that doesn’t help, move on to the next fix.
Fix 2: Perform a RAM Crash Check
If you’re not sure what’s wrong with your motherboard, you can always check the RAM. RAM is the most important part of a PC after the processor. Therefore, it is very important that they work correctly.
If you have two RAM modules, remove one and try restarting your computer to see if the red light is on. However, if you only have one RAM installed, you can remove that RAM, clean it with isopropyl alcohol, and install it again to check. If your computer works fine with 1 RAM, check that the other RAM is bad and you need to replace it.
Now, if both RAMs are in good condition, but you still see the red light on the motherboard, move on to the next fix.
Fix 3: Make sure your PSU is the right one
Your PSU may not be able to supply power properly due to its capacity. As a result, you need to test your components and power supply to make sure they are adequate.
In this case, you can try to remove the graphics card because it consumes the most power. After you have removed the graphics card, try turning on the computer and see if the red light comes on.
If not, then you need to buy a new PSU and connect everything to check. If this didn’t work for you, there might be something else. Move on to the next fix.
Fix 4: Reset and Clear CMOS
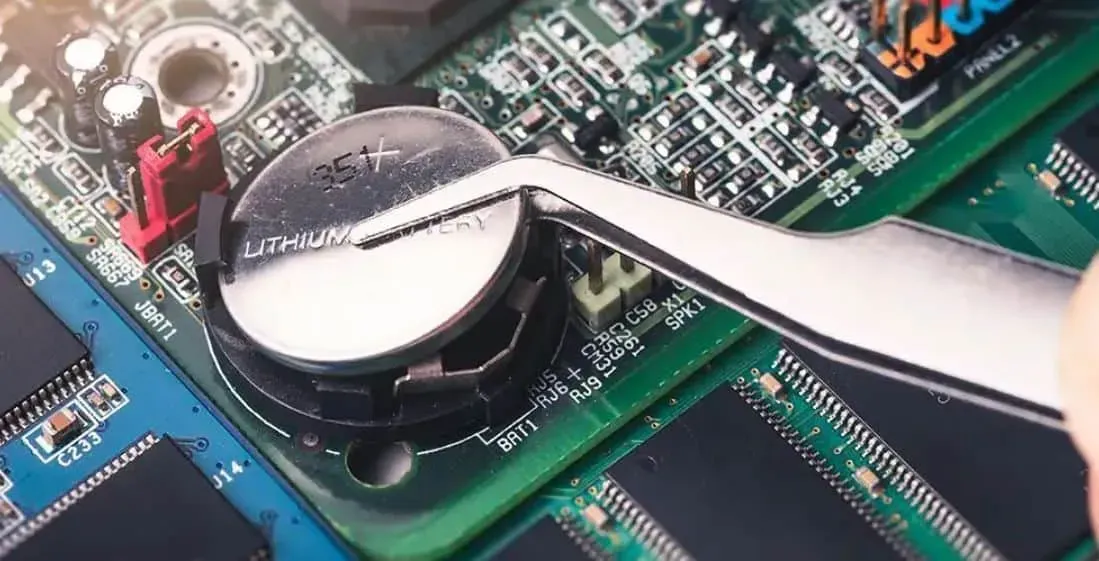
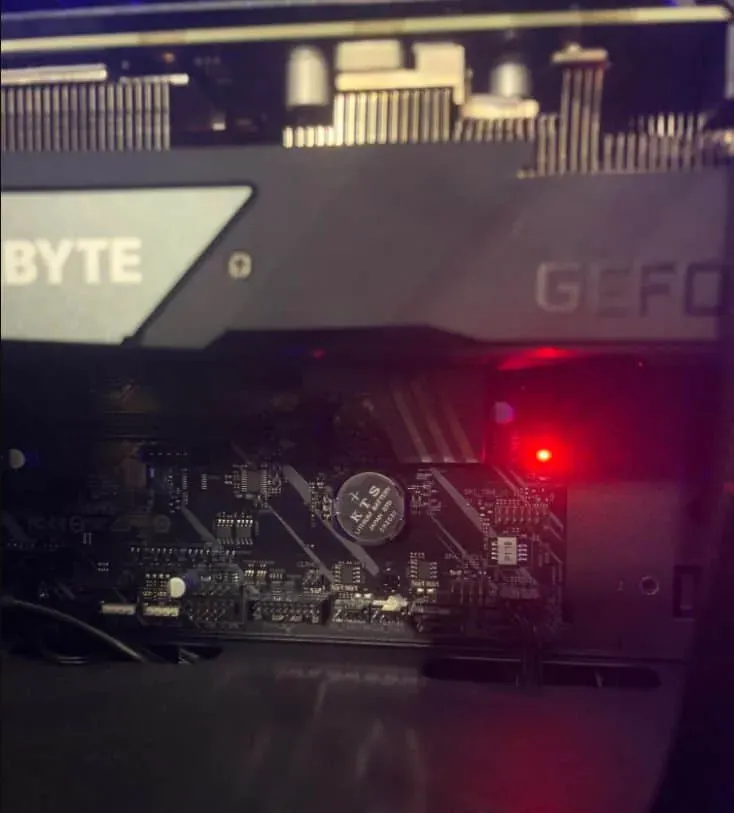
When you open the motherboard, you can see a silver colored battery on it. This battery is known as a CMOS battery. CMOS stands for Metal Oxide Complementary Semiconductor. This battery is responsible for keeping your PC and its many devices running.
To reset and clear the CMOS, you can purchase a new battery. Model number CR2032. This battery is widely available everywhere. However, if your battery is in good condition, you can remove it and plug it back in 5 minutes later and check if everything is working fine. Again, if this doesn’t work for you, try the next fix.
Fix 5: Remove and check the processor
It is unlikely that all of the listed fixes have not helped you so far. Now that this is the final fix, we suggest that you remove the CPU cooler again and disable the CPU.
Take a magnifying glass and carefully inspect all the contacts of the processor. There is a high chance that one or two pins on your processor are bent. Upon closer inspection, if you notice this, you need to contact your CPU service center immediately and take it to them so they can fix it.
In our experience, CPU pins can be repaired in some cases, but they are most likely not covered under warranty. This is because damage to the CPU pins is the result of mishandling and you are looking at a high bill, possibly a new CPU.
Red light means your motherboard is dying?
First of all, if the red light is labeled as CPU indicator, it may not be a sign of your motherboard death. However, if everything is fine, even with the processor, but your motherboard is still on, it certainly means that your motherboard has problems.
If the motherboard shows signs of dying or failing, the best way to diagnose the problem is to use the methods in this article. If you are having trouble downloading, you should remove any unnecessary peripherals from the board.
If the computer still won’t boot or POST, the problem is almost certainly with the motherboard or power supply. This is the power source, almost always. However, even after replacing the power supply, the computer will not boot if the motherboard is faulty.
Board damage such as burnt or faulty connectors, transistors, and other components can sometimes be found. In contrast, a board that has been killed by a static strike shows no signs of damage.
bottom line
Well, that is all we have on how to fix the red CPU light on the motherboard. We hope this guide has helped you. Unfortunately, if none of the above work, please double check that you did everything exactly as described and try disconnecting and reconnecting each component to see if the red light turns off.
In this case, you can seek help from a local IT specialist before abandoning the device entirely. By not sending it in for repair, they can figure out what’s wrong and fix it on the spot.