
No one wants to experience performance lag while using their PC. However, since Windows 11 is in its early stages, users are expected to see performance degradation when using the OS on their PC. Well, there is nothing to worry about if you are facing performance issues after installing Windows 11 on your computer. In this article, we will discuss some ways to fix performance issues in Windows 11.
Disable visual effects
The very first thing you should do is turn off the visual effects. Visual effects consume a lot of your CPU and can cause performance lag, so you should disable visual effects on your PC. To turn off visual effects, follow these steps:
- From the Start menu , search for Advanced System View. Open View Advanced System with Settings written underneath.
- You will be taken to the Advanced tab in the system properties. Here, click Settings under Performance .
- Now on the next screen that appears, select “Adjust for best performance “.
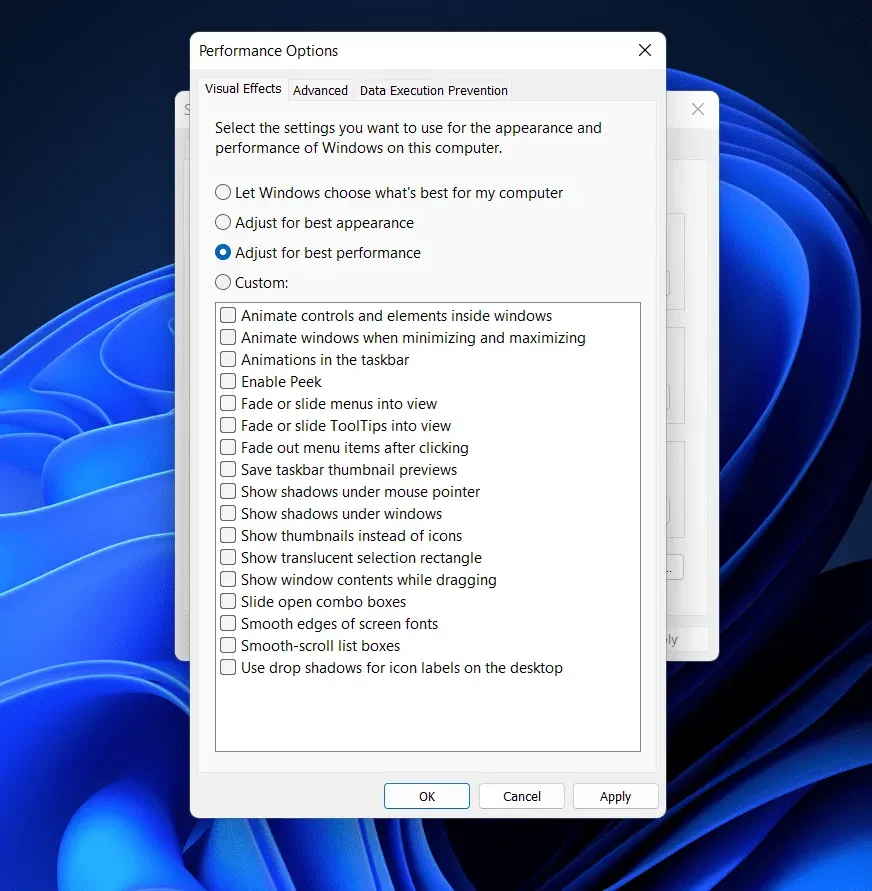
- Similarly, select” Show thumbnails instead of icons” and “Smooth edges of screen fonts “.
- After that , click Apply and then click OK.
This will reduce the visual effects on your PC and should improve the performance of your Windows 11 PC.
Disable auto-loading of applications and programs
When you boot up your computer, it starts up with certain applications and processes. Part of your CPU is consumed by these processes and applications when they are opened. However, you can disable startup apps that will surely help you improve the performance of your Windows 11 PC. To disable auto-start apps in Windows 11, follow these steps:
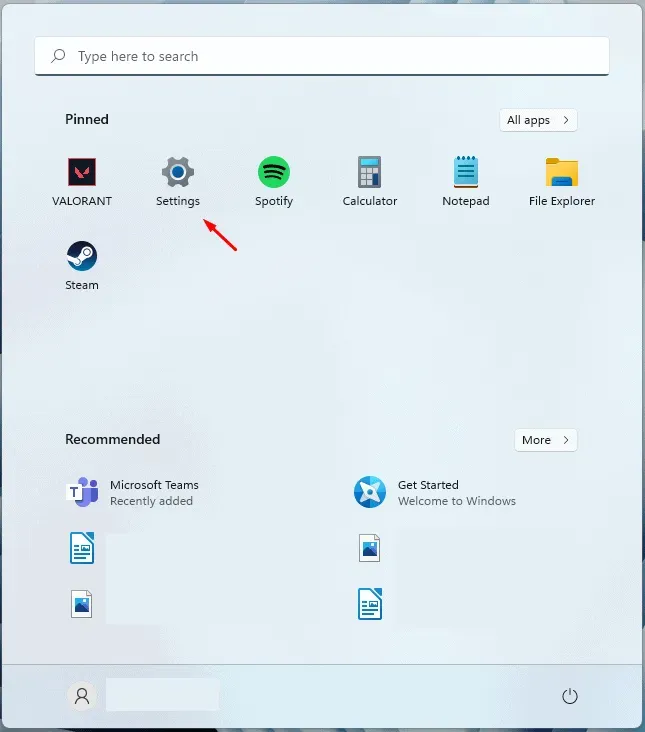
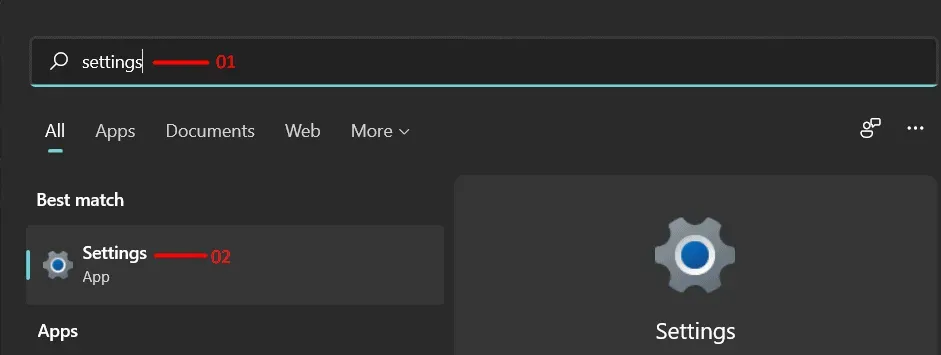
- Press the Windows + I key combination on your keyboard to open the Settings app .
- In settings , go to the Applications section on the left sidebar.
- Now click Start on the right side.
- On the next screen, turn off the toggle for all applications that heavily affect your system.
This will disable all running applications. Similarly, you will have to disable startup programs. To disable launchers, follow these steps:
- Press Ctrl+Shift+Esc together to open Task Manager on your PC.
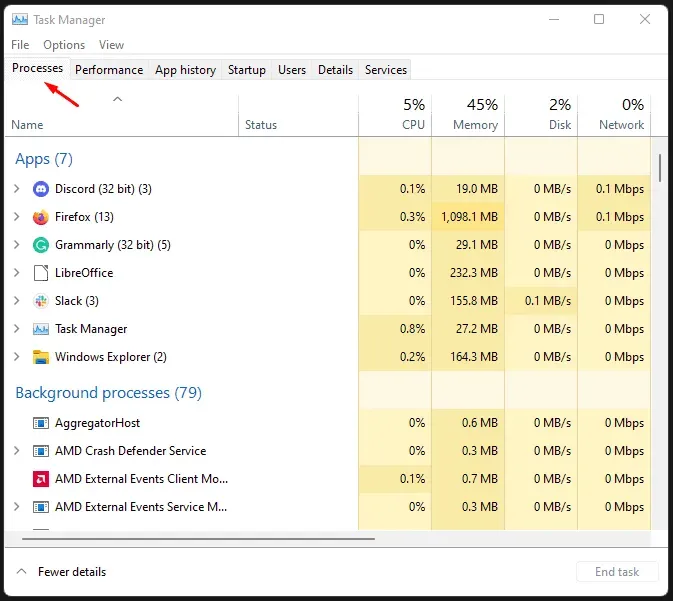
- In Task Manager, go to the Startup tab .
- Now select any program you want to disable, right click on it and choose Disable.
- You will have to do this for all available programs. It is recommended to disable programs that have a strong effect on your computer.
Turn off notifications
Another thing you can do is turn off notifications for Windows 11. Notifications may not seem like they’re consuming a lot of your CPU, but they are. Not only does this affect the performance of your Windows 11 PC, but it also drains your battery much faster. You should disable notifications if you want to fix performance issues in Windows 11.
- Go to the Settings app on your PC.
- On the right side of settings , tap Notifications.
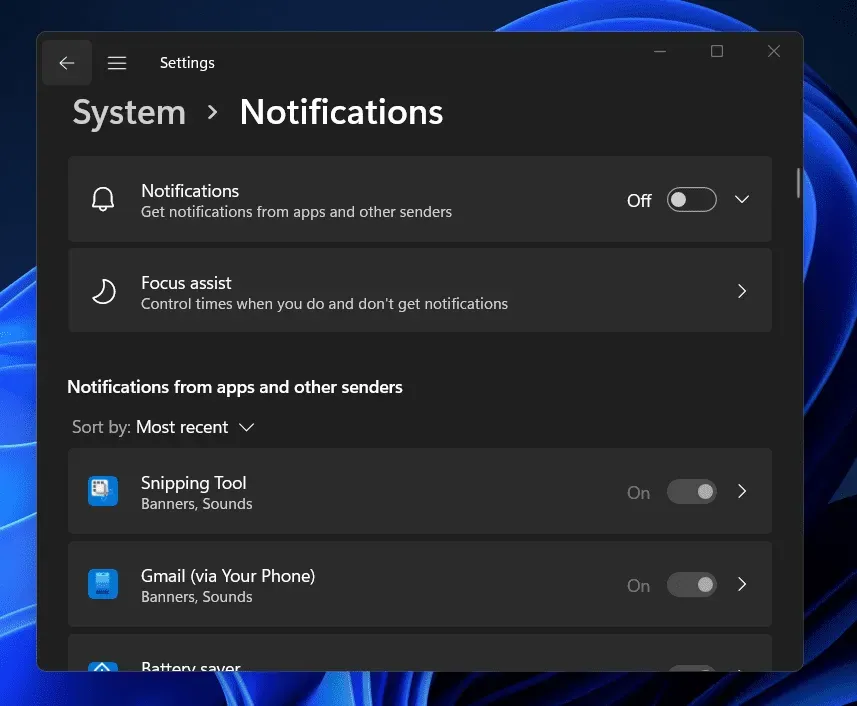
- Here you can disable all notifications by deactivating the” Notifications”toggle . You can turn off the toggle for the specific app you want to turn off notifications for.
Delete temporary files
Temporary files take up space on your PC, but this also results in a slight decrease in performance. If left uncleaned for too long, temporary files can affect your PC’s performance, so it’s important to delete temporary files after a while.
- First, go to the System tab in the Settings app .
- Here, click on “Storage”and then select” Temporary Files “.
- Now check the boxes for all file types you want to delete. After that, click Delete Files.
- This will delete all temporary files on your computer.

If you want your computer to automatically delete temporary files on your computer, you can enable Storage Sense. To do this, follow the steps given below:
- Go back to the “Storage “section if you’re on temporary files in settings.
- Here, enable the Storage Sense toggle.
Storage Sense monitors and analyzes your computer for junk files, temporary data, and frees up space by deleting such files.
Turn on a high performance power plan
You should also try enabling a high performance power plan to boost your PC’s performance. Enabling a high performance power plan will fix performance issues in Windows 11, but will consume a lot of power. If you are using a laptop, then you will notice a slight decrease in your laptop’s battery life. To enable a high performance power plan, follow these steps:
- Open Control Panel on your PC.

- In the Control Panel , go to the Hardware and Sound section and then click on Power Options.
- Here, click “High Performance” to enable the high performance power plan.
Note. You can also enable the Maximum Performance Power Plan to get much better performance than the Balanced Power Plan or the High Performance Power Plan.
Conclusion
Here is how you can fix performance issues in Windows 11. If you are facing performance issues in Windows 11, you can follow the steps mentioned in this article to fix these issues. If you just installed Windows 11 and are experiencing performance issues, it could be due to bugs in the operating system. Windows 11 is still new to the market and it may have certain issues and bugs that can cause performance issues. These bugs will be fixed by Microsoft in future updates.