
Google developed the WebP image format as an alternative to JPEG and PNG for websites. Google’s PageSpeed Insights defines it as a “next generation format”and recommends that websites use WebP (and AVIF) images as they load faster due to their smaller file size compared to other popular formats.
As a result, many popular sites use WebP. So, when you upload an image, you may find that it has an extension. webp at the end of the filename.
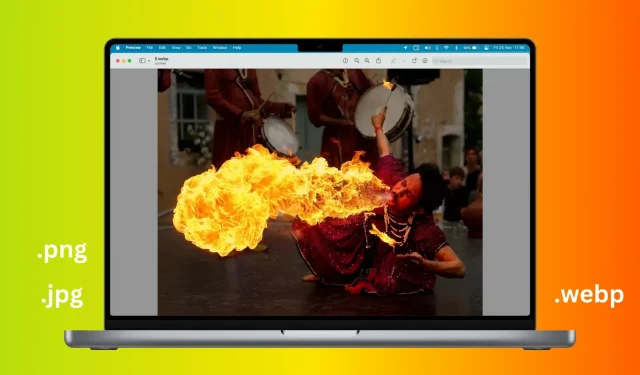
If you’re having trouble working with WebP images in certain applications, we’ll show you the easiest ways to convert them to JPG, PNG, HEIC, or other formats on your Mac.
Convert WebP to JPG, PNG, HEIC, etc.
1. Use a preview app
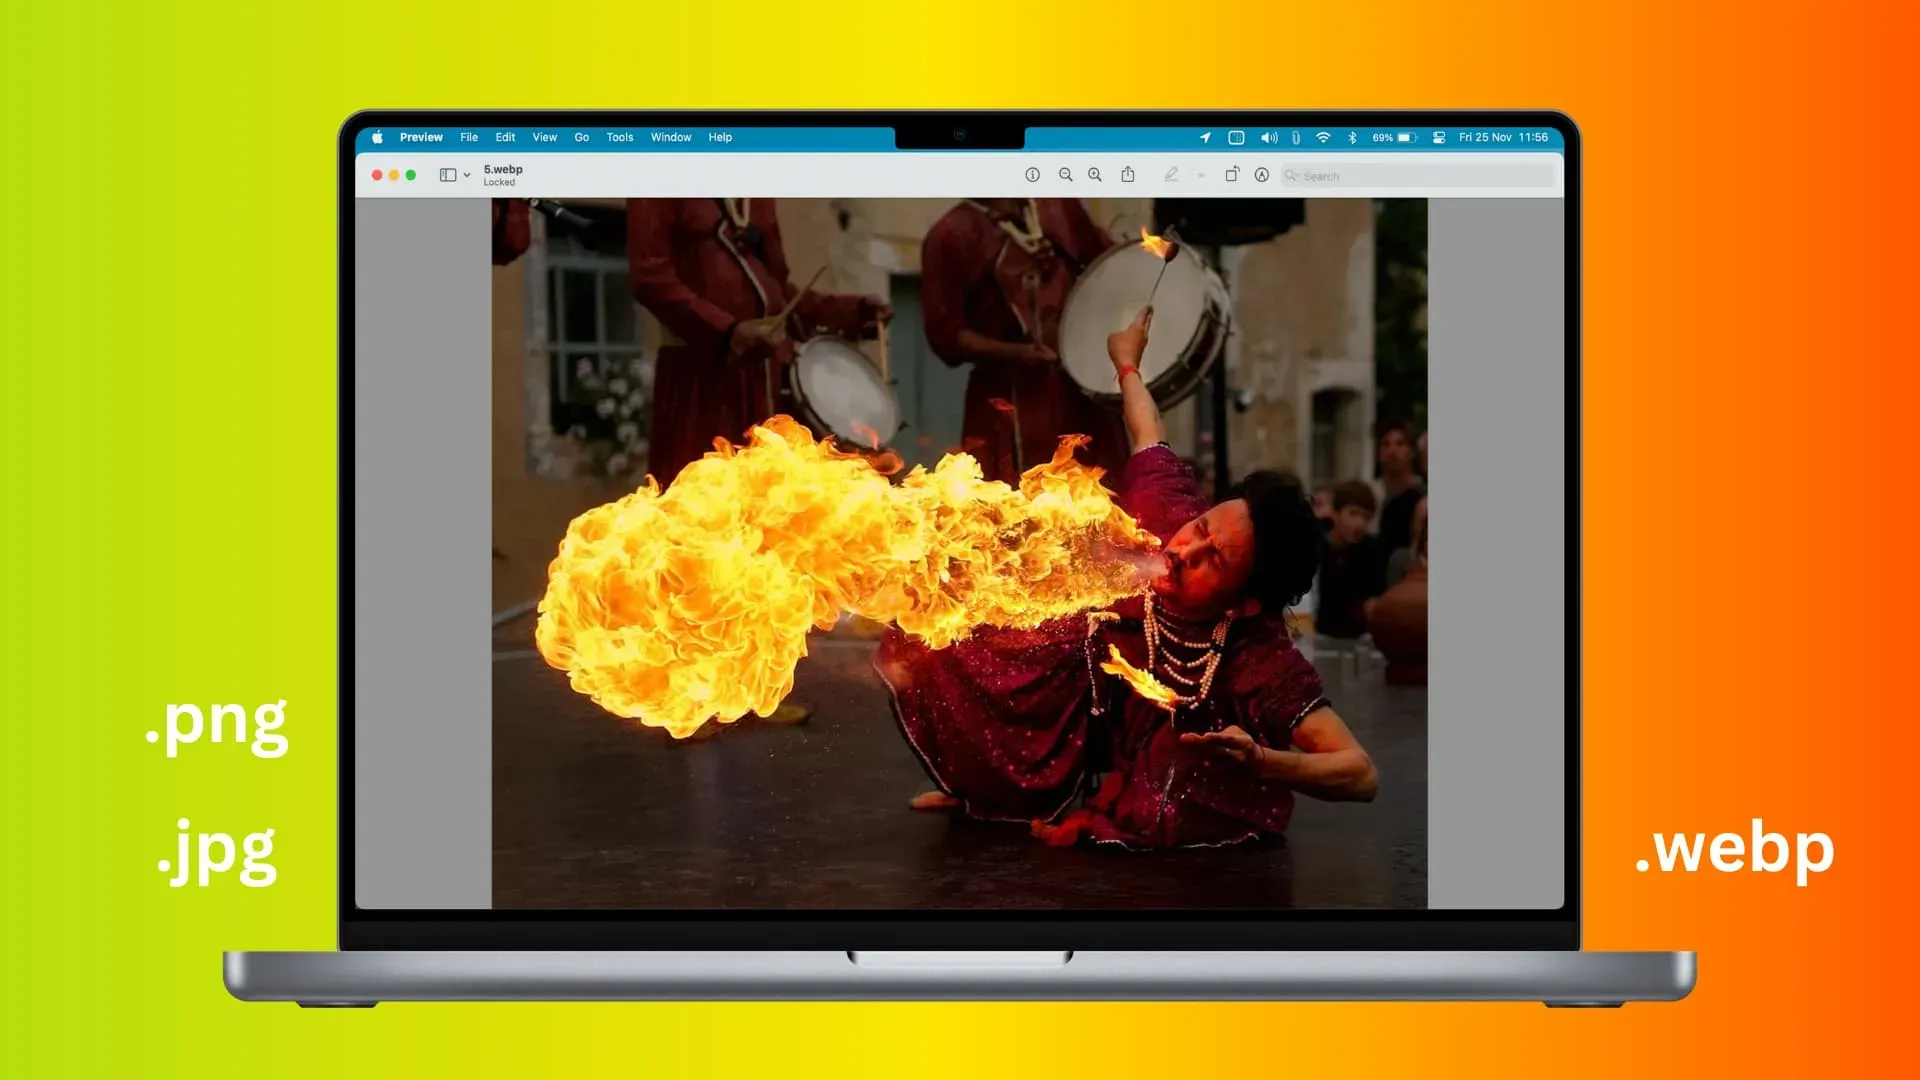
- Double click the downloaded WebP image and it should open in Mac Preview. If it isn’t, right-click the image and choose Open With > Preview.
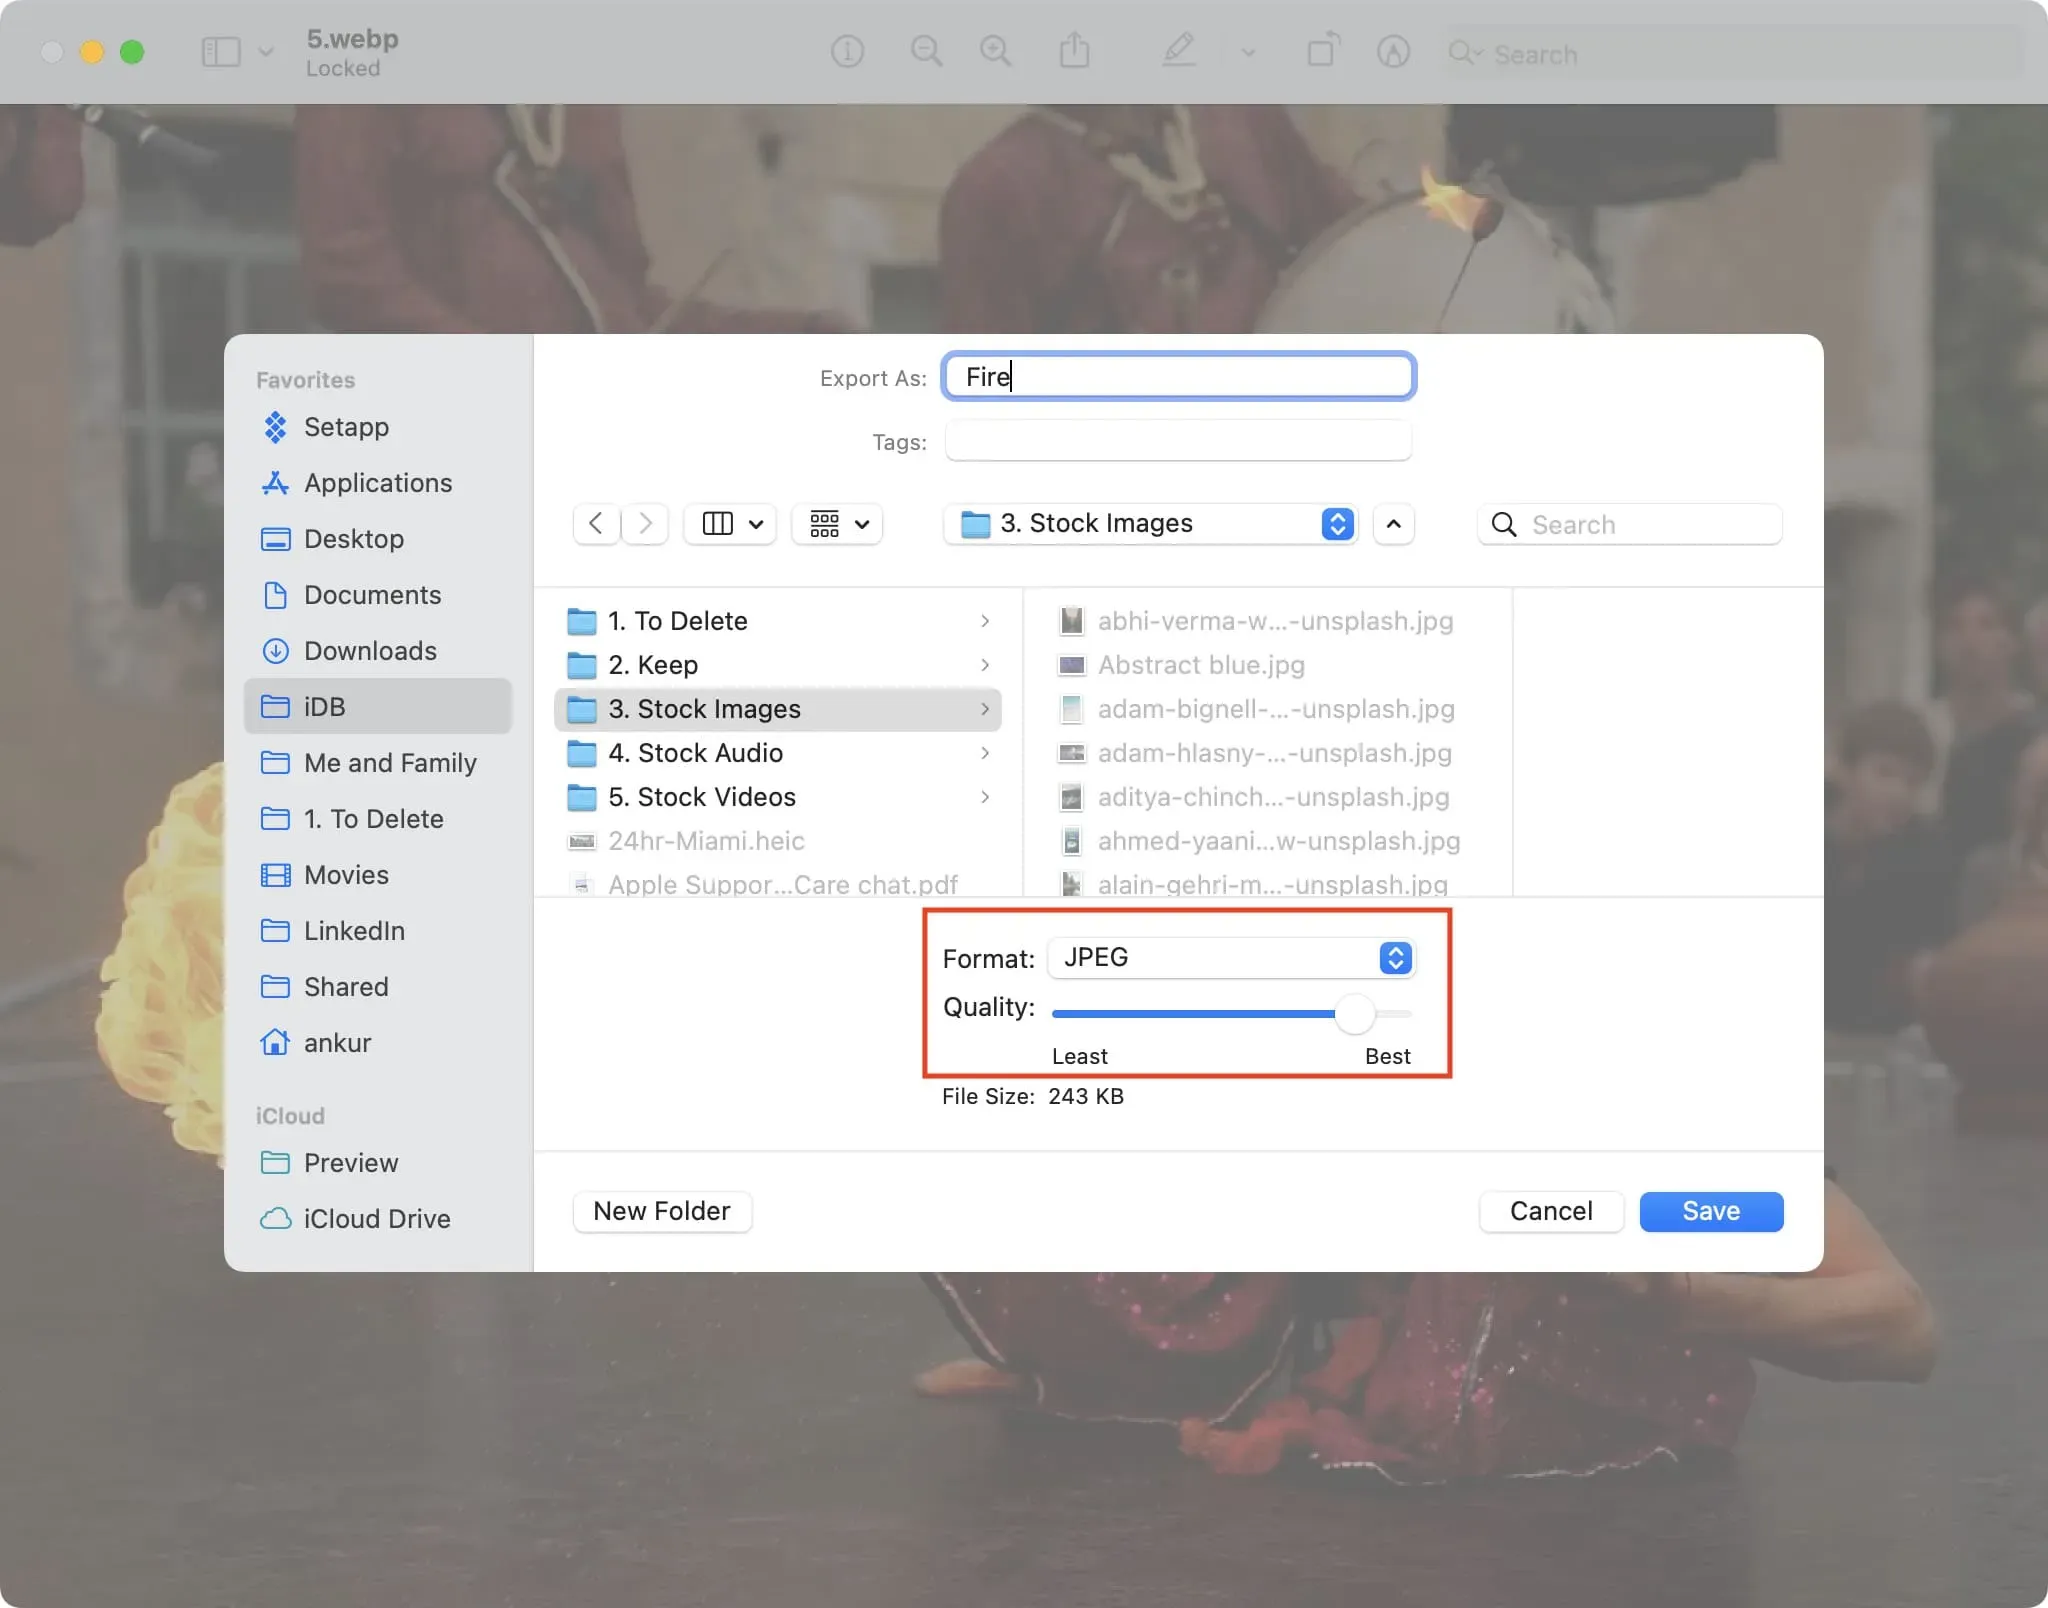
- Click “File”on the top menu bar and select “Export”.
- Click the Format drop-down menu and select HEIC, JPEG, JPEG-2000, OpenEXR, PDF, PNG, or TIFF.
- Set the Quality slider to between Least and Best.
- Finally, make sure the export folder is correct and click the “Save”button.
Preview converts the WebP image to JPG, PNG, or your chosen format and saves it. Now you can use it almost everywhere as almost all apps, websites and services support JPG or PNG formats.
2. Use Quick Actions
Follow these steps to convert a WebP image to JPEG or PNG on a Mac running the latest version of macOS, such as macOS Monterey or macOS Ventura:
- Right-click or Control-click over the WebP image.
- Choose Quick Actions > Convert Image.
- Choose a format: JPEG, PNG, or HEIF.
- Select an image size: Small, Medium, Large, or Actual.
- You can then choose to keep or remove the image’s metadata by checking the “Keep Metadata”checkbox.
- Finally, click “Convert to JPEG”(or PNG/HEIF).
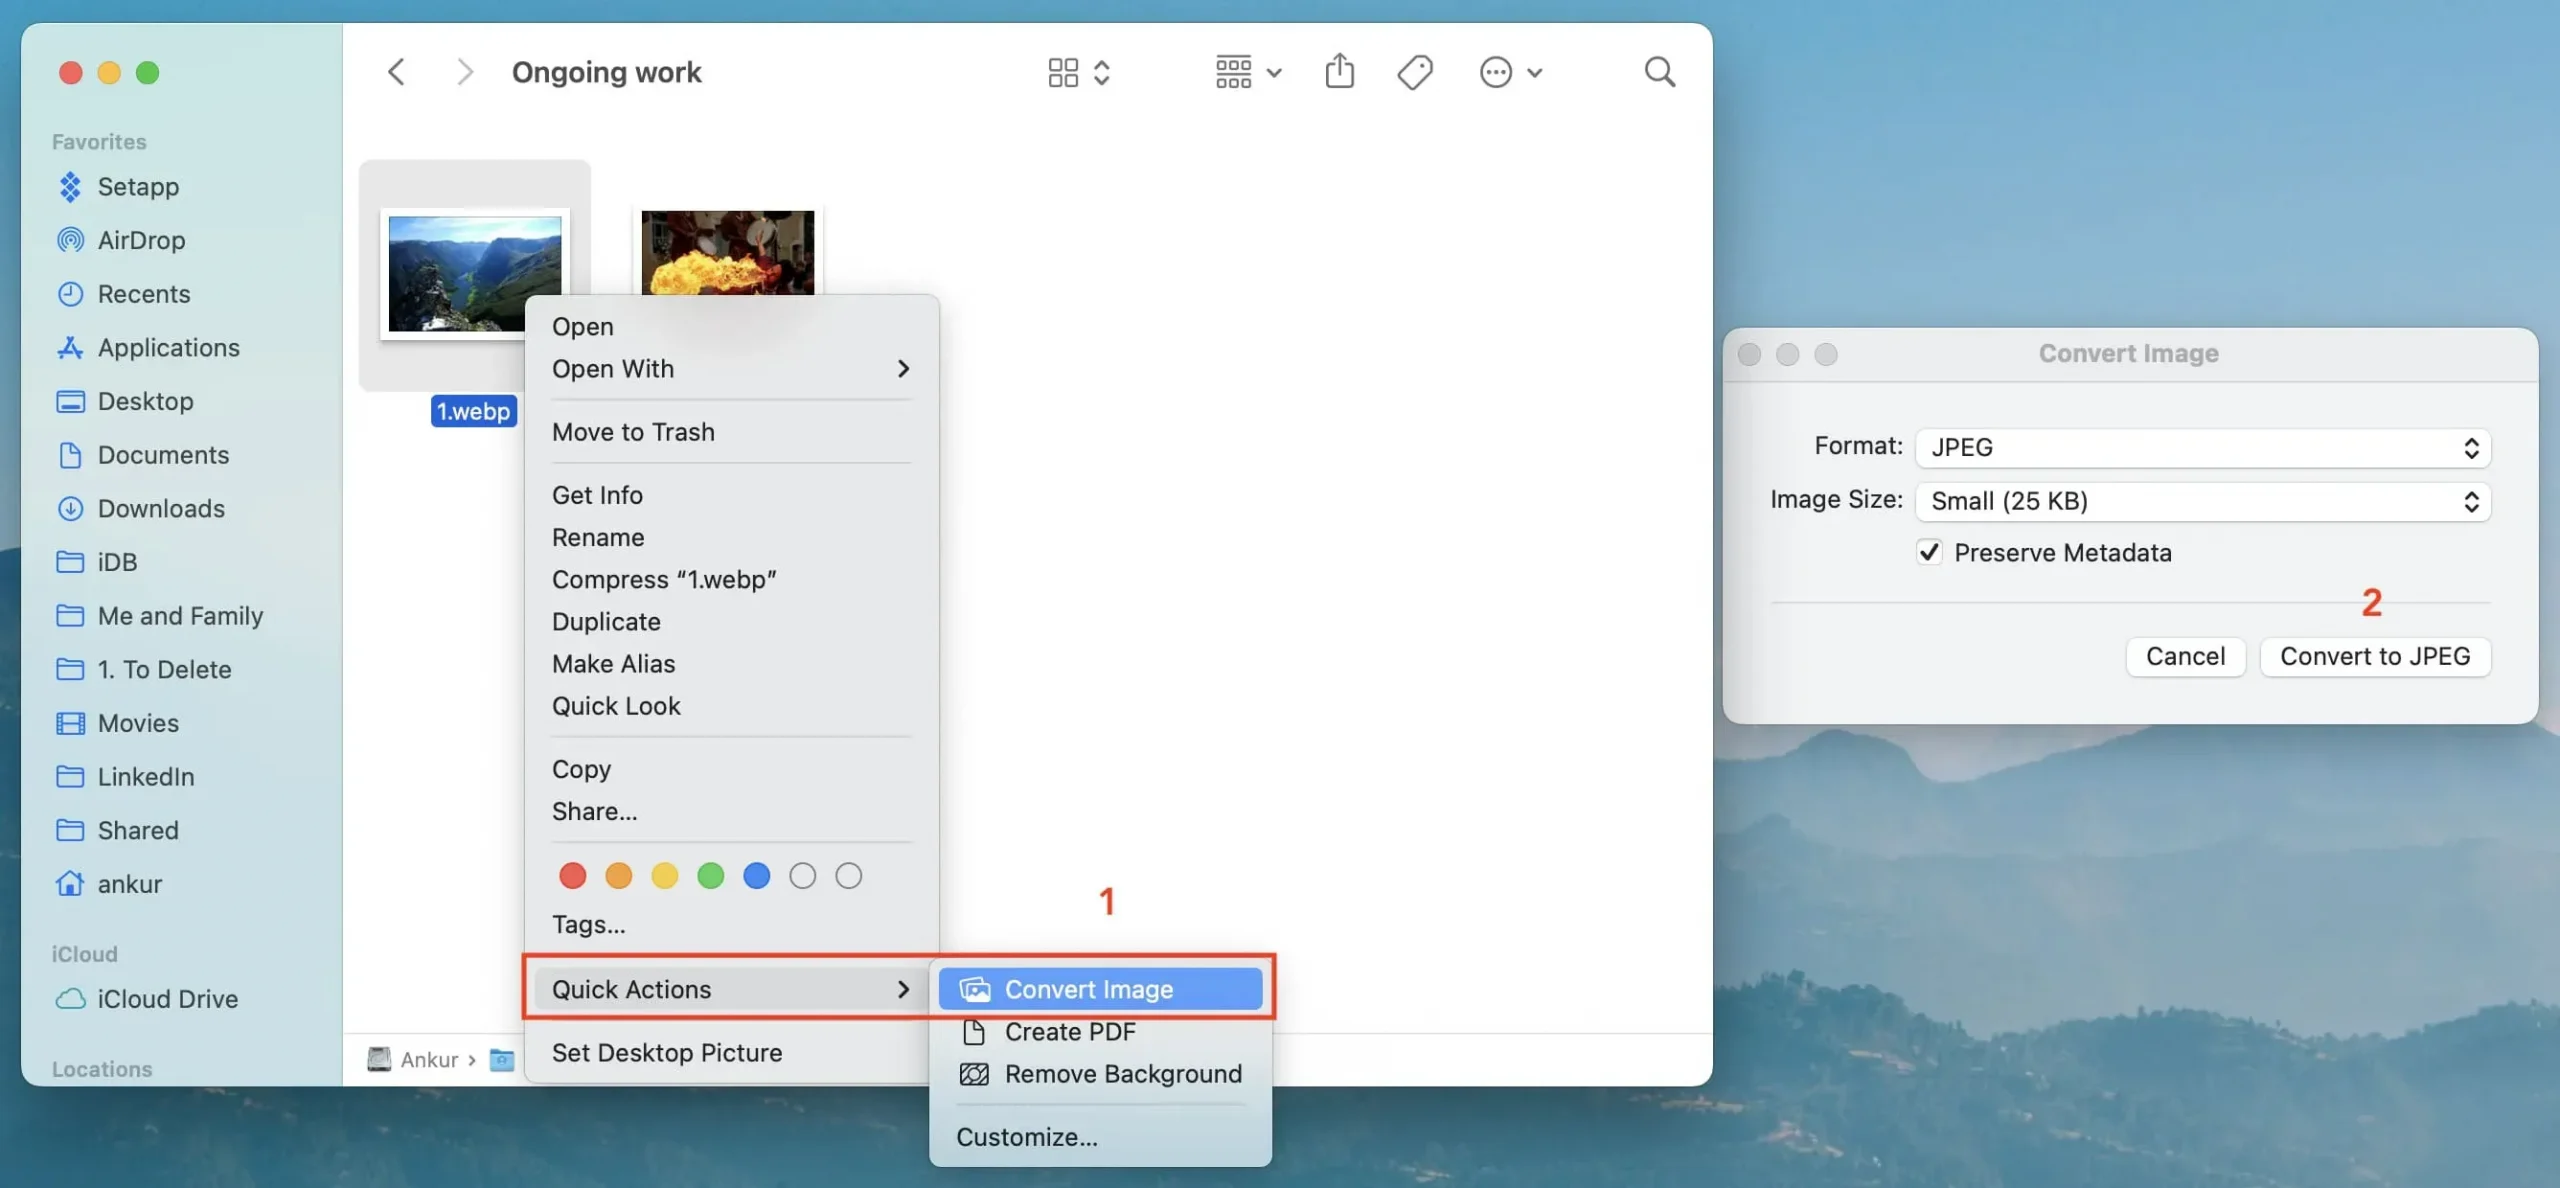
Finder converts the WebP image to JPG, PNG, or HEIF of your choice and saves it in the same folder as the WebP image.
3. Use the Photos app.
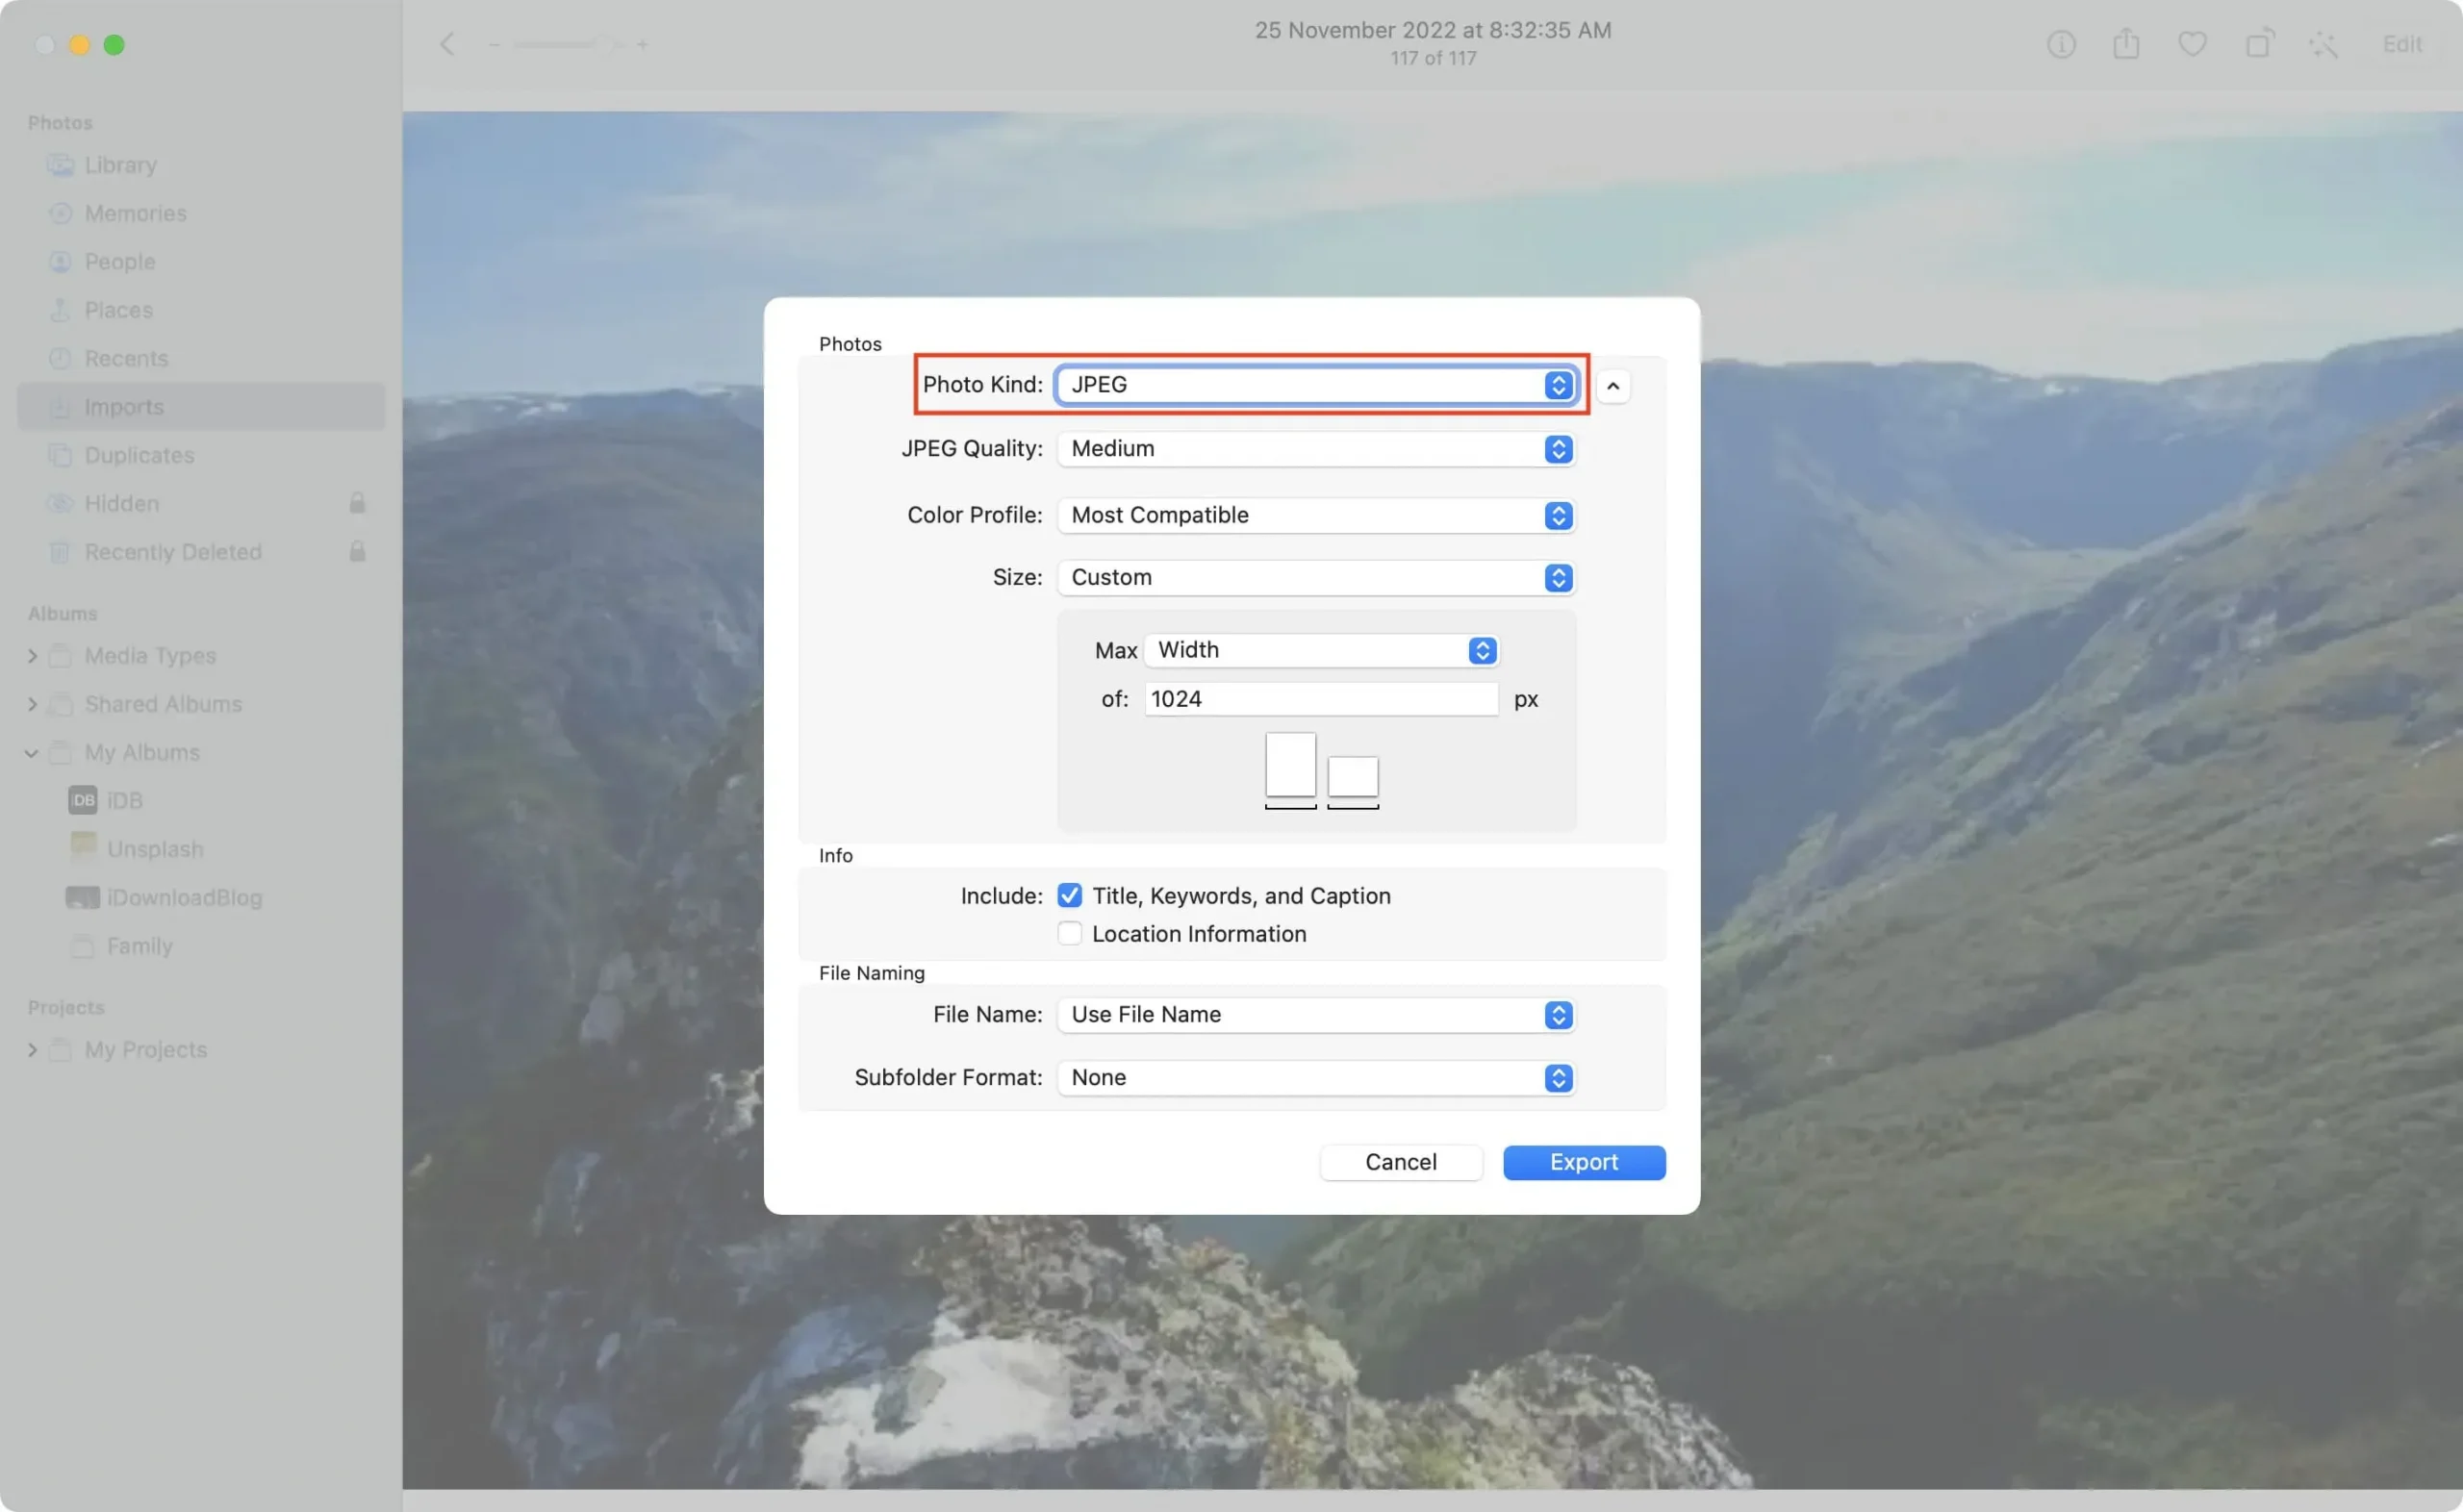
If you’ve added WebP images to the Photos app on Mac, here’s how to convert them to another format:
- Select the WebP image and click File > Export > Export Photo.
- In the Photo Type section, choose JPEG, PNG, or TIFF.
- Then set the image quality to Low (smallest size), Medium, High, or Maximum.
- Click the tiny arrow next to a photo type to see more options. Now customize them as you wish. For example, you can use the Size menu to set the final image size to Small, Medium, Large, Full Size, or define a custom size.
- When you’re done, click “Export”, select a location, and click “Export”again.
4. Use online sites
Finally, you can use these free online sites on your Mac, Windows PC, iPhone, iPad, or Android phone to batch convert WebP images to JPG, PNG, or other formats:
- iLoveIMG.com: Visit the website, drag and drop a WebP image and click “Convert to JPG”.
- cloudconvert.com: Visit the site and drag and drop a WebP image onto it, or use the “Choose File”button. Then click the “Convert to”box and select a format. After that, click the wrench icon to set quality, size, size, and remove or keep metadata. When everything is done, click the “Convert”button.
- Ezgif.com: Select the WebP file and click Download. Set the JPG image quality factor and other options you see here. When you’re done, click Convert to JPG! After the conversion is complete, click “Save”.
Convert JPG and PNG to WebP
You can also change JPG and PNG images to WebP if you want to put them on your website or blog.
1. WordPress plugins
The easiest approach is to use plugins that convert JPG, PNG and other image formats to WebP. Here are some of them for WordPress:
- Performance Lab: Google’s PageSpeed Insights tool recommends this WP plugin.
- Imagify – Optimize Images and Convert WebP
- ShortPixel Image Optimizer
- Media Converter – Image Optimization | Convert WebP and AVIF
- Web Express
- WWWW Image Optimizer
- Plus WebP
- instantly
- Images in WebP
- Other WordPress plugins for WebP conversion
2. Internet sites
Want to convert PNG or JPG to WebP without WordPress plugins? In that case, you can use these free websites: