

Screenshot is a great way to capture what is displayed on the screen. It can be used to document a bug or collaborate with your team. However, even a screenshot sometimes needs editing to convey the message accurately.
Luckily, the iPhone’s built-in screenshot tool, Markup, comes to the rescue! First introduced in iOS 10, Markup lets you edit images, insert text and shapes, sign PDFs or documents, and many other great features.
Let’s learn more about how to use markup to edit screenshots on iPhone and iPad to get the most out of it.
- How to Sketch an iPhone Screenshot Using Markup
- Enlarge your iPhone screenshot
- Add text and caption to screenshot
- How to Annotate a Screenshot on iPhone
- How to add a caption to an image
- Use the eyedropper tool to pick up a color
- How to use the ruler tool
- Create hand-drawn shapes
- Blur or hide sensitive information
- How to undo changes made to a screenshot on iPhone
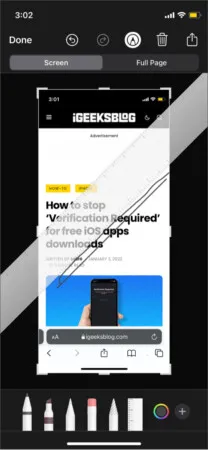
How to Sketch an iPhone Screenshot Using Markup
After taking a screenshot on iPhone or iPad, follow these steps :
- Touch the small image in the lower left corner of the screen. You will now see a markup screen with some tools at the bottom.
- Touch the tools you want to use.
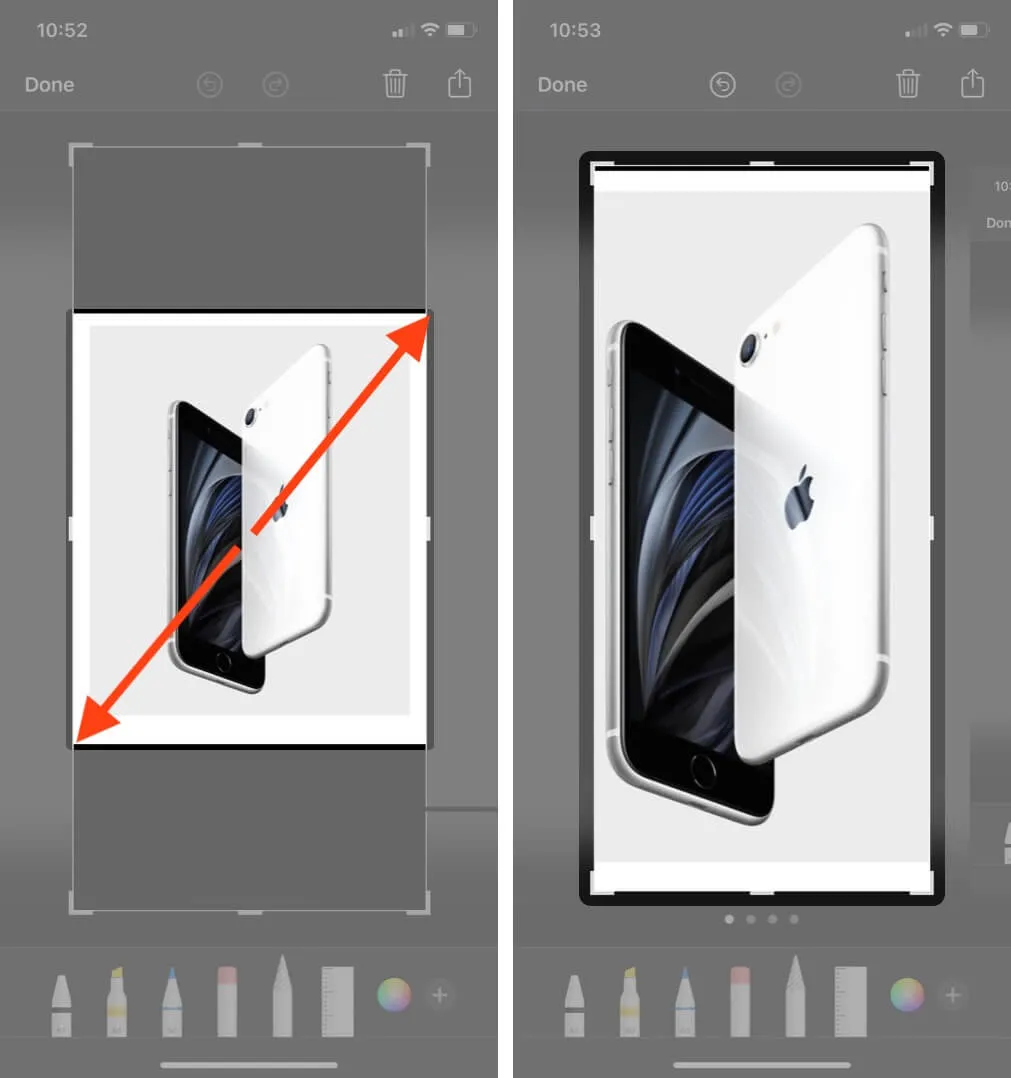
Enlarge your iPhone screenshotYou can directly zoom in or out and adjust the screenshot after repeating the steps mentioned in the above pointers.
Add text and caption to screenshot
Adding text to images is useful in many ways. You can use the iOS screenshot tool to add a description and caption. You can add text to an image by following these steps.
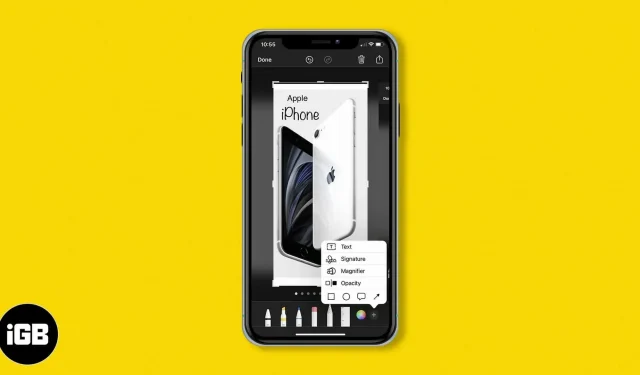
- Click the pen icon at the top to open the markup menu.
- Click the + button in the lower right corner.
- Choose “Text”from the pop-up menu. A text box will appear on the screenshot.
Add screenshot description
How to Annotate a Screenshot on iPhone
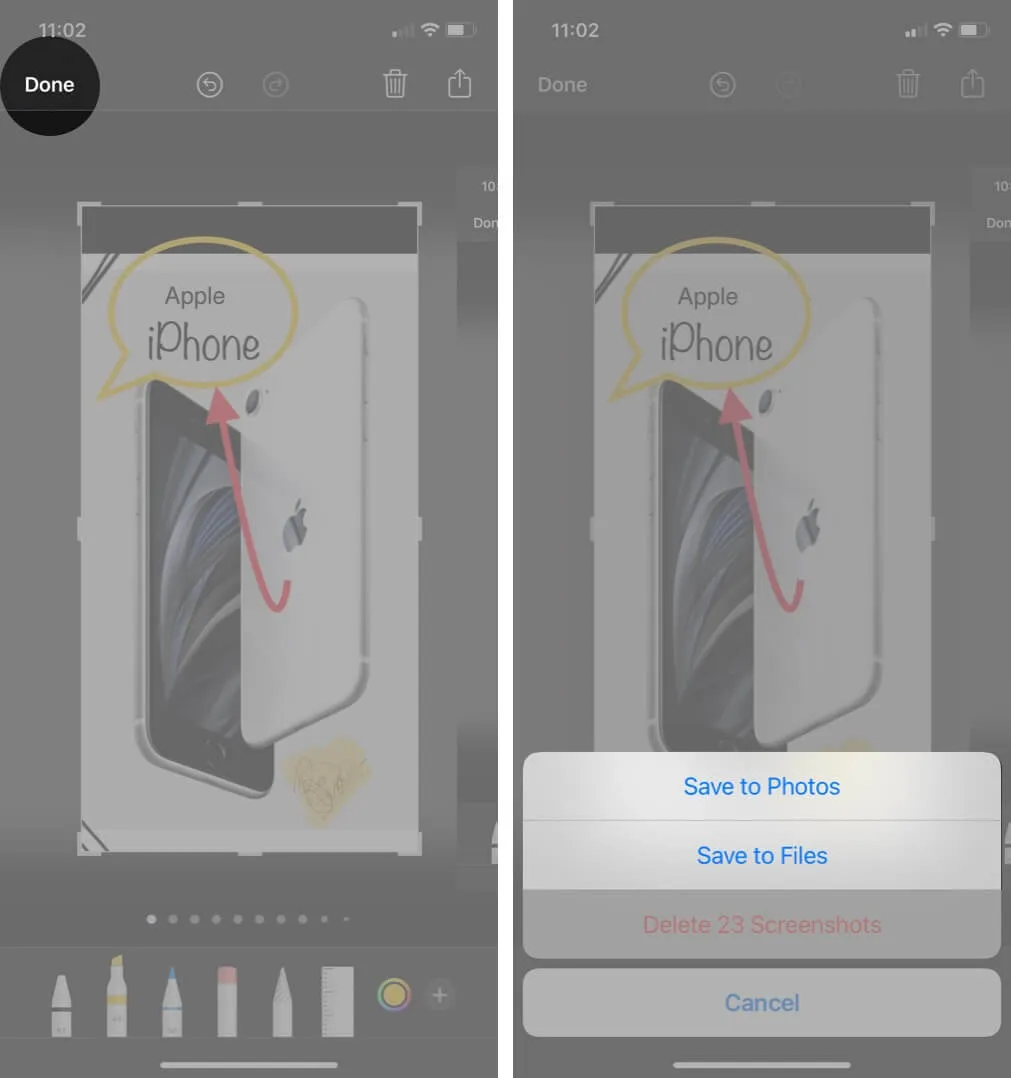
Now you can finally click “Done”to save your existing edits, after which you can choose whether you want to save the edited snap to “Photos”or “Files”.
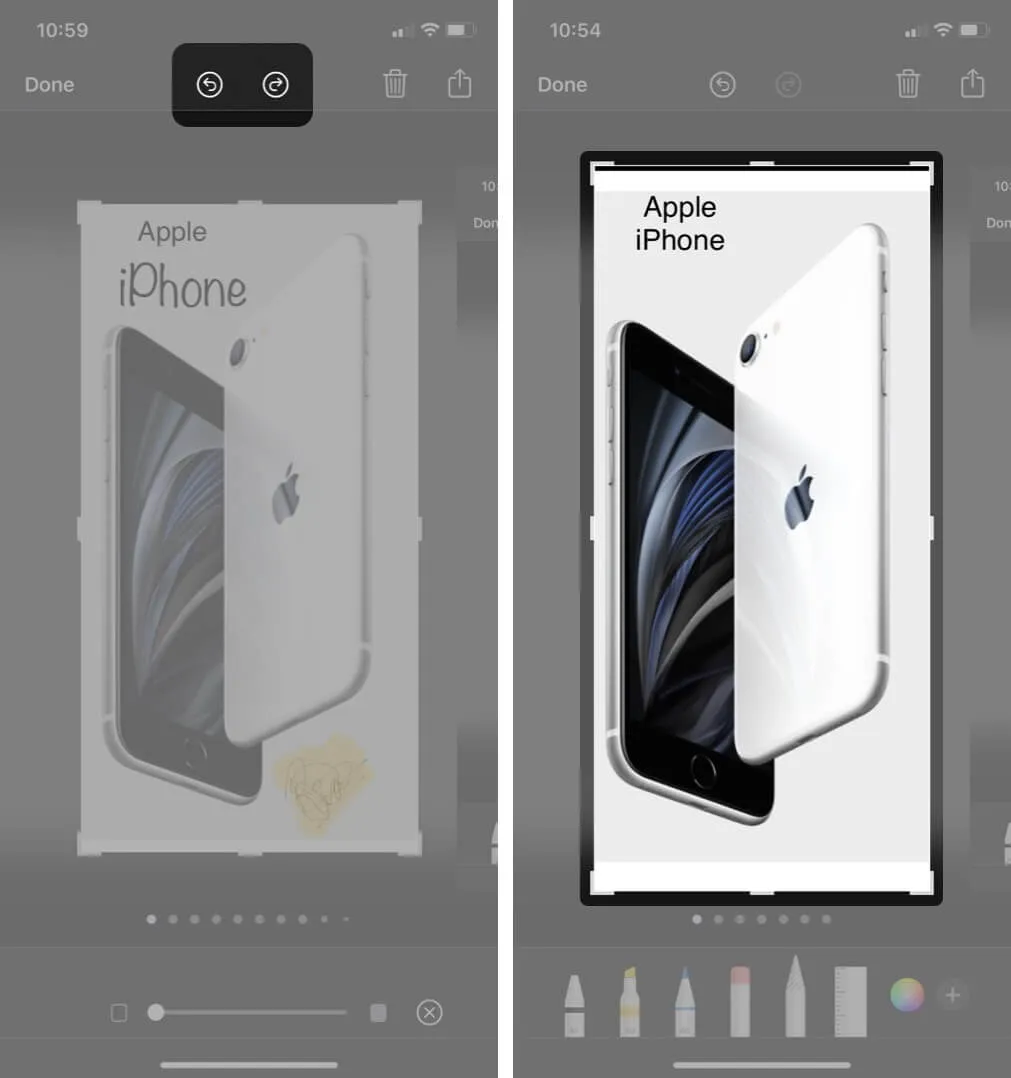
If you make a mistake and want to undo or redo your changes, tap the background arrow. This will undo the changes one by one. Or press the forward arrow to redo.
How to add a caption to an image
I find this to be one of the easiest ways to sign documents. Just take a screenshot and use the signature tool. I have used this tool to add signatures to invoices and other documents. You can also use it as an alternative to watermarks.
Use the eyedropper tool to pick up a color
Getting your favorite color in the exact shade can be tricky. The pipette function allows you to pick up the color with great precision.
How to use the ruler tool
You can use the ruler tool to draw straight lines on the screenshot. The tool is also useful for drawing lines that are slanted at a certain angle. Select the ruler icon in the bottom menu bar.
The ruler tool displays real-time angles for reference. You can change the angle by rotating the ruler. Use two fingers and rotate on the opposite side to change the angle.
Create hand-drawn shapes
If the preset shapes aren’t enough, you can always create hand-drawn shapes.
Blur or hide sensitive information
In many cases, a screenshot contains sensitive information. This may be our email address, device IMEI, contact information, etc. In such cases, we may erase sensitive information before sharing the screenshot online or with friends.
The most effective way to hide sensitive information is to use an opaque tool. Tap the square icon and place the shape on the sensitive information.
How to undo changes made to a screenshot on iPhone
Summarizing!!
Well, congratulations! You are now a certified iPhone screenshot master! Here’s how you can use markup on iPhone and iPad to edit screenshots. Do you know any cool iPhone screenshot tricks? If yes, share with us in the comments below.