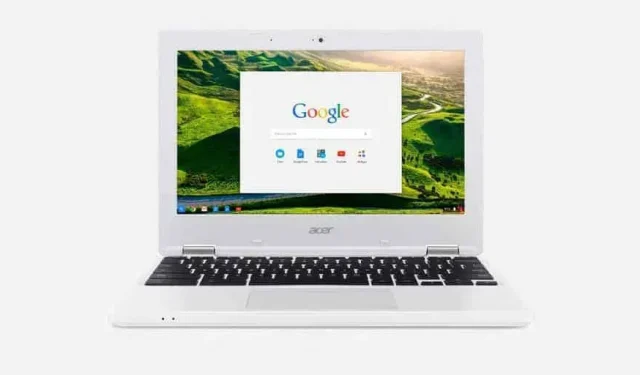
Chromebooks running ChromeOS are very different from machines running Windows or macOS. Screenshot management is different. Here’s how.
Taking a screenshot on a computer can be very helpful. However, the method may differ from device to device, from operating system to operating system. This is true for Chromebooks and ChromeOS. For years, the Chromebook’s screenshot tool was basic and launched with a not-so-obvious keyboard shortcut. That changed last year when Google introduced a decent photo and video tool. Here’s how to take full advantage of it.
Screenshot on Chromebook using keyboard shortcut
To launch the screenshot tool, you need to press the key combination “Shift + Ctrl + Show Windows “. The Show Windows key is located at the very top row of the keyboard, with an icon that looks like a window with two windows behind it. Press three keys and the tool will appear at the bottom of the screen.
If you just want to take a screenshot of the entire screen and not a specific area or window, press “Ctrl + Show Windows”.
These shortcuts work with any Chromebook model. However, some Chromebooks have a “Screenshot”button on the top bar. Look for a key with a camera icon, often a rectangle with a circle in the center. Clicking it will launch the tool. No label needed.
Screenshot on Chromebook via Quick Settings
Memorizing labels is not always easy. Google has added a shortcut button in quick settings for screenshots. Just click the time on the taskbar to open the Quick Settings menu and then click or tap on Screenshot and the tool will appear.
How to use the screenshot tool
The screenshot tool not only allows you to take screenshots, but can also be used for recording. Switching between photo and video is carried out in the far left corner of the toolbar. To the right of this button, you have options to take a full screenshot, a partial screenshot of a specific area, or a screenshot of a specific window. This works for images and videos. Clicking the gear in the toolbar also allows you to activate or deactivate the microphone during screen recording, for example, if you want to add a voice-over.
Where screenshots are saved on Chromebook
When you take a screenshot or record your screen, the file is immediately available on the clipboard, which stores the last five items you used. To see what’s inside, press the search key + V.
Your Chromebook also has a special shelf space called Tote. Here you will find your latest shots. You can also pin files to Tote, which means you can keep an important screenshot close at hand.
Screenshots that are no longer saved to the clipboard can be found in your files. Open the Files app on your Chromebook, you will find screenshots in the Pictures folder and videos in the Videos folder.


