
If you’re like me, you take more than a few screenshots throughout the day and they add up quickly on your iPhone. When you take that many screen shots, your Photos app’s Screenshots folder can bloat into three digits if you don’t manage it, and your Recents folder becomes a mess. But there is a trick to keeping screenshots under control, and you have full control over them.
There are no settings in the Photos app to automatically delete screenshots. This trick uses a specially crafted automation in the Shortcuts app to remove unwanted screenshots using whatever options you want. You just need to tinker with the shortcuts a bit to customize them to your liking.
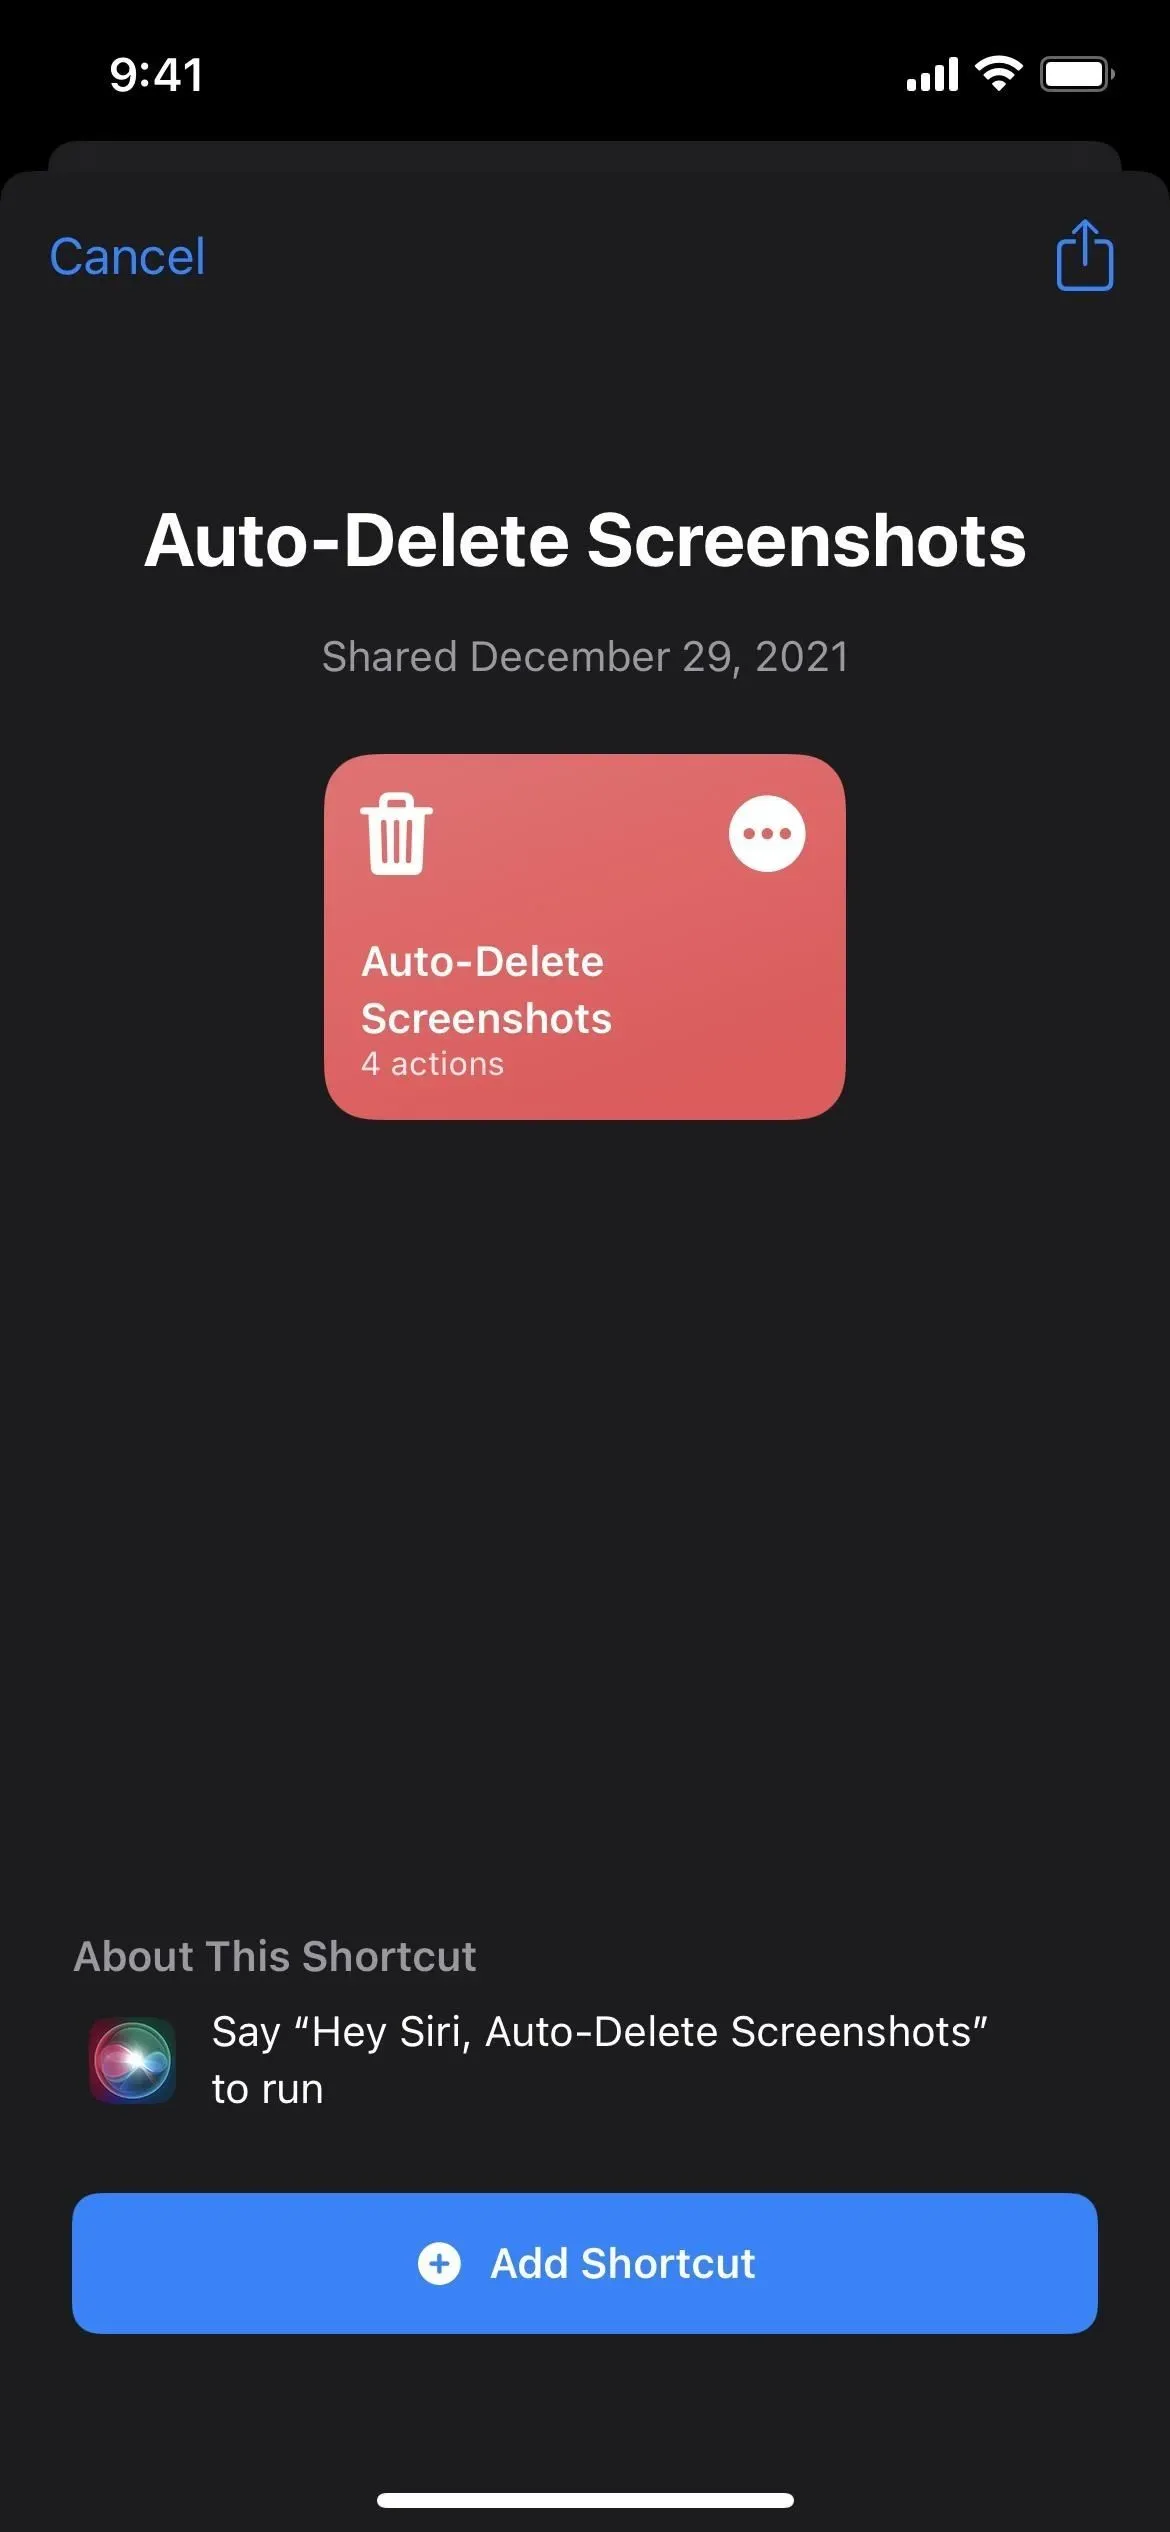
You can now build the entire workflow directly in the automation, or create a shortcut first and then the automation will run that shortcut. If you’re new to shortcuts, you might want the latter, and you can download a basic shortcut template below. This guide assumes you’re on iOS 15 or iOS 16, but shortcut actions will also work on iOS 14.
- Installation Shortcut: Screenshot Autodelete
Whether you want to create a shortcut from scratch or use the link provided above, you will need to follow all the steps below to set everything up to suit your needs. It’s worth noting that there are other shortcuts for deleting screenshots, but none of them did what I wanted.
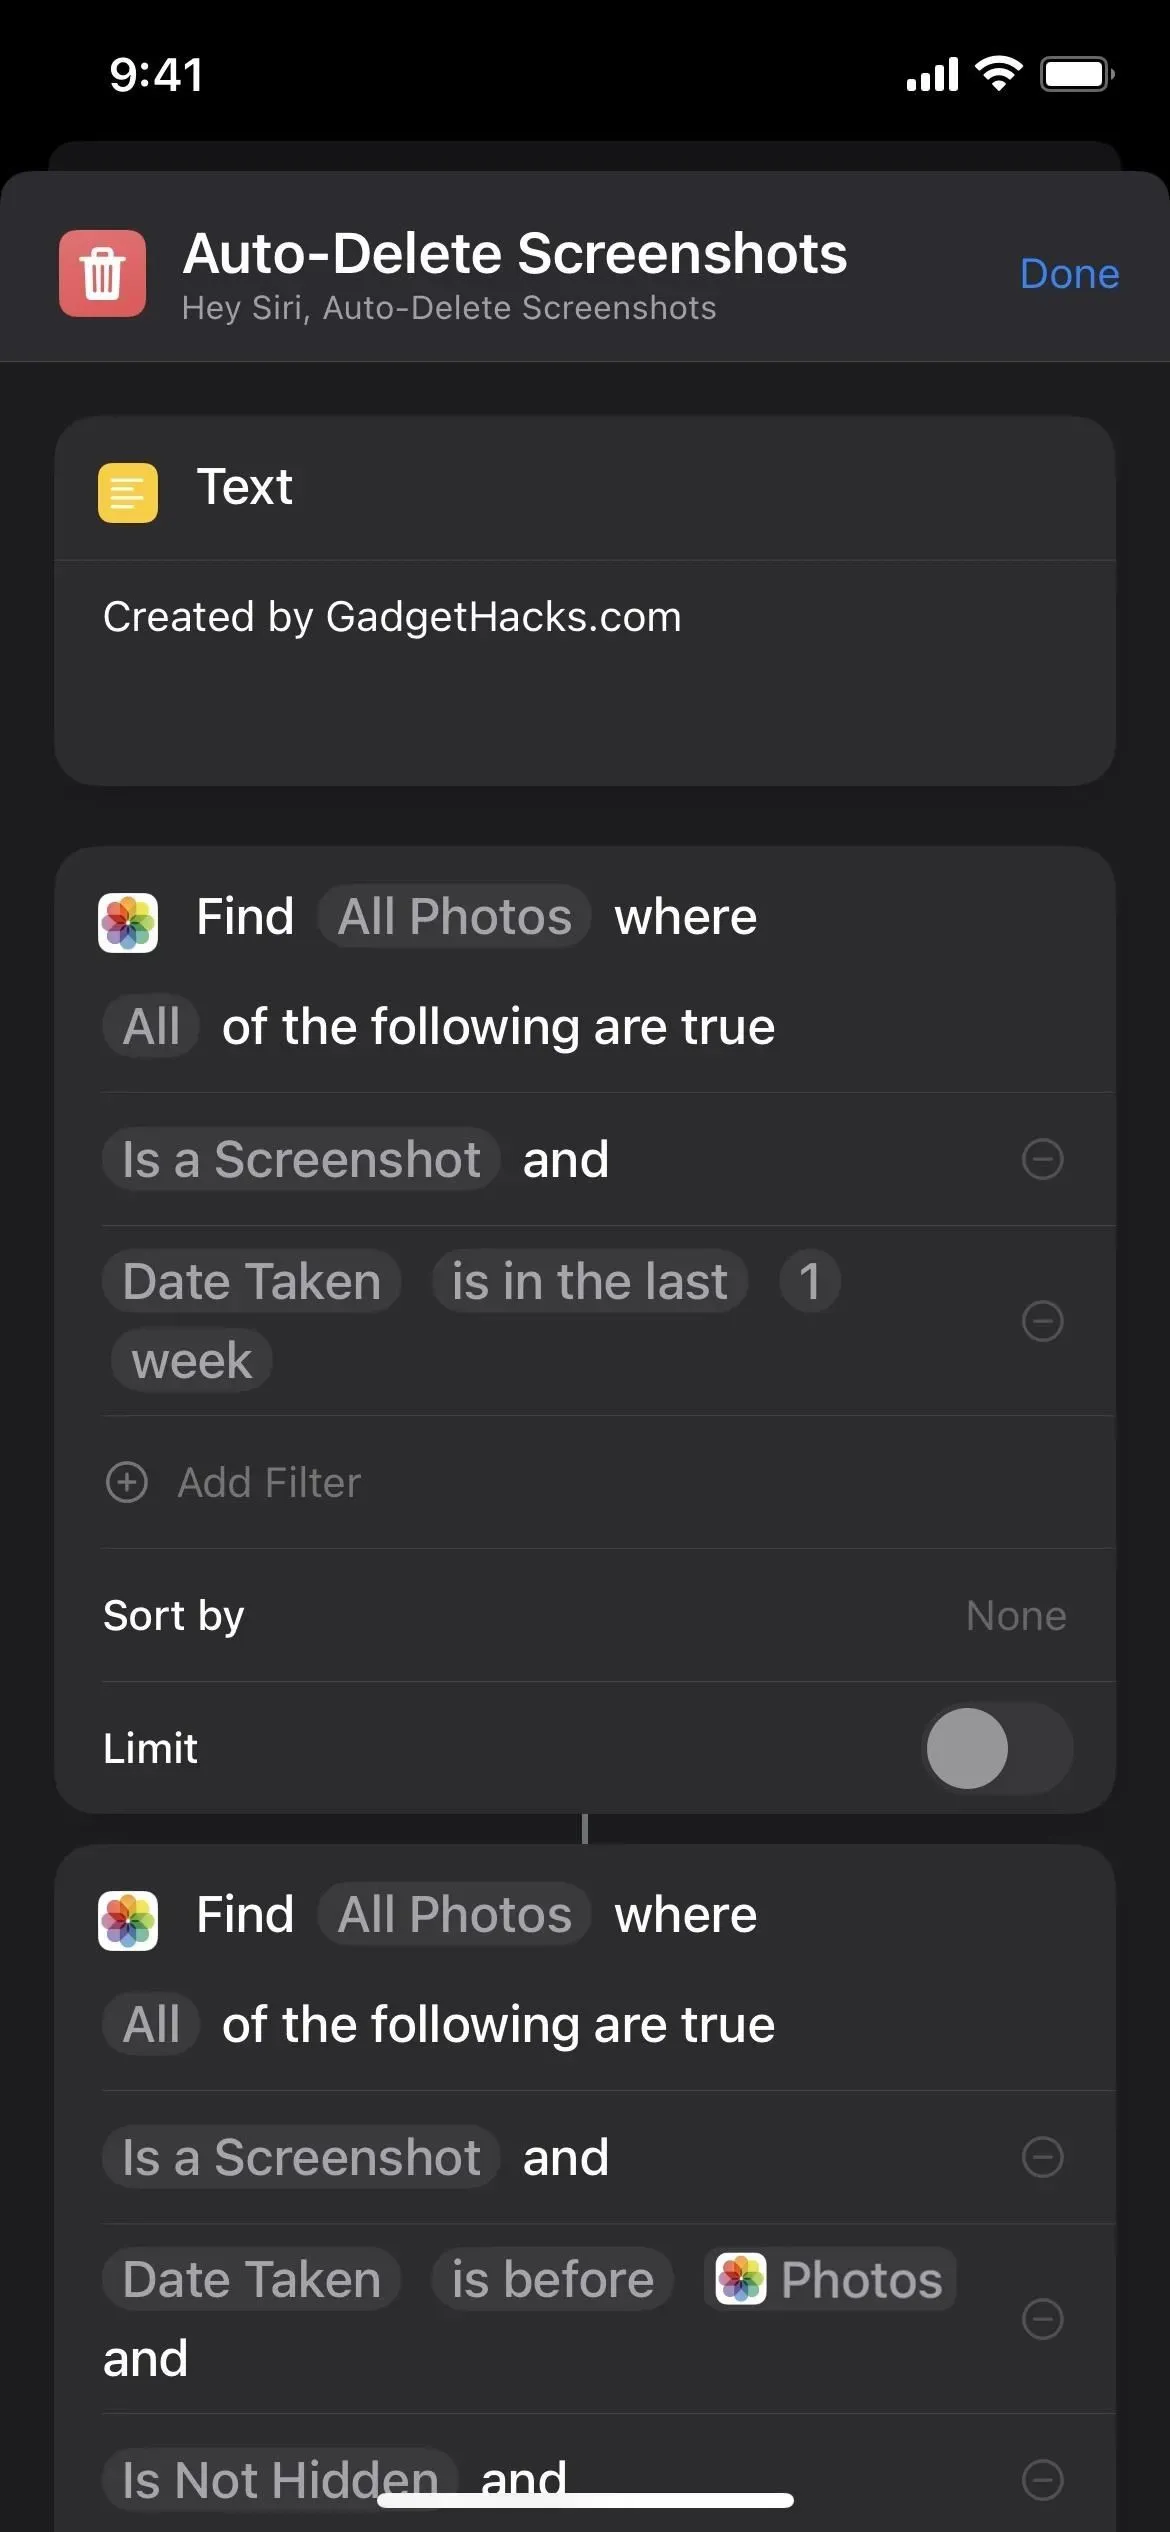
Step 1: Save screenshots from the last 7 days.
First, it uses the Find Photos action to find All Photos on your iPhone. It is then configured to filter out everything that is not a screenshot. There is another filter that only includes screenshots taken in the last week. This way, everything you took off in the previous seven days will remain intact. This gives you a week for each screenshot to decide if you want to keep it or not.
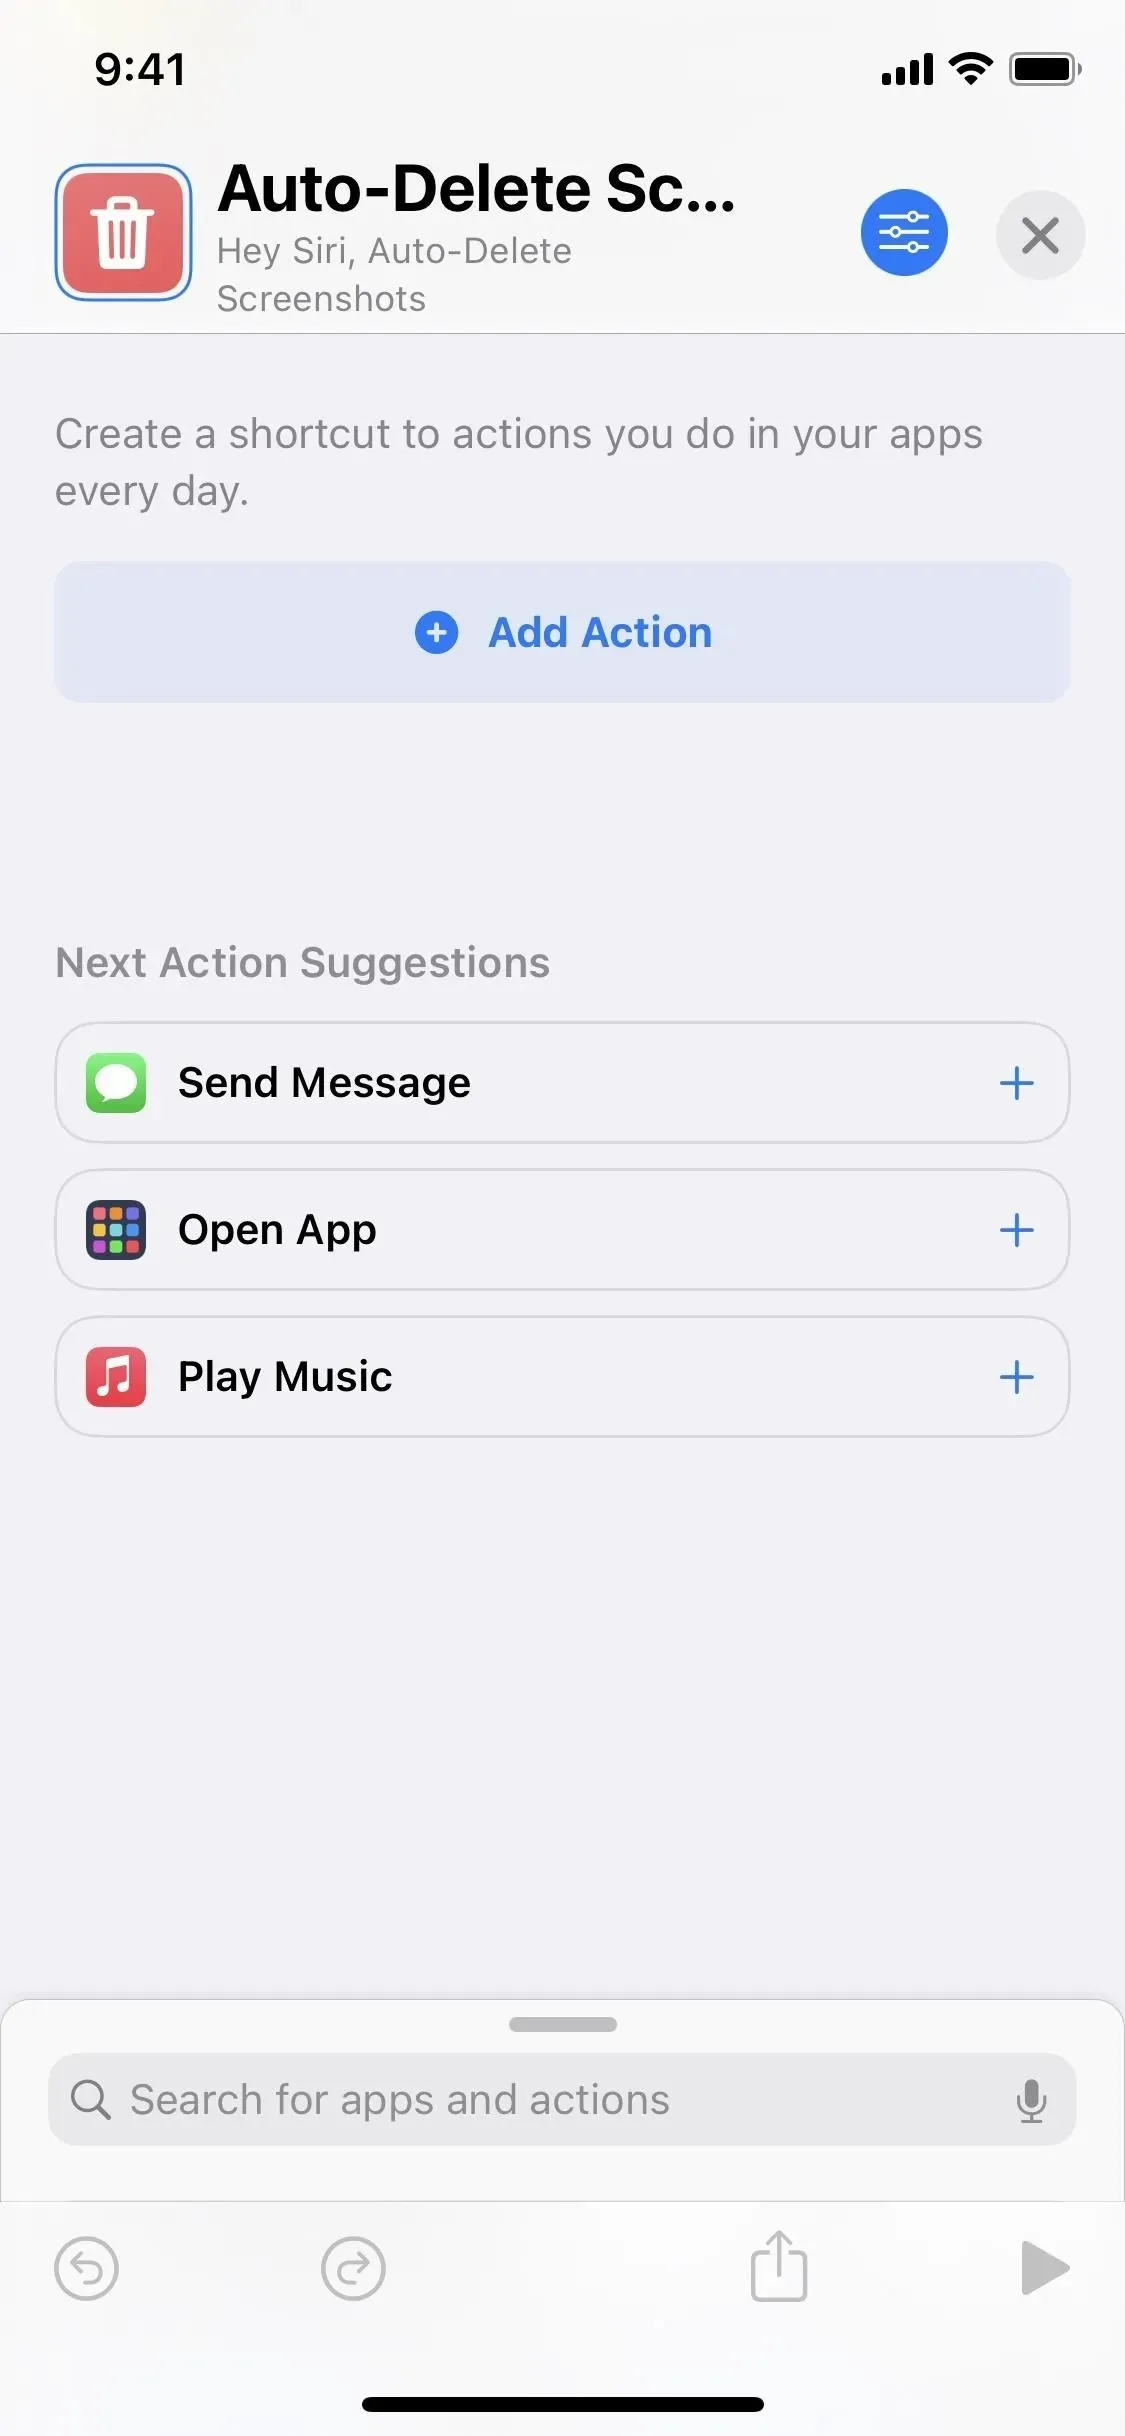
Simple step by step assembly guide:
- Start a new shortcut.
- Add a Find Photos action.
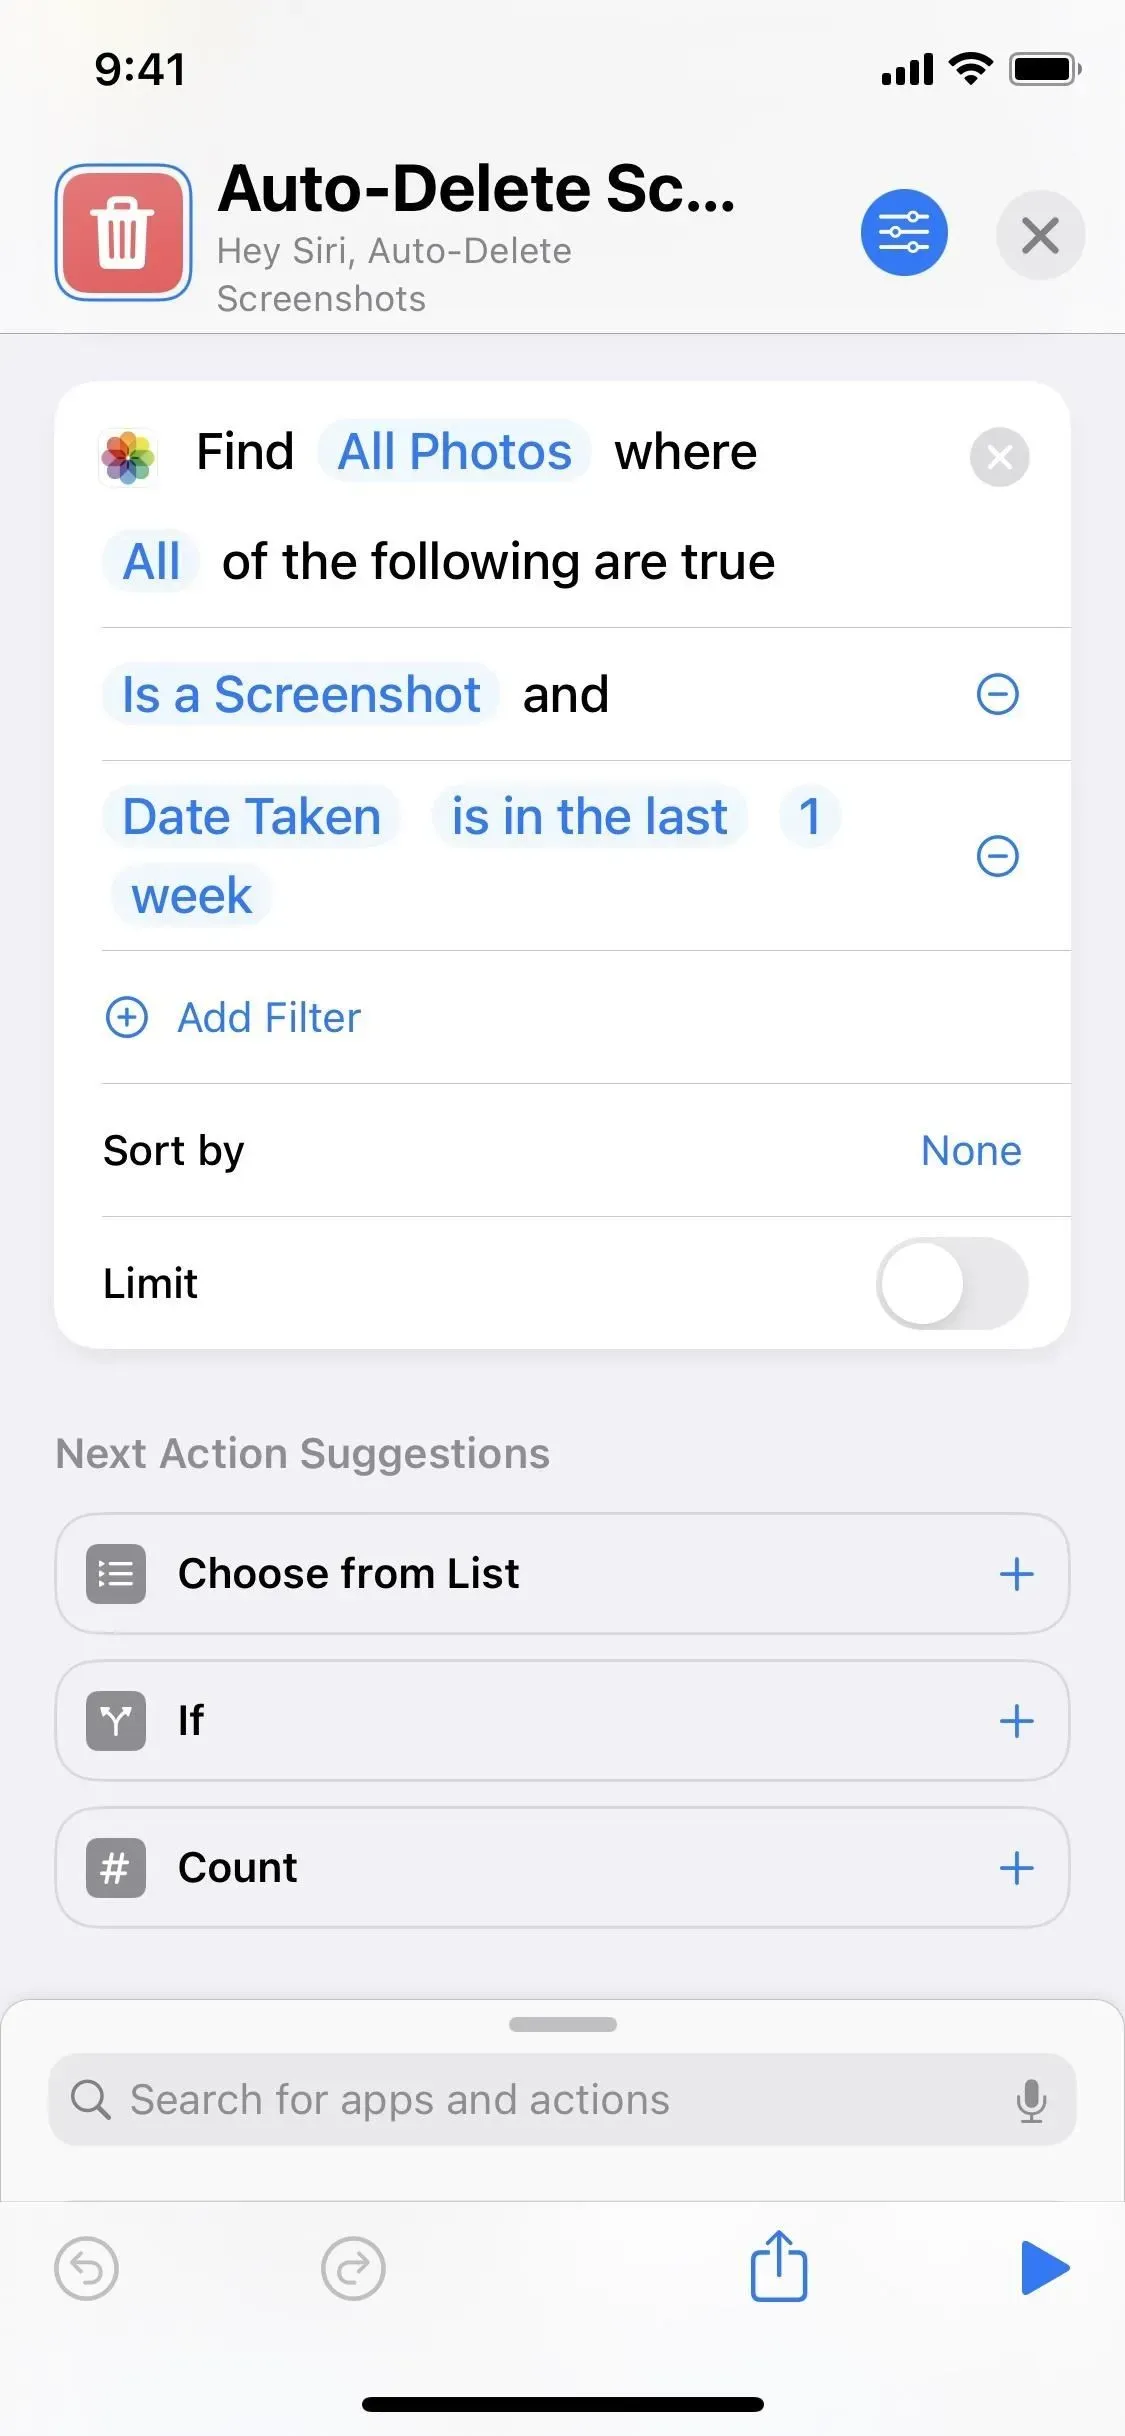
- Click “Add Filter”in the action box.
- Tap Album and select Screenshot.
- Click Add Filter again.
- Click “Album”and select “Date taken”.
- Click “enabled”for this and change to “in the latest”.
- Click “years”for that and change to “weeks”(or some other amount of time).
- Click on the empty space between “last”and “weeks”and add “1”(or some other number).
- Press “Done”on your keyboard.
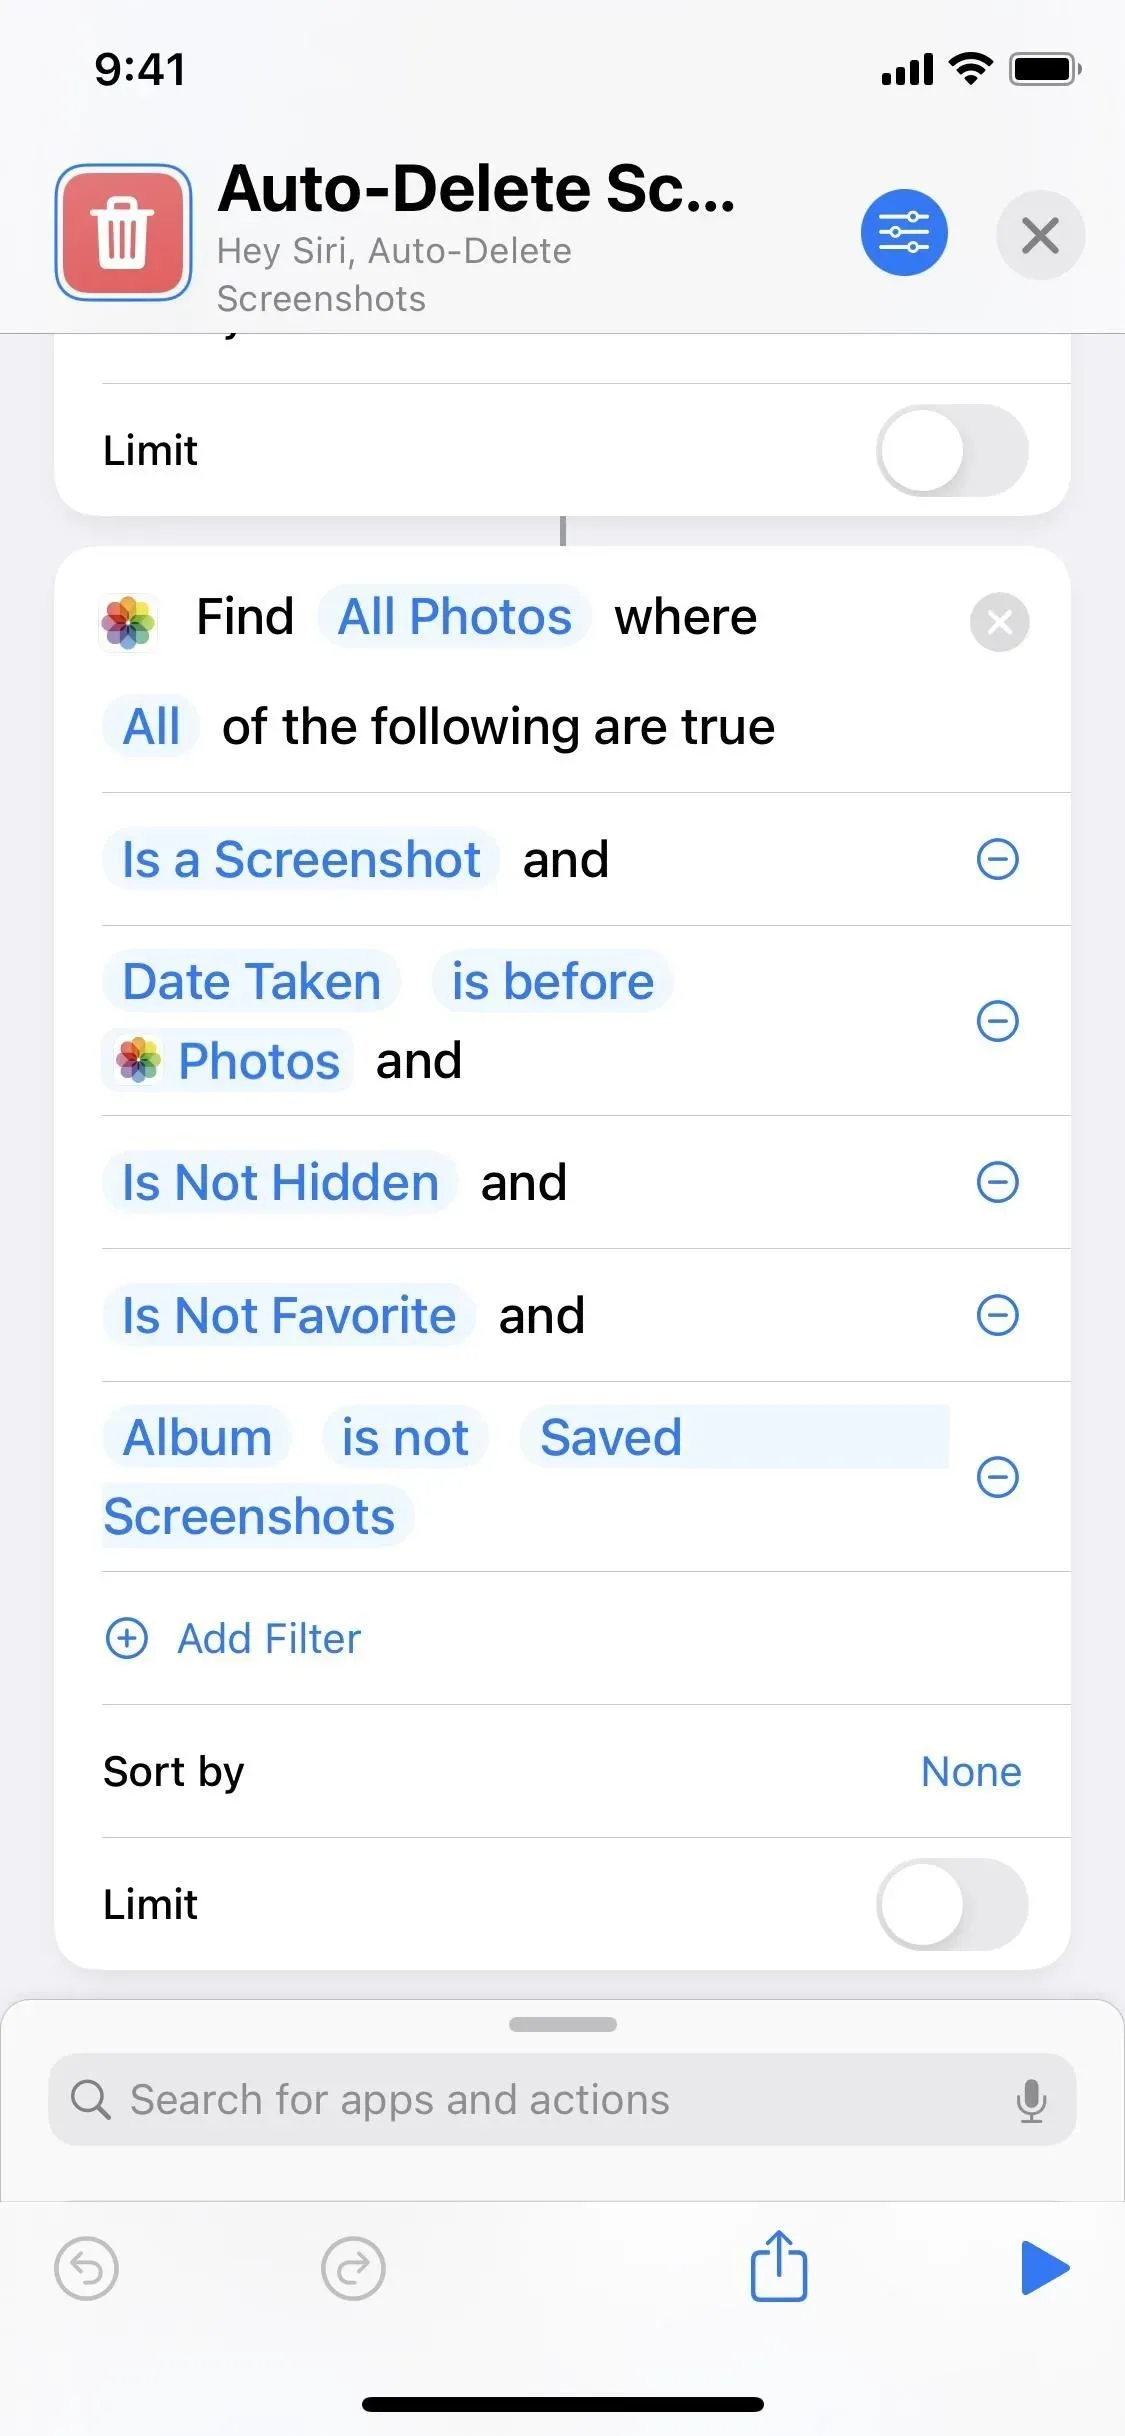
Step 2: Filter Important Screenshots
The second action is also “Find Photos”. As before, it’s set to search “All Photos”. If you’re creating this yourself and posting after the first action above, click “Photos”in the action field and change it to “All Photos”. Otherwise, it will only look at screenshots from the last seven days, and not everything that came before it.
The first filter of the second action highlights screenshots from your library, and the second filter excludes everything that was found by the first window of the “Find Photos”action.
I also have Not Hidden filters in case you hide important screenshots in your Hidden album, and Not Featured since you probably want to keep them. Another filter excludes everything I put in my own “Saved Screenshots”album, but you can choose any album as a safe zone. You can also add as many albums as you like, but you will have to do it one by one.

Simple step by step assembly guide:
- Add another Find Photos action after the first one.
- Tap “Photos”in the Activity and click “Clear Variable”.
- Click “Add Filter”in the action box.
- Tap Album and select Screenshot.
- Click Add Filter again.
- Click “Album”and select “Date taken”.
- Click “enabled”for this and change to “previously”.
- Press and hold the current date and select “Select Magic Variable”.
- Tap the Photos variable below the first Find Photos action field.
- Click Add Filter again.
- Click “Album”and select “Not Hidden”.
- Click Add Filter again.
- Tap “Album”and change the value to “Not Favorited”.
- Click Add Filter again.
- Leave “Album”there and tap the “yes”next to it, then change it to “none”.
- Click “Recent”for that and select the album you want to avoid.
- Optional: Repeat steps 14-16 to add more albums if needed.
- Optional: Click “Sort By”, choose what you want and customize the “Order”.
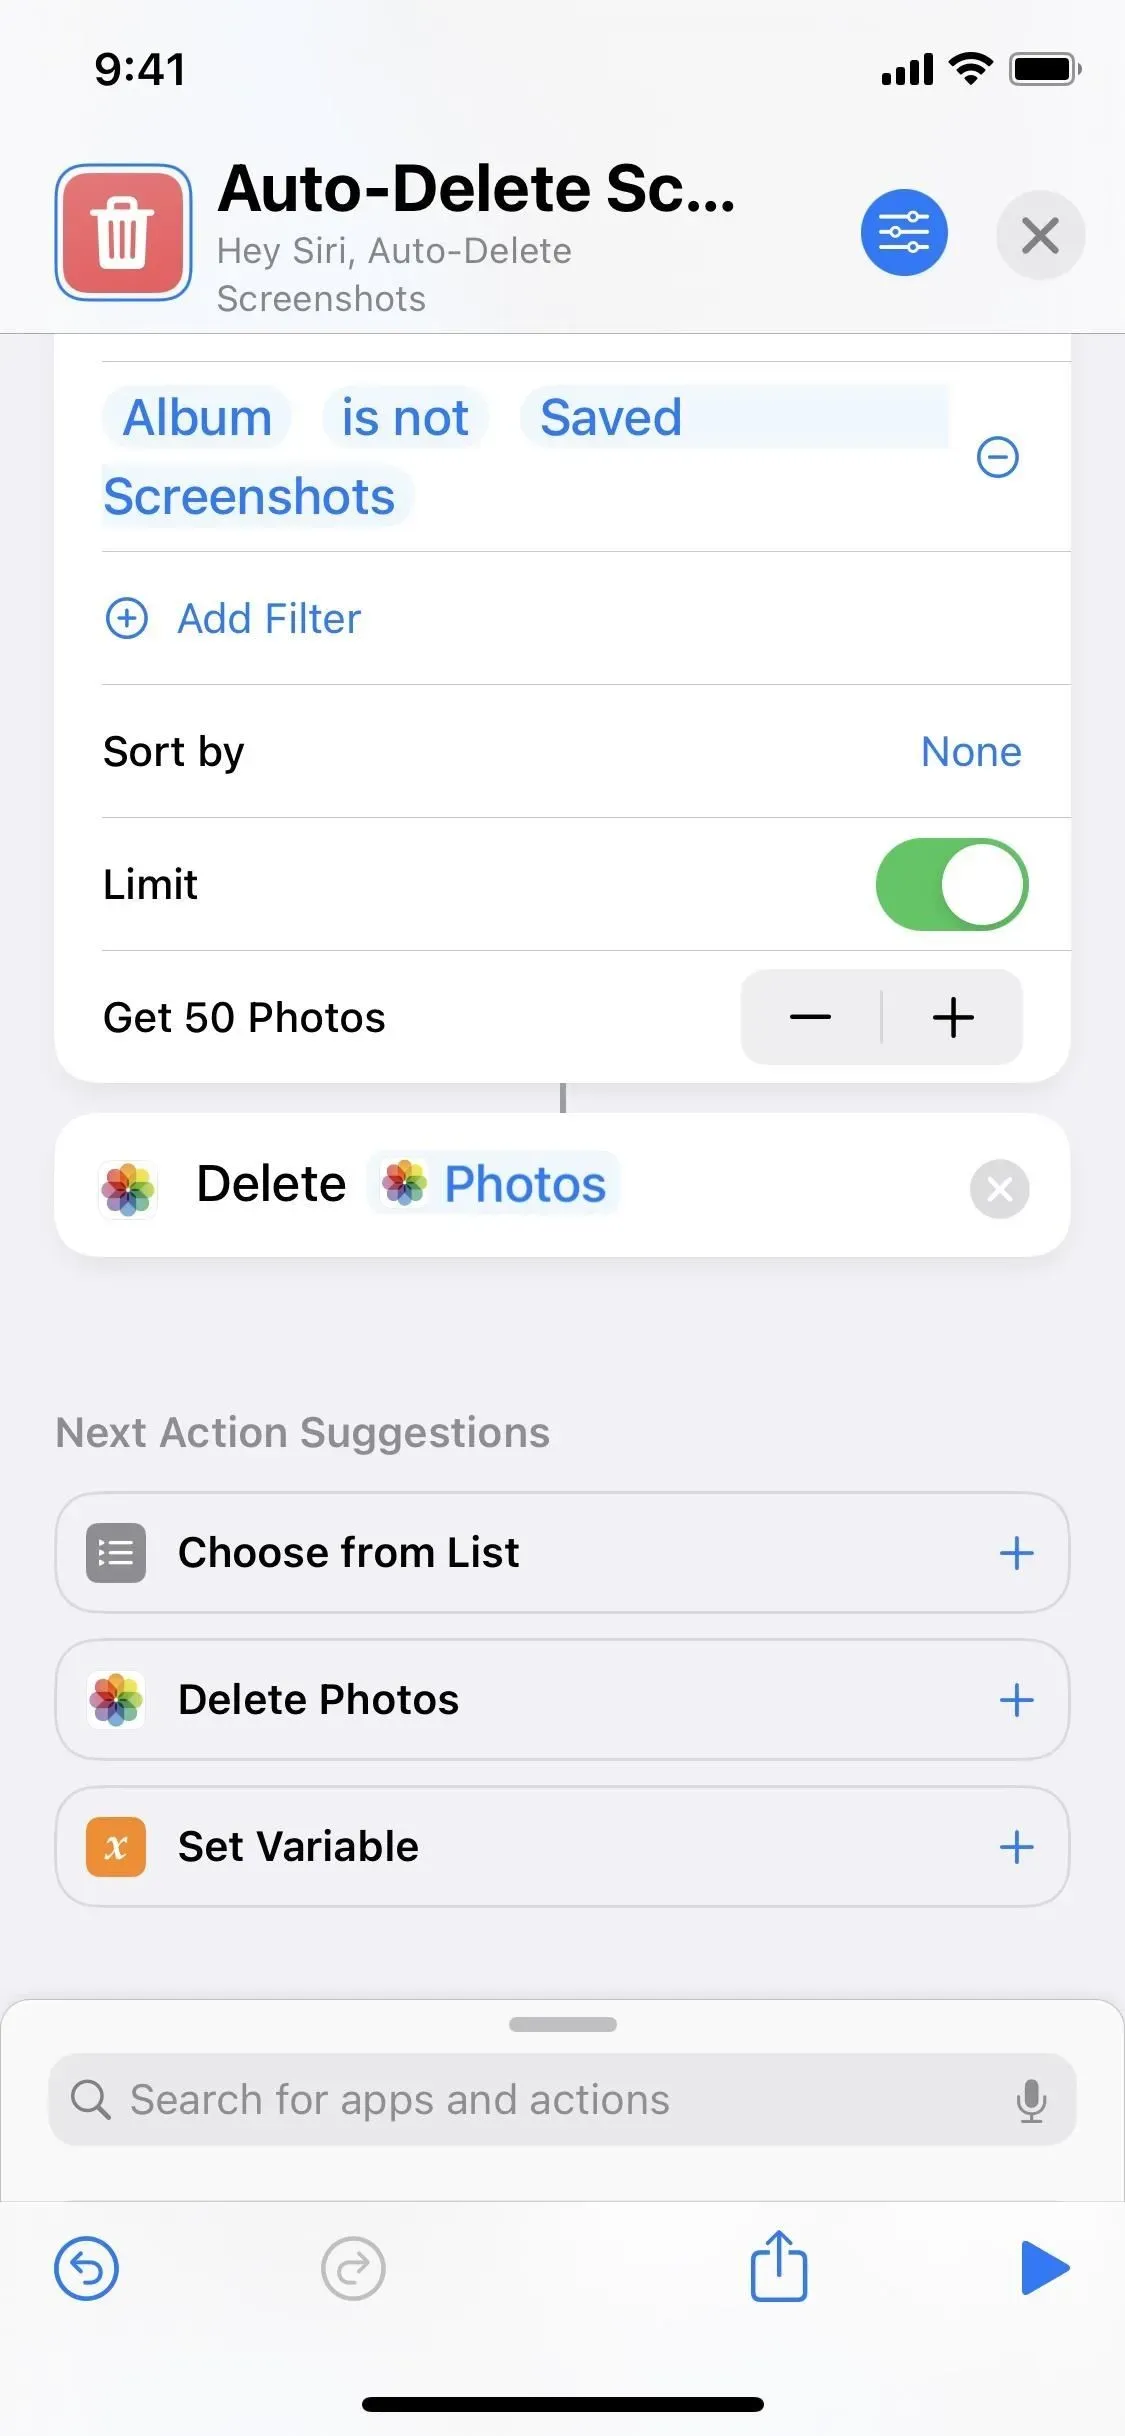
- Optional: Turn on “Limit”and select the maximum number of screenshots you want the shortcut to delete when triggered.
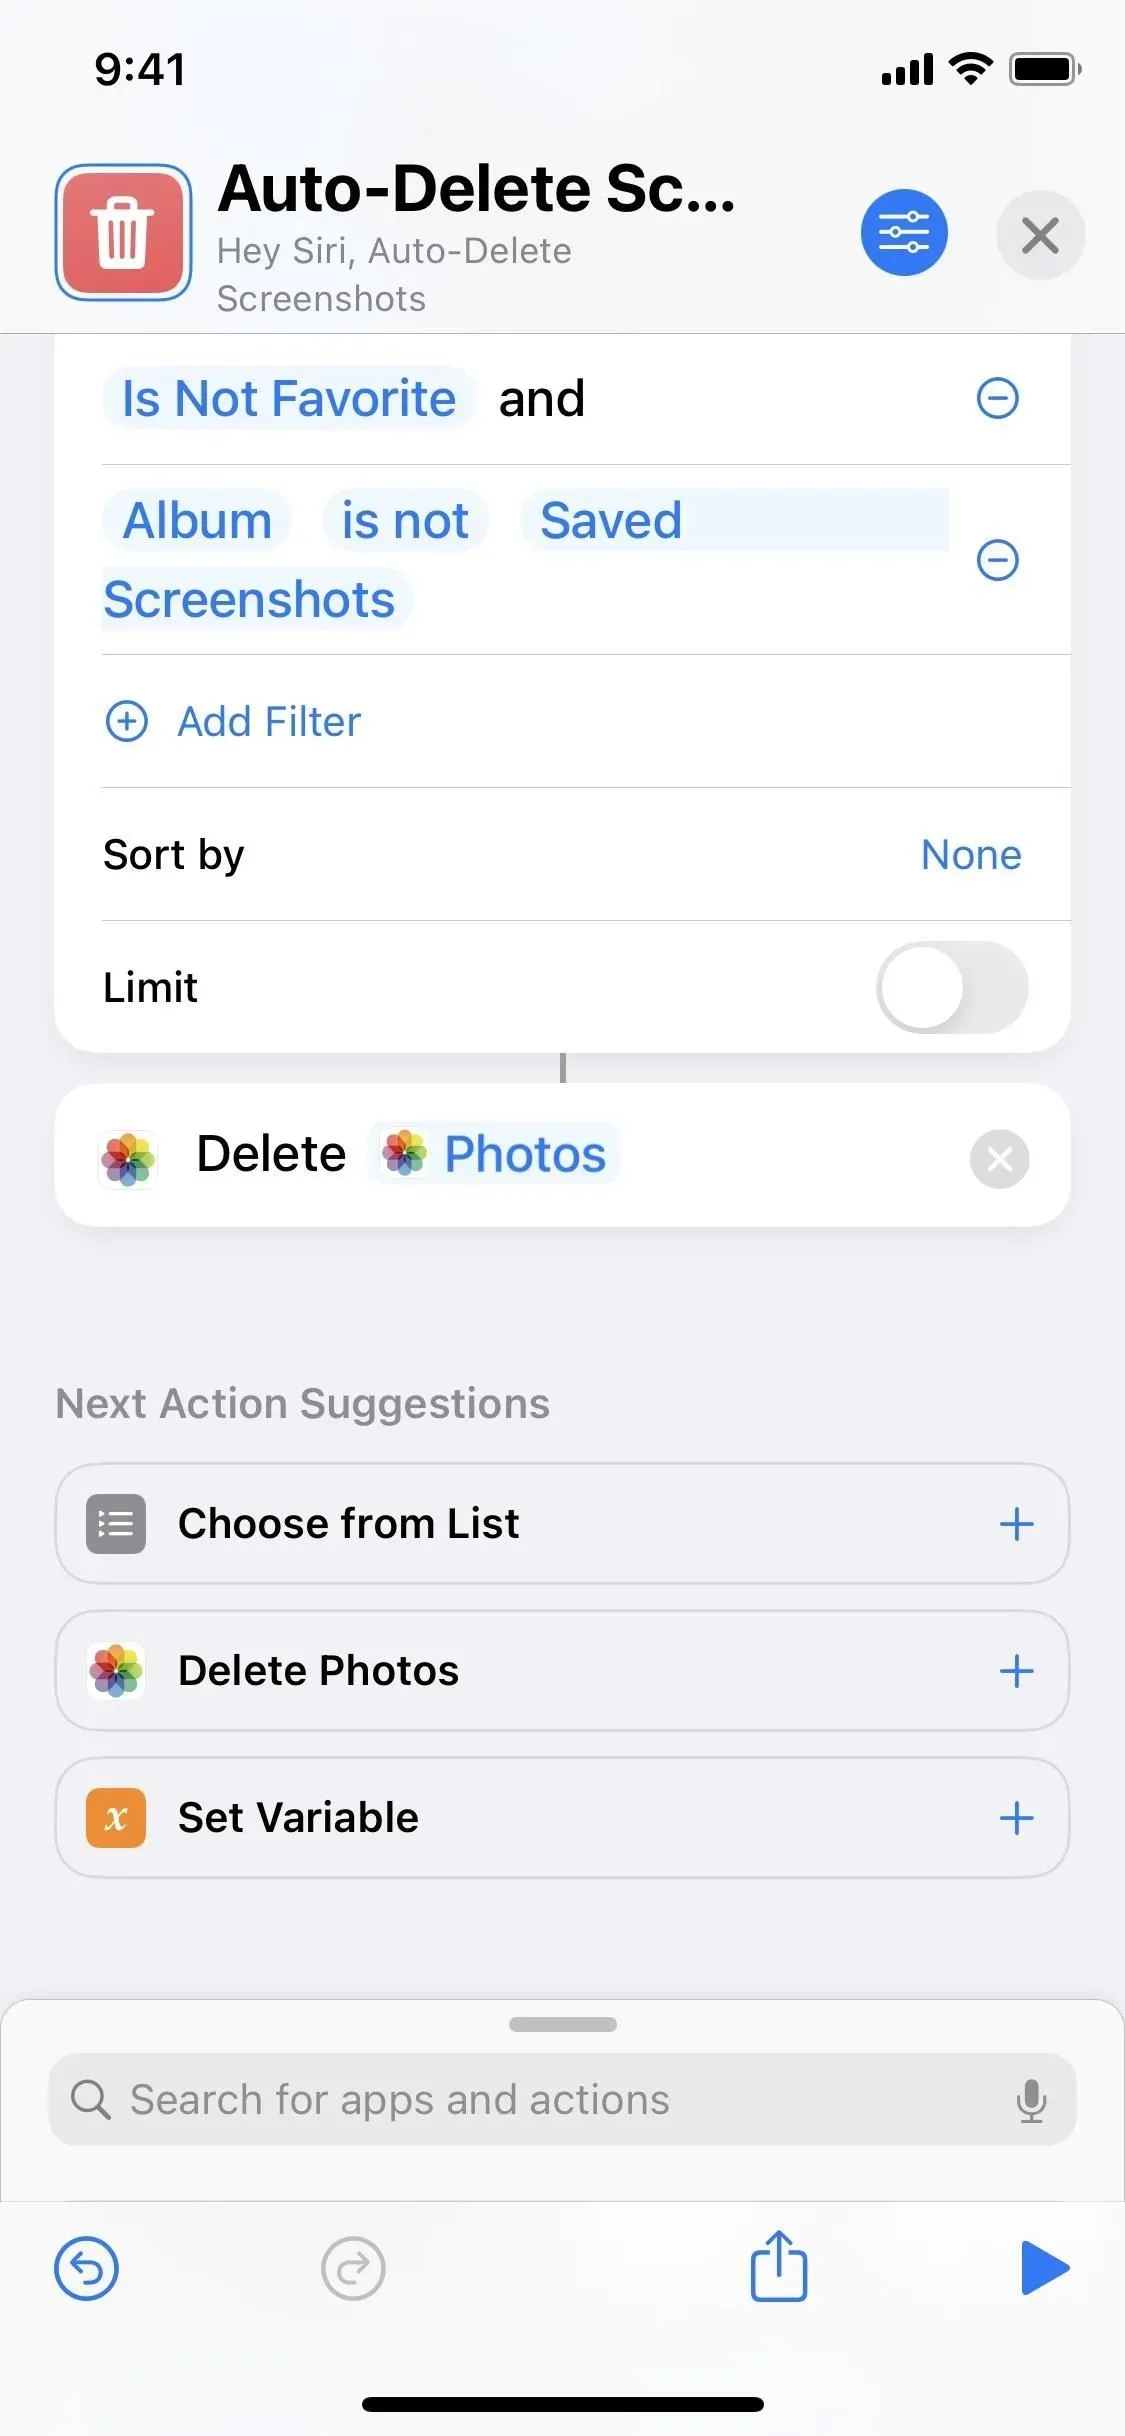
Step 3: Set the remaining screenshots to “Delete”.
Now all that’s left is to force the shortcut to remove whatever it’s pulled from the filters. “Delete Photos”is the action you want and should be at the end of the workflow. To make sure everything works, click the play button at the bottom.
If you get an error saying that there was a problem launching the shortcut, go back to the second Find Photos activity and add a limit to the number of screenshots it can take at once. I found that 50 is the maximum value you can pass before you get an error.
Simple step by step assembly guide:
- Add a Delete Photos action to the end of the workflow.
- Click the Play button at the bottom to make sure it works.
- If you receive an error: Add a constraint to the second field of the Find Photos action.
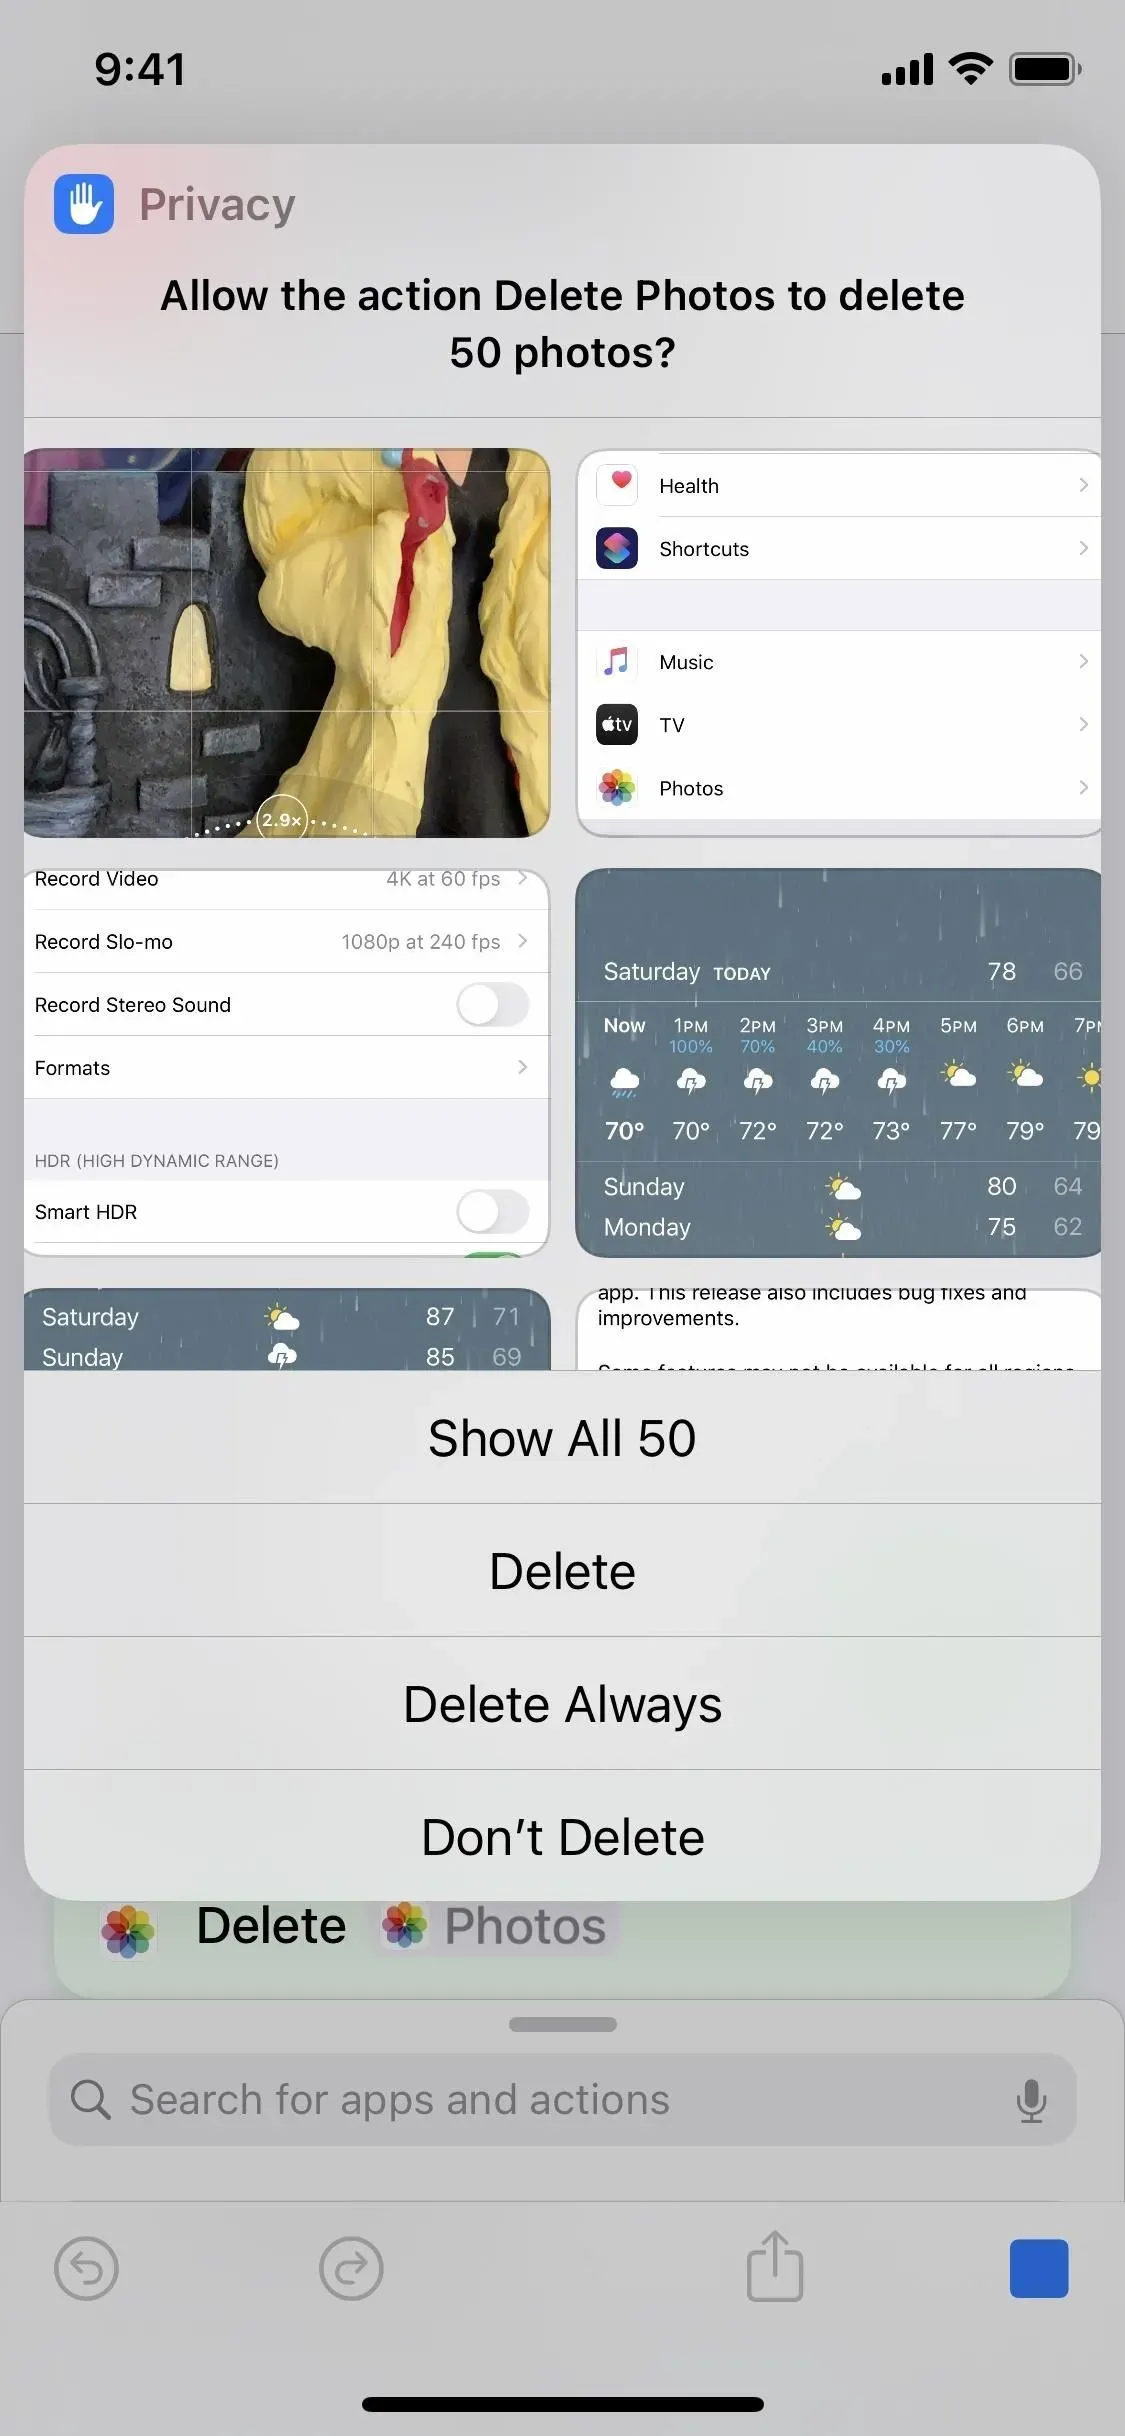
Step 4: Interact with the privacy request
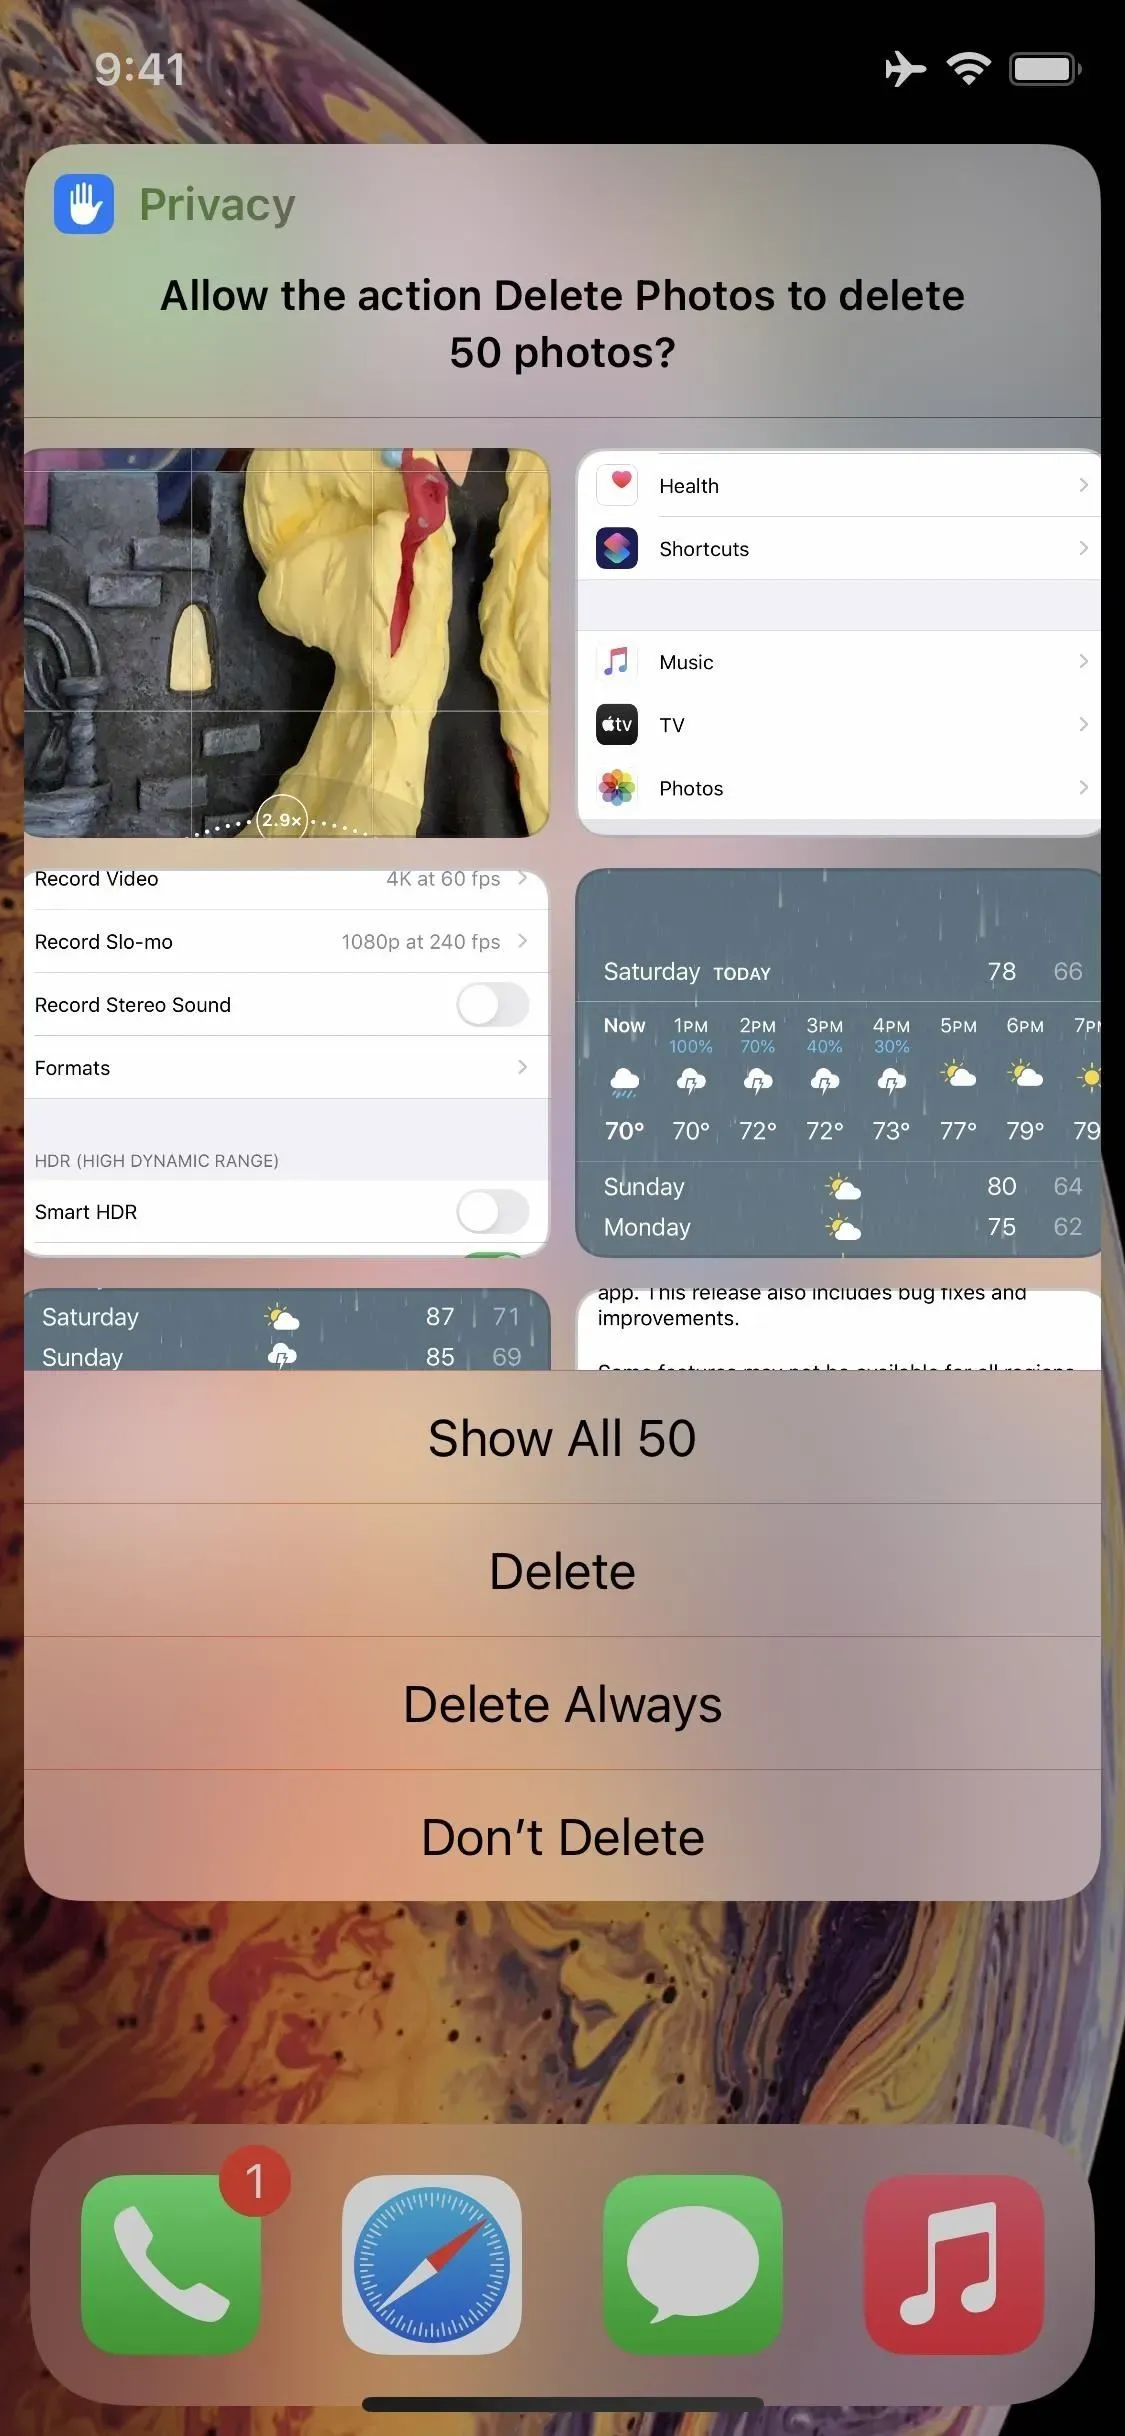
iOS 15 and iOS 16 have a “Privacy”setting for individual shortcuts, and it’s enabled by default. So when you use the shortcut, you will get a privacy hint, which can be very helpful or very annoying, depending on your point of view.
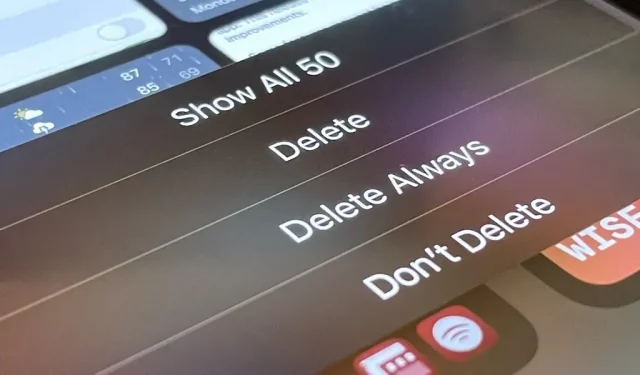
In the privacy tooltip, you will be presented with options to Show, Remove, and Do Not Remove. If “Allow deletion without confirmation”is enabled in the shortcut’s advanced settings, you will also see “Always delete”.
- “Always delete”will prevent future privacy prompts and the shortcut will be able to delete things without your confirmation.
- “Remove”will simply remove all displayed images.
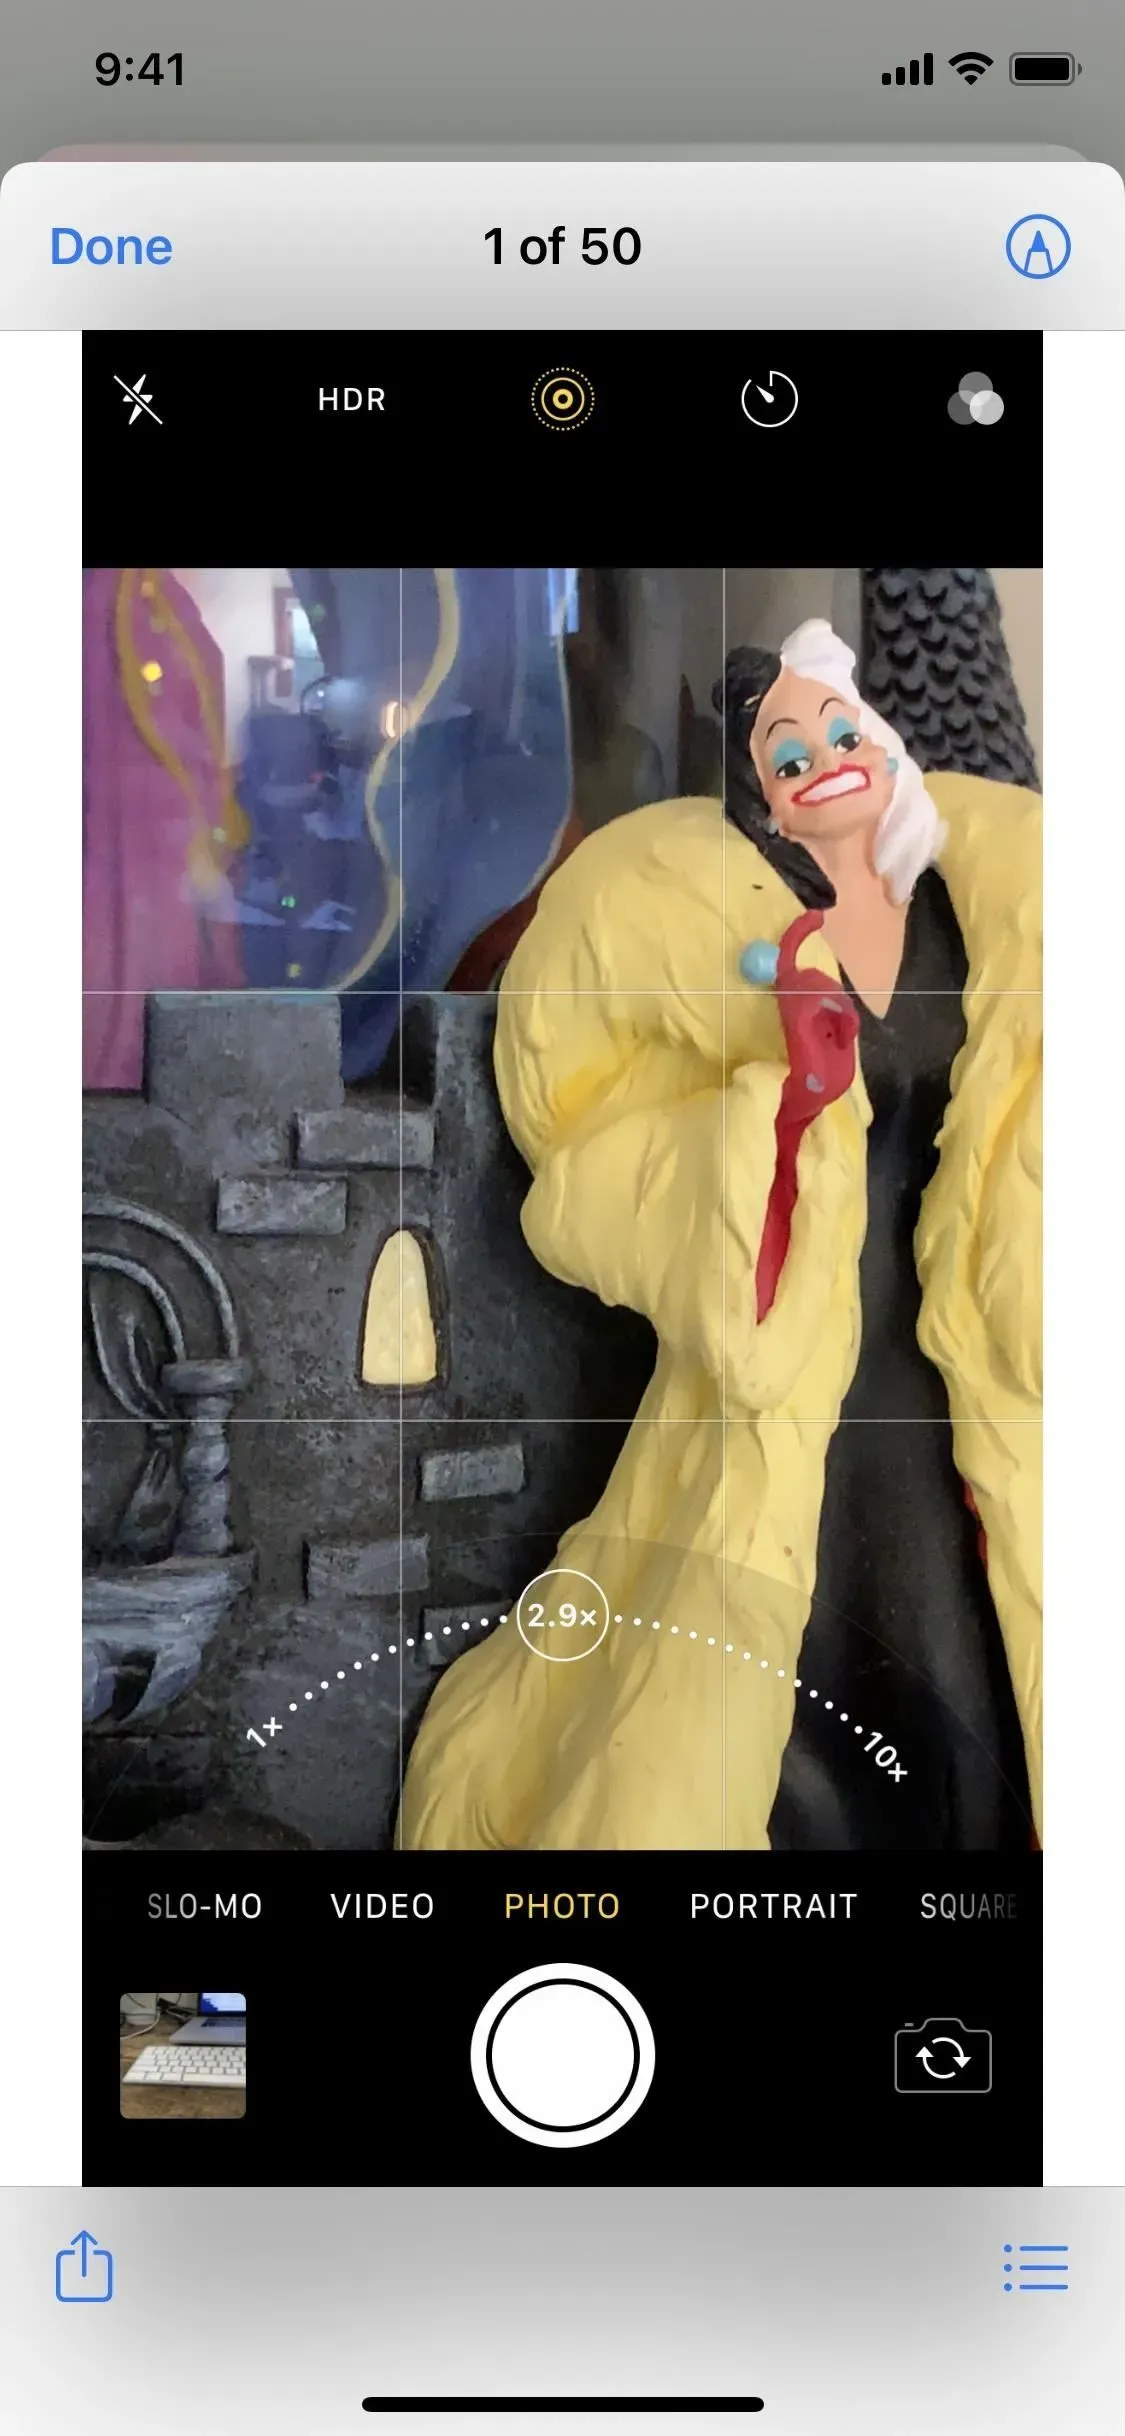
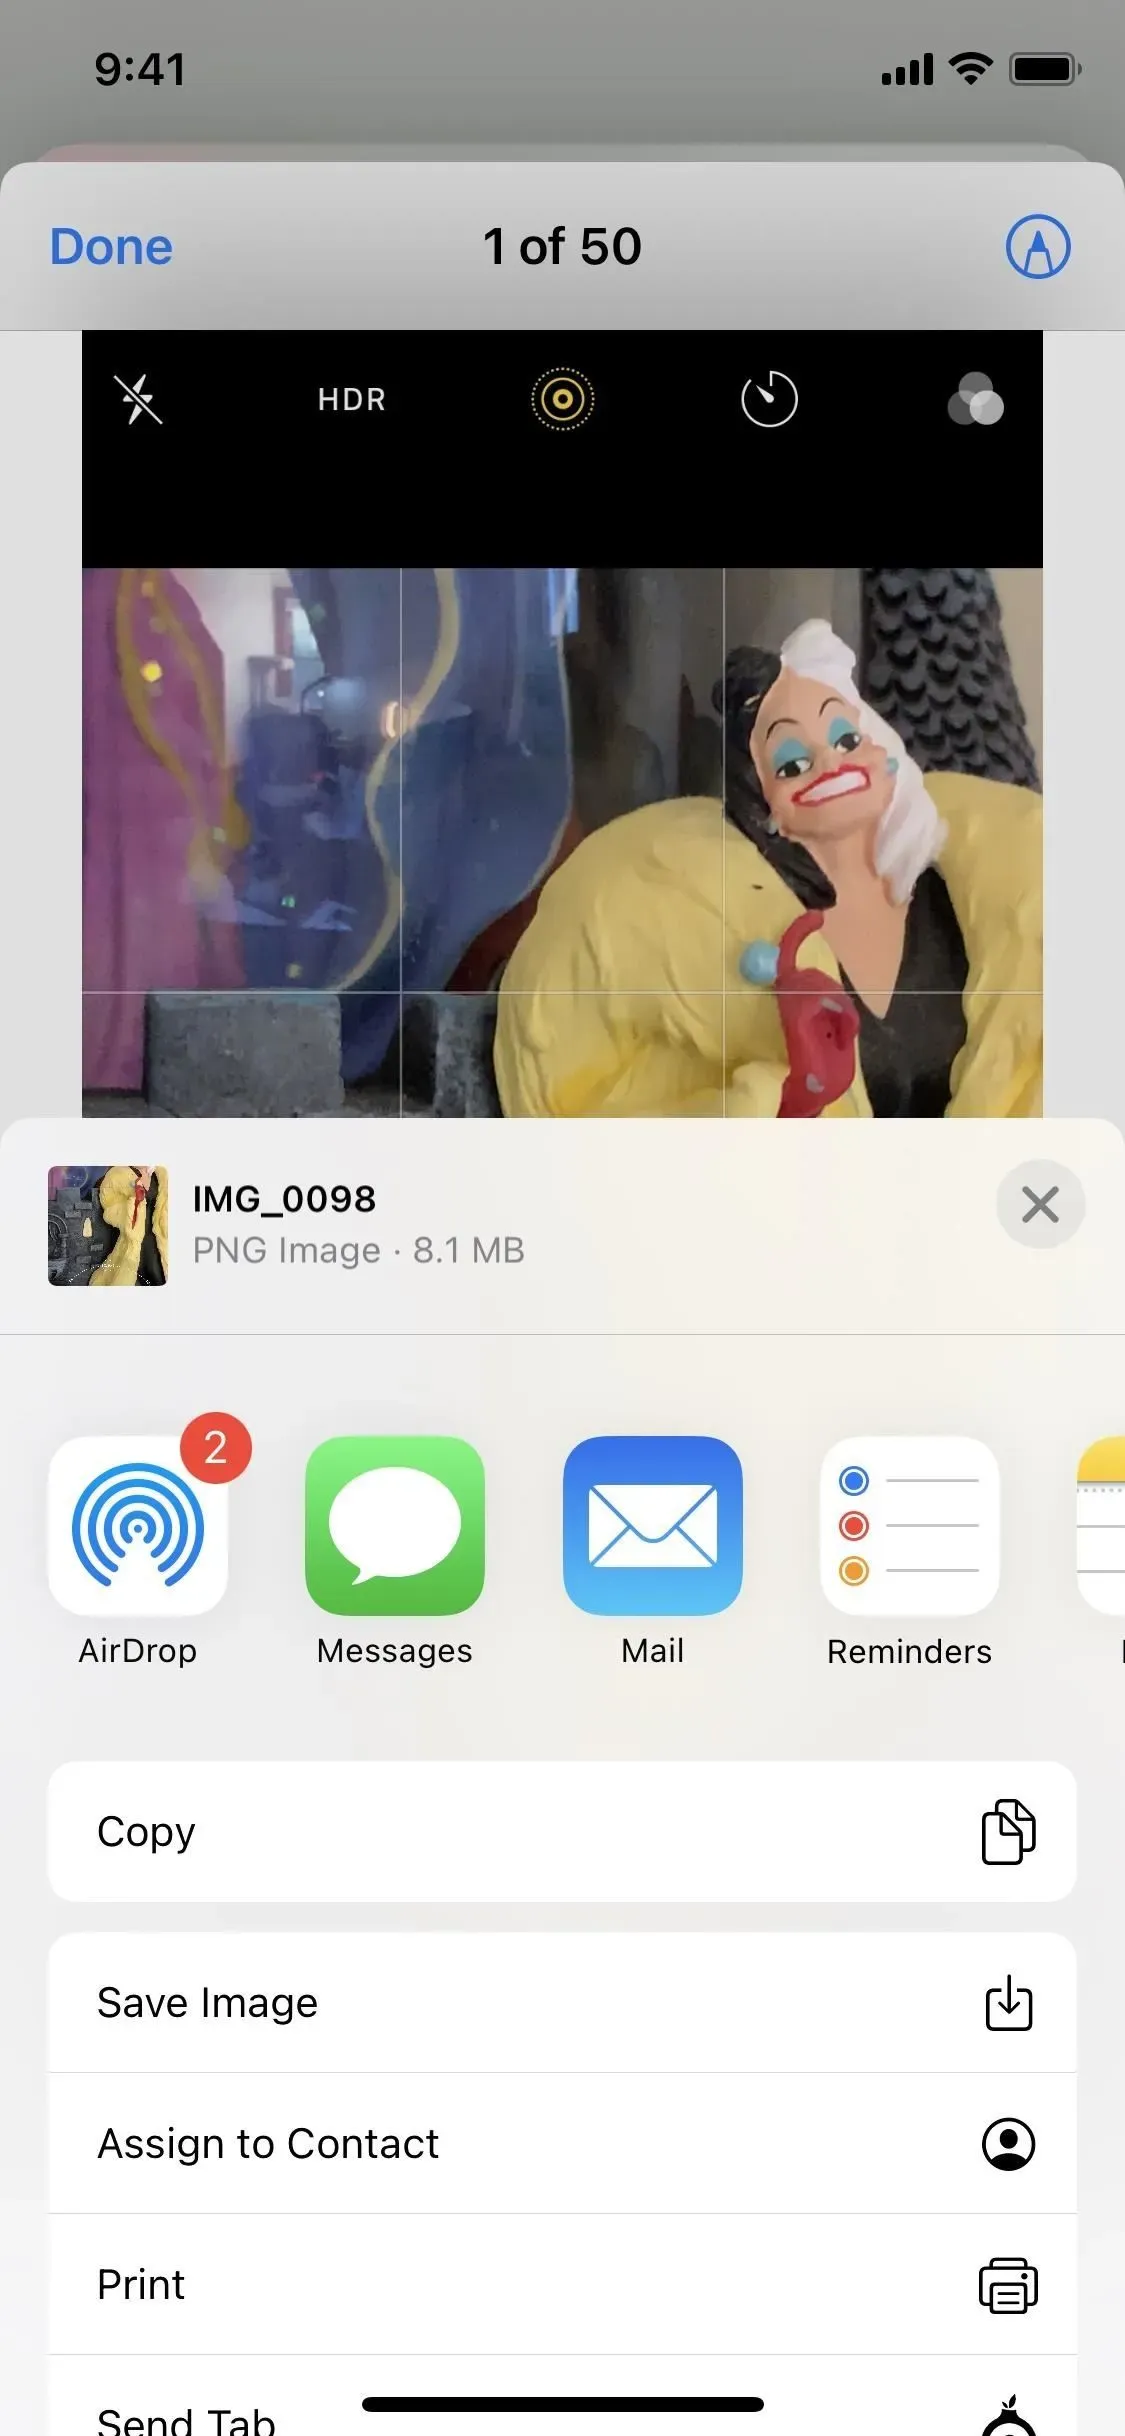
- “Show”allows you to get a better look at each screenshot you’re about to erase. If there are one or two images that you want to remove from the many that appear, you can use the shared sheet for each to “Save Image”, which will put a new date stamp so that the first action in the label is to exclude it for seven days.
- “Do not delete”is problematic. If you want to keep all displayed images, you need to click on this option, but this will also disable the shortcut from deleting any images in the future. At least until you change its privacy settings back to “Ask to delete”or “Delete without asking”. There is no way to remove everything displayed while keeping the basic setting: ask or not ask.
If you don’t want to delete anything and don’t want to disable the launch of the shortcut, just click outside the menu to close it and nothing will change.
In iOS 14, you’ll just see a prompt asking you to allow labels to remove the number of images found that match the criteria. You can “Delete”or “Don’t Allow”and, unlike in iOS 15 and iOS 16, choosing not to delete images won’t prevent the prompt from appearing in the future.
Step 5: Create an Automation
You can stop right here if you just want to run the shortcut manually to clean up old screenshots. You can play the shortcut from the Shortcuts app, ask Siri to launch it, or you can “Add to Home Screen”to have an icon you can quickly tap on the Home screen.
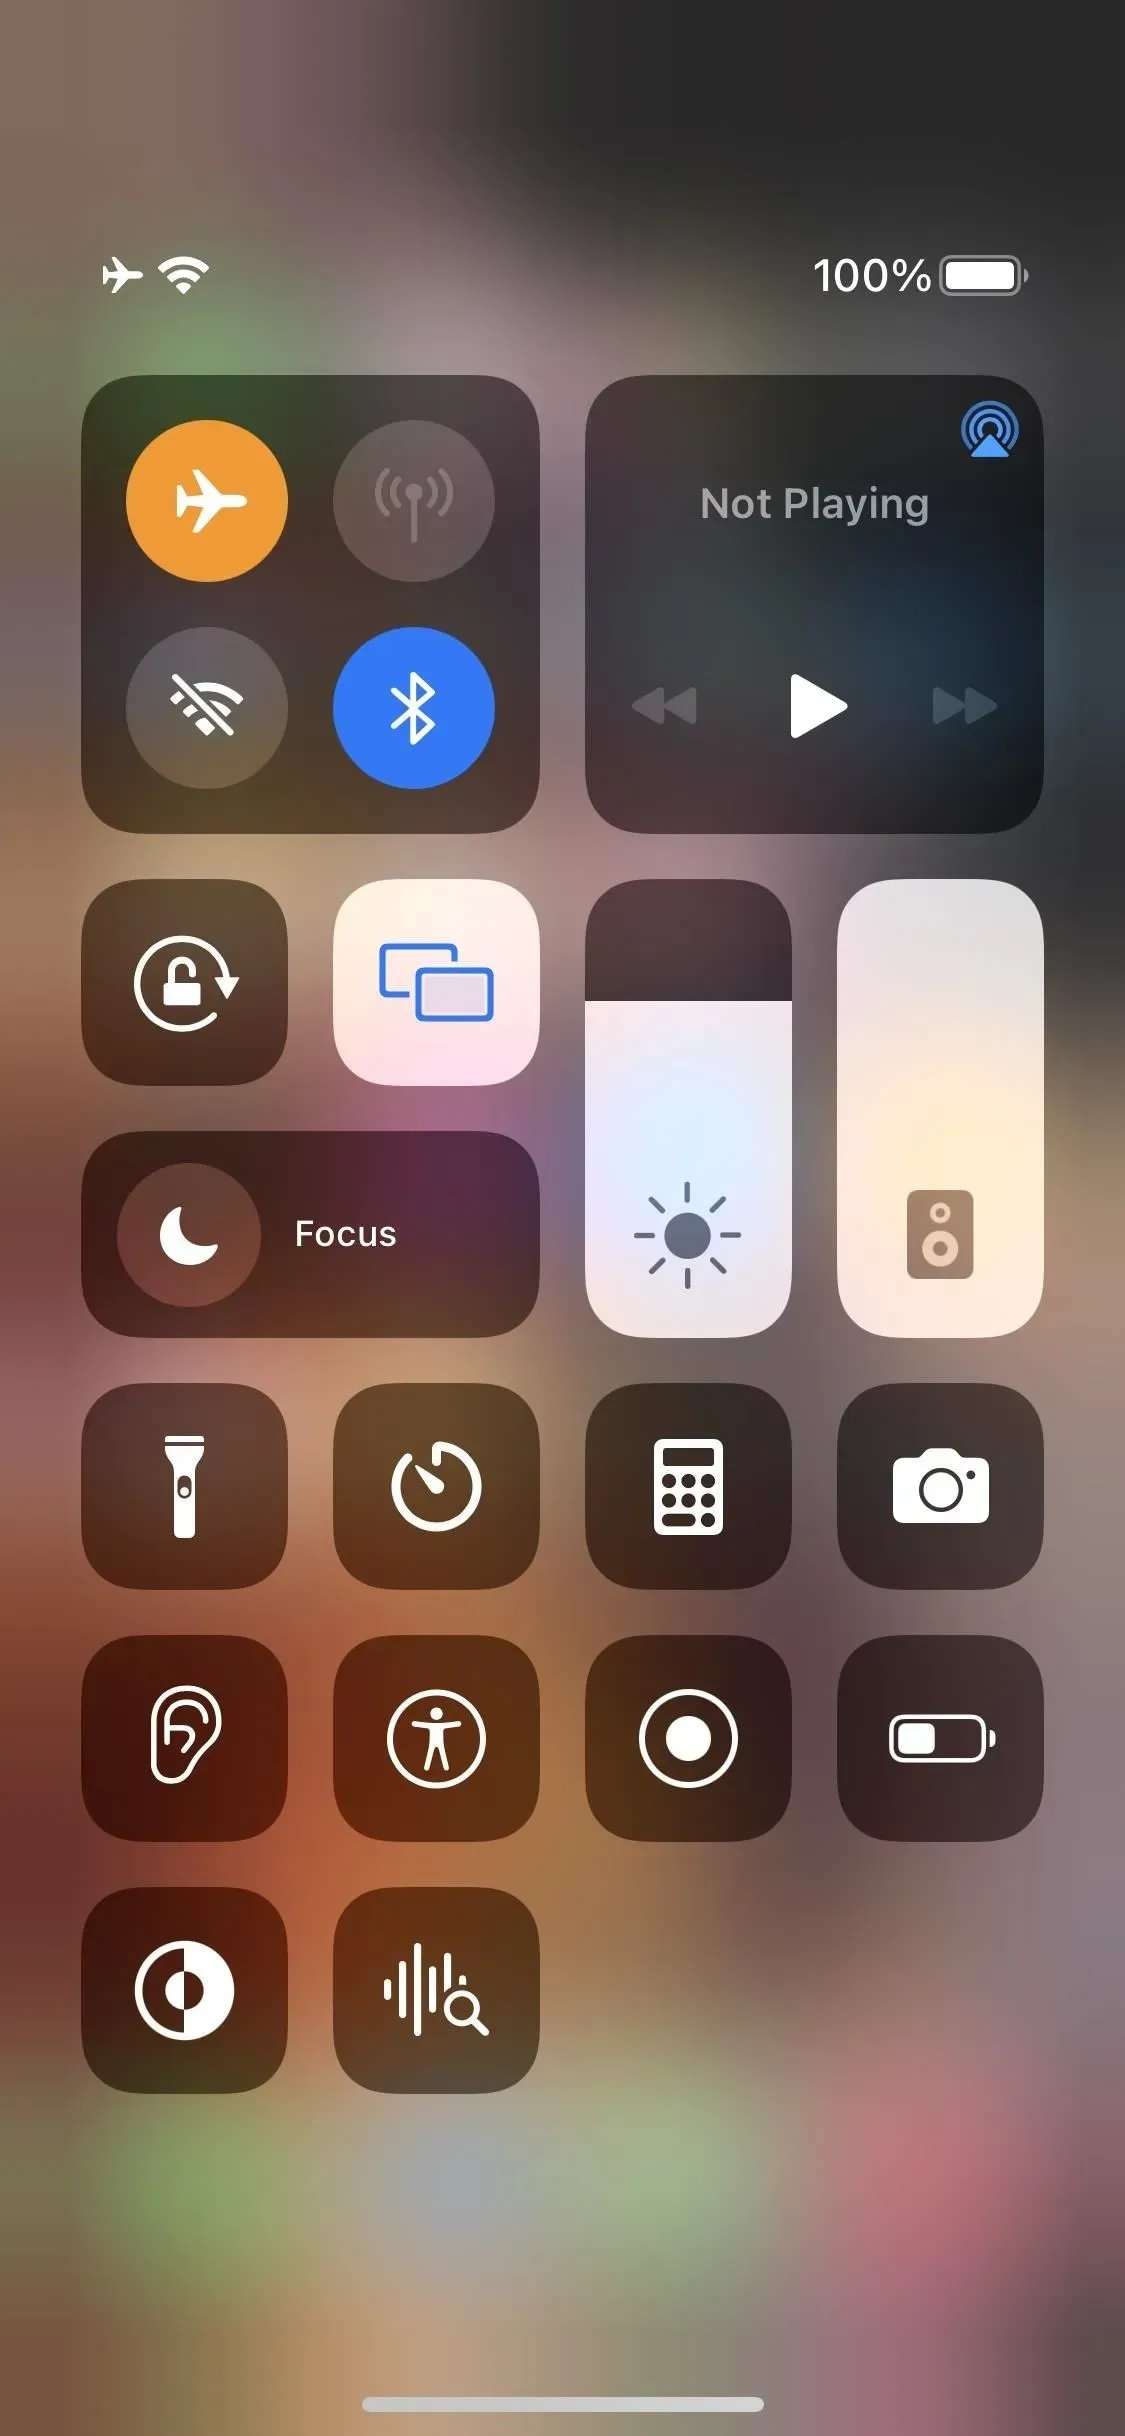
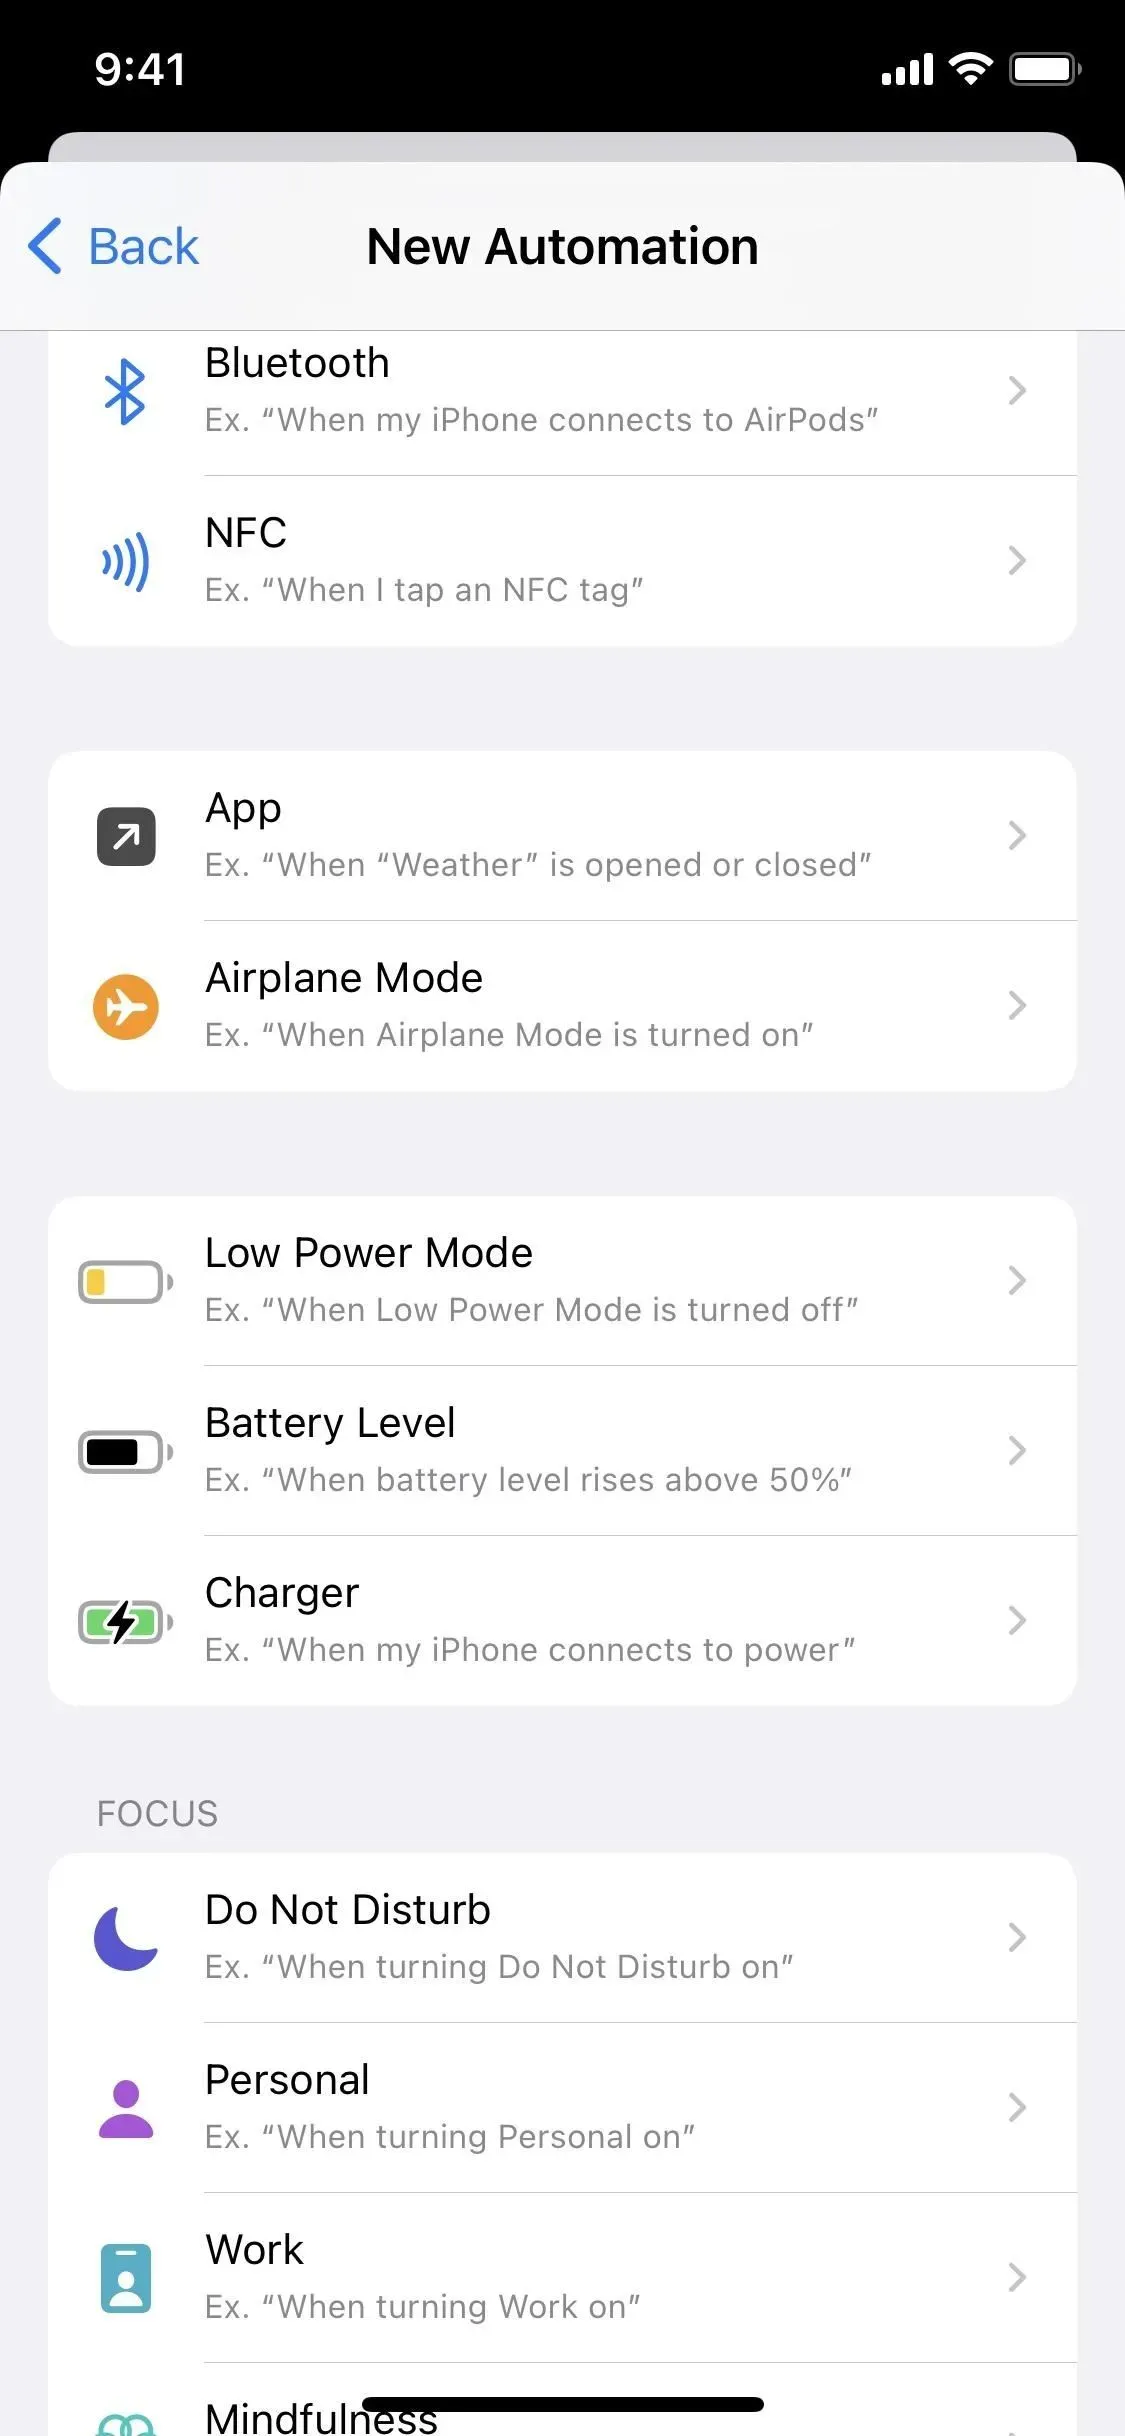
If you want to automate something, start a new personal automation from the Automation tab. This is where you set the trigger. You can automatically delete screenshots at a specific time, daily, weekly or monthly. Or you can set it to turn off every time you open the Photos app. You can even set NFC tags, focuses, emails, messages, and power to launch a shortcut. It’s all up to you because either one will work.
I just set mine up to fire every time I turn on Airplane Mode.

Simple step by step assembly guide:
- Create a new personal automation in the Automation tab.
- Select the trigger of your choice and customize it.
- Click “Next”to continue.
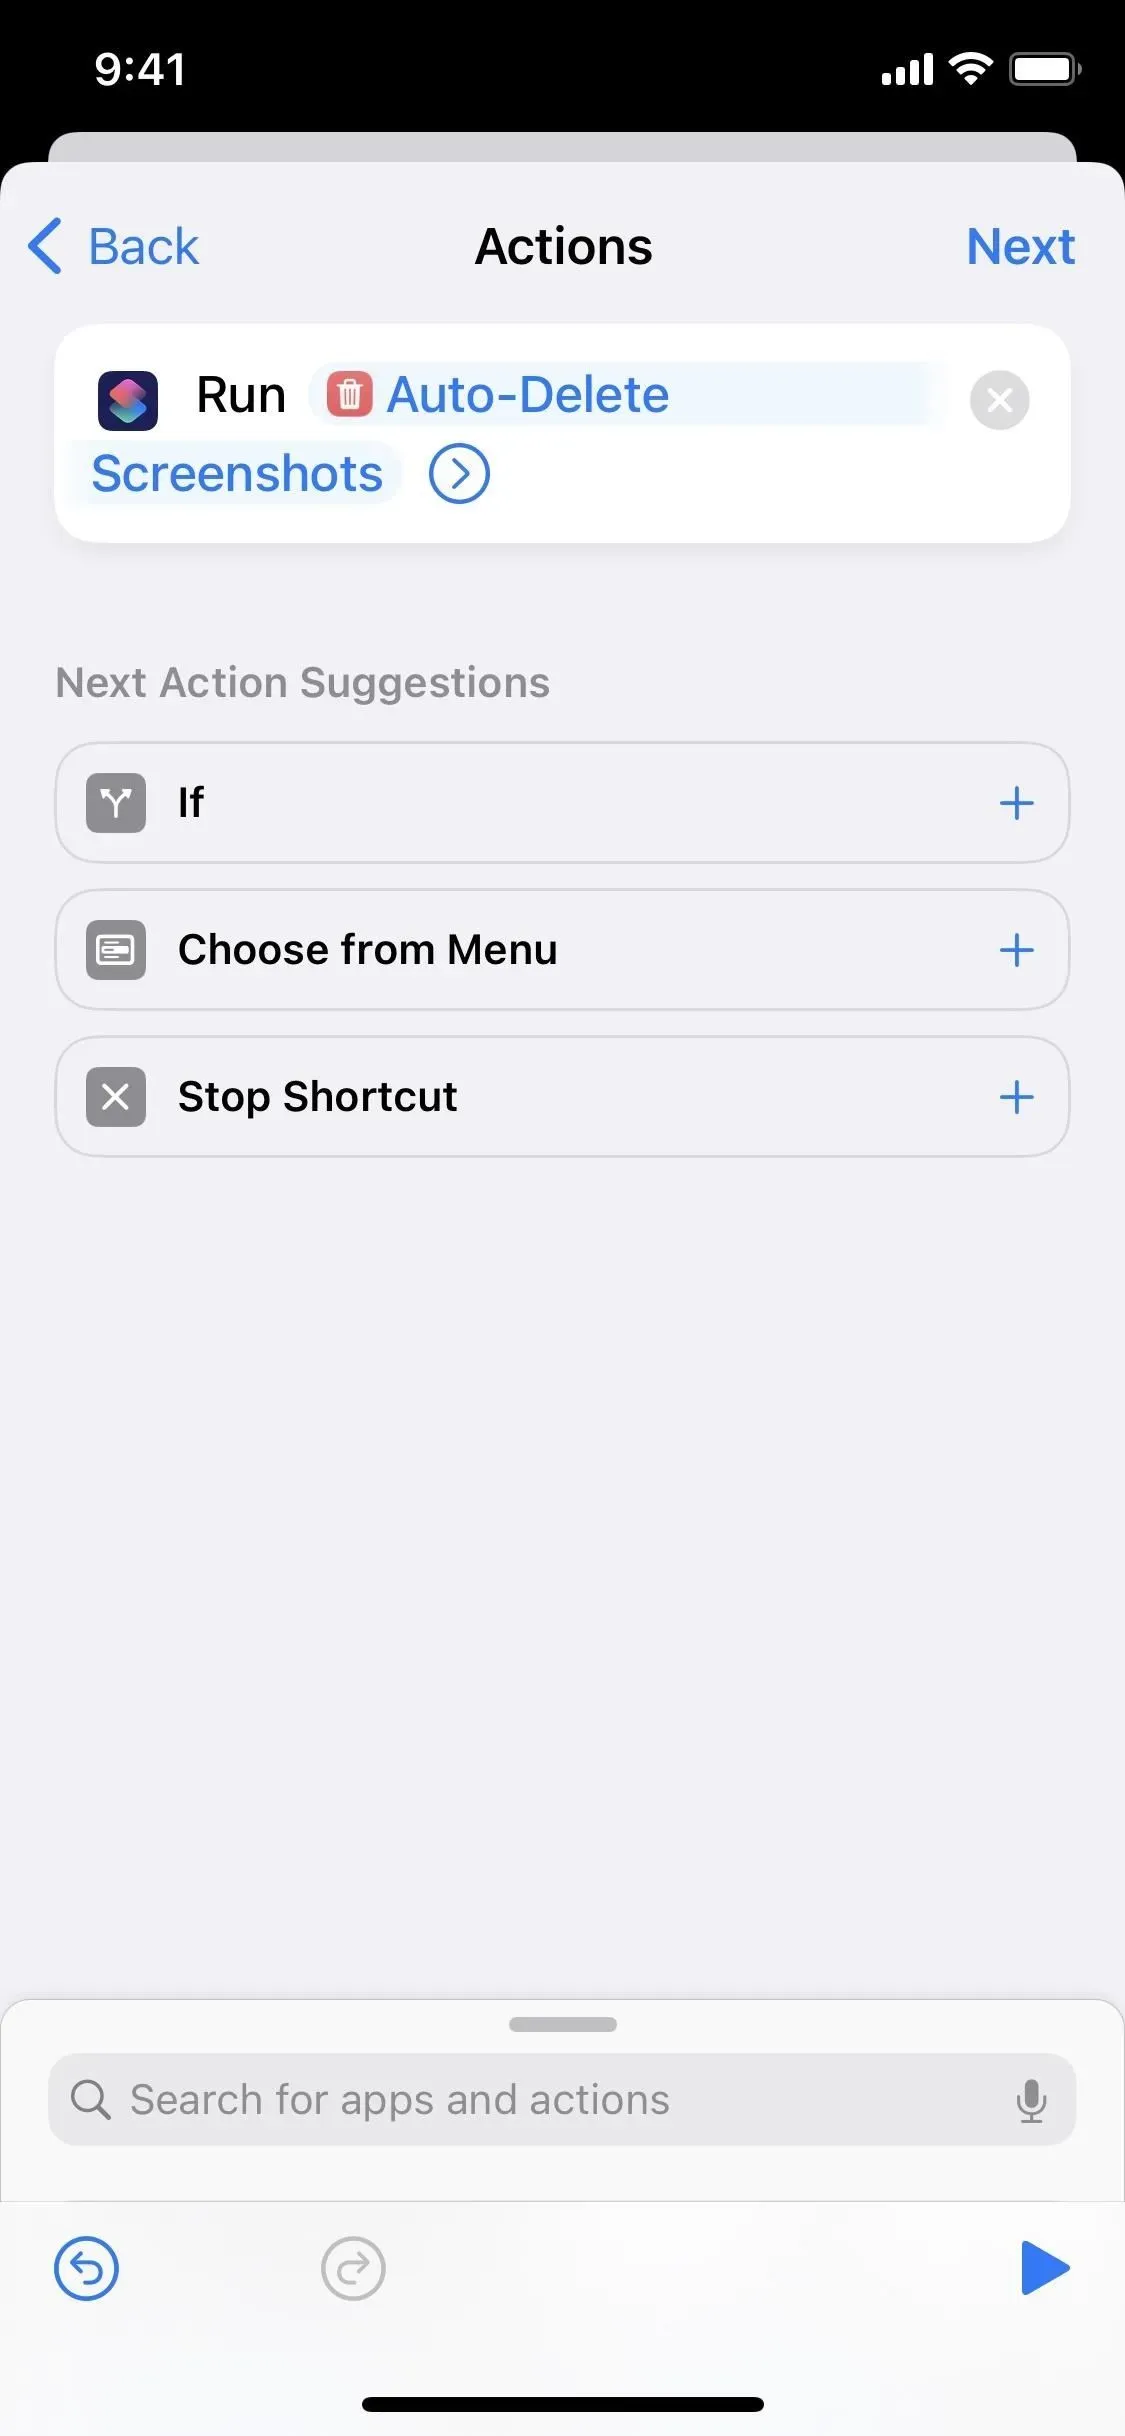
- Either create the entire shortcut from scratch in the Actions screen, or add a Run Shortcut action.
- Click “Shortcut”in the action field.
- Select a shortcut you have uploaded or created to delete screenshots.
- Click “Next”to continue.
- Turn off “Ask before launch”and confirm your choice.
- Click “Done”and that’s it.
Step 6: Enjoy Your New Screenshot Removing Automation
This shortcut and automation is relatively simple, and there’s a lot you can do to customize it beyond what’s already been discussed. For example, you can have it show you all the screenshots it finds before it deletes them, so you can uncheck the ones you want to keep and send the rest to the privacy window where you make the final decision.