
When making some changes to Windows, you need to make sure they back up their files. This is done so that in the event of data loss, your data is safe. Moreover, it also helps to recover data in case your system crashes. Backing up your system is essential and you should do it frequently to prevent any system crashes or data loss.
How to back up Windows 11
If you don’t know how to backup in Windows 11, this article will help you. In this article, we will discuss how to make a backup in Windows 11.
Process for backing up data in Windows 11
You can choose what you want to backup from several options. It is entirely up to you whether you will back up all your data. You have the option to backup what you want and keep it for backup. You can back up any type of file, including documents, emails, photos, videos, and other media files. You can also back up system settings, apps, and other important data.
In Windows 11, you can back up to OneDrive as well as local storage on your PC. It’s on you. We will discuss both of them, how to backup in Windows 11 to OneDrive and storage.
Method 1: Windows 11 System Image Backup Tool to OneDrive
OneDrive is a cloud storage service from Microsoft that gives you 5 GB of free space when you sign up. However, you can upgrade the plan to get more storage, but 5GB is what you get with the free one. Follow the instructions below to back up your data to OneDrive.
- First, you need to have a OneDrive account. Sign up for a OneDrive account using the Microsoft account associated with your Windows. To sign up for OneDrive, click on this link and you will be redirected to the OneDrive sign up page.
- After signing up for OneDrive, go to Settings. You can find Settings in the Start Menu and open it, or you can press the Windows + I key combination to open Settings on your PC.
- By default, you will be on the system tab in settings. If you are not on the System tab , then you can visit it by clicking on System on the left sidebar.
- Navigate to storage on the system tab .
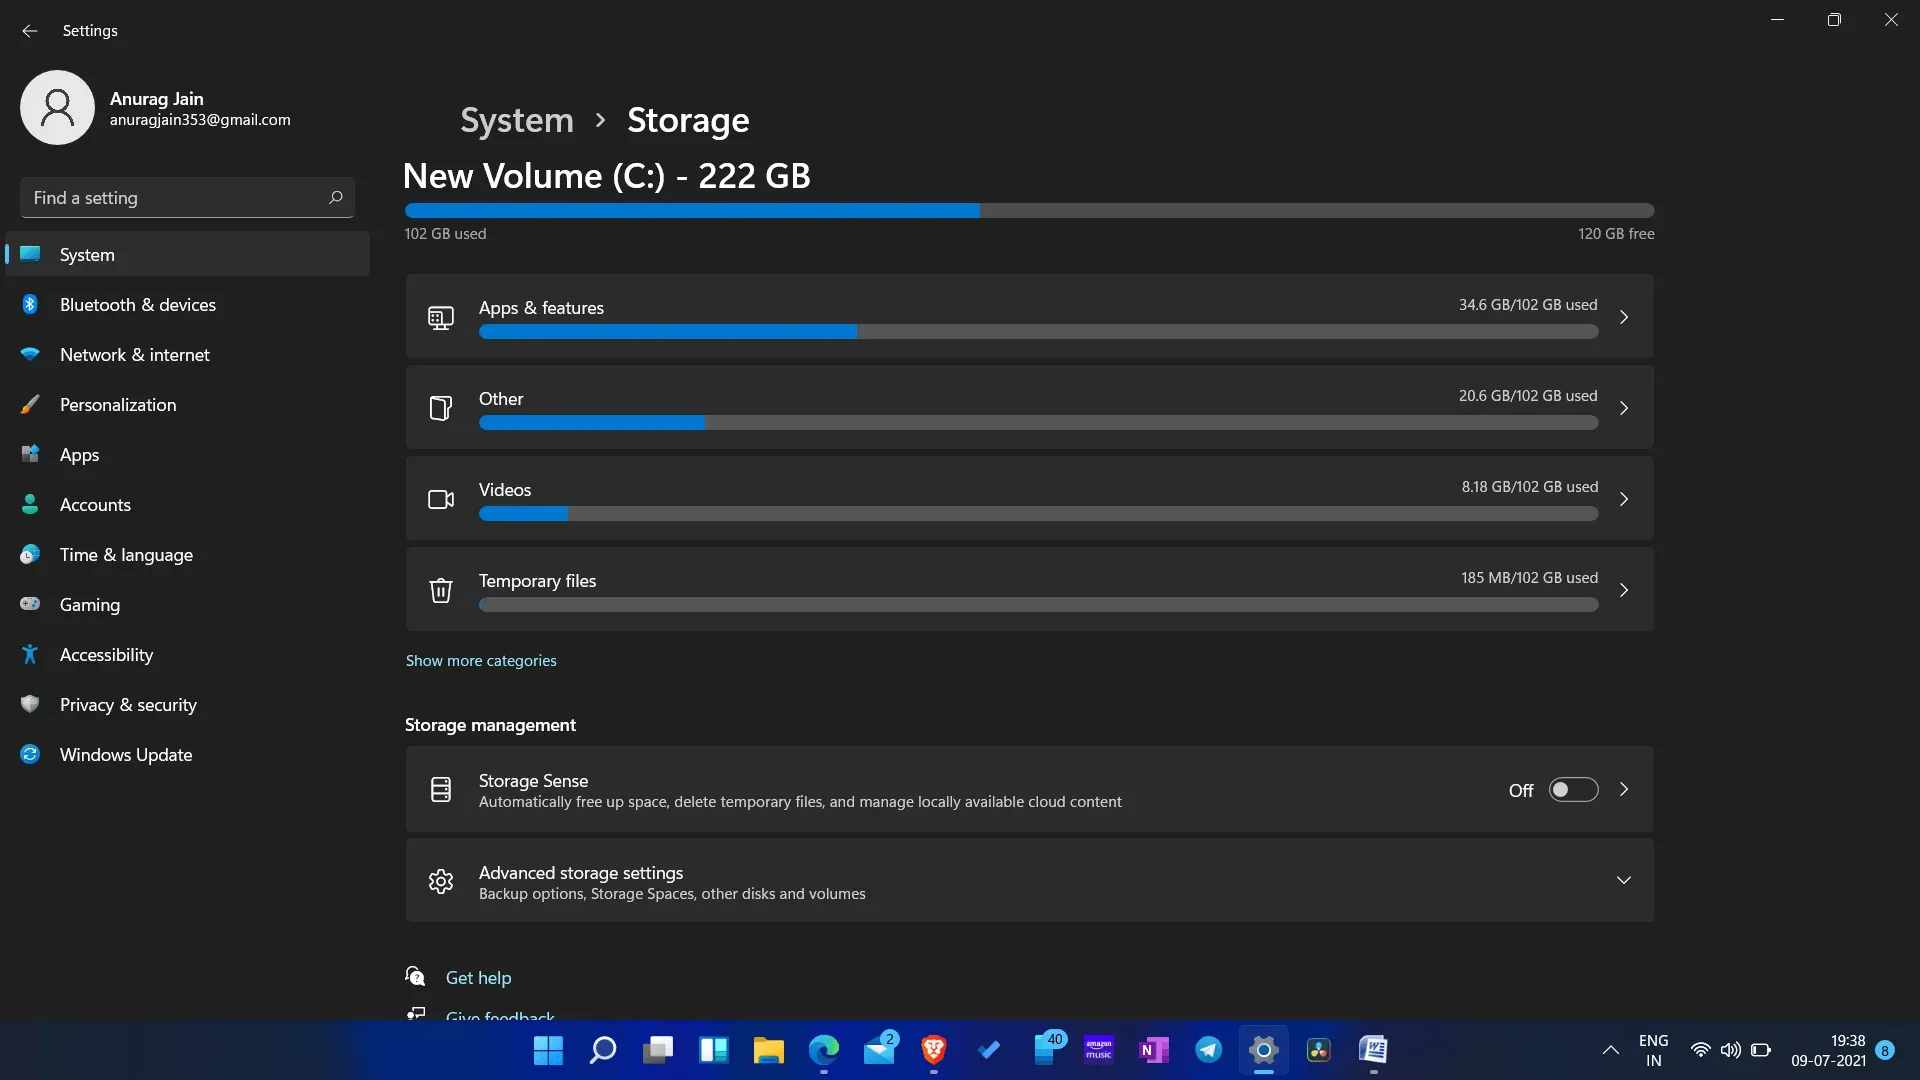
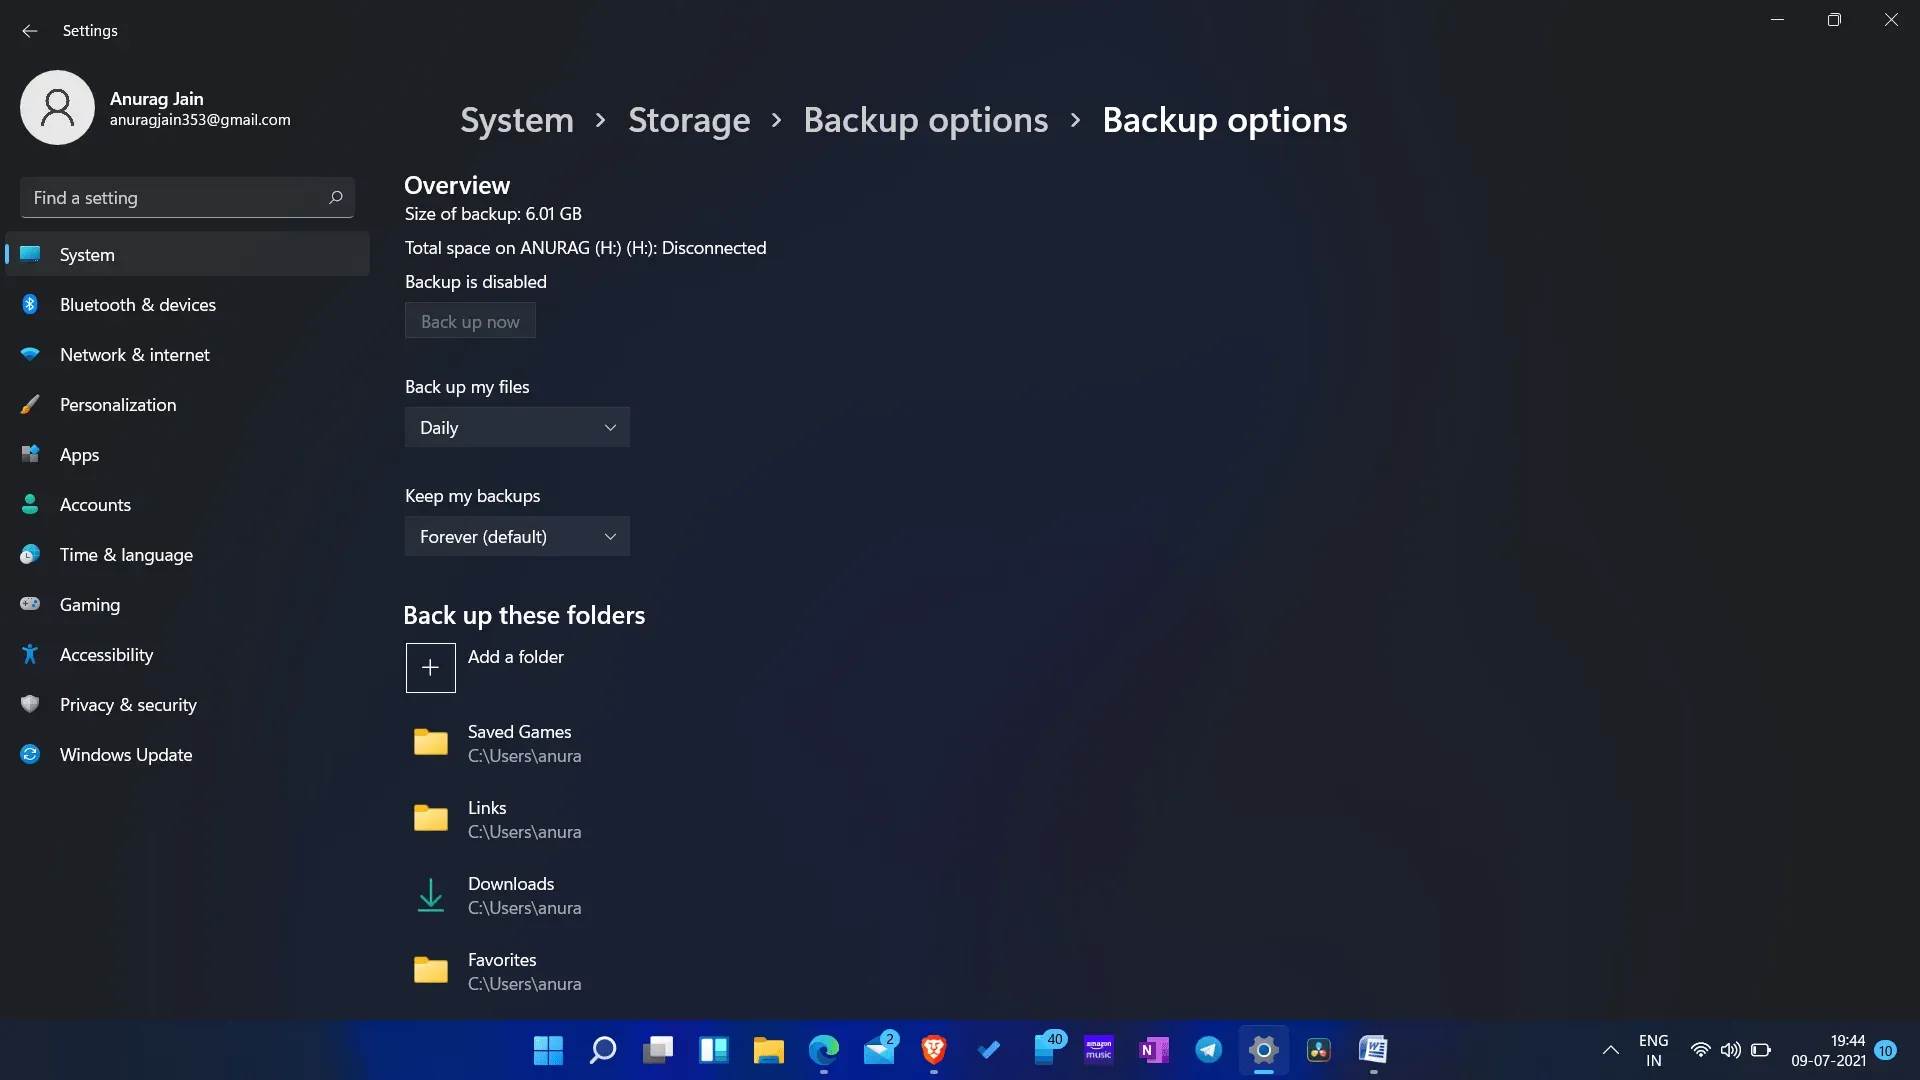
- Now click on the backup options which you will find in the advanced storage settings.
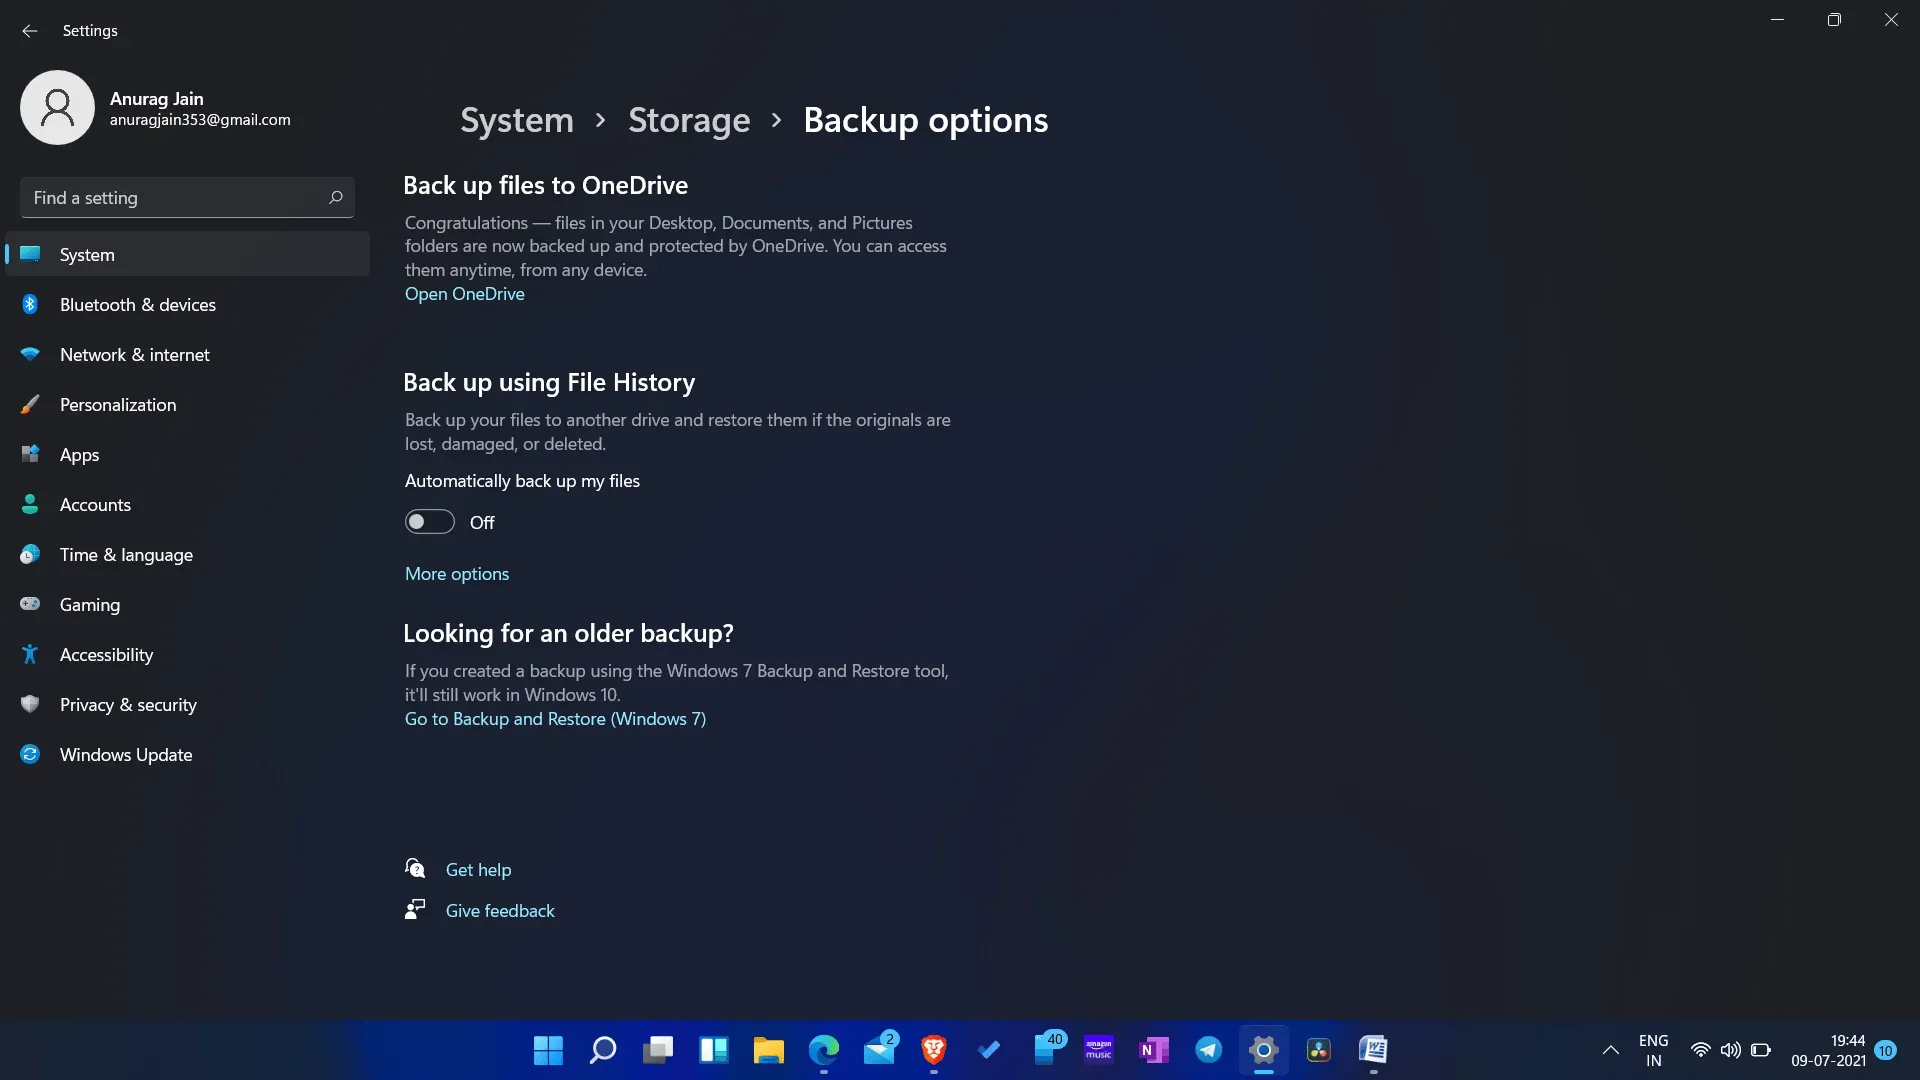
- Here you will have two options: backing up files to OneDrive and backing up using File History.
- We are discussing the backup procedure for Onedrive, so choose the first option i.e. Back Up Files to OneDrive.
- You will then be prompted to sign in to OneDrive. If you don’t have an account yet, click on the option to create an account. However, if you have created an account, you can sign in by entering your email address.
- After you sign in to your account, you’ll be prompted to set it up so you can back up your data to OneDrive. Follow the on-screen instructions to set up OneDrive and be able to back up your data to it.
- After that, you will see a window with the message: “Your OneDrive is ready for you.”Click Open my OneDrive folder .
- Here’s how you can back up Windows 11 to OneDrive.
Method 2: backup to storage
5 GB is very little to store your data. Therefore, OneDrive may not be right for you if you don’t have a OneDrive account. If you don’t want to create a OneDrive account, you can back up your data to storage. We have already discussed how to backup in Windows 11 using OneDrive; let’s discuss how you can do the same on your PC’s storage.
- To back up to storage on your PC, follow the same steps as above. In Settings, go to the System tab. Then select the vault and then in the advanced backup options select the backup options.
- This will give you two options. We chose the” Back up files to OneDrive “option in the above method because we need to back up data to OneDrive. Select the Backup using file history option if you want to back up the data in the vault.
- Click “Add Drive to Backup”using the “File History”option .
- You will be prompted to select the drive to which you want to back up your data. You can even connect an external drive to back up files to an external drive. Select the drive you want to back up your data to.
- If you want your system to automatically backup, you can turn on automatic backup of my files .
- If you want to change the files to be backed up, you can click more options .
- You can then add which folders to back up.
- After that, save and exit settings and you’re done.
Method 3: Create a system image using the Control Panel
Another way to back up your system is to create a system image. The backup and restore feature is an old feature that allows users to create a system image of the entire system. To do this, follow the steps given below:
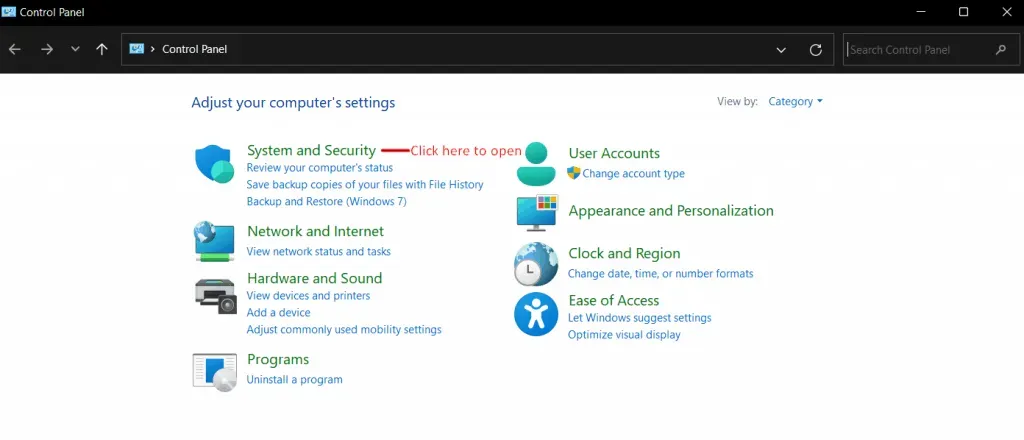
- Open the Start menu and search for Control Panel. Click Control Panel in the Start menu search results to open it.

- Click on the System and Security section in Control Panel , and then on the next window click on File History .
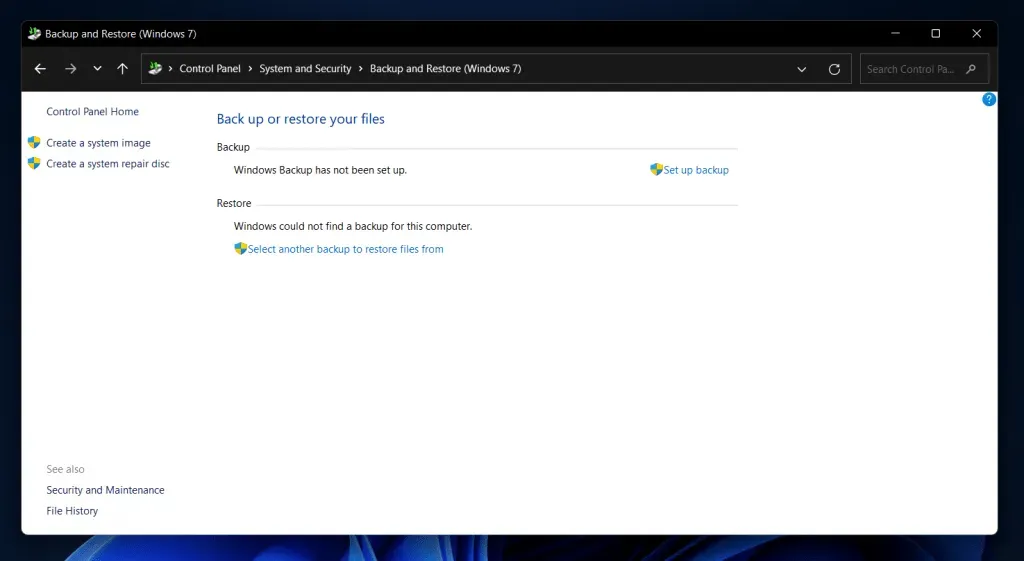
- Now click” System Image Backup “on the left sidebar of the “File History “section in Control Panel.
- Then click Create System Image on the left sidebar.
- In the next window, you will get three options: backing up to a hard drive, to one or more DVDs, or to a network storage. Select an option and then click Next.
- You will be prompted to select a suitable location for your system in order to create your image on the next screen. After that, click Next.
- Now on the next screen you will see which drives are being backed up and to which location. After that, click the” Start Backup”button to continue.
- After the backup is completed, you can close the window and create a Windows system image successfully.
Summary
This is the complete backup process in Windows 11. You have two options for backing up your files in Windows 11: OneDrive and storage. You can backup your data using either option and we already mentioned the steps for doing so in the article above. These methods have minimal steps that are easier to understand and implement. If you have any questions or know any other useful methods, please share them in the comments area below.