
One day you may need to remove your Starlink. Either your Starlink is broken or you are moving home, stowage of your Starlink is very important for its safe delivery. As a result, many Starlink owners do not understand how they can store Starlink. Well, the wait is almost over. Our guide here will help you clean up your Starlink and also explain what you need to do when your Starlink is being repaired or you are moving to a new location.
What is Stow Feature?
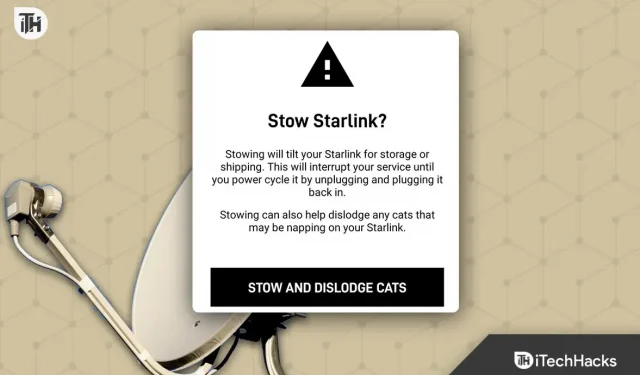
Stacking in Starlink is not really a feature, but an accessibility feature. In addition, the Starlink stowage feature stows the Starlink dish in a safe transport position, which helps it when transporting the dish. In addition, it helps to be careful when transporting and storing the package.
How to remove Starlink?
If you are planning to remove your starlink, remember that this is not a difficult process. Moreover, even if it is broken, you can still easily remove your starlink by following what is written in this guide.
Let’s start with the easiest and safest way to install starlink:
- Open the Starlink app on your phone.
- Click “Settings”.
- Scroll down a bit.
- In the Stow Starlink section, click Stow Starlink.
- Click OK to confirm your choice.
How to remove Starlink without an app?
In any case, if you don’t have the Starlink app or don’t want to install it, you can still keep Starlink. Just follow these steps and you’re done:
- Keep everything turned on and remove the Starlink dish from the mount.
- Now place the Starlink dish face down on a flat surface.
- Wait a minute or two and you will notice that the dish will automatically move to the stowed position.
- Now turn off the plate.
Turn off the plate almost immediately. If Starlink detects any movement, it will wake up again and exit its retracted position.
How to remove a broken Starlink?
Stacking is used mainly for two purposes. Either when you move from your current location, or you need to take your Starlink to a service center in case it breaks. Follow these steps to remove the star link in case it doesn’t work:
- Remove the Starlink dish from the entire setup.
- Disconnect cables.
- Now slowly place the dish on a flat surface.
- Push lightly to move towards the mast so that it tilts slightly so that it can be moved to the retracted position.
You may hear a slight rumble from the machine, but this is normal. Make sure you don’t apply too much pressure or there is a chance of breaking it.
What to do after installation?
When you put away your Starlink, you will either send it in for repair or take it with you to another location. When you return the Starlink to the expected location, you just need to set the Starlink to the best position.
For mounting, you can check the Starlink mounting options and make sure there are no obstructions. Once everything is done, you need to open the Starlink app and turn off the Stow option. Your Starlink will then start searching for a constellation and connect to the best available constellation.
bottom line
Well, that’s all we have on how you can take your Starlink away. We hope this guide has helped you. If you have any problems during styling, be sure to comment below.