Apple released macOS Ventura, giving many access to features such as Stage Manager, Continuity Camera, Handoff, Desk View, and more. But as the name suggests, the developer beta was limited to developers due to numerous bugs.
Now Apple has released the macOS Ventura public beta and if you are planning to try it out, I have mentioned the steps you need to follow to download and install macOS Ventura on your Mac. But before that, let’s check if your Mac supports macOS 13 Ventura.
Complete list of macOS Ventura-enabled devices
- iMac – 2017 and up
- Mac Studio – 2022
- Mac Pro – 2019 and up
- iMac Pro – 2017 and up
- Mac mini – 2018 and up
- MacBook Air – 2018 and up
- MacBook – 2017 and up
- MacBook Pro – 2017 and up
To find out the exact model of your Mac, click the Apple logo in the top left corner → choose About This Mac.
How to Download the macOS 13 Ventura Public Beta
It is recommended that you back up your device before downloading and installing the beta profile. This will keep your data safe if you decide to upgrade to macOS Monterey.
- Go to beta.apple.com.
- Click Sign Up to sign up, or Sign in with your Apple ID and password.
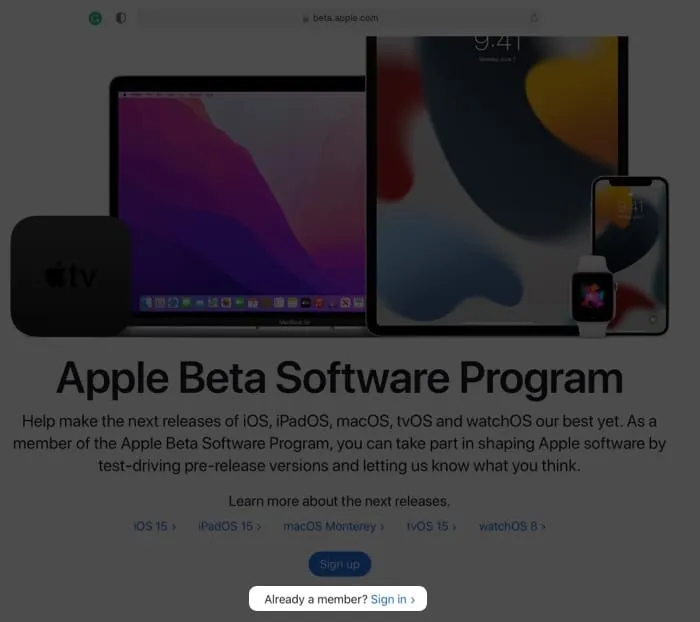
- Select the macOS tab → scroll down to the “Register your Mac”section.
- Click Download macOS Public Beta Access Utility.
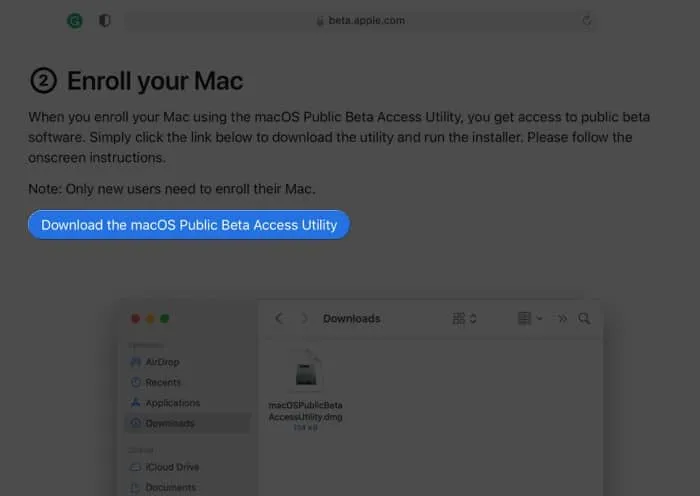
- Now click Allow to start the download.
- Open the Downloads folder or the folder where you downloaded the files.
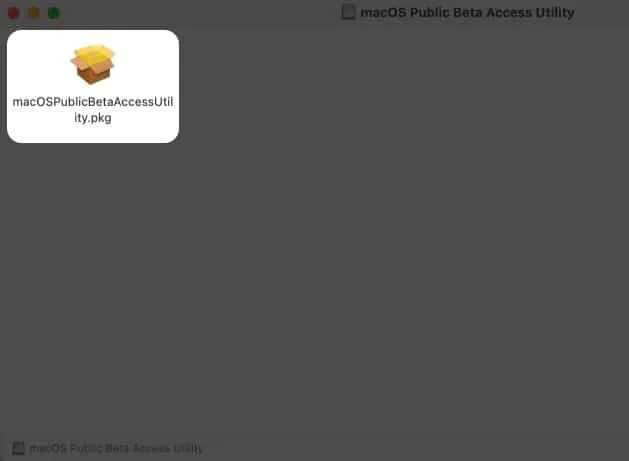
- Double-click the macOSPublicBetaAccessUtility.dmg file.
- Double-click macOSPublicBetaAccessUtility.pkg again to launch the installer and follow the onscreen instructions.
- Now you can get a reminder to make a Time Machine backup; if already done, click OK → Continue.
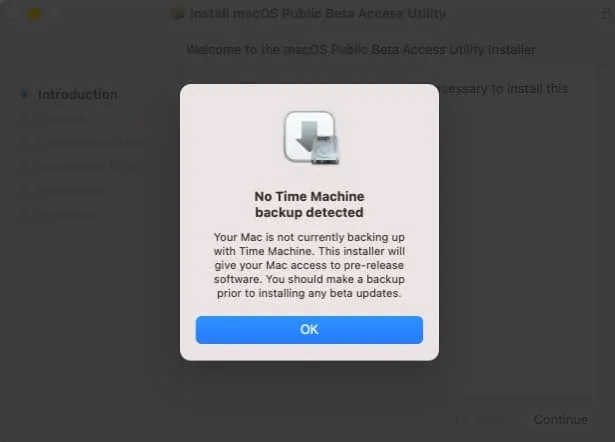
- Click “Continue”again.
- Read and accept the Apple license agreement by clicking Agree.
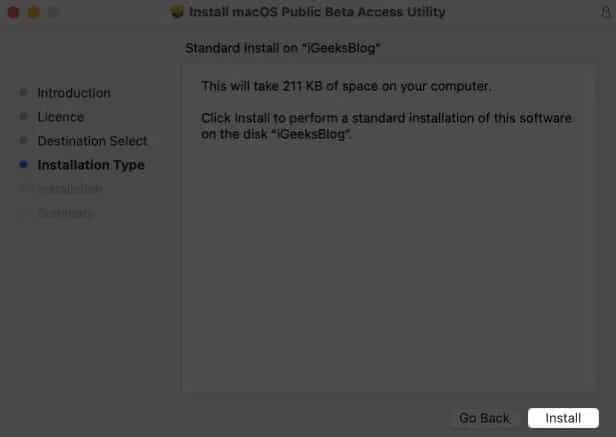
- Next, click Install.
- Enter your Mac’s password → select Install Software.
- When the download is complete and the “Installation Successful”screen appears, click Close.
- The software update screen will now appear; click Update now.
The download will begin and may take some time depending on your internet speed. Once completed, install the update.
Note. If the update screen does not open automatically, click the Apple logo → System Preferences → Software Update.
How to Install the macOS Ventura Public Beta on a Mac
- The installation window should appear automatically; click Continue.
- Click “Agree”to accept the terms.
- Then click “Agree”again to confirm.
- Select the disk/partition to install the beta and click Continue.
- Enter your Mac’s password and click Unlock.
- Click Restart if your Mac doesn’t restart automatically.
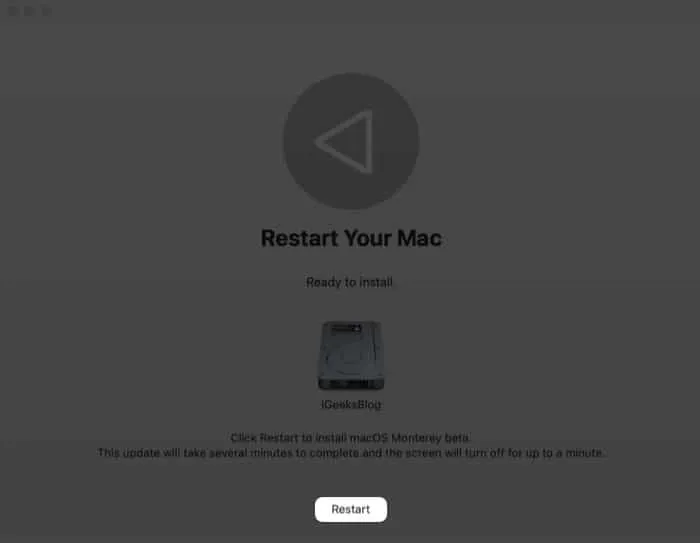
After restarting your Mac, the system may prompt you to enter your Apple ID and password.
Should I download the macOS Ventura public beta?
Beta versions are potentially problematic. Apple states that it may contain errors and inaccuracies and may not run as smoothly as commercially released software. What’s more, it prompts users to download the beta on additional devices or non-critical partitions.
However, the benefit of testing and discovering new features brings out my geeky side every time.
In addition, there is a certain pleasure in reporting bugs to Apple! In the end, you will have to weigh the pros and cons for yourself. And if you have a spare device or storage for the partition, it’s a win-win situation.
So, will you download the macOS Ventura public beta or wait?
Whatever your decision, we will be there for you! In the coming days, our team will talk about every aspect of macOS Ventura, from describing all the amazing features to revealing hidden macOS Ventura features, fixing common problems, and sharing productivity tips. So, stay tuned!
Got questions about the new update? Share them in the comments section below.
