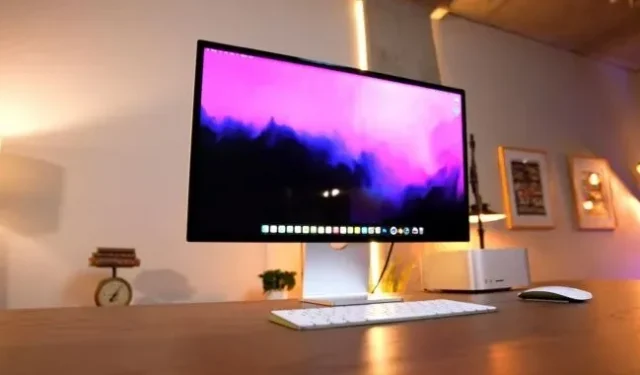

The Apple Studio Display is much cheaper than the $5,000 Pro Display XDR. But with a starting price of $1,600, it’s not cheap. However, for those who need 14,745,600 pixels, such as video editors and graphic designers, there are few options other than Apple’s expensive monitor, especially since Apple discontinued its 27-inch iMac 5K desktop following the Studio Display announcement in March.
That didn’t stop YouTuber Luke Miani from finding an old iMac and turning it into a makeshift studio display for around $870, including the webcam and 5K.
In a video outlining the process, Miani noted that the performance of the Studio Display panel is similar to what Apple has been offering for years, which is why he decided to use a 2014 iMac rather than the latest 2020 27-inch iMac for his project. The iMac cost Mayani $620, he said.
Miani chose not to use Sidecar — a feature that lets you use an iPad as a second monitor for a Mac — because it requires a working iMac and introduces latency issues. Apple’s “Target Display Mode”, which allows you to use your iMac as a monitor, does not work with newer iMacs and requires you to connect to a 2019 or earlier Mac running macOS Catalina or earlier. So instead, Miani stripped the iMac of components and turned it into a 5K monitor.
First, Miani opened the iMac with display glue, using iMac sponsor iFixit’s repair manuals to disassemble the system. He removed all of the system’s computing components and other internal components such as speakers, fan, and power supply.
Miani also purchased an HDMI adapter, noting that finding a conversion board that would handle 5K was “pretty difficult”. eBay made it possible for $179. The board has two HDMI ports that support 4K resolution and two DisplayPort 1.4 ports that support 5K individually or, for older graphics cards, together.
Miani also spent $12 on a USB-C to DisplayPort cable before putting it all together.
“I connected the LED driver and LVDS connection and roughly attached it to the back of the panel, then connected the USB-C to DisplayPort 1.4 cable and a 12 volt power supply,” Miani said in the video. “Then I ran the wires through the back of the case, pulling out the RAM access door, which is very handy for this type of project.”
Because Studio Display has a webcam, Miani wanted to include it in his project. The one that came with the 2014 iMac was difficult to use due to its ribbon cable servicing other parts like the microphones and the ambient light sensor. So Miani removed the 2014 webcam and replaced it with a USB camera designed to be used with something like a Raspberry Pi or Arduino. It cost him about $30 plus $9 for the USB-A-to-C extension, he says.
According to Miani, the DIY monitor retains Mac features, including the ability to use zoom options and Night Shift.
The YouTuber said the only obvious physical difference is the wires sticking out of the RAM hatch.
Also, the monitor does not support P3 color spaces. That’s a downgrade from Studio Display and LG’s 27-inch UltraFine 5K monitor, which claims 99 percent DCI-P3 coverage. However, as Miani explained, this can be fixed using an iMac released in 2015 or later.
Miani said that in a side-by-side comparison, the DIY Apple Studio had the worst black levels, backlight blur, and contrast. He recommended using a newer model of iMac to improve display performance, but said the image quality on the DIY monitor was “pretty close”to the Studio Display. The differences are hard to spot in the comparison images he shared.
Ultimately, the system shown in the video cost $871, including $19 iFixit adhesive tapes for displays. But you can save money if you don’t need a webcam or want to start with a broken iMac instead of a fully functioning one.
In the video below, Miani details the finances and what it took to create a more affordable studio display.