
Years ago, during the heyday of the NES Classic Edition, we compiled a guide to building a retro emulator with a Raspberry Pi board, RetroPie operating system, and a few other fun accessories. We have updated this guide a couple of times over the years and many of the tips in it are still useful. But enough has changed in the last few years—the Pi hardware, the accessory ecosystem, the operating system, and even the emulators themselves—that we’re completely revising this guide, adding tips and pointers for new products.
If retro gaming is your thing and you’re looking for a winter project, building your own mini console – or sprucing up one you built years ago with a new chassis and other software – is still a great way to spend some money and time..
Basics
| Raspberry Pi Console Specification | |
|---|---|
| Raspberry Pi 4 2 GB | $45-60, depending on delivery |
| Happening | $5-40 |
| Charger | 10 $ |
| microSD card | $12 for 64GB, $20 for 128GB. |
| HDMI to micro HDMI cable or adapter | $9 |
| Controller | $0 to use what you have, $15 for an SNES-style tablet, or about $60 for a new console controller. |
| Total | $81 and up |
When building our emulator box in 2016, we tried to get as close to the $60 NES Classic Edition asking price as possible. Chip shortages and other factors will make this nearly impossible in 2022, but we will try to keep materials under $100.
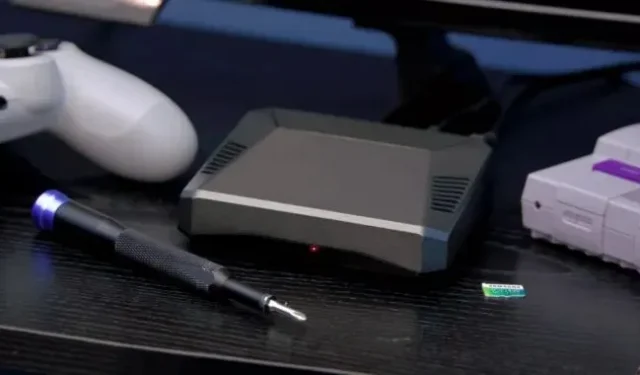
The heart of your retro console, and probably the biggest expense, especially given the ongoing shortage of chips around the world, will be the Raspberry Pi board. A good default option is the $45 2GB Raspberry Pi 4, which seems to have slightly better (though not greater) availability than other iterations at the time of this writing, with smaller retailers like CanaKit charging a ton for shipping. But none of the emulators that will run well on the Pi require a ton of RAM, so if you can find it, the $35 1GB Pi 4 is also a good choice. If you want a more forward-thinking Pi board that you can do other things with, then it’s worth upgrading to the 4GB or 8GB Pi 4 models, but the extra memory won’t matter for a dedicated emulation box.
The extra performance of the Pi 4 gives you several advantages over the old Pi 3 or 3B+, including more consistent (but not always seamless) emulation speed for the Nintendo 64, Sega Dreamcast, and Sony PSP, as well as the ability to turn on some latency-reducing features, about which we’ll talk a little later. However, depending on the consoles you want to emulate, there are still circumstances where an old Pi 3B+ or Raspberry Pi Zero 2 W will work just as well – unless you plan to emulate something newer than the first PlayStation., for example, or if you’re trying to build a super-cheap or super-small (or even portable) emulation system.
Raspberry Pi boards are often sold as part of a kit that includes a power adapter, case, microSD card, and other accessories, but for now, we advise you to ignore them. The easiest kits to buy right now are the more expensive kits that come with too many accessories, or the ones that most people won’t actually use, and for the sake of your storage performance, it’s best to select a microSD card manually. than to get a cheap untitled version bundled.
At a minimum, you’ll need a USB-C or microUSB power adapter (for Pi 4 and Pi 3B+/Zero 2W respectively) and a microSD card big enough for your games. We’d recommend one of these 128GB cards from Samsung or SanDisk, as they offer decent performance from a well-known brand, cost $20 or less, and are large enough to be used for a variety of other tasks later if you need them. But if cost minimization is important, a 64GB card should be enough for a large selection of games, including tiny NES ROMs, PlayStation and Dreamcast multi-disc games, and your favorite arcade games.
If you’re buying a Pi 4, a micro-HDMI-to-HDMI cable or adapter is also a good idea, unless you’re buying a case with its own full-sized HDMI port.