
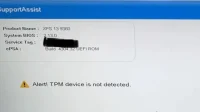

It’s not a good feeling when you get an error on your system. And it’s troublesome when it won’t let you move forward without an immediate fix. Microsoft users complained about one of these errors: TPM device not detected.
If you or someone around you has encountered it, you are going to solve it in minutes. And so we collected the causes and possible solutions to the problem.

What is TPM?
A TPM (Trusted Platform Module) is a module built into your system’s motherboard. Its job is to protect your machine and its hardware with built-in cryptographic keys. This is a rather important chip for performing cryptographic operations on your computer.
But what does it protect your system from?
Well, cryptographic functions and their associated keys are useful for security reasons. They help in storing passwords and encryption settings. Simply put, TPM helps implement security-based configurations more smoothly. One example would be BitLocker.
Hence, the useful TPM chip and security layers provide protection against various threats.
Why is TPM important?
If you are using Windows 10 or earlier, TPM is disabled by default. But you can always turn it on yourself and further secure your device.
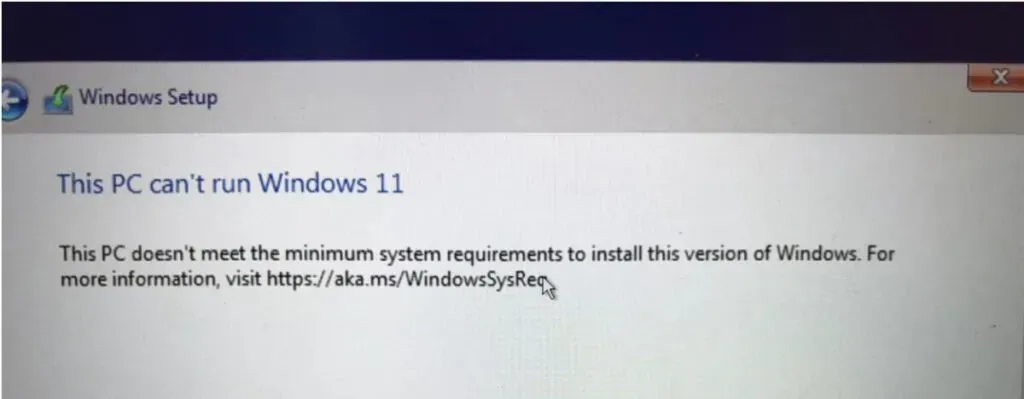
A major change has come with Windows 11, where a TPM device is now mandatory. What else? If you are about to upgrade your PC to Windows 11 and you don’t have a working TPM, the upgrade will fail.
If you tried to do this with a non-functioning TPM, you may have seen this error message: “Windows 11 cannot run on this computer.”
But if you’re getting this despite a working TPM, skip to the next section. You should be able to fix the TPM Device Not Detected error.
What causes the “TPM device not found”error?
There can be many reasons why TPM discovery fails. So far, some of them have appeared frequently in most cases.
- Your computer has an outdated BIOS
- The TPM chip on your computer is damaged
- Your device does not have a TPM chip
- Your computer is having problems with TPM keys
1. Your machine has an outdated BIOS
The BIOS (Basic Input/Output System) is the firmware that plays a critical role in improving the performance of your computer. This is a computer program useful in the process of starting the machine. It is also responsible for the correct loading of the OS.
This software is used by your machine’s microprocessors to restart. Various computer or laptop manufacturers release BIOS updates. And if you don’t apply these updates, your BIOS firmware may be out of date.
2. The TPM chip on your computer is damaged.
Yes, the chip that keeps your car safe can be compromised. You may be trying to make changes to your TPM settings. And at the same time, if you skip even one step, it can damage the TPM chip.
It can also have adverse effects if you try to use another machine to flash your machine’s TPM.
3. Your device does not have a TPM chip
If you are using an older Dell laptop such as the Dell XPS or Precision, the TPM may be configured in the BIOS. Or it may not be present in the Windows system or OS. In such cases, you may encounter the TPM device not found error.
4. Your computer is having problems with TPM keys
Although this is a deep topic, in this case, the problem may be related to the driver. In some cases, the TPM chip uses an OEM driver to support its operations.
While this is acceptable on the hardware level, you run into problems with the software. Thus, it would be helpful if you switched your TPM to the built-in TPM driver.
9 Ways to Fix TPM Device Error
- Check TPM on your device
- Enable TPM in BIOS
- Disable battery
- Update TPM drivers
- Reinstall TPM drivers
- Update BIOS
- Reset or Rollback BIOS
- Check your network connection
- Clear TPM keys
1. Check TPM on your device
As we mentioned earlier, one of the reasons why your computer doesn’t read TPM is because it doesn’t have one.
But you can’t be sure until you check, right? Well, now you can. Follow the steps below and check if your product has a TPM chip.
- Press the Windows + R keys together to open the Run window.
- Enter.’
tpm.smc‘ for the control file for TPM. Press Enter to check the details.
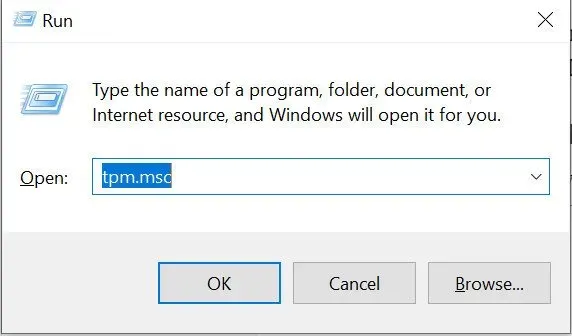
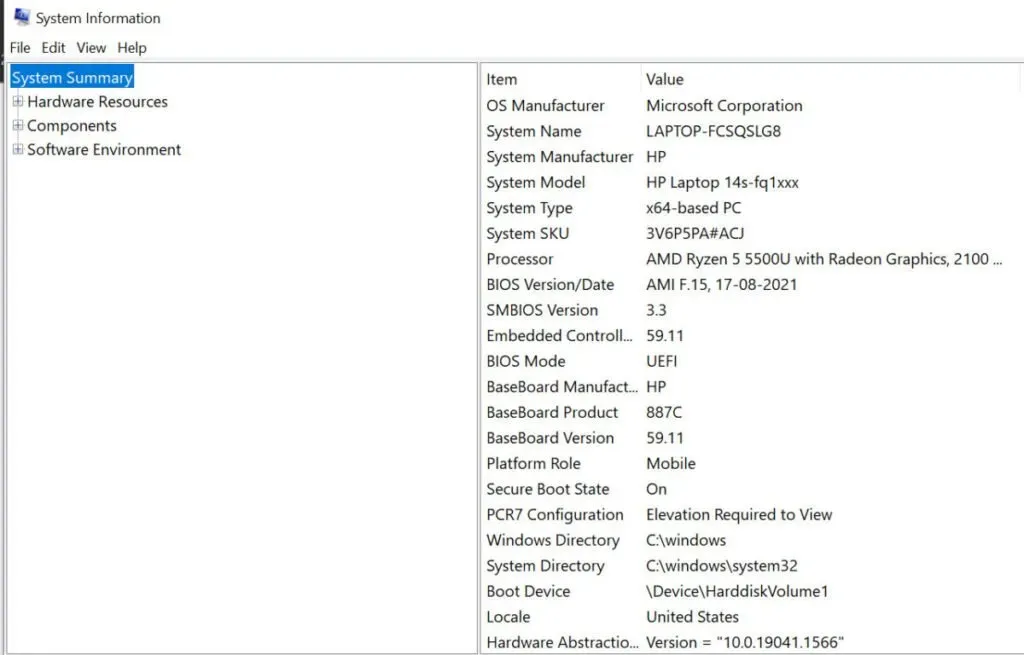
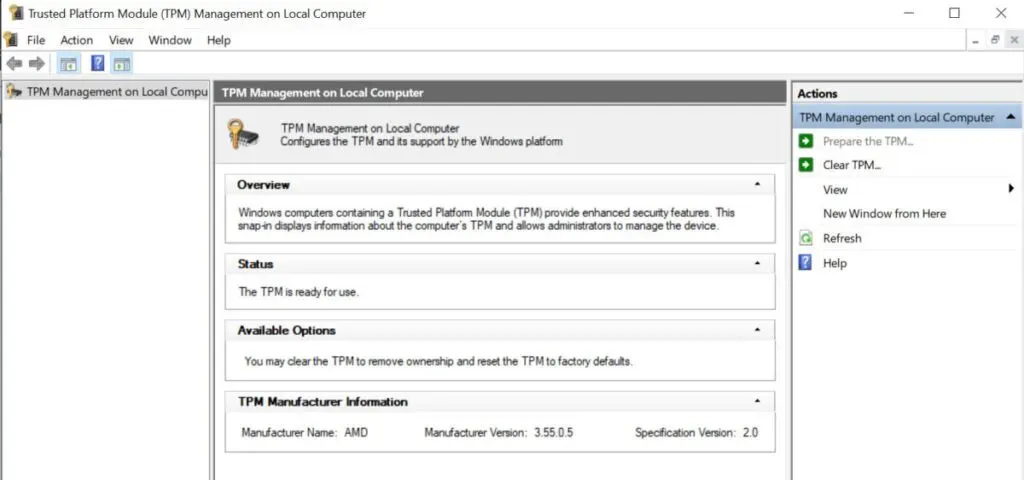
- A new window will open with the status of the TPM device.
- If the TPM is properly configured and available for use, you should be able to see the version information. If not, then TPM is disabled or not there.
2. Enable TPM in BIOS.
Considering you got here, it looks like you have a problem with the disabled TPM module on your computer. But you can turn it on yourself by following a specific set of steps.
However, please note that these steps may vary depending on the manufacturer and model of the device. You should check the manufacturer’s website to confirm the process. Here is what the overall flow looks like:
- Make sure your computer is in power off mode. Now press the F2 or Delete key immediately after pressing the power button. You can even click them multiple times when you boot your computer.
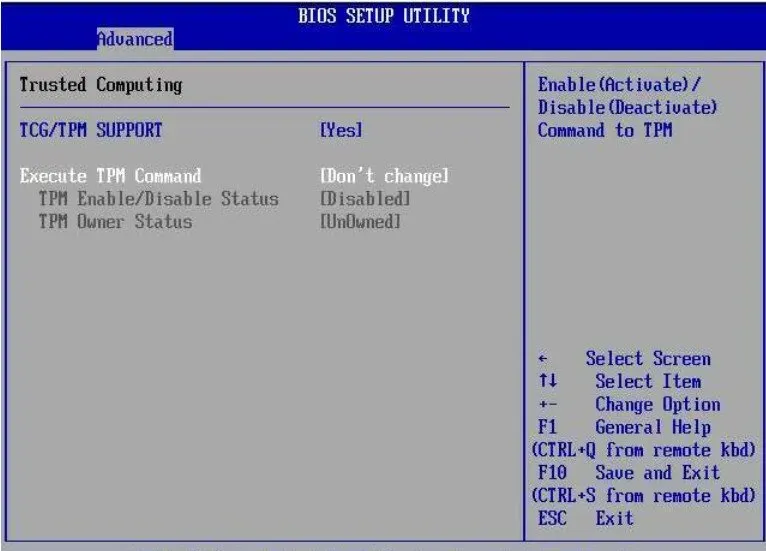
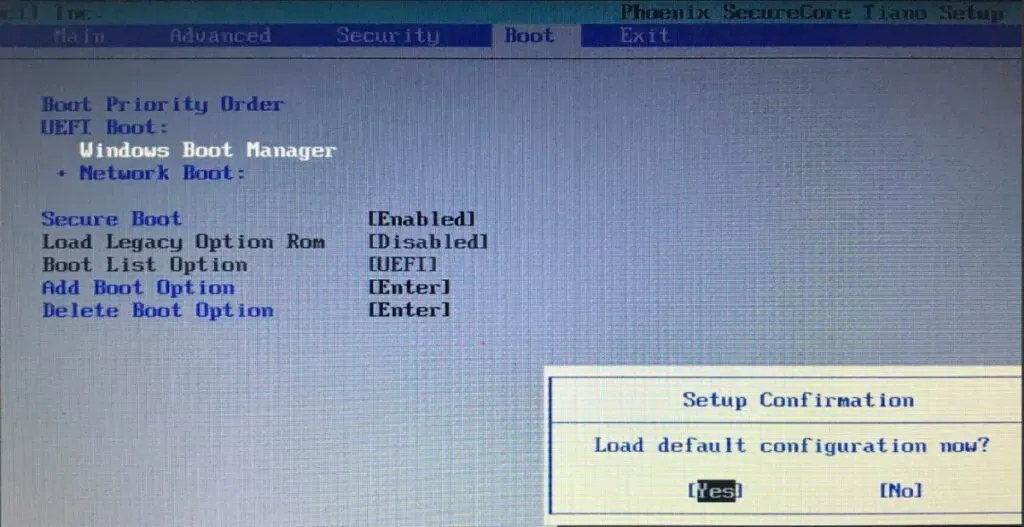
- This opens the BIOS menu. You should see an “Advanced”or “Security”option.
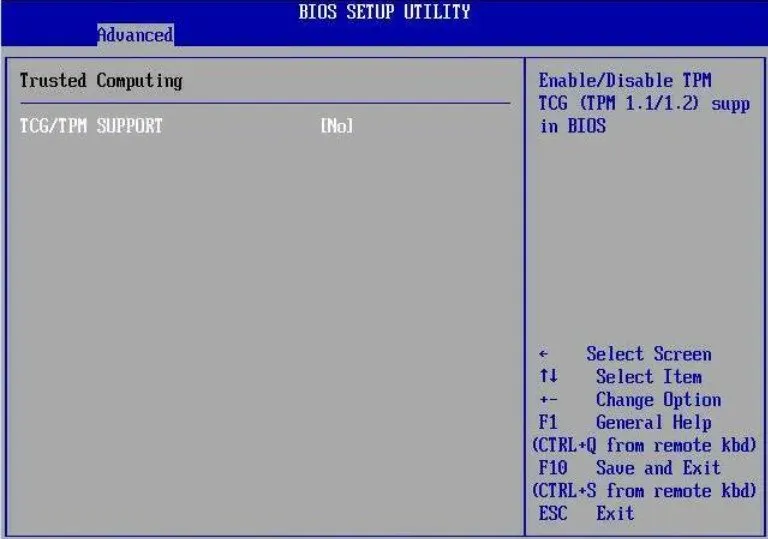
- Expand the section and click the TPM features tab. You should see an “Enable”option.
- Try the steps in the previous section and check if the problem persists.
3. Disconnect the battery
There is no doubt that taking a break can help clear your mind, and a fresh start can speed up a task. The same is true for cars. While booting can work wonders, you can also do it by removing the laptop battery.
You should wait approximately 2-5 minutes between removing the laptop battery and restarting the system.
Sounds simple, right? And it would be better if this fixes the issue with the TPM device not being detected. Suppose he doesn’t move on to the next step to solve the problem.
4. Update TPM drivers
The physical TPM chip follows the software commands. And for this he needs mediation with the help of drivers. But TPM uses outdated drivers and may malfunction.
You can fix this issue by updating your drivers as described below:
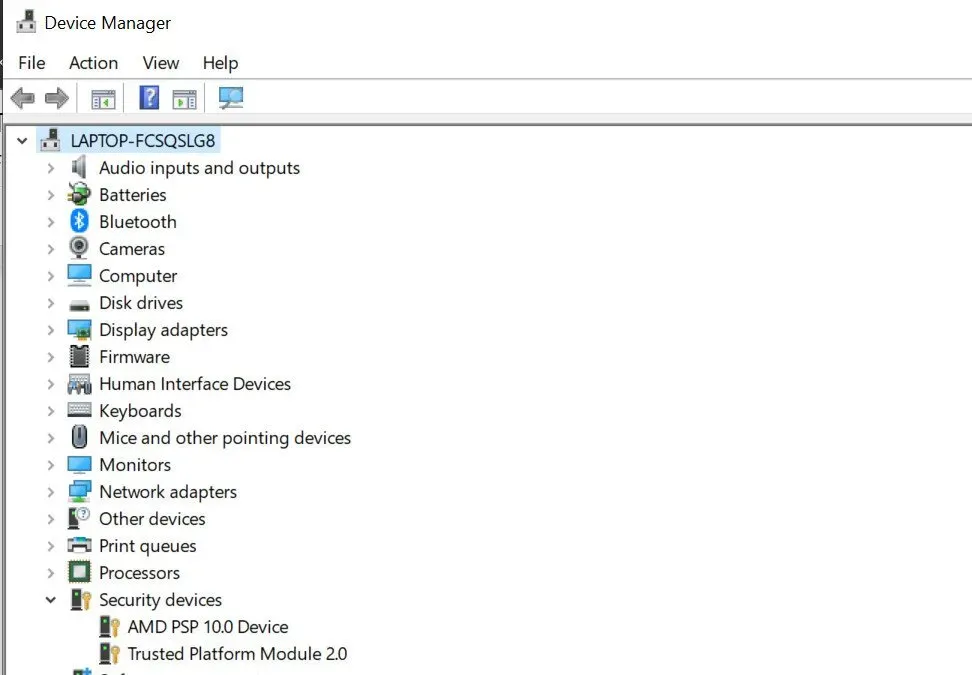
- Use Windows Key + X to open Device Manager.
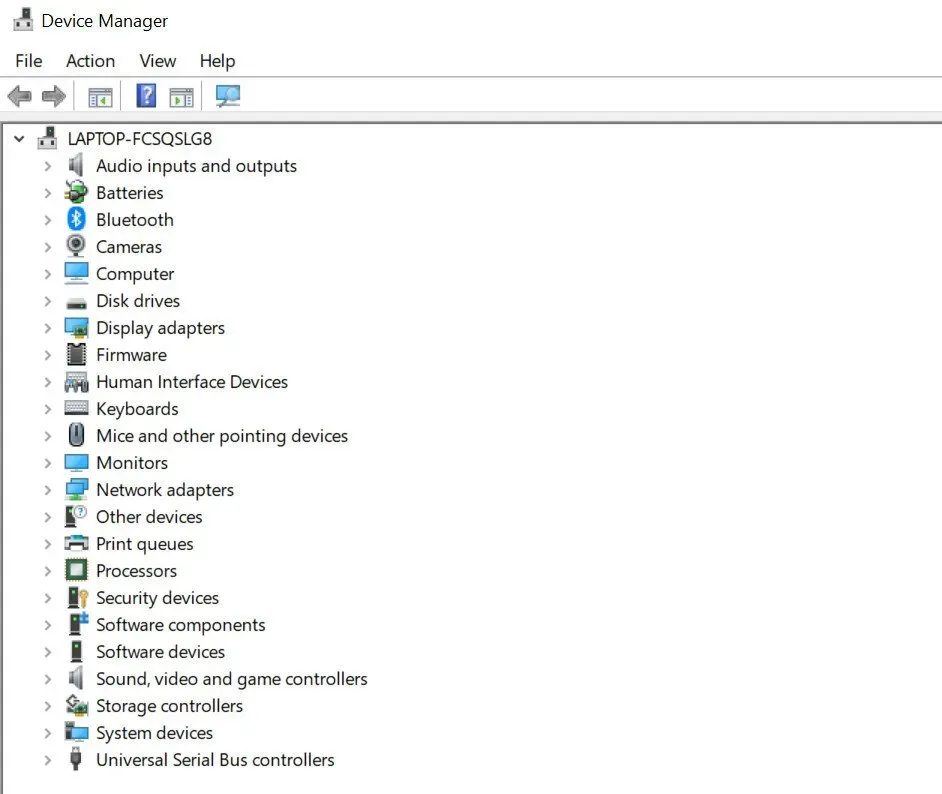
2. Navigate to expand the Security Devices section and you should see the TPM module.
3. Right-click it and select Update Driver.
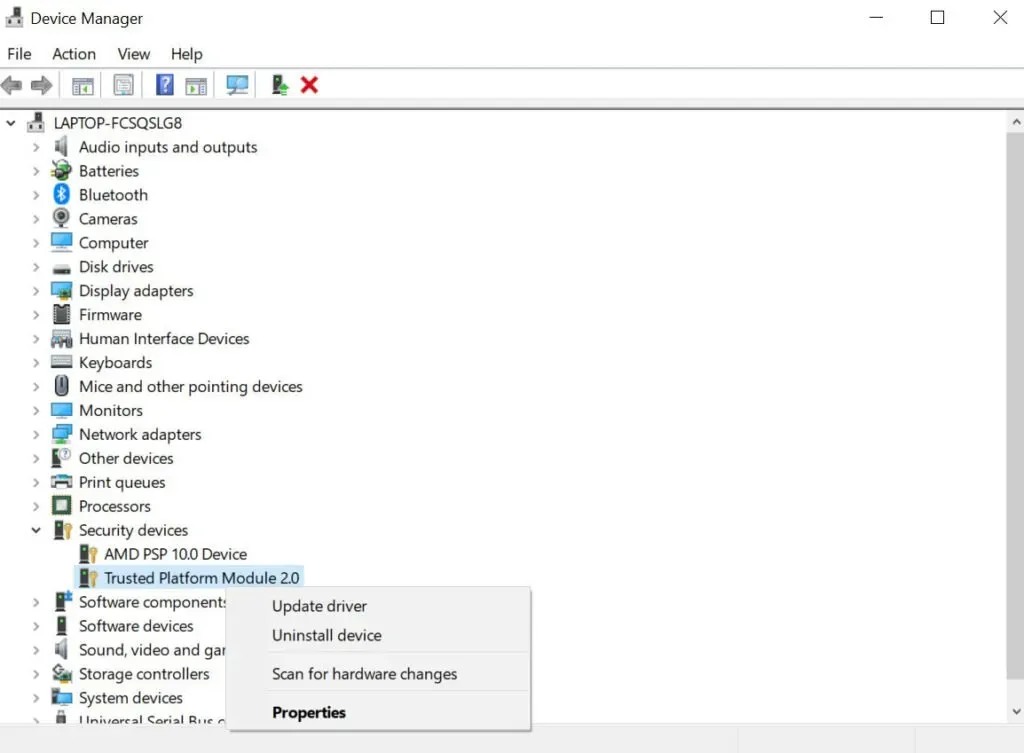
4. You can rely on the automatic driver search option to find the most reliable sources.
5. Wait for the update to complete and check for the problem.
5. Reinstall the TPM drivers.
Another way to fix the problem with TPM-specific drivers is to reinstall them. To do this, you can follow the same steps as above. The only change is that you need to select the “delete”option from the context menu.
Now that the drivers are removed, restart your computer. The drivers will be installed during the reboot.
6. Update BIOS
As discussed in previous sections, the BIOS is critical during laptop startup. So, it’s important that the BIOS. You can check for the latest version on the manufacturer’s official website.
Or you can use your computer’s serial ID and enter it on the website. It will determine which all drivers need to be updated. Once you find a BIOS update, follow the on-screen instructions to update the firmware.
But if you encounter the “TPM device not found” error after updating the BIOS, you need to rollback. You can use the BIOS rollback option from the official website. Alternatively, you can restore a previous version as described in the next section.
7. Reset or Rollback BIOS
Another way to deal with the BIOS to fix the problem with the TPM device is to reset it. You can follow the steps below to restore your computer’s BIOS settings to default.
- Turn off the machine and unplug the power cord.
- Press and hold the Control + Esc keys until you reconnect the power cable to your computer.
- Now press the power button. As soon as the computer starts to boot, release the Ctrl + Esc keys.
- Now go to the BIOS page and select the rollback option. Click on the “Save”button and let the changes take effect.
This should reset the BIOS and your issue should be resolved as well.
8. Check your network connection
An unstable network connection, as simple as it sounds, could be the culprit. It also got attention in the documentation from Microsoft. But this is repeated for Windows version 10, Subversion 1507 or 1511, or Windows 11.
This can be easily fixed with the built-in troubleshooter. You can run the troubleshooter on your computer. It will detect and apply the necessary fix for network connections.
Although you will need to follow the instructions on the screen to the end.
9. Clear TPM keys
TPM keys refer to values stored in the TPM chip. This is the accumulation of progress made using the security chip. But before clearing these keys, you should back up your data.
Since this can change the encryption, you may lose access to the data it protects. Here are the steps:
- Open your computer settings and go to the “Privacy and Security”section.
- Click Windows Security to open the corresponding menu.
- Select the Device Security tab. Then select Security Processor and navigate to Security Processor Details.
- On this screen, you should see a clear TMP button.
- Once this is done, click on the Clean and Restart button for the changes to take effect once your laptop boots up.
FAQ
Can I add TPM to my computer?
Yes, you can add TPM to your computer. However, you should only seek professional help from device manufacturers. The reason is that hardware changes will affect the motherboard.
How to check the TPM version?
You can check the TPM version by running. ‘ tpm.msc‘ control file in the launch box on your computer.
What happens when a TPM fails?
If the TPM fails, your computer’s security will be compromised. This may affect BitLocker features and other encryption settings.
What does TPM not detected mean?
This means that your computer does not have a TPM chip. Or your computer cannot read the TPM chip due to using incorrect or outdated drivers.