

Looking to find, install, connect, and use a VPN on your Apple TV? In this tutorial, we will guide you through everything and help you watch shows and movies that are not available for streaming in your country.

Why install a VPN on Apple TV
Using a VPN offers privacy, security, and the ability to bypass geo-restrictions on streaming content. It also helps access blocked content, prevents ISP throttling, and enhances privacy when using public Wi-Fi.
However, since there is no web browsing on an Apple TV, you will primarily want to get a VPN on your TV to unlock content on streaming platforms like Netflix, Prime Video, Disney+, etc., that are available only in a specific country and is unavailable in your region because of licensing agreements. So, we’ll show you how to set up VPN on your Apple TV to circumvent these restrictions.
Note that using a VPN does not guarantee that you’ll be able to access unavailable content, as a streaming platform like Netflix can sometimes detect VPN use. So, always see the VPN’s description and details. Contact its developer for more clarity or put your money in a VPN service that has a no-questions asked refund policy.

Currently, seven VPN apps are available on the Apple TV App Store in my country. Out of these, only Flow VPN and UK VPN (a fork of Flow VPN) worked for free and required no signup. Others needed a premium subscription or log-in. Prominent names like ExpressVPN, SurfShark, and NordVPN are currently unavailable on the Apple TV App Store.
What do you need?
You must update your Apple TV to tvOS 17 or later to use a VPN.
tvOS 17 is supported on Apple TV HD (introduced in 2015) and all Apple TV 4K models, including the latest Apple TV 4K 3rd generation.
How to use a VPN on Apple TV
1) Open the App Store on your Apple TV running tvOS 17 and search for VPN. You can also enter the exact VPN app name or ask Siri to search for VPN on the App Store. After that, install the VPN app like any regular app.
2) Open the VPN app and complete its initial setup. Usually, it will involve going past the welcome screens, choosing a subscription plan, logging in to the app, and such.
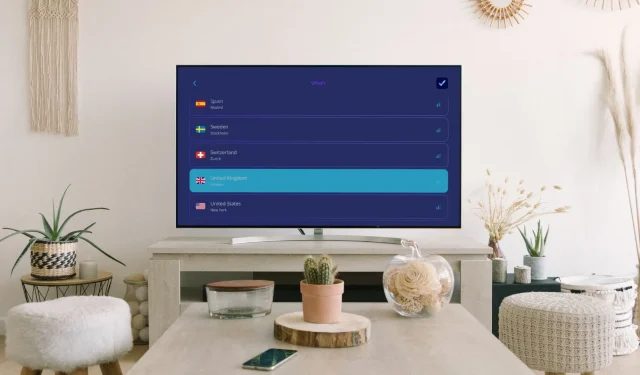
3) Select a country you’d like to connect to.

4) After you pick a country, click Connect or an equivalent icon to establish a VPN connection.

5) Now, you will see a popup saying, “VPN would like to add VPN configurations.” Click Allow.

6) Your Apple TV’s Wi-Fi or Ethernet connection will now be routed via a VPN server. With some VPN apps, you may have to click Connect again after adding the VPN configuration.

VPN switch in the tvOS Control Center
After you set up a VPN app, you will see a VPN option in the Control Center on your Apple TV, which is accessed by holding the TV button on your Siri Remote.
- It will say ‘Connected‘ in blue if the VPN is active. You can click it to disconnect.
- The VPN service you’re connected to will have a checkmark next to it. You can select another VPN (if you have set up more than one) and connect to that instead.

Connect, disconnect, or switch to another VPN
The most reliable method that works for all VPN apps is to manually go inside the VPN app and use the Connect or Disconnect button there.
You can also use the Control Center method, but it may not work at all times with all VPN apps. Similarly, you can use the Status button from the VPN section of the Settings app, but it can be unreliable at times.
See connected VPN details
You can view the server location and similar details inside the VPN app. And if that’s unavailable, use Apple TV settings.
1) Open the Settings app on your Apple TV and go to General.
2) Scroll to the bottom, and you’ll find the VPN and Device Management section. Select the VPN you see there.

3) Select Connection Details to view the Type, Server, Server Address, and Connect Time. You can turn Connect on Demand on or off.

Delete a VPN configuration
After you delete the VPN app from your Apple TV, it should also remove its configuration from Apple TV settings. Additionally, you can see the VPN configuration in the Settings app and delete it from there. The initial steps are similar to what’s explained above.
1) Go to Apple TV Settings app > General and select the VPN under the VPN and Device Management section.
2) If you have more than one VPN set up, pick one under the Configuration heading so it shows a checkmark next to its name.
3) Select Connection Details and click Delete VPN > Delete.

This will remove the VPN’s added configuration, but the VPN app itself will remain installed. If you plan to reuse the app, you will have to click Allow to add the configuration again. In case it fails, delete and reinstall the VPN app. Don’t worry, as even if it’s a paid app, you can re-download it for free from the App Store as well as restore past subscription by using the Restore Purchase option or logging in with your VPN account credentials.
Check out next: