
If you are a heavy Google user, you need to make sure you have verified your Gpay payment method before using it. However, even after checking pay.google.com, you see the message “Make sure you have verified your GPay payment method”, then there is some underlying cause that needs to be addressed. Here is our guide to help you do just that.
What is Pay.Google.com Verify Payment?
Google Pay makes it very easy for users to make transactions by simply entering an access code. This passcode can be 6 or 4 digits, depending on your bank. As a result, before you pay in the app or pay a person in real life, Google Pay may ask you to verify your payment.
However, even after stepping through the verification process, users are always asked to confirm while they try to proceed with the payment. The message says: Make sure you have verified your GPay payment method. Although they have already been verified by Google, they still receive this text.
What is Pay.Google.com Verify Payment Issue?
The problem is that when making a payment, users are notified that they need to verify their Gpay payment method. Either they didn’t verify it before or their bank didn’t authenticate it.
However, even after multiple confirmations, users still get a confirmation message when they try to pay someone with GPay. This is not common because GPay is an urgent service and people use it every time. Asking for verification is just disgusting. As a result, more and more people are looking for ways to solve this verification request issue.
How to check GPay payment method?
If you don’t know how to verify a GPay payment before using it, please read this carefully. If you have already done this, you can skip this step and read the next section where we will discuss fixing the duplicate notification. If you also receive a notification that you need to verify your payment method, follow these steps:
- Go to pay.google.com
- Sign in with your Google ID and password.
- Confirm that you are the one using your phone.
- In the upper right corner, click Alerts.
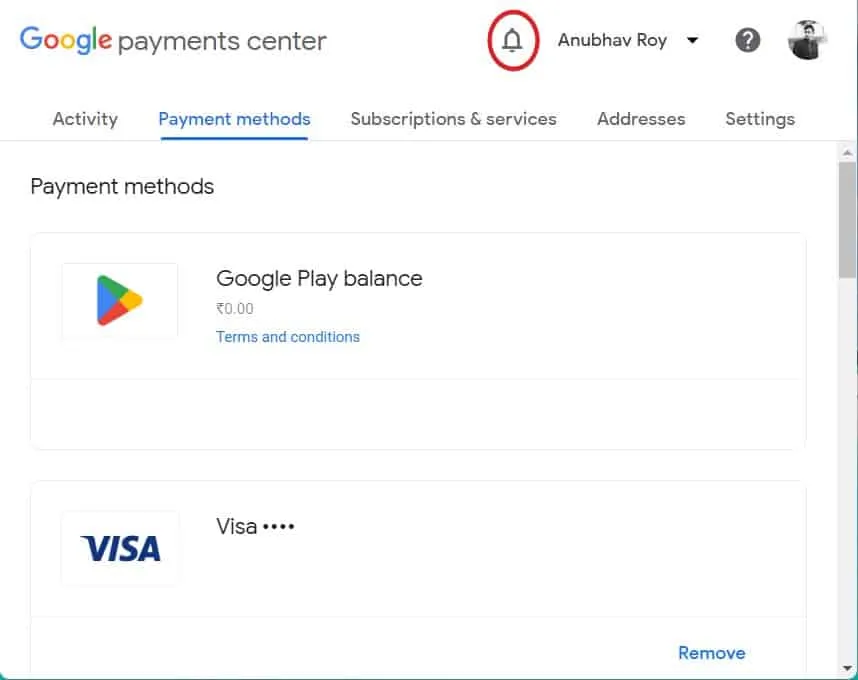
- Tap Confirm.
- If you didn’t find anything in the warnings, click Payment Methods.
- Next to the card you want to check, click Get Code.
- Google will now charge you a temporary fee of $1.95. Once your account is verified, the amount will be refunded within 24 hours.
Your account has now been successfully verified. If you encounter the issue again, please continue to the next section.
However, if you are mainly having a problem with the GPay app, then the problem is with your SIM card and bank. Instead, follow these steps to fix it.
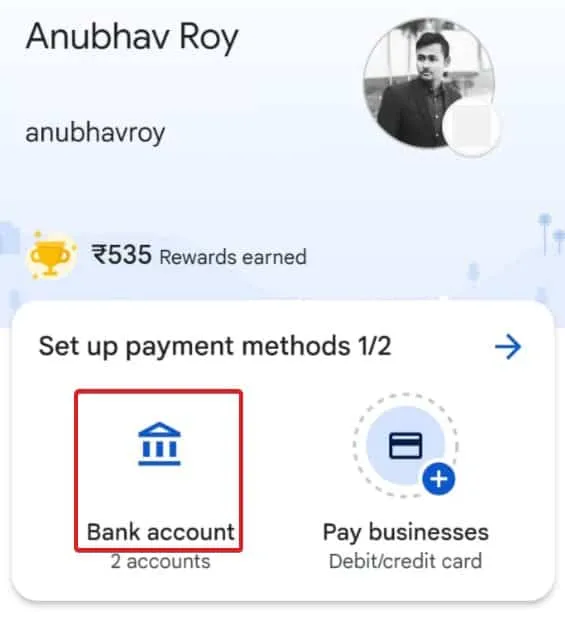
- Open GPay.
- Click on your profile in the top right corner.
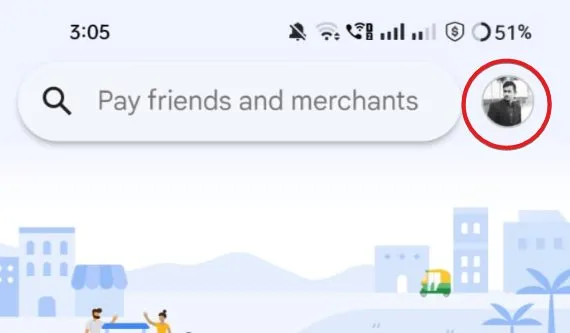
- Select Bank account.
- Now click “Add bank account”.
- Make sure that your SIM card registered with the bank has a balance and is inserted into slot 1.
- Now request SMS.
- Once you receive the SMS, confirm it and you’re done.
Now you will no longer see a confirmation message if it came from the GPay app. However, if the problem with pay.google.com confirms that Google Payment is related to in-app purchases and other things, skip to the next section.
Why is Google asking you to verify?
Due to strict regulations set by banks around the world, payment services are now required to conduct KYC for their users. However, because the Google Pay database is so large that if they start doing proper KYC, it will take over 2 years to complete it for everyone, by which time KYC for 50% of users has already expired.
As a result, account verification is the best way to do this. Because banks already have KYC, Google verifies the account using a phone number and allows the user to use the services.
How to Fix Make sure you have verified your GPay payment method.
If you think you’ve already passed the verification but keep getting a GPay payment method confirmation message, then this is a bug that needs to be fixed. Follow these fixes carefully so you don’t get this message every time.
Fix 1: Manually save the CVV
If you are tired of receiving regularly, make sure you have verified your GPay payment method, now you should try to save your CVV and billing address manually. This is the best method because it eliminates the need to check every time. To do this, follow these steps:
- Open pay.google.com.
- Click Payment Methods.
- Click “Change”on the payment method you want to verify.
- You won’t see the Edit button if the payment method is not causing problems.
- Enter your CVV and click Confirm.
- Google will deduct a $1.95 temporary fee and verify your payment method.
Once you do this, you will no longer be asked to confirm. If he asks again, you are probably doing something wrong.
Fix 2: Make sure your phone is not rooted
If you have a rooted Android phone, you cannot use Google Pay. Since rooted phones are on the verge of being hacked, you will be vulnerable to hackers and intruders. As a result, if your phone is rooted, you won’t be able to use Google Pay until you disable it.
If you want to disable your device, follow these steps:
- Download and install SuperSU Root Checker.
- Open the app and go to the “Settings”tab.
- Now scroll down and click on Complete Root Removal.
- Click Continue.
Wait until your phone is turned off. Once this is done, you can start using Google Pay and you won’t see it again.
Fix 3: Stop Using VPN
If you use a VPN, Google Pay may regularly ask you to verify your information. This is because Google Pay uses location information for security purposes. And again, if your location has changed, the security check is triggered.
Make sure you pause or disable your VPN before using Google Pay; after that everything should be fine. Also, if you want, be sure to check out the best VPNs.
bottom line
Well, that’s all we have on what pay.google.com checks for and how you can fix it if you see it; make sure you confirm the GPay payment method message every time. We hope this guide has helped you. However, if you still have any questions, be sure to leave a comment below and we’ll be there to help.